How do I digitize my embroidery for free?
Table Of Content
- Understanding Embroidery Digitizing Software for Free
- Essential Digital Files Needed for Embroidery
- Embroidery machine file format
- Downloading Embroidery Designs Without Software
- The Importance of Vector Files for Embroidery
- Step-by-Step Guide to Digitizing an SVG for Embroidery
- Choosing the Best Vector File Format for Embroidery
- Top Software Used for Creating Embroidery Designs
- Connecting Your Embroidery Machine to Your Computer
- Digital Print versus Embroidery: What's the Difference?
- Digital Print:
- When to choose digital print versus embroidery:
- Expert Tips for Free Embroidery Digitization
- 1: Use High-Quality Images or Vector Files
- 2: Carefully Inspect the Design Before Stitching
- 3: Experiment with Different Stitch Types and Densities
- 4: Practice, Practice, Practice
- Conclusion
In today's digital age, embroidery can be digitized and created using software and machines, making the process faster and more efficient. However, embroidery digitizing software can sometimes come with a hefty price tag. If you're looking for a way to digitize your embroidery designs for free, this blog post is for you.
Understanding Embroidery Digitizing Software for Free
Embroidery digitizing software for free refers to software that can create digital embroidery designs without cost. These software options often have limited features and capabilities compared to paid options but can still be useful for basic designs even top 10 embroidery digitizing companies uses it to give know how to their beginners digitizers.
Some popular free digitizing embroidery software options include:
1: Inkscape
2: SewWhat-Pro
3: My Editor
When deciding on embroidery digitizing software, consider what features you need and what file formats the software supports.
Essential Digital Files Needed for Embroidery
To create a affordable digitizing design, you will need several key digital files:
Embroidery machine file format
This is the digital file used by your embroidery machine to stitch out the design. Common embroidery machine file formats include.PES, DST, and . EXP.
Embroidery design file: This is the actual design that will be stitched out. It can be created using embroidery digitizing software or downloaded from online sources.
Vector files: Depending on your embroidery design, you may need vector files like—AI or. EPS to create the design. These files are important because they allow easy manipulation and resizing without losing quality or resolution.
Ensure all these files are in the correct formats to ensure a smooth embroidery process even for same day embroidery digitizing.
Downloading Embroidery Designs Without Software
Downloading embroidery designs without embroidery digitizing software is possible with a few simple steps:
1: Look for free designs online and download them in the correct file format for your embroidery machine.
2: Purchase pre-digitized embroidery designs from websites or designers who offer them in the correct file format.
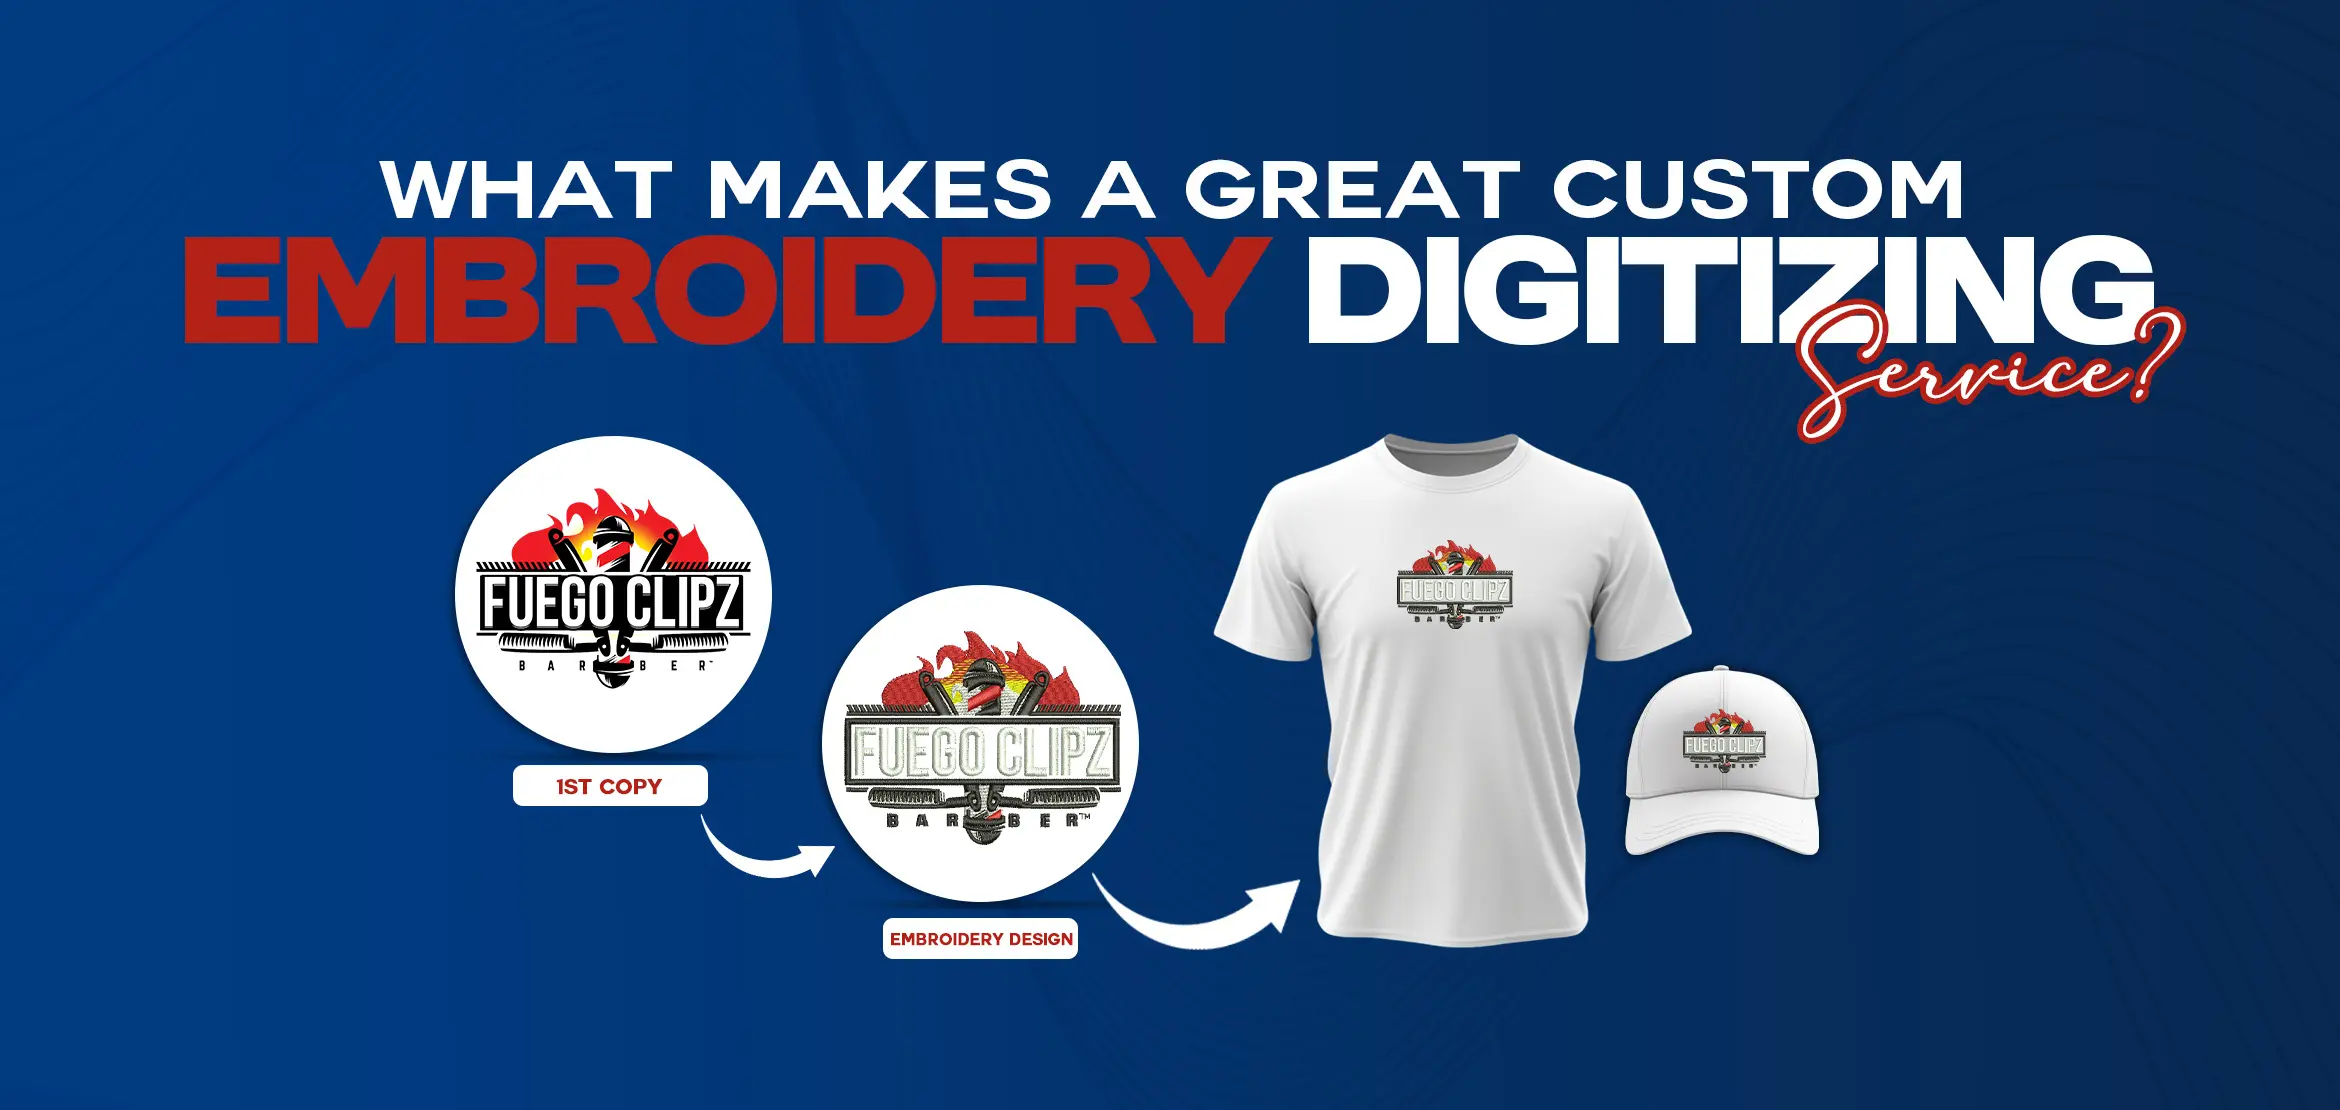
3: Digitize designs using free or paid online tools to convert an image or file into an embroidery machine file format.
It is important to ensure that the design is in the correct file format for your embroidery machine and that the quality of the design is suitable for embroidery. Always preview the design before stitching to ensure it has been digitized correctly.
Some websites that offer free embroidery designs in various file formats include:
When purchasing pre-digitized embroidery designs, ensure that they are in the correct file format and that the designer has a good reputation for quality designs.
Converting an image or file into an embroidery machine file format using online tools is possible, but the design quality may vary depending on the tool used. Previewing the design and making any necessary adjustments before stitching is best.
The Importance of Vector Files for Embroidery
Vector files like. AI or. EPS is important for embroidery because they allow easy manipulation and resizing of the design without losing quality or resolution. This is because vector files are composed of mathematical equations that define the shape and placement of each object or element in the design. As a result, vector files can be scaled up or down without losing quality or detail.
Regarding embroidery, vector files are particularly useful for creating designs with multiple colors or layers. Using a vector file lets you easily separate the design into different layers or color groups, making it simpler to digitize and embroider each component.
With a vector file, the embroidery digitizing software may be able to convert the design into the correct file format, and the resulting embroidery may be more clear and defined. Vector files are also useful for creating different design versions for different uses and applications. For example, you can easily adjust the size or color of the design in a vector file to create variations of the design for different products or promotional materials.
Overall, having a vector file for embroidery can save time and effort in the digitizing and embroidery process and help ensure that the final product is of the highest quality.
Step-by-Step Guide to Digitizing an SVG for Embroidery
Here is a step-by-step guide on how to digitize an SVG file for embroidery using embroidery digitizing software:
Step 1: Convert the SVG file into a vector file using Adobe Illustrator or Inkscape software.
To do this, open the SVG file in your vector software and convert it to a vector file format. AI or. EPS. Clean up the design and remove any unnecessary elements before exporting the file.
Step 2: Import the vector file into embroidery digitizing software.
Open your embroidery digitizing software and import the vector file you created. Ensure the file is formatted correctly, and all elements are properly organized.
Step 3: Use the digitizing tools in the software to create the embroidery design.
Using the imported vector file as your guide, use the digitizing tools in your embroidery software to create the design. Start by setting the design's stitch types, densities, and other parameters. Then, digitize each design element one by one, ensuring that each stitch is placed correctly and that the spacing is consistent.
Step 4: Review and adjust the design as needed.
Before exporting the design, please review it carefully to ensure that all elements are digitized correctly and that the design stitches well. Adjust any sections that need to be refined or altered for better results.
Step 5: Export the design as an embroidery machine file format.
Once you are happy with the design, export it as an embroidery machine file format.PES or.DST. Be sure to save your design in a location where you can easily access it later.
Choosing the Best Vector File Format for Embroidery
The best vector file format for embroidery is typical.AI or. EPS. These file formats are widely compatible with most embroidery digitizing software programs. They also support editable text and a range of graphic effects and styles that you can incorporate into your design.
When creating vector files for embroidery, it is important to make sure they follow certain guidelines. For instance, they must be sized correctly to match the embroidery hoops you will use. Also, all objects and text in the design must be converted to outlines to be easily traced and stitched without losing definition.
If you are still determining which vector file format to use for your embroidery design, working with a professional graphic designer or embroidery digitizer may be helpful. They can help you choose the best format based on your design requirements and embroidery machine specifications.
Top Software Used for Creating Embroidery Designs
Embroidery digitizing software creates digital embroidery designs that can be stitched onto fabric using an embroidery machine. Here are some of the top embroidery digitizing software options:
1:Wilcom Hatch: Used by professional embroiderers, this software offers advanced digitizing tools, customizable stitch settings, and a large library of designs and fonts.
2: Melco Designer: A user-friendly software with basic digitizing tools and a wide range of stitch types and effects.
3: PulseID: An all-in-one platform that allows users to design, edit, and manage embroidery designs, as well as order custom digitizing services.
4: Inkscape: A free and open-source vector graphics editor that can be used for basic embroidery digitizing.
5: My Editor: Another free embroidery digitizing software that supports multiple file formats and offers basic digitizing tools.
When choosing embroidery digitizing software, it is important to consider compatibility with your embroidery machine and file formats, as well as the features and capabilities offered by the software. Working with a professional embroidery digitizer may also be a good option for complex designs or custom digitizing services.
Connecting Your Embroidery Machine to Your Computer
Connecting your embroidery machine to your computer can be a game changer when digitizing and embroidering designs. Here are some steps to connect your embroidery machine to your computer:
1: Refer to your embroidery machine manual to determine the type of connection required.
2: If your machine uses a USB cable, plug one end into the embroidery machine and the other into your computer's USB port.
3: If your machine uses a serial port, you need a USB-to-serial adapter to connect it to your computer.
4: Install any necessary software drivers for your machine on your computer.
5 : Open your embroidery digitizing software and import the design you want to embroider.
6: Transfer the design from your computer to the embroidery machine using the software or the machine's transfer method.
7: Once the design is transferred, follow the steps in the embroidery machine manual to embroider the design onto your desired fabric.
Connecting your embroidery machine to your computer allows you to transfer designs easily and have more control over the digitizing and embroidery process.
Digital Print versus Embroidery: What's the Difference?
Digital print and embroidery are two different methods of decorating fabrics or garments.
Digital Print:
Digital print refers to printing a design directly onto the fabric or material using inkjet printers or other methods. This method can create an almost unlimited range of colors and shades, making it ideal for designs that involve complex gradients and photographic images.
Digital print is typically faster and less expensive than embroidery, especially for small quantities of items.
On the other hand, embroidery involves stitching the design onto the fabric using an embroidery machine. This method typically produces a design with greater texture and durability, making it ideal for items that last or be washed frequently.
Embroidery can also create a more professional and high-end look, especially for corporate apparel or school uniforms.
When to choose digital print versus embroidery:
The choice between digital print and embroidery often depends on the specific needs and use of the decorated item. Some factors to consider may include:
1: The number of items needed
2: The complexity of the design
3: The desired level of texture and durability
4: The budget
Ultimately, both digital print and embroidery are effective decorating methods that can produce high-quality results. The choice of which method to use depends on the specific needs and goals of the project.
Expert Tips for Free Embroidery Digitization
Digitizing embroidery designs for free can be challenging, but with the right tips and techniques, it is possible to achieve professional-quality results. Here are some expert tips to help you get started:
1: Use High-Quality Images or Vector Files
The key to successful embroidery digitization is starting with a high-quality image or vector file. If you're working with an image file, ensure it is at least 300 dpi, and the image is clear and well-defined. If you're working with a vector file, ensure it is fully editable and has all the necessary details.
2: Carefully Inspect the Design Before Stitching
Before starting the stitching process, it's important to carefully inspect the design to ensure it has been digitized correctly. Ensure all the stitches are in the correct place and the design is aligned properly. Also, check for any missing stitches or overlaps that could cause problems during the stitching process.
3: Experiment with Different Stitch Types and Densities
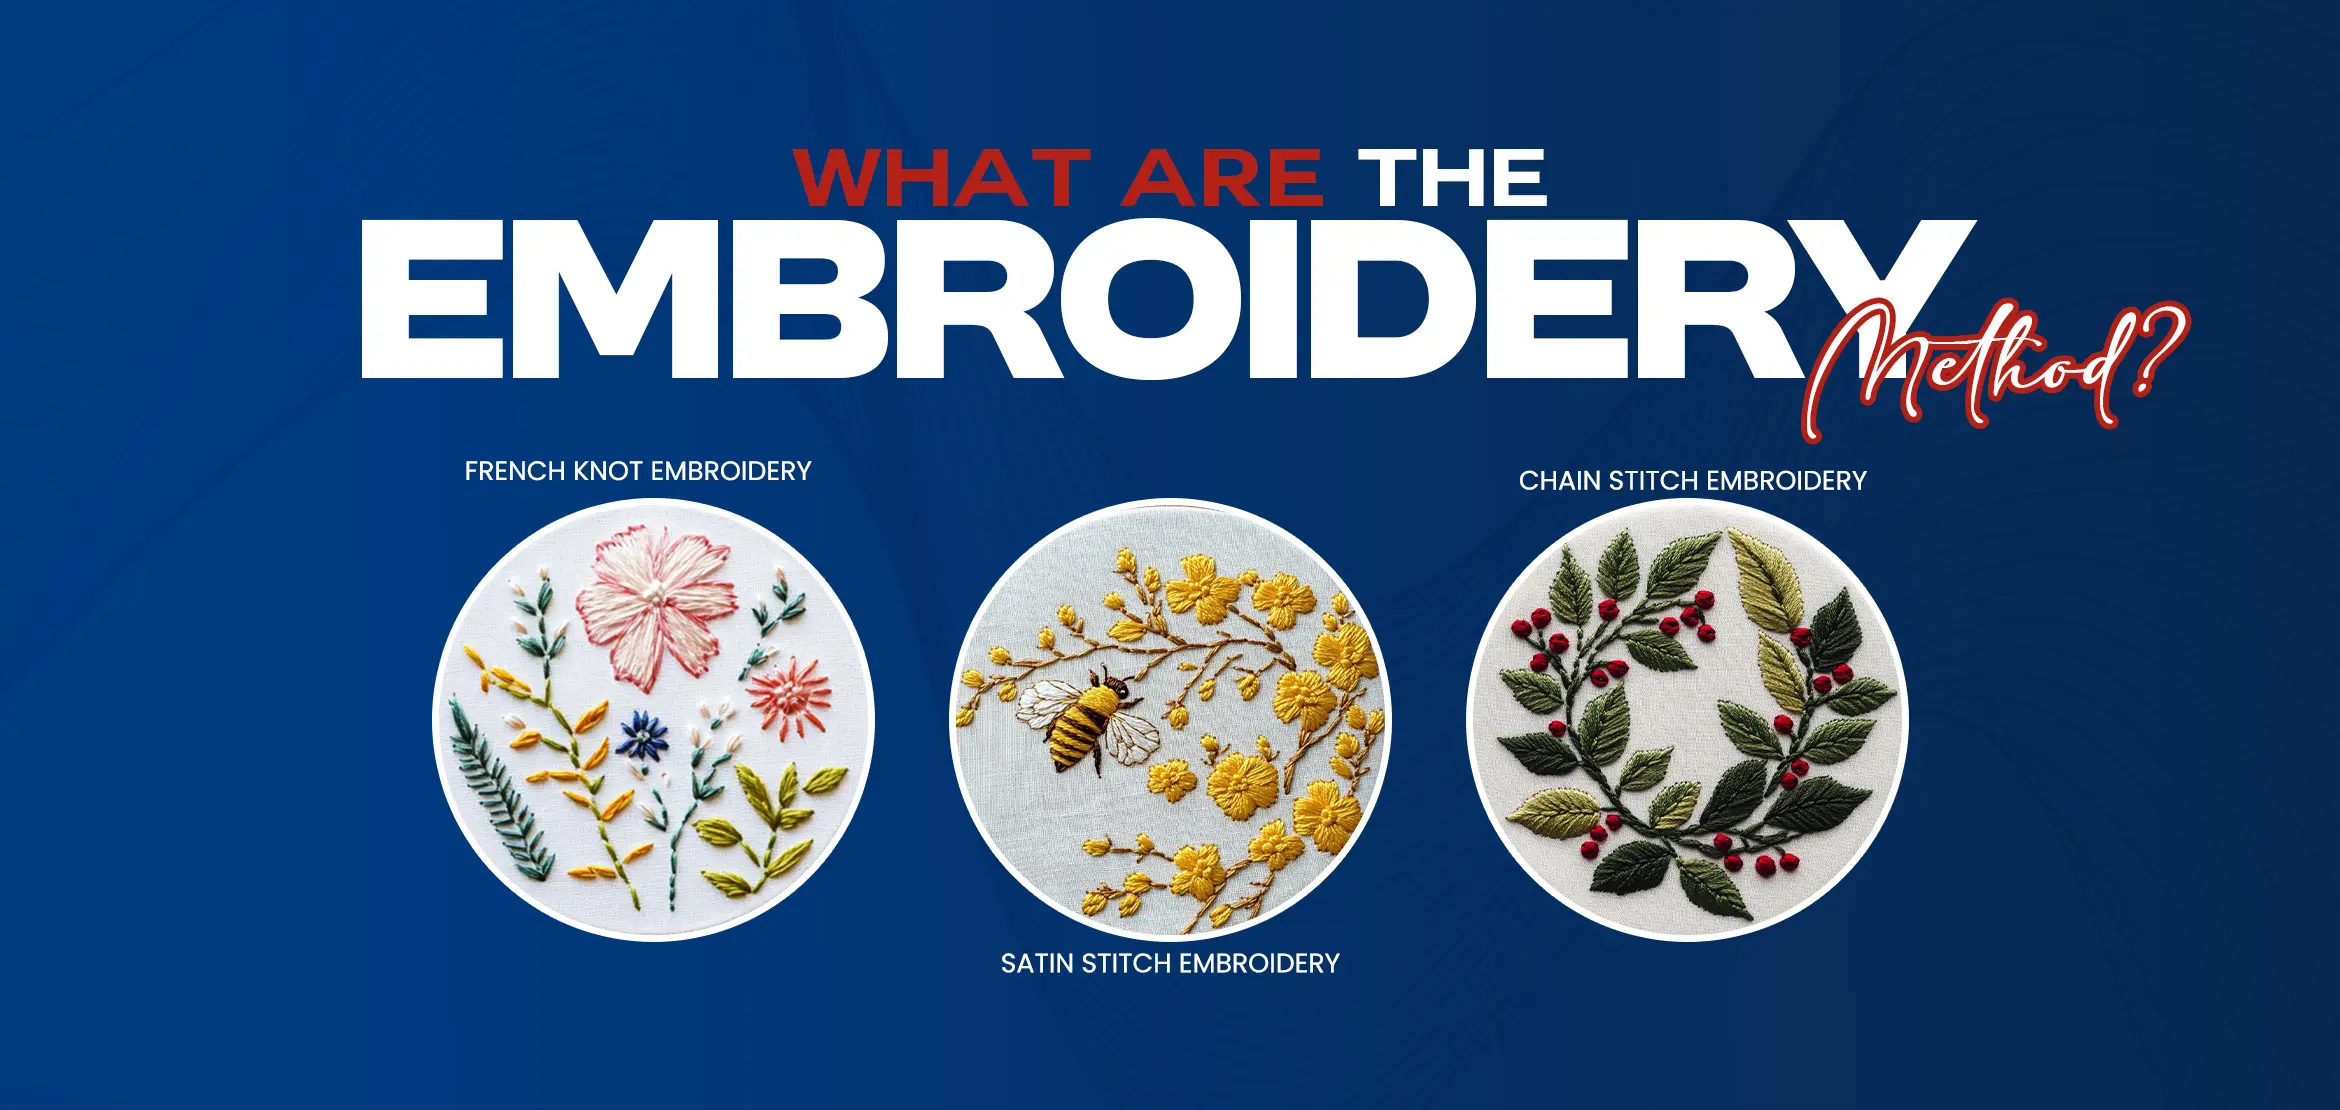
Experimenting with different stitch types and densities can help you achieve the desired effect and finish. Different stitch types like satin, fill, and running stitches achieve different textures and effects. Varying stitch densities can also help you achieve different effects, such as a dense or light design.
4: Practice, Practice, Practice
Embroidery design digitizing takes practice and patience. Keep going even if your first attempts come out perfectly. Keep practicing and experimenting with different techniques until you achieve the results you're looking for.
Following these expert tips can help you achieve professional-quality embroidery designs for free. Happy digitizing!
Conclusion
Digitizing embroidery designs is a complex process, but free embroidery digitizing software and the right digital files can be achieved at no cost. While free software may not have the same functionality as paid programs, it can still yield satisfactory results when used properly. Remember to use high-quality images or vector files for the best outcome, and inspect the design before stitching to ensure it has been digitized correctly. With these expert tips, you can successfully digitize embroidery designs and achieve the desired professional finish.
