Understanding Stitch Density: Why It Matters in Digitizing
Hey embroidery fans. We are back with a new and interesting blog post.
You've definitely heard the term "stitch density" if you're familiar with it and are digging into embroidery digitizing. But believe me, It’s often overlooked, but it’s a game changer that may transform your designs from merely acceptable to stunning. The correct stitch density is like hitting the exact target. If you're working on amazing embroidery designs, eye-catching embroidery digitized logo, or some small text. So, Let’s break it down step-by-step:
Table Of Content
- Why Stitch Density Matters in Embroidery Digitizing?
- How Stitch Density Affects Fabric, Thread, Design Quality, and Overall Embroidery Digitizing Work
- Perfect Stitch Density for Different Fabric Types (Cotton, Leather, and More)
- How to Control Stitch Density in Embroidery Digitizing?
- How to Calculate the Right Stitch Density?
- How to Choose the Right Stitch Density in Digitizing Software?
- Best Practices to Set Stitch Density for Logos, Text, and Detailed Artwork
- Most Common Stitch Density Mistakes and How to Prevent Them
- Mistake 1: Stitch Overload
- Mistake 2: Same Density Everywhere
- Mistake 3: No Test Runs
- Mistake 4: Overstuffing Small Details
- Conclusion
What is Stitch Density?
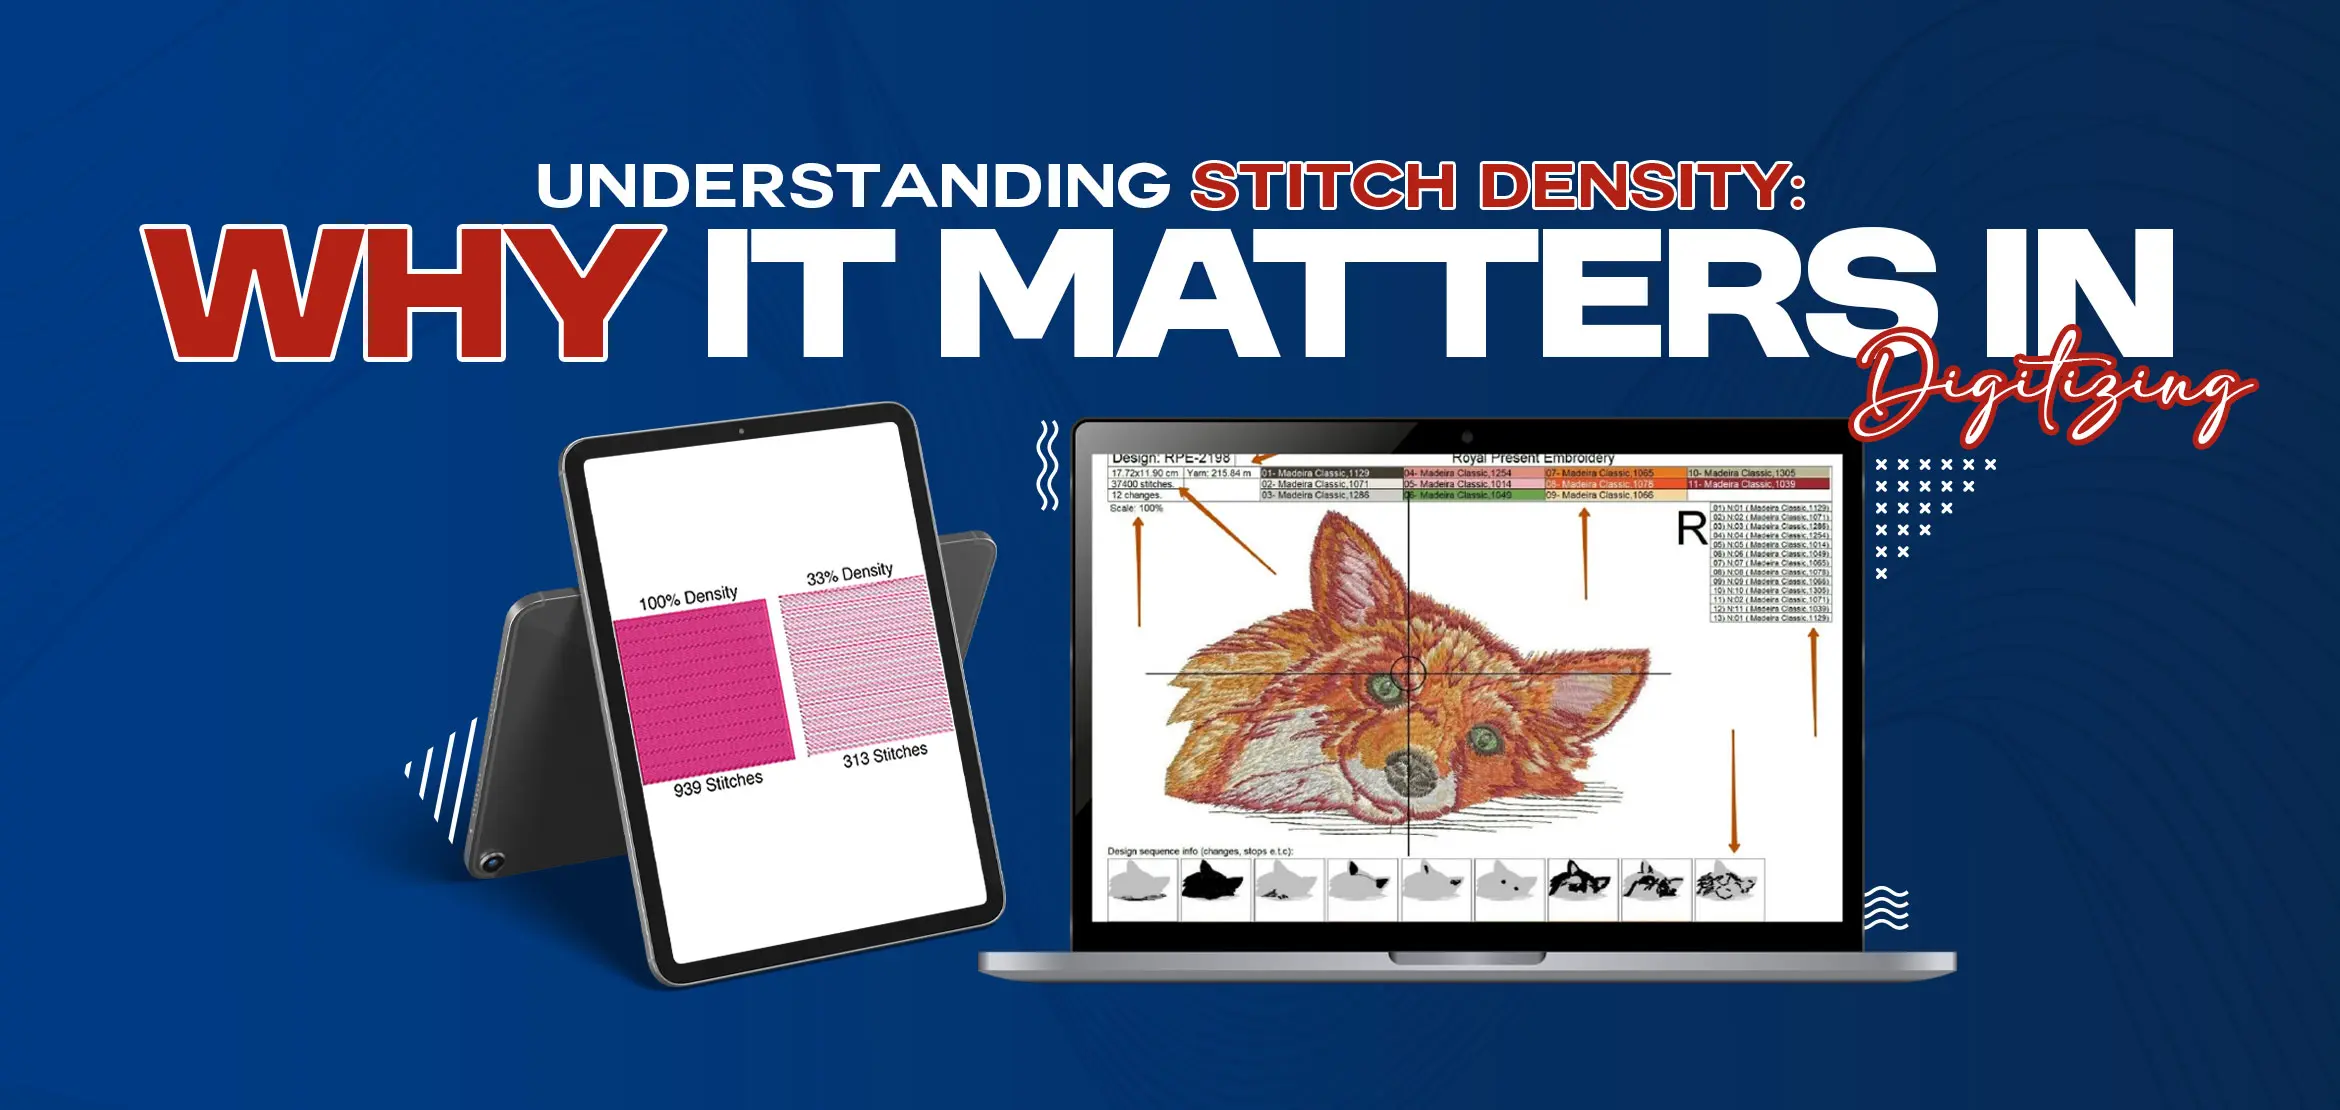
The number of stitches you fit into a certain area of your design is known as stitch density. Similar to the number of stitches added on a design, it is measured in stitches per square inch or millimeter. If there are not enough, it seems weak. If there are too many, it looks tough and messy.
Thousands of designs use a stitch spacing of 0.4 to 0.6 mm or around 4 to 6 stitches per millimeter. It totally depends on the fabric, thread, and stitching you are using.
Why Stitch Density Matters in Embroidery Digitizing?
Why should you care about stitch density? Well, it’s the magic wand that makes your embroidery pop. Here’s the scoop:
Sharp-Looking Designs: Whether you're creating a small logo or large stunning designs, if you get the density just right, your design will stand out.
Difficulties in Stitches: While too few stitches might cause the design to break after a few washings, too many stitches may damage delicate fabrics.
Cozy & Soft: No one wants a fabric with over-designed seams that feel uncomfortable.
Saving Money: The cost of embroidery digitizing services may increase as more stitches require more thread and time. But at DigitizingUSA, we don’t do this. We have no extra or hidden charges. We provide custom embroidery digitizing services at affordable and flat rates.
How Stitch Density Affects Fabric, Thread, Design Quality, and Overall Embroidery Digitizing Work
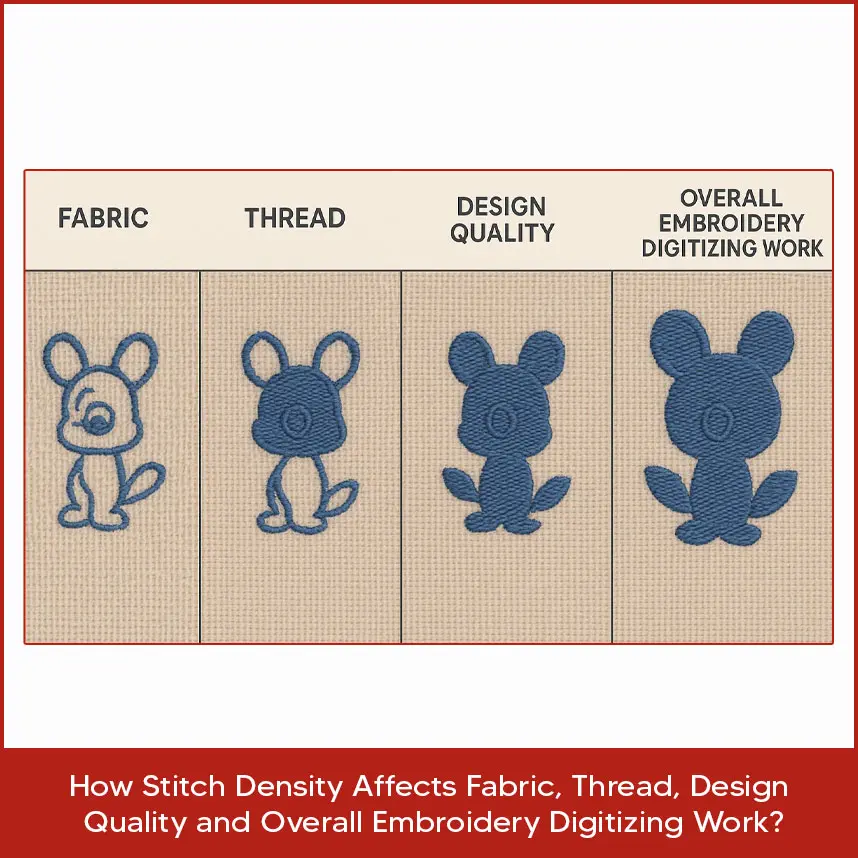
Stitch density is like the glue that keeps your entire project together; it's not just a number you provide. Let's discuss it:
Fabric: You face puckers or breaks if you overstitch thin materials, such as silk. Denim and other heavier materials can handle more but if you layer them on, they will look uneven.
Thread: Small threads (like 60-weight) will need greater density to fill in effectively, thick threads (like 30-weight) require less density to prevent looking knotted.
Design Quality: Small design, like little letters needs lighter density to stay readable. Big areas like a solid background need more stitches for a smooth and polished look.
Overall Work: If you mess up the density, you may get thread breakage or needle jams, which may slow down your embroidery digitizing process.
A 2025 report pointed out that bad stitch density can stress lightweight fabrics by up to 20%, causing them to distort. Hence keeping things balanced is so important to top-quality work.
Perfect Stitch Density for Different Fabric Types (Cotton, Leather, and More)
.webp)
As we know every fabric has its own quality and stitch density needs to play nice with them.
Here’s a quick overview:
Cotton: This fabric loves a standard density (0.4–0.5 mm spacing). It’s great for t-shirts and polos.
Leather: Take it easy with low density (0.6–0.8 mm) to avoid holes. Stick to simple designs to keep it from cracking.
Silk or Satin: Go light (0.6–0.7 mm) to steer clear of puckering. Underlay stitches help keep things stable. Denim: This heavy material can handle denser stitches (0.3–0.4 mm) for bold designs, but don’t let it get too heavy. Fleece: Use medium density (0.5–0.6 mm) with a light underlay so your stitches don’t get lost in the fuzz. Please note: Always test your design on a scrap fabric before submitting the final design. It saves you from headaches. First, understanding the requirements of your design and becoming proficient with your embroidery digitizing software are key to controlling stitch density. Here is how to do it with perfection: Adjust Manually: Software like Wilcom or Hatch lets you set stitch spacing in millimeters or inches. Start with the default then tweak it according to your fabric and design. Use Underlay Stitches: High-density top stitches are not necessary because of these underlying stitches, which support the fabric. Layer Smart: For complex designs, ease up on density in overlapping areas to keep things nice and smooth. Run a Test: Stitch out a sample to see how it looks for real. On-screen previews often don’t reflect how the design will appear on fabric. With these embroidery digitizing settings, you'll be producing expert quality work like a pro. Although it may seem like a math exam. Calculating stitch density is actually quite easy. See how you can do it: Calculate the Area: Calculate the area of your design by measuring it (2 inches by 2 inches equals 4 square inches). Approximate Stitches: Use the stitch count feature in the software or as a general guideline. Fill stitches require 2000–3000 threads per square inch whereas satin stitches require around 1000–1500. Change for Fabric: Add 10% for heavier materials or reduce by 10% to 20% for weaker ones. Check Required Spacing: Set 0.4–0.6 mm spacing for most designs, fine-tuning for thread and fabric. For instance, a 4-square-inch logo on cotton can need 4000–6000 stitches. Your software does most of the work but knowing the basics keeps you safe from challenges. Choose the right stitch density in software like Brother PE-Design or Tajima Pulse is simple if you follow these steps carefully: Choose Your Stitch Type: Satin stitches (for outline) need less density than fill stitches (for overall area). Set Your Spacing: Set your target (like 0.5 mm) or go with the software’s default suggestion. Watch Small Details: For small text (under 0.25 inches) use 0.6–0.7 mm spacing to avoid a blurry mess. Try Auto-Density: Some programs have “smart” settings but don’t rely on it, always double-check. Test It Out: Stitch a sample to make sure it’s not too thin or too packed. These stitch spacing tips will have your software working like a charm in no time. Every design has its own vibe, and stitch density needs to match it. Here is how you can do it perfectly: Logos: For sharp and clear lines, use a medium density (0.4 to 0.5 mm). Add underlay for stretchy stuff like knits. Text: Small text (under 0.2 inches) needs low density (0.6–0.8 mm) and satin stitches to stay sharp. Don’t use fill stitches here. Detailed Artwork: Mix things up, higher density for big areas, lower for fine details. Keep underlay light to stay flexible. A cap logo you might use 0.5 mm for the main design but 0.7 mm for small text to keep it clear and sharp. Maintain clarity and fit additional stitches at all times. Need help setting the right density? No worries, DIgitizingUSA does it for you. Get all custom embroidery digitizing services at affordable pricing with premium quality. Whether you want custom embroidery designs, applique embroidery, 3d puff, chenille and more, we provide embroidery digitizing services at minimal flat prices with fast turnaround and no hidden charges. So contact us today and place an order now. We all trigger sometimes but these common blunders are easily resolved by vaoid these steps: Problem: Too many stitches make fabrics pucker or tear. Fix: Trim density by 10–15% and use underlay for better coverage. Problem: Using the same density for silk and denim could be a nightmare. Fix: Match density to each fabric (see the guide above). Problem: Your design looks great on-screen but looks poor on fabric. Fix: Always stitch a test on the same material. Problem: Small elements get fuzzy with high density. Fix: Simplify those areas and use 0.6–0.8 mm spacing. Prevent these mistakes and your embroidery digitizing will be smooth and your clients will be completely satisfied. Sometimes it feels like stitch density may seem minor but is crucial in embroidery digitizing. You may make durable, elegant, and reasonably priced crafts by understanding how fabric, thread, and design quality are affected. The ideal density is essential whether you're creating complex logos, working on leather fabric, or cotton shirts. Simply open your software, adjust the settings and start making designs that leave your clients over the moon.How to Control Stitch Density in Embroidery Digitizing?
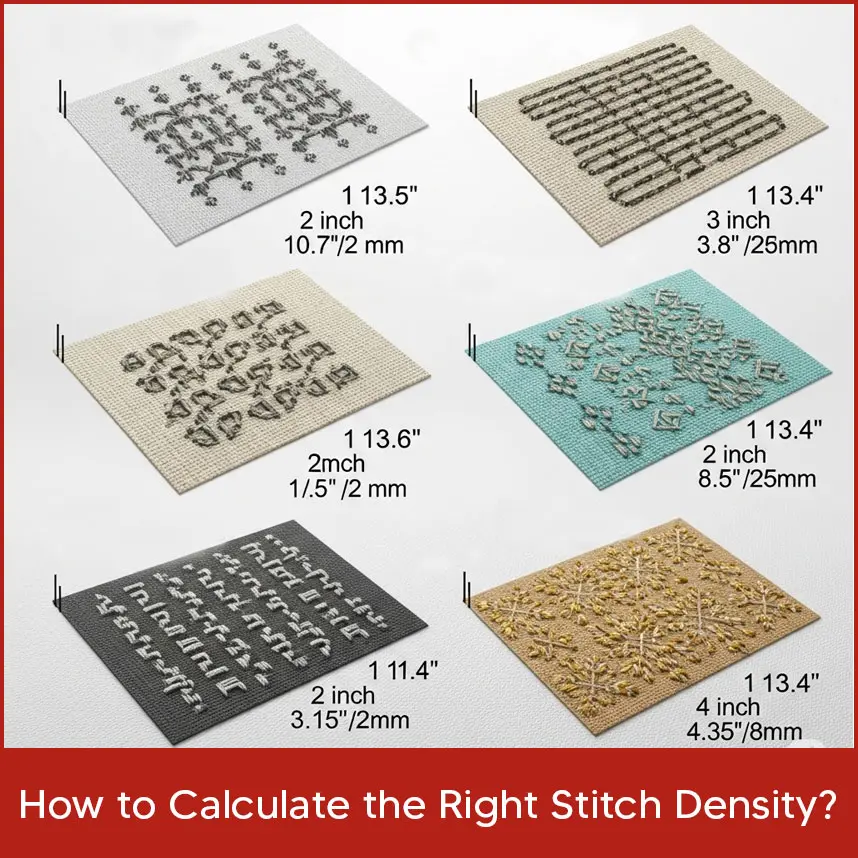
How to Calculate the Right Stitch Density?
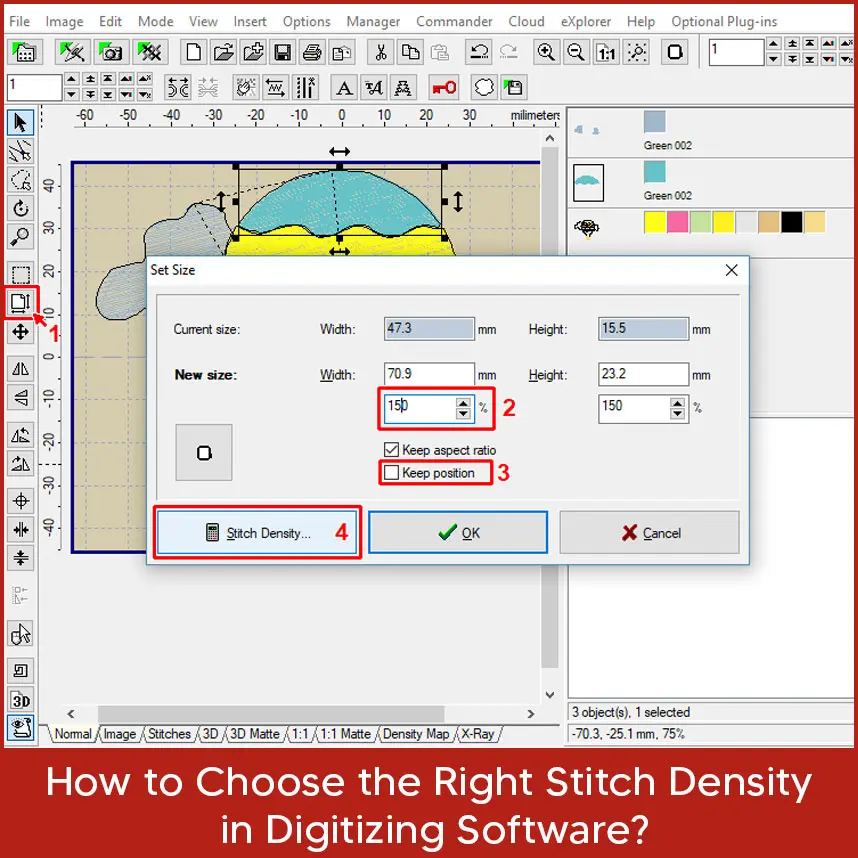
How to Choose the Right Stitch Density in Digitizing Software?
Best Practices to Set Stitch Density for Logos, Text, and Detailed Artwork

Most Common Stitch Density Mistakes and How to Prevent Them
Mistake 1: Stitch Overload
Mistake 2: Same Density Everywhere
Mistake 3: No Test Runs
Mistake 4: Overstuffing Small Details
Conclusion

