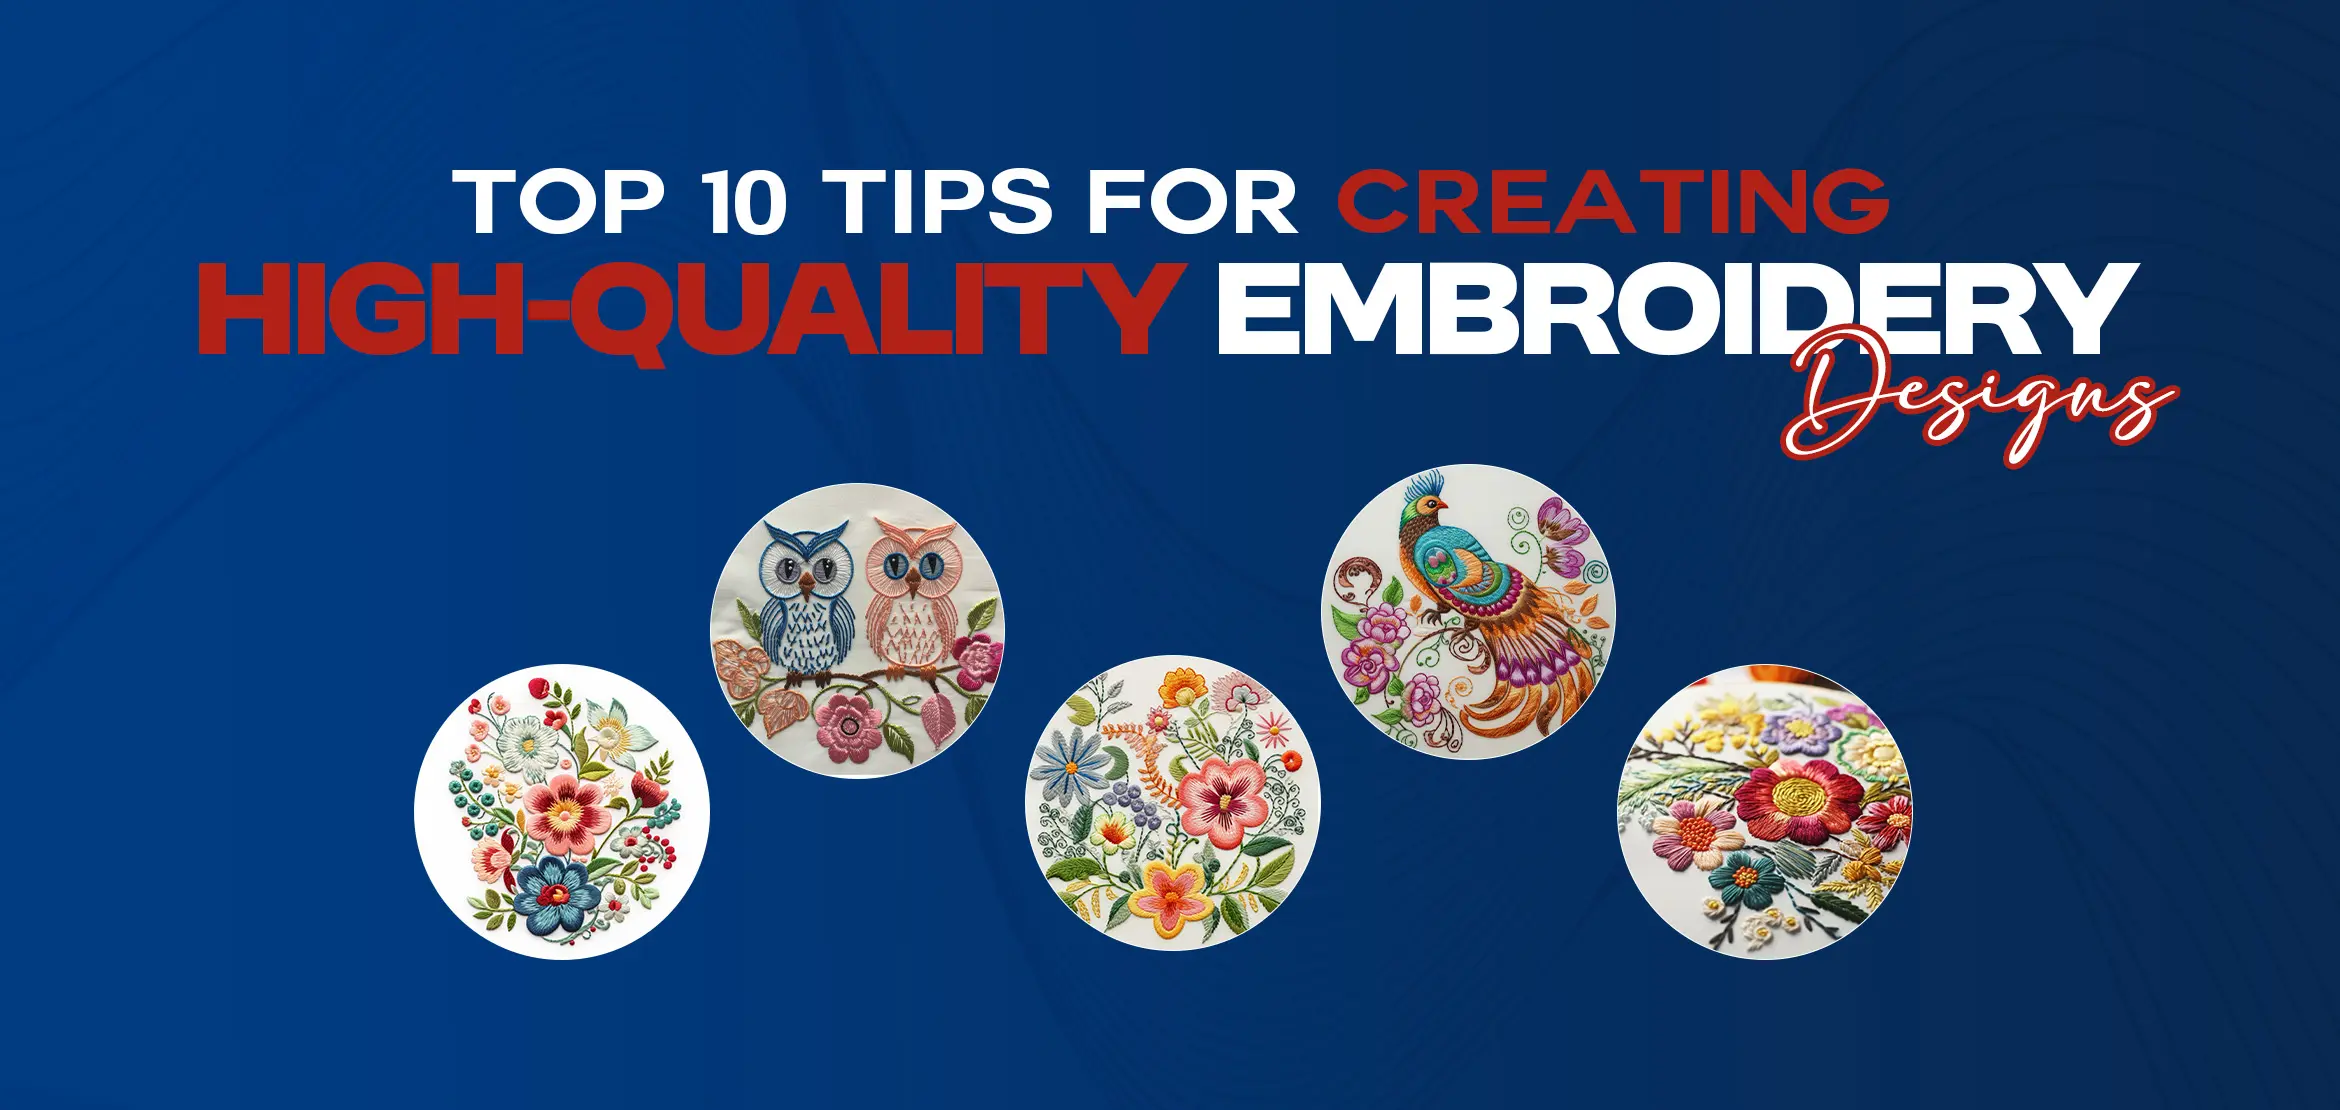
Top 10 Tips for Creating High-Quality Embroidery Designs
Table Of Content
- Learn About Different Types of Embroidery
- Hand Embroidery vs. Machine Embroidery
- Get to Know Your Tools and Materials
- 1. Essential Tools for Embroidery
- 2. Choosing the Right Fabrics and Threads
- 3. Planning Your Design
- 4. Use Appropriate Software
- 5. Optimizing Your Design for Stitching
- 6. Selecting Colors Wisely
- 7. Focusing on Quality over Quantity
- 8. Stabilizing Your Fabric
- 9. Practicing Proper Embroidery Techniques
- 10. Troubleshooting Common Issues
- Conclusion
- FAQs (Frequently Asked Questions)
Embroidery is a beautiful and intricate craft that can transform fabric into works of art. However, achieving high-quality embroidery designs requires more than just a needle and thread. These top 10 tips will help you create stunning embroidery designs that stand out.
Learn About Different Types of Embroidery
Embroidery comes in various forms, each with its unique charm and techniques. The two primary types are hand embroidery and machine embroidery.
Hand Embroidery vs. Machine Embroidery
Hand embroidery is a traditional craft that involves stitching designs by hand using a needle and thread. It allows for a high level of detail and customization but can be time-consuming. Machine embroidery, on the other hand, uses a computerized machine to create designs quickly and with consistent precision. Each type has its benefits, and understanding the differences can help you choose the best method for your project.
Get to Know Your Tools and Materials
The tools and materials you use play a crucial role in the quality of your embroidery.
1. Essential Tools for Embroidery
Basic tools include needles, hoops, scissors, and marking tools. Investing in high-quality embroidery tools can make your embroidery process smoother and more enjoyable.
2. Choosing the Right Fabrics and Threads
The fabric and thread you select are equally important. Natural embroidery fabrics like cotton and linen are excellent choices for embroidery, and using durable, high-quality threads can prevent breakage and ensure your design lasts.
3. Planning Your Design
Start with a Clear Vision: Having a clear vision of your design is the first step toward creating a high-quality piece.
Sketching Your Ideas: Begin by sketching your ideas on paper. This helps you visualize the final design and make necessary adjustments before you start stitching.
4. Use Appropriate Software
For more complex designs, using embroidery software can be incredibly helpful.
Digital Tools for Embroidery Design: Software like Adobe Illustrator or specialized embroidery design programs can assist you in creating detailed patterns and converting them into stitchable files for machine embroidery.
5. Optimizing Your Design for Stitching
Simplify Complex Designs: While intricate details can make a design beautiful, overcomplicating it can lead to issues during stitching.
Avoid Overcomplicating Details: Simplify your design by focusing on essential elements. This makes it easier to stitch and reduces the risk of errors.
Choose the Right Stitch Types: Different stitches serve different purposes and can affect the overall look of your design.
Common Stitches and Their Uses: Familiarize yourself with basic stitches like the backstitch, satin stitch, and French knot. Each stitch type has its unique application and can add different textures to your design.
6. Selecting Colors Wisely
Understanding Color Theory: Colors play a vital role in the visual appeal of your embroidery.
Harmonizing Your Color Palette: Learn about color theory to create harmonious color palettes. Complementary and analogous colors can enhance your design's aesthetic appeal.
Testing Your Color Choices: Before committing to your final colors, test them out.
Sample Stitching and Adjustments:Create small samples to see how the colors look together on your chosen fabric. Make adjustments as needed to achieve the desired effect.
7. Focusing on Quality over Quantity
Invest Time in Precision: Quality embroidery requires patience and precision.
Avoiding Shortcuts: Take your time with each stitch, ensuring consistent tension and spacing. Avoid shortcuts that can compromise the quality of your work.
Use High-Quality Materials: Investing in high-quality materials can significantly impact the durability and appearance of your embroidery.
Importance of Durable Threads and Fabrics: Durable threads and fabrics withstand wear and tear better, ensuring your design remains intact over time.
8. Stabilizing Your Fabric
Choosing the Right Stabilizer: A stabilizer is essential for preventing fabric distortion during stitching.
Types of Stabilizers: There are various types of stabilizers, including tear-away, cut-away, and water-soluble options. Choose the one that best suits your fabric and design.
Properly Hooping Your Fabric: Hooping your fabric correctly can prevent shifts and bunching.
Tips for Preventing Shifts and Bunching: Ensure the fabric is taut but not stretched when hooping. This provides a stable surface for stitching and prevents distortion.
9. Practicing Proper Embroidery Techniques
Mastering Basic Techniques: Even advanced embroiderers need to master the basics.
Consistent Tension and Stitch Length: Maintaining consistent tension and stitch length is crucial for a neat and professional look.
Advanced Techniques to Elevate Your Designs: Once you've mastered the basics, explore advanced techniques.
Adding Texture and Dimension: Techniques like layering stitches, using different thread thicknesses, and incorporating beads or sequins can add texture and dimension to your designs.
10. Troubleshooting Common Issues
Dealing with Thread Breaks: Thread breaks can be frustrating, but they're often preventable.
Preventative Measures and Fixes: Use high-quality thread, avoid over-tightening the tension, and regularly clean your machine to prevent breaks. If a break occurs, carefully tie off the ends and continue stitching.
Managing Fabric Distortion: Fabric distortion can ruin the appearance of your design.
Techniques to Keep Your Fabric Smooth
Use the appropriate stabilizer and ensure your fabric is properly hooped. Avoid pulling the thread too tight, which can cause puckering.
Finishing Touches
Properly Securing Your Threads: Securing your threads ensures your design stays intact.
Knots and Endings: Use small, discreet knots to secure your threads. Tuck the ends under existing stitches for a neat finish.
Washing and Pressing Your Finished Piece: Proper care after completing your embroidery is essential.
Care Tips to Preserve Your Design: Gently wash your finished piece by hand and press it from the back with a clean cloth to protect the stitches.
Conclusion
Creating high-quality embroidery designs involves understanding the basics, planning meticulously, and focusing on precision. By following these top 10 tips, you'll be well on your way to producing stunning, professional-looking embroidery that showcases your skill and creativity. Happy stitching!
So, grab your tools, choose a design, and start embroidery digitizing Today!
FAQs (Frequently Asked Questions)
Q1: What's the difference between hand and machine embroidery?
A: Hand embroidery involves manual stitching with a needle and thread, offering customization but taking more time. Machine embroidery uses computerized machines for faster, precise stitching.
Q2: How do I choose the right fabric and thread for my project?
A: Opt for natural fabrics like cotton and durable threads to ensure a stable base and longevity for your design.
Q3: Do I need special software for embroidery design?
A: While not essential for simple designs, specialized software like Adobe Illustrator or embroidery design programs can aid in creating intricate patterns.
Q4: How can I prevent common issues like thread breaks and fabric distortion?
A: Use high-quality thread and maintain proper tension to prevent thread breaks. Hoop your fabric correctly and avoid over-tightening to prevent fabric distortion.
Q5: What are the final steps in completing an embroidery project?
A: Secure threads discreetly with small knots and wash your finished piece gently by hand to preserve the stitches.
