How to make patches with an embroidery machine
Table Of Content
- What You Need to Get Started?
- How to Embroider a Patch with an Embroidery Machine? Step-by-Step Guide
- Prepare the Stabilizer
- Position the Patch or Fabric
- Load the Design and Start Stitching
- Finish and Remove the Patch
- Cutting and Sealing Your Patch
- Want to Make Iron-On Embroidery Patches?
- Want to Create Custom Embroidery Patches Within Your Budget?
- Final Thoughts
Creating custom embroidered patches with an embroidery machine is a great way to personalizea jacket, hat, bag, shirt, or promotional item. Whether you're making patches for fun or starting a small business, this guide will walk you through the essential steps, from setup to finishing. Let's start.
What You Need to Get Started?
Before beginning, make sure you have:
An embroidery machine
Blank patches on your fabric
Stabilizer with adhesive backing
Embroidery thread
Embroidery design file
Pins or clips to secure material
Scissors or a laser cutter for trimming
How to Embroider a Patch with an Embroidery Machine? Step-by-Step Guide
Prepare the Stabilizer
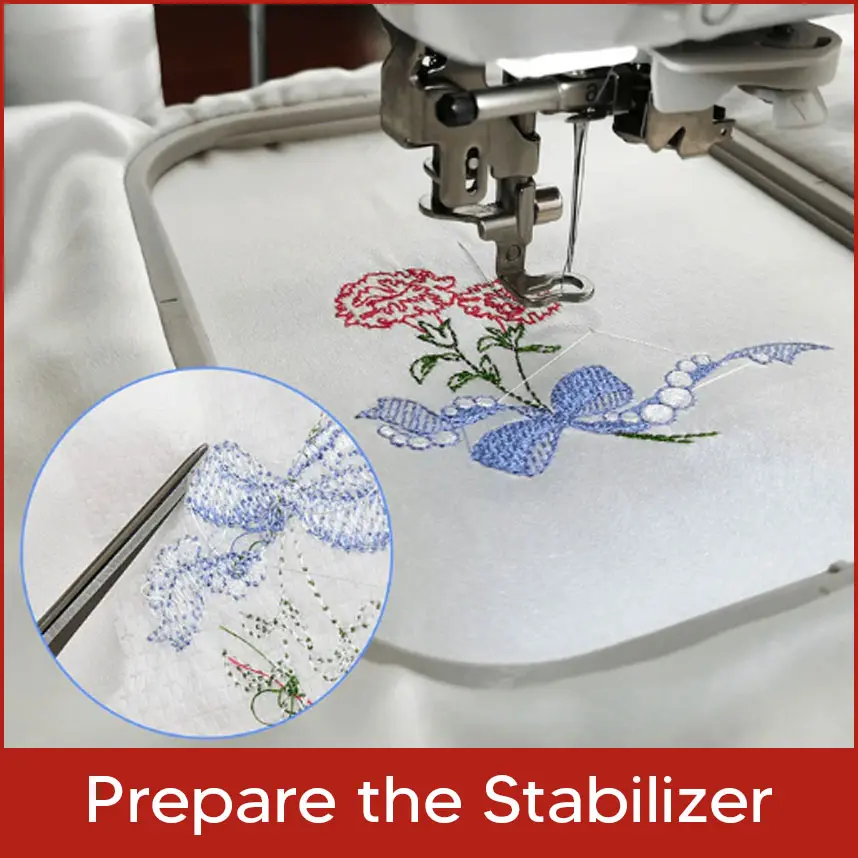
Cut the adhesive stabilizer to match your hoop size. Remove the protective paper and place it into the hoop, sticky side up. Make sure the stabilizer is smooth and evenly placed inside the hoop with no wrinkles or bubbles. A properly hooped stabilizer ensures that the patch won't shift during stitching.
Position the Patch or Fabric
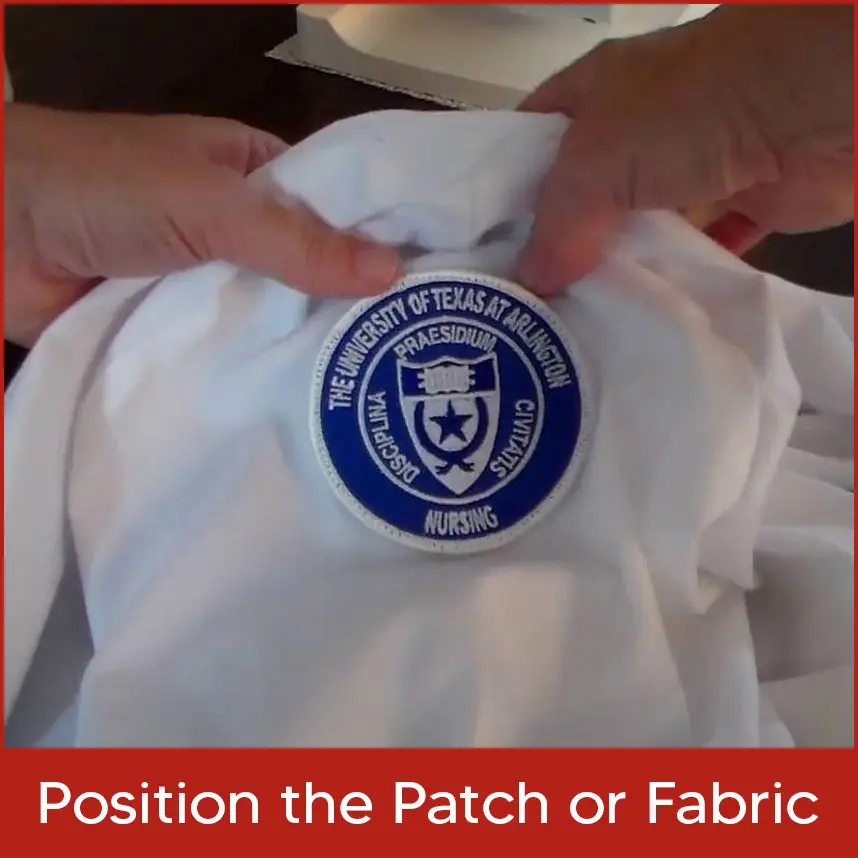
Place your blank patch or chosen fabric onto the adhesive stabilizer. Use hoop markings to align the center of your design, then secure it with pins for extra hold.
Double-check the positioning to make sure the design will be centered when embroidered. Press the patch down gently to help it stick firmly before securing with pins or clips.
Load the Design and Start Stitching
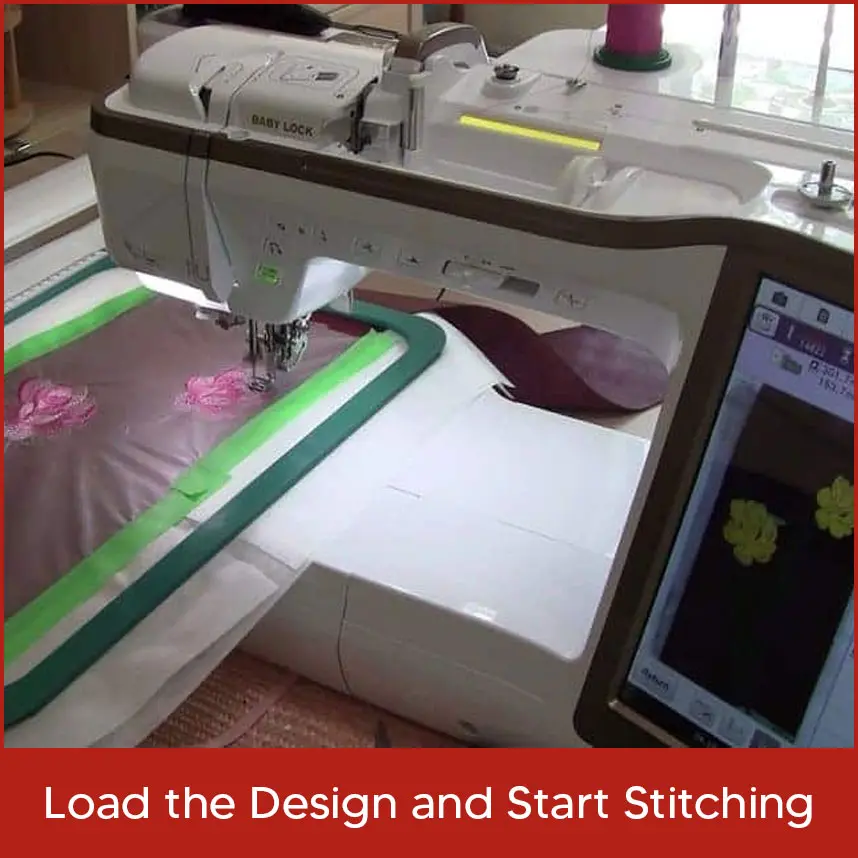
Lift the presser foot, insert the hoop into your embroidery machine, and select your design. Lower the presser foot and begin stitching by pressing the "Start" button.
Watch the first few stitches to make sure everything is aligned and running smoothly. If the thread breaks or the needle skips, pause the machine and correct it immediately.
Finish and Remove the Patch
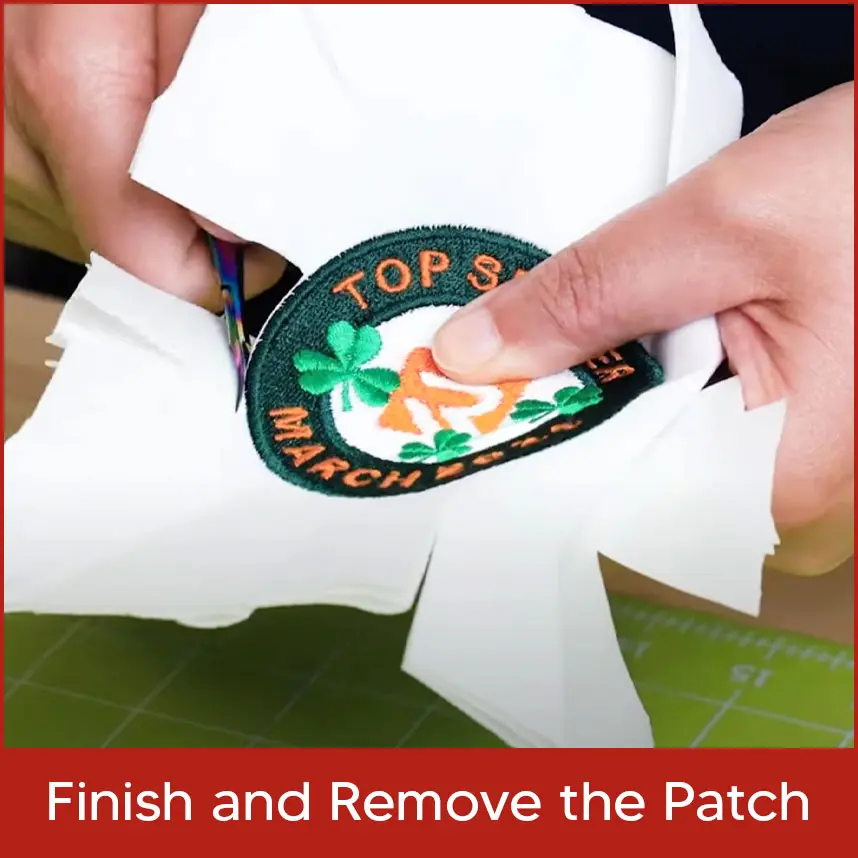
Once embroidery is complete, raise the presser foot, remove the hoop, and carefully cut away the thread. Remove the fabric or patch from the hoop and adhesive backing.
Trim any excess thread and clean up the backside if needed. Be gentle while removing the patch so as not to stretch or warp the embroidery.
Cutting and Sealing Your Patch
If you used your own fabric, trim the patch using sharp scissors or a laser cutter. Take care not to damage the seams. To avoid fraying, apply a thin layer of fabric glue around the edges using a foam tip or your finger.
Want to Make Iron-On Embroidery Patches?
You can easily turn your embroidered patch into an iron-on patch:
Choose a suitable fabric (denim, cotton, polyester, etc.).
Apply a heat-activated adhesive to the back.
Use an iron (set to silk) and press firmly over the patch.
Let it cool before use. The patch will now be ready to apply to any fabric.
Want to Create Custom Embroidery Patches Within Your Budget?
Want to createcustom embroidery digitizing patcheswithin your budget? Contact Digitizing USA, we provide custom embroidery digitizing services at very low prices across the USA. Whether you want to digitize embroidery designs or embroidered patches, we deliver the highest-quality files ready for production. No need to invest in costly software, just send your artwork and we’ll handle the rest with fast turnaround and unbeatable quality.
Final Thoughts
Making custom patches with an embroidery machine is easy with the right preparation and tools. Whether using blank pre-cut patches or your own fabric, proper alignment and finishing techniques will ensure a polished result. And if you're looking for expert help with digitizing your patch designs, Digitizing USA is always here to support your creative goals.
