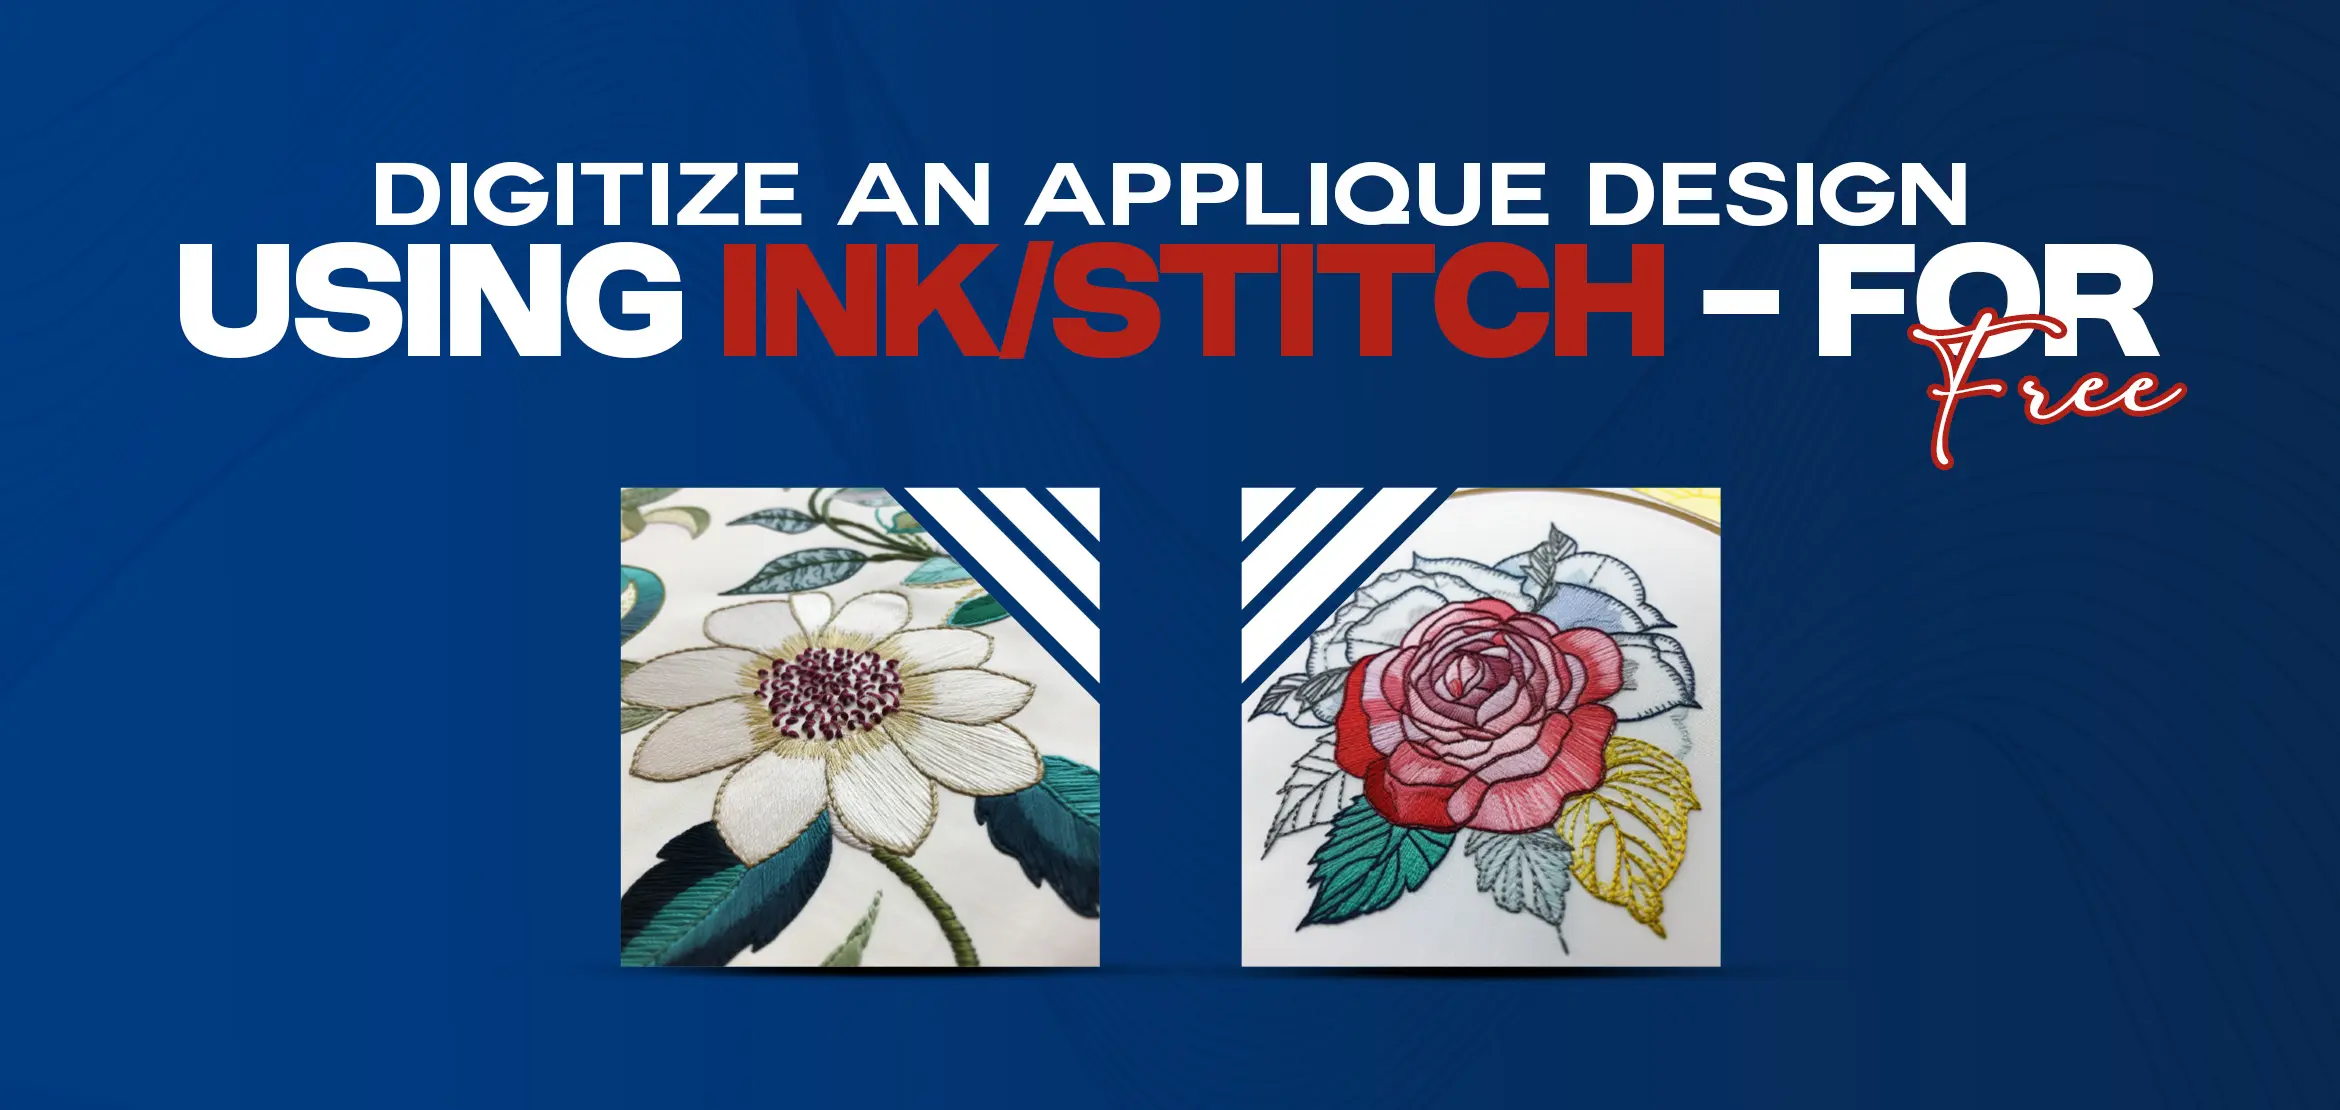
Digitize an Appliqué Design Using Ink/Stitch – for FREE
Table Of Content
- Understanding the Digitizing Process
- Ink/Stitch: An Overview
- Getting Started with Ink/Stitch
- Digitizing Basic Appliqué Designs
- Advanced Techniques for Digitizing Complex Appliqué Designs
- Troubleshooting Common Issues in Digitizing Appliqué Designs
- Fabric puckering:
- Thread tension issues:
- Design distortion:
- Enhancing your Appliqué Designs with Additional Embroidery Elements
- Tips for Optimizing Appliqué Designs for Different Fabrics and Garments
- 1. Fabric Selection
- 2. Stabilizer Choice
- 3. Design Placement
- 4. Appliqué Technique
- 5. Embellishments and Finishing Touches
- Conclusion: Ink/Stitch Appliqué Designs
Are you a fan of adding unique and intricate designs to your embroidery projects? If so, then it's time to master the art of digitizing appliqué designs with Ink/Stitch. This article will guide you through the process of transforming your creativity into stunning digital embroidery designs.
With Ink/Stitch, you can bring your appliqué designs to life in a whole new way.
Become a master of digital appliqué embroidery with Ink/Stitch, and take your creativity to the next level. Let your imagination run wild and create truly unique and eye-catching designs for any project. Get ready to bring your appliqué designs to life in no time.
Understanding the Digitizing Process
Digitizing appliqué designs may seem daunting at first, but with the right tools and techniques, you can create beautiful and professional-looking designs. Before we dive into the specifics of using Ink/Stitch, let's take a moment to understand the digitizing process.
Digitizing is the process of converting artwork or designs into a format that can be read by embroidery machines. It involves creating a digital file that contains information about stitch types, colors, and placement. With appliqué designs, the process becomes even more exciting as you get to play with different fabrics and textures.
Ink/Stitch: An Overview
Ink/Stitch is a powerful open-source embroidery digitizing software that allows you to create appliqué designs with ease. It offers a user-friendly interface and a wide range of features that make digitizing a breeze. Whether you're a beginner or an experienced embroiderer, Ink/Stitch has something to offer.
One of the standout features of Ink/Stitch is its ability to work seamlessly with vector graphics. This means you can start digitizing your appliqué designs by importing vector files or creating your own designs right within the software. With Ink/Stitch, you have complete control over every aspect of your design, from the placement of stitches to the choice of fabric.
Getting Started with Ink/Stitch
Now that we have a basic understanding of the digitizing process and an overview of Ink/Stitch, let's dive into the practical aspects of using this software. To get started with Ink/Stitch, you'll need to download and install the software on your computer. Once installed, open the program and you'll be greeted with a clean and intuitive interface.
The first step in digitizing an appliqué design is to import or create your design in Ink/Stitch. If you already have a design in a vector format, you can simply import it into the software. If not, you can use the built-in drawing tools to create your design. Ink/Stitch offers a variety of drawing tools, such as lines, curves, and shapes, to help you create the perfect design.
Digitizing Basic Appliqué Designs
Now that we have our design ready, it's time to start digitizing. The first thing you'll need to do is define the appliqué shape. Select the appliqué tool in Ink/Stitch and draw a shape around the area where you want the fabric to be placed. This shape will serve as a guide for cutting the fabric later.
Next, you'll need to define the stitching lines. Ink/Stitch offers a variety of stitch types, such as satin stitches, running stitches, and fill stitches. Choose the stitch type that best suits your design and draw the stitching lines around the appliqué shape. These stitching lines will secure the fabric in place and add a decorative element to your design.
Advanced Techniques for Digitizing Complex Appliqué Designs
Once you've mastered the basics of digitizing appliqué designs, you can move on to more advanced techniques. Ink/Stitch offers a range of features that allow you to add complexity and intricacy to your designs.
One such feature is the ability to create underlays. Underlays are stitches that are placed beneath the main stitching lines to provide stability and prevent the fabric from shifting. By adding underlays, you can ensure that your appliqué designs look crisp and professional.
Another advanced technique is the use of multiple layers. With Ink/Stitch, you can create designs that have multiple layers of fabric, each with its own stitching lines and appliqué shapes. This allows you to create depth and dimension in your designs, making them truly stand out.
Troubleshooting Common Issues in Digitizing Appliqué Designs
As with any creative process, digitizing appliqué designs can sometimes come with its own set of challenges. Here are a few common issues you may encounter and some tips on how to troubleshoot them.
Fabric puckering:
If you notice that your fabric is puckering after stitching, try using a stabilizer on the back of the fabric. This will provide additional support and prevent the fabric from stretching or puckering.
Thread tension issues:
Uneven or loose thread tension can result in a messy and unprofessional-looking design. Make sure your machine is properly calibrated and adjust the tension settings if necessary.
Design distortion:
Sometimes, when resizing or manipulating a design, you may notice distortion or loss of detail. To prevent this, always work with high-quality vector files and make sure to adjust the density and stitch length accordingly.
Enhancing your Appliqué Designs with Additional Embroidery Elements
While appliqué designs can be stunning on their own, you can take them to the next level by adding additional embroidery elements. Ink/Stitch allows you to easily incorporate other embroidery techniques, such as satin stitches, fill stitches, and even lettering, into your designs.
By combining different embroidery elements, you can create unique and eye-catching designs that truly reflect your personal style. Experiment with different stitch types, colors, and textures to add depth and dimension to your appliqué designs.
Tips for Optimizing Appliqué Designs for Different Fabrics and Garments
When it comes to appliqué designs, selecting the right fabric and garment is crucial for achieving the desired outcome. Here are some tips to optimize your appliqué designs for different fabrics and garments:
1. Fabric Selection
The first step in optimizing your appliqué design is to choose the right fabric. Consider the weight, stretch, and texture of the fabric to ensure a smooth and successful appliqué process. Thicker fabrics like denim or canvas are ideal for bold and sturdy designs, while lighter fabrics like silk or chiffon work best with delicate and intricate designs. It's also important to consider the color and pattern of the fabric, as it can enhance or detract from the appliqué design.
2. Stabilizer Choice
In addition to fabric selection, the choice of stabilizer plays a significant role in the success of your appliqué design. Stabilizers provide support and structure to the fabric during the embroidery process. For lightweight fabrics, a tear-away stabilizer is usually sufficient, while heavier fabrics may require a cut-away or wash-away stabilizer. Test different stabilizers on scrap fabric before applying them to your main project to ensure the best results.
3. Design Placement
The placement of your appliqué design on the garment is another important factor to consider. Take into account the size and shape of the design, as well as the desired overall look. For example, a large and intricate design may be best placed on the back of a jacket, while a smaller and simpler design can work well on a pocket or collar. Use templates or markers to guide the placement and ensure accuracy.
4. Appliqué Technique
There are various appliqué techniques you can use to achieve different effects and looks. The most common techniques include raw edge appliqué, satin stitch appliqué, and reverse appliqué. Raw edge appliqué involves stitching the fabric directly onto the garment without folding under the edges, resulting in a more casual and textured look.
Satin stitch appliqué involves stitching a satin stitch around the edges of the fabric, creating a clean and polished look. Reverse appliqué involves layering fabrics and cutting away the top layer to reveal the fabric underneath, creating a dimensional and unique look. Experiment with different techniques to find the one that best suits your design and desired outcome.
5. Embellishments and Finishing Touches
To add an extra touch of creativity and uniqueness to your appliqué design, consider incorporating embellishments and finishing touches. This can include additional embroidery, sequins, beads, or even painting on the fabric. These embellishments can enhance the overall design and make it stand out even more. Just make sure to consider the fabric and garment when choosing embellishments to ensure they are compatible and won't damage the fabric.
Conclusion: Ink/Stitch Appliqué Designs
Mastering the art of digitizing appliqué designs with Ink/Stitch opens up endless possibilities for your embroidery projects. From personalized monograms to elaborate motifs, you can create truly unique and eye-catching designs. With Ink/Stitch's user-friendly interface and powerful features, digitizing appliqué designs becomes a breeze. By optimizing your designs for different fabrics and garments, you can ensure successful and professional-looking results every time.
So, why wait? Unleash your creativity and take your embroidery projects to the next level with Ink/Stitch.
Let your imagination run wild and bring your appliqué designs to life in no time. With the right techniques and tools, you'll be amazed at what you can achieve. Start your journey into the world of digitizing appliqué designs today and watch your embroidery projects transform into works of art. Utilize our embroidery services and digitizing expertise to bring your designs to life with precision and quality. Contact us now and let's create stunning embroidery together. Happy stitching!

