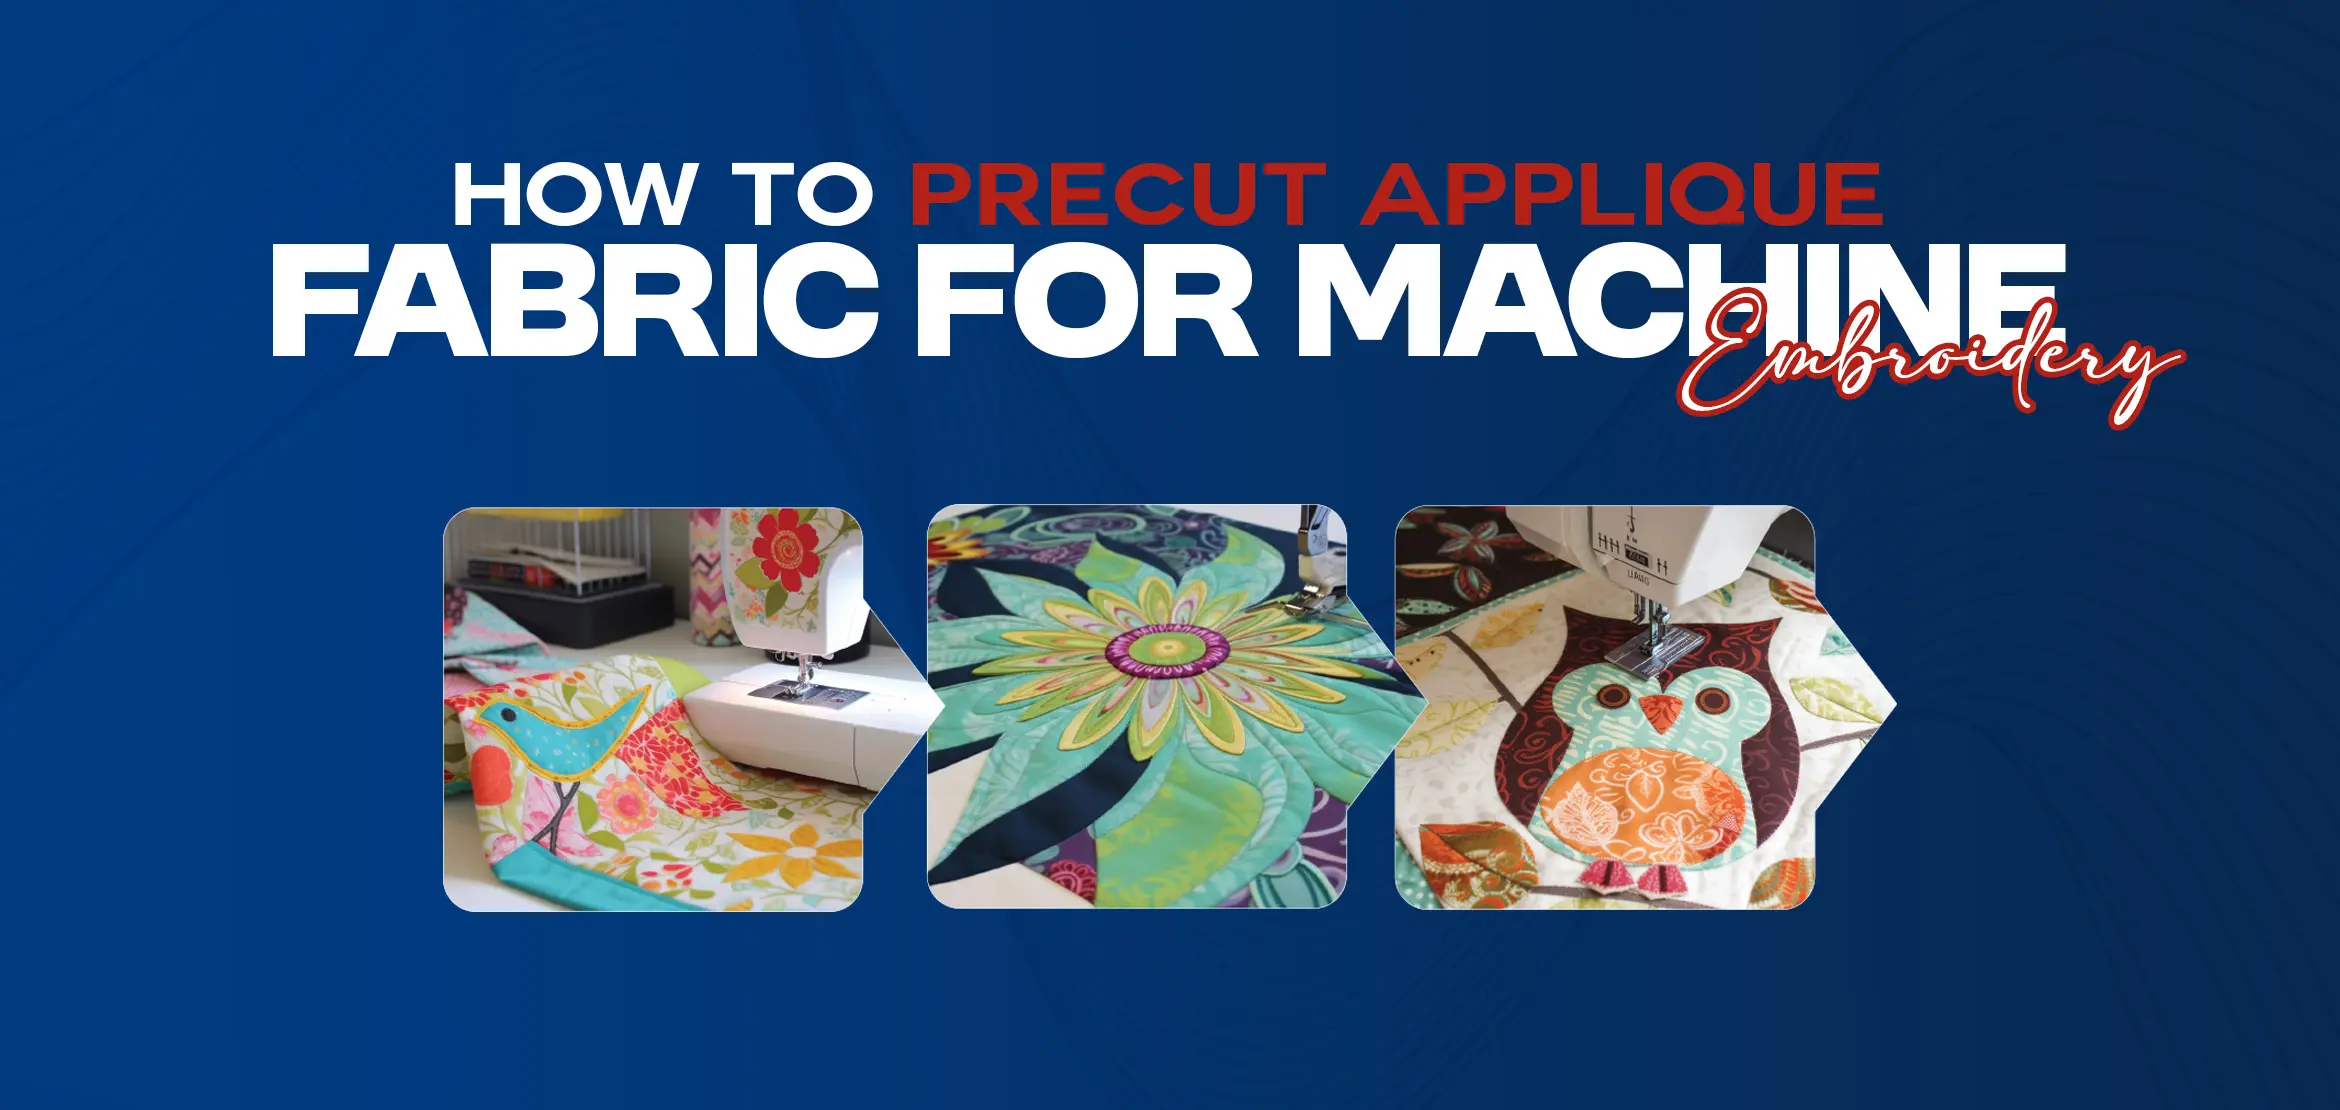
How to Precut Applique Fabric for Machine Embroidery
Table Of Content
- The Importance of Pre Cutting for Machine Embroidery
- Tools and Materials Needed for Pre Cutting Applique Fabric
- Fabric:
- Stabilizer:
- Scissors:
- Rotary Cutter and Mat:
- Templates:
- Marking Tools:
- Ruler:
- Invest in quality cutting mats:
- Practice cutting techniques:
- Choosing the Right Fabric for Pre Cutting
- Type of fabric:
- Fabric weight:
- Color and pattern:
- Test your fabric:
- Advanced Techniques for Intricate Designs
- Layering fabric:
- Clipping curves:
- Using applique scissors:
- Fusing fabric:
- Troubleshooting Common Issues with Pre Cutting
- Fabric fraying:
- Fabric shifting:
- Uneven or jagged cuts:
- Difficulty cutting intricate shapes:
- Conclusion and Final Thoughts
Are you tired of spending hours on intricate applique designs only to have your sewing machine struggle with the fabric? Mastering the art of pre cutting applique fabric can make all the difference in achieving flawless machine embroidery. In this article, we will guide you through the process step-by-step, ensuring that your fabric is prepped and ready for your machine to work its magic.
We'll also explore the techniques for cutting curved and straight edges, as well as tips for handling delicate fabrics. By mastering this crucial step, you'll be able to achieve flawless and professional-looking machine embroidery every time. Join us on this applique journey as we unlock the secrets of pre cutting fabric and take your machine embroidery to the next level.
The Importance of Pre Cutting for Machine Embroidery
When it comes to machine embroidery, precision is key. Pre Cutting your applique fabric before stitching allows you to have better control over the design and ensures that the fabric fits perfectly within the embroidery area. It eliminates the risk of shifting or puckering during stitching, resulting in a flawless finished product.
Not only does precutting save time during the embroidery process, but it also helps you achieve consistent results. By preparing your fabric ahead of time, you can focus on the stitching and design details without worrying about handling bulky or unmanageable pieces.
Tools and Materials Needed for Pre Cutting Applique Fabric
Before diving into the pre cutting process, it's essential to gather the necessary tools and materials. Here's a list of what you'll need:
Fabric:
Choose a fabric that compliments your design, keeping in mind the type, weight, and color. Cotton fabrics are a popular choice for applique due to their durability and ease of stitching.
Stabilizer:
A stabilizer is crucial for reinforcing the fabric and preventing it from shifting during embroidery. Choose a stabilizer that suits your fabric type and embroidery design. There are various types available, such as tear-away, cut-away, and water-soluble stabilizers.
Scissors:
Invest in a good pair of fabric scissors specifically designed for cutting applique fabric. Sharp, precise scissors will make a significant difference in achieving clean cuts.
Rotary Cutter and Mat:
For straight edges and precise cuts, a rotary cutter and mat are invaluable tools. They allow you to cut through multiple layers of fabric with ease, ensuring accuracy in your design.
Templates:
Depending on your design, you may need templates to trace and cut your fabric. These can be homemade or purchased, and they provide a guide for creating consistent shapes.
Marking Tools:
Fabric marking tools, such as disappearing pens or chalk, are useful for marking placement lines or cutting lines on your fabric. Choose a marking tool that is easily visible but won't leave permanent marks.
Ruler:
A ruler with clear markings is essential for measuring and aligning your fabric accurately. It helps maintain consistency in your cuts and shapes.
Step-by-Step Guide to Pre Cutting Applique Fabric
Now that you have your tools and materials ready, let's dive into the step-by-step process of pre cutting applique fabric. Follow these guidelines for a flawless result:
Step 1: Choose the Right Fabric: Consider the type, weight, and color of the fabric that will enhance your embroidery design. Ensure that the fabric is suitable for the intended use and can withstand the demands of machine embroidery.
Step 2: Prepare the Fabric: Before cutting, wash and press your fabric to remove any dirt or wrinkles. This ensures that your fabric is clean and flat, making it easier to work with during the pre cutting process.
Step 3: Stabilize the Fabric: Place your fabric on top of the appropriate stabilizer, ensuring that it covers the entire embroidery area. Hoop the fabric and stabilizer together, making sure it is taut and secure. This step helps prevent shifting and ensures stability during stitching.
Step 4: Plan your Cuts: Take a moment to plan your cuts and determine the shapes you need for your design. If using templates, position them on the fabric and trace around them using a marking tool. Ensure that you leave enough space between shapes for seam allowances or stitching lines.
Step 5: Cutting Straight Edges: For straight edges, use a ruler and a rotary cutter to achieve precise cuts. Place the ruler along the marked line and hold it firmly in place. With a steady hand, guide the rotary cutter along the ruler, cutting through the fabric and stabilizer. Repeat this process for all straight edges.
Step 6: Cutting Curved Edges: Cutting curved edges requires a different approach. Use small, sharp scissors designed for applique to carefully follow the marked lines. Take your time and make small, controlled cuts to maintain the smoothness of the curve. If needed, you can use small snips to create notches along the curves, which will help the fabric lay flat during stitching.
Step 7: Handling Delicate Fabrics: If you're working with delicate fabrics, such as silk or organza, it's essential to handle them with care. Use fine, sharp scissors to cut these fabrics, and consider using a stabilizer specifically designed for delicate fabrics. Take your time and be gentle to avoid fraying or damaging the fabric.
Tips for Achieving Precise Cuts and Shapes
When it comes to machine embroidery, precision is key. One of the most important steps in the process is pre cutting your fabric into the desired shapes and sizes. Here are some tips to help you achieve precise cuts and shapes:
Use sharp scissors or rotary cutters:
The tools you use for cutting can greatly affect the accuracy of your cuts. Make sure your scissors or rotary cutters are sharp to ensure clean and crisp edges. Dull blades can lead to frayed or uneven cuts, which can negatively impact the final result of your embroidery.
Measure and mark your fabric:
Before cutting, it's essential to measure and mark your fabric accurately. Use a ruler or measuring tape to ensure that your cuts are precise and consistent. Marking your fabric with a fabric pen or chalk can help guide your cuts and prevent any mistakes.
Invest in quality cutting mats:
A good cutting mat is a valuable tool for any embroiderer. It provides a stable surface for cutting and protects your work area from scratches. Look for cutting mats that have clear measurements and grid lines, as they can assist you in achieving accurate cuts and shapes.
Practice cutting techniques:
Cutting fabric for machine embroidery requires different techniques depending on the shape and design. Straight edges are relatively easy to cut, but curved edges can be more challenging. Practice cutting curves by using templates or tracing existing designs onto your fabric. This will help you improve your cutting skills and ensure precise shapes.
Remember, practice makes perfect. Take your time and be patient with yourself as you develop your cutting skills. Over time, you'll become more comfortable and confident in achieving precise cuts and shapes for your machine embroidery projects.
Choosing the Right Fabric for Pre Cutting
The fabric you choose for your applique can greatly impact the final result of your machine embroidery. Here are some factors to consider when selecting fabric for pre cutting:
Type of fabric:
Different fabrics behave differently when it comes to machine embroidery. Some fabrics, like cotton or linen, are easier to work with and tend to yield better results. Avoid fabrics that stretch or fray easily, as they can be more challenging to handle. Experiment with different types of embroidery fabric to see which ones work best for your projects.
Fabric weight:
The weight of the fabric can also affect your embroidery. Lightweight fabrics are easier to maneuver and tend to create a smoother finish. However, heavier fabrics can add depth and texture to your designs. Consider the effect you want to achieve and choose a fabric weight accordingly.
Color and pattern:
The color and pattern of your fabric can enhance or detract from your embroidery design. Choose fabrics that complement your design and allow it to stand out. Bold colors and patterns can add interest and make your embroidery pop, while neutral or monochromatic fabrics can create a more subtle and elegant look.
Test your fabric:
Before committing to pre-cutting your fabric, it's a good idea to test it first. Embroider a small sample design on a scrap piece of fabric to see how it behaves. Test for any issues such as puckering, stretching, or fraying. This will help you determine if the fabric is suitable for your project and if any additional stabilizers or treatments are needed.
By carefully considering these factors and testing your fabric, you can ensure that you're working with the right materials for your machine embroidery project. This will set you up for success when it comes to pre cutting and stitching.
Advanced Techniques for Intricate Designs
While straight edges are relatively easy to cut, intricate designs can pose a greater challenge. Here are some advanced techniques to help you tackle complex shapes and achieve flawless results:
Layering fabric:
If your design involves multiple layers of fabric, it's essential to precut each layer separately. This will allow you to align the pieces accurately and achieve a seamless look. Use a template or pattern to trace and cut each layer, ensuring that they match up perfectly.
Clipping curves:
Cutting curves can be tricky, especially if you're working with delicate or stretchy fabrics. To achieve smooth curves, make small snips or clips along the seam allowance. This will help the fabric lay flat and prevent any puckering or bunching. Be careful not to cut too close to the stitching line to avoid any accidental tears.
Using applique scissors:
Applique scissors are specially designed with curved blades that make it easier to cut around curves and intricate shapes. These scissors allow for more precise cutting and reduce the risk of accidentally cutting into the fabric. Invest in a good pair of applique scissors to make your cutting process more efficient and accurate.
Fusing fabric:
If you're working with small or intricate designs, fusing fabric can be a helpful technique. Fuse a lightweight interfacing or stabilizer onto the back of your fabric before pre cutting. This will add stability and prevent any shifting or stretching during the cutting process. It can also make it easier to handle small or intricate pieces.
By implementing these advanced techniques, you'll be able to tackle even the most intricate designs with confidence. Take your time, practice, and don't be afraid to experiment with different techniques to find what works best for you.
Troubleshooting Common Issues with Pre Cutting
Even with the best techniques and materials, issues can arise during the pre cutting process. Here are some common problems you may encounter and how to troubleshoot them:
Fabric fraying:
If your fabric is prone to fraying, consider applying a fray stop or fabric glue along the edges before cutting. This will help seal the edges and prevent any unwanted fraying. Alternatively, you can use a serger or overlock stitch along the edges to finish them and prevent fraying.
Fabric shifting:
If your fabric is shifting or sliding during cutting, it's crucial to stabilize it properly. Use a temporary adhesive spray or pins to secure the fabric to your cutting mat before cutting. This will prevent shifting and ensure that your cuts are accurate and precise.
Uneven or jagged cuts:
Uneven or jagged cuts can be caused by using dull scissors or applying too much pressure while cutting. Ensure that your cutting tools are sharp and that you're cutting with a smooth and steady motion. If you're still experiencing issues, consider investing in a rotary cutter for cleaner and more precise cuts.
Difficulty cutting intricate shapes:
Cutting intricate shapes can be challenging, especially if you're struggling to see the lines or hold the fabric in place. Consider using a lightbox for tracing paper to make the lines more visible. You can also use fabric clips or small weights to hold the fabric securely while cutting.
Remember, practice and patience are key when troubleshooting any issues with pre cutting. Don't get discouraged if things don't go perfectly the first time. Keep experimenting, learning from your mistakes, and refining your techniques.
Conclusion and Final Thoughts
Pre Cutting applique fabric is an essential step in achieving flawless machine embroidery. By selecting the right fabric, using proper cutting techniques, and troubleshooting common issues, you'll be well on your way to mastering this art. Remember to practice, be patient with yourself, and don't be afraid to experiment and try new techniques.
Mastering pre-cutting appliqué fabric is essential for flawless machine embroidery. With the right fabric, tools, and techniques, you can elevate your projects to new heights. Ready to enhance your skills? Utilize our embroidery services and embroidery digitizing expertise to bring your designs to life with precision and quality. Contact us now and let's create stunning embroidery together. Don't wait – unlock the potential of pre-cutting and watch your creations shine!

