Embroidering Bucket Hats: A Simple Step-by-Step Process
Table Of Content
- What is a Bucket Hat?
- Why the Right Material Choice Matters for Bucket Hat Embroidery
- Bucket Hat Fabric
- Lining Fabric
- Fused Woven
- Embroidery Thread
- Embroidery Stabilizer
- Bobbin Thread
- Temporary Adhesive Fabric Spray
- Embroidery Needles
- Embroidery Designs
- Step by Step Process of Bucket Hat Embroidery
- Arrange the Design
- Place the Bucket
- Hop the Hat
- Set the Embroidery Machine
- Do a Test Run
- Start Do Embroidering
- Finishing the Embroidery
- Points to Observe while Embroidering Bucket Hat
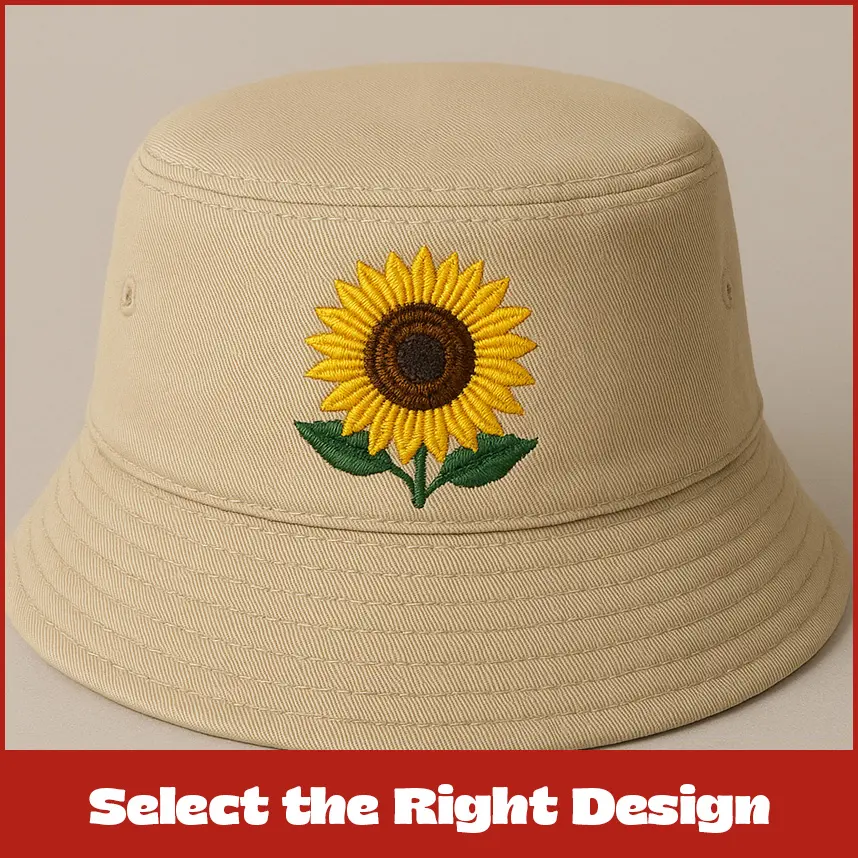
- Select the Right Design
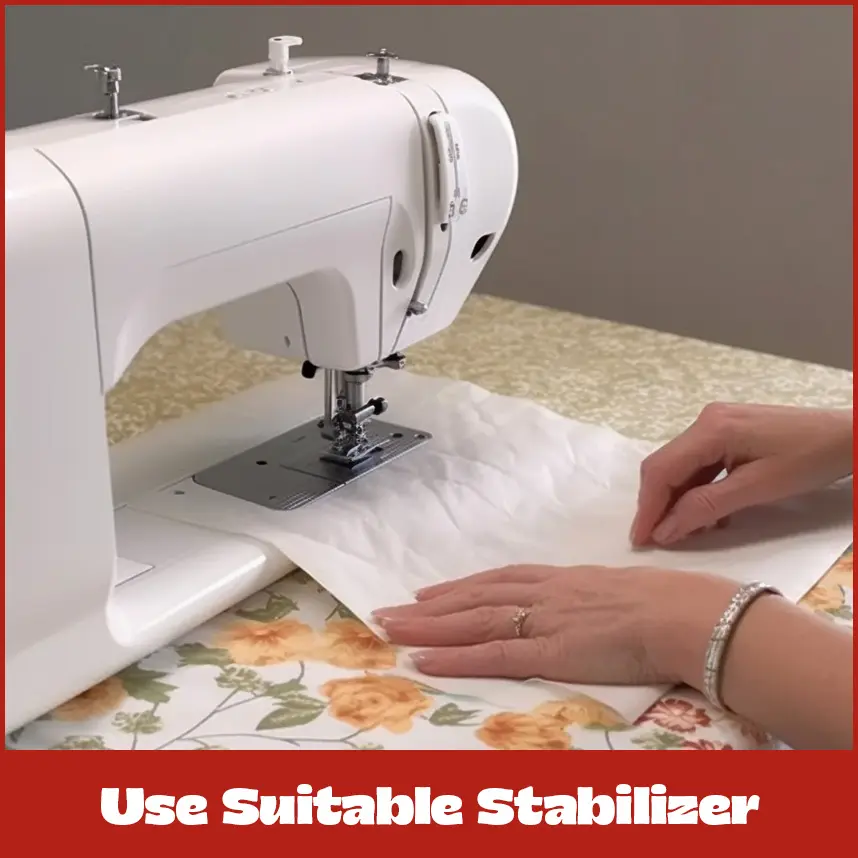
- Use Suitable Stabilizer
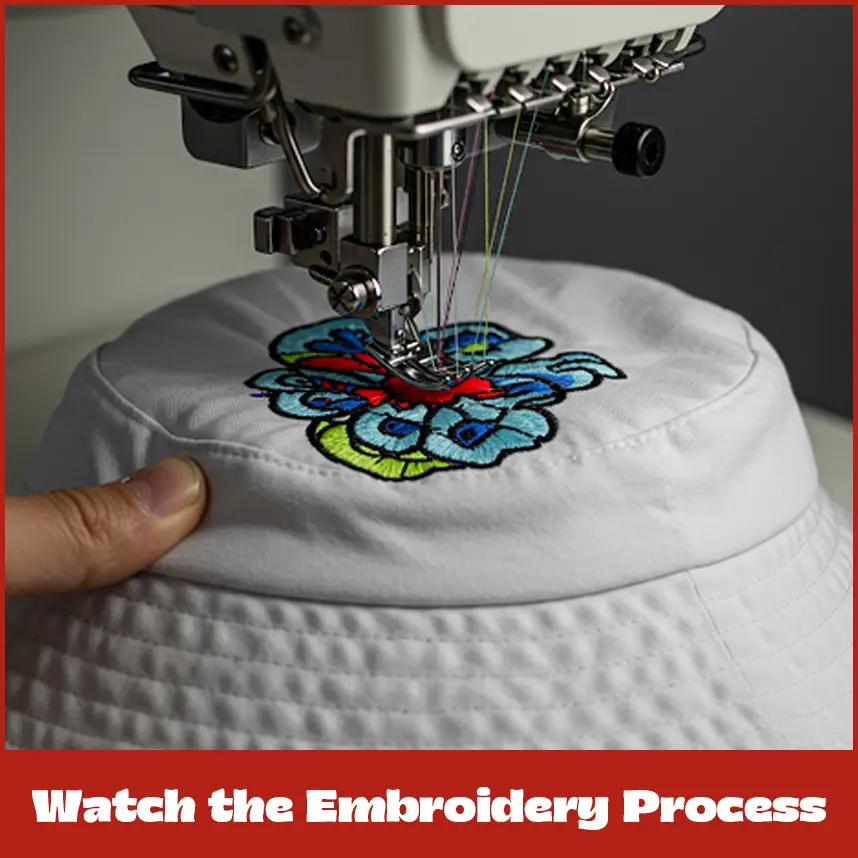
- Watch the Embroidery Process
- Troubleshooting Bucket Hat Embroidery Issues
- Limited Design Space
- Solution
- Puckering or Distortion
- Solution
- Closure
Use embroidering bucket hats as an excellent way to make them special and trendy. Thinking of customizing a bucket hat? This guide simplifies the process for clean, professional results.The hat's shape and size can be tricky, but follow the steps, and you'll get great results. You will be taken through preparing your hat to stitching the ideal design by this guide.
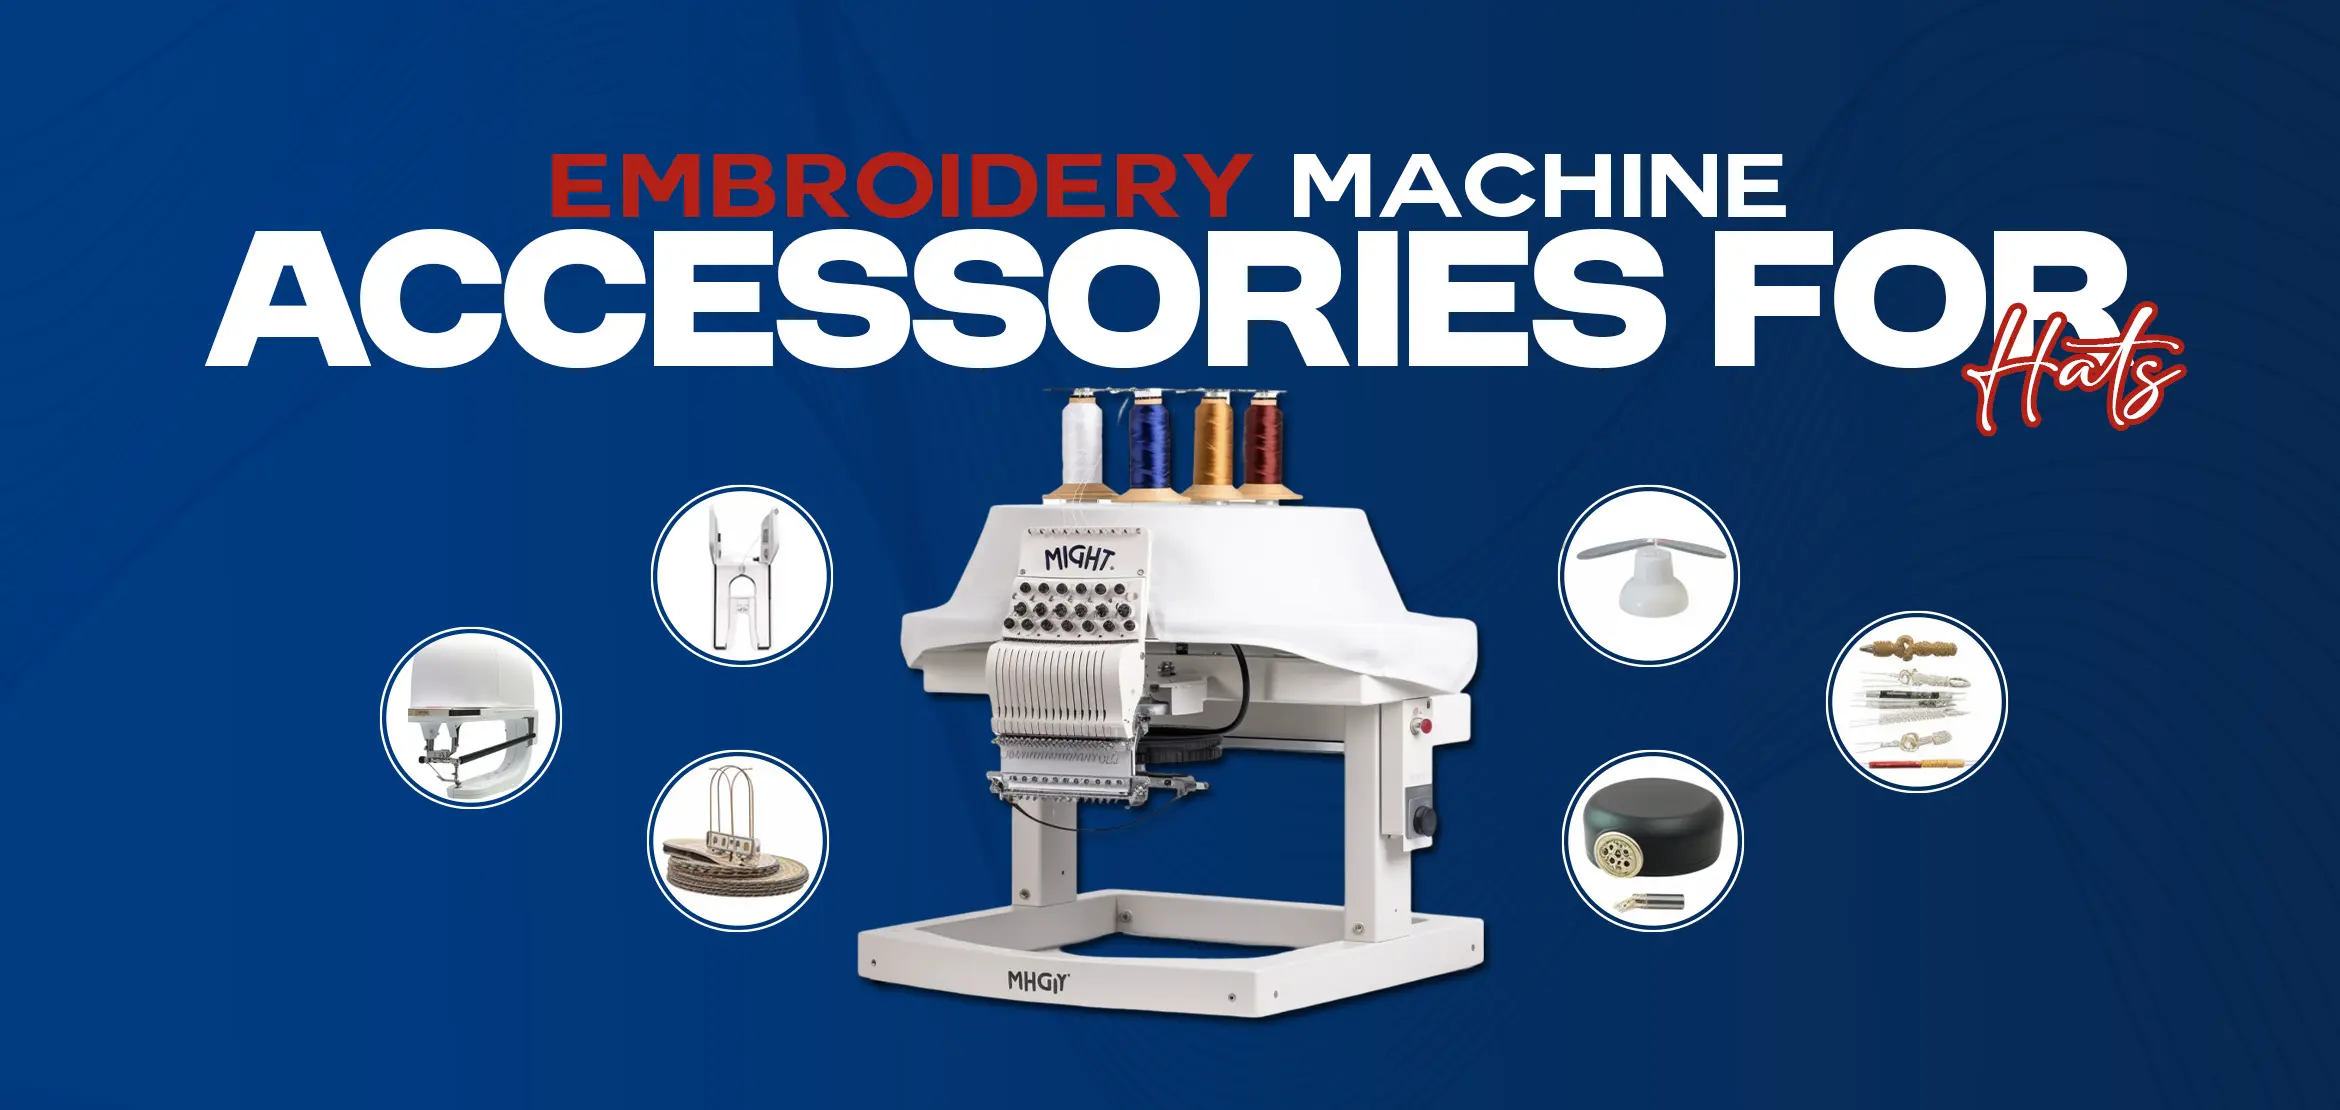
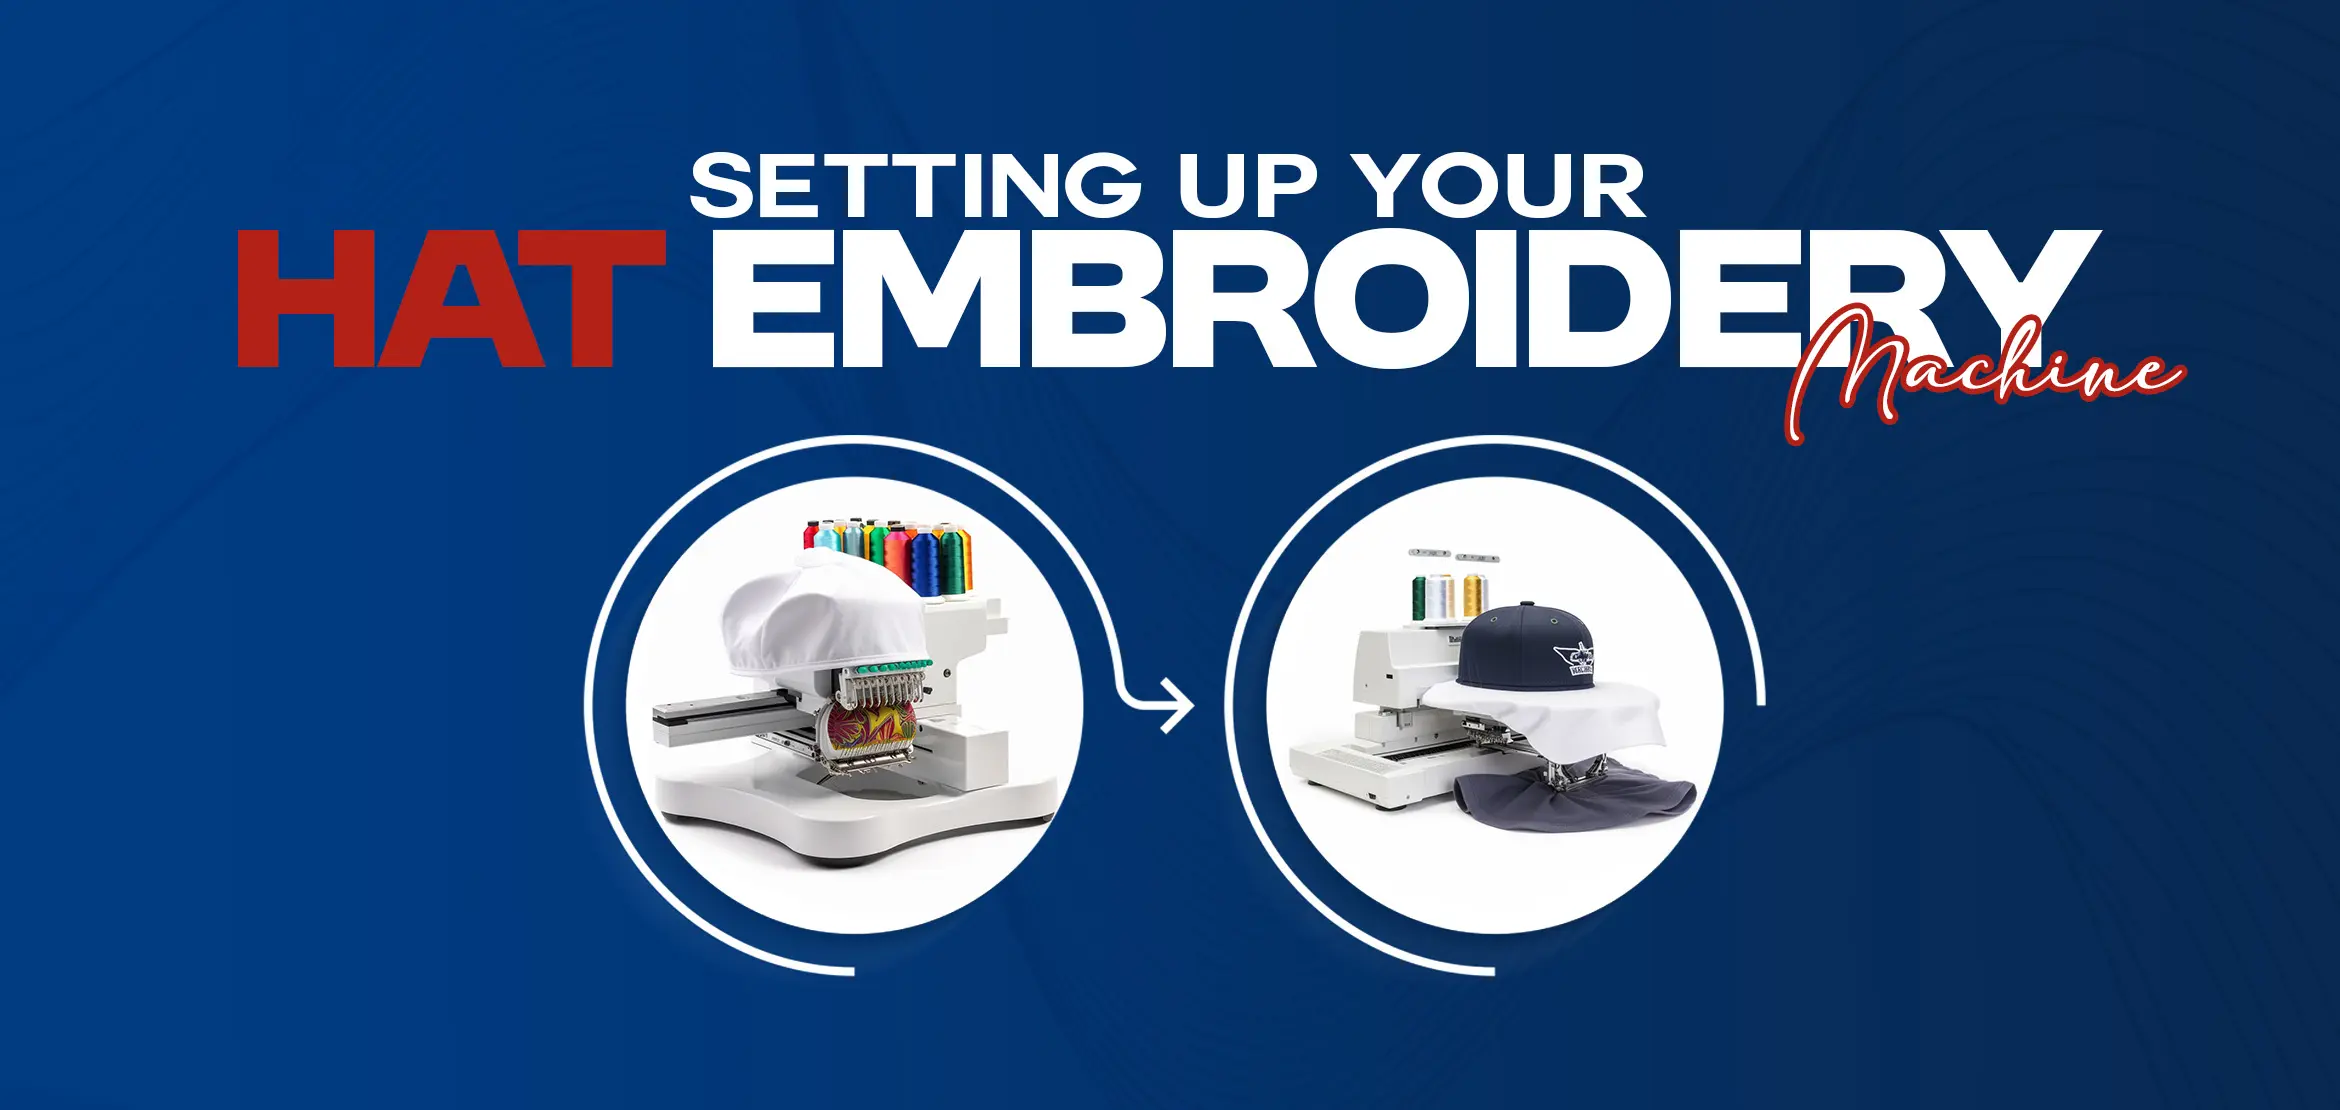
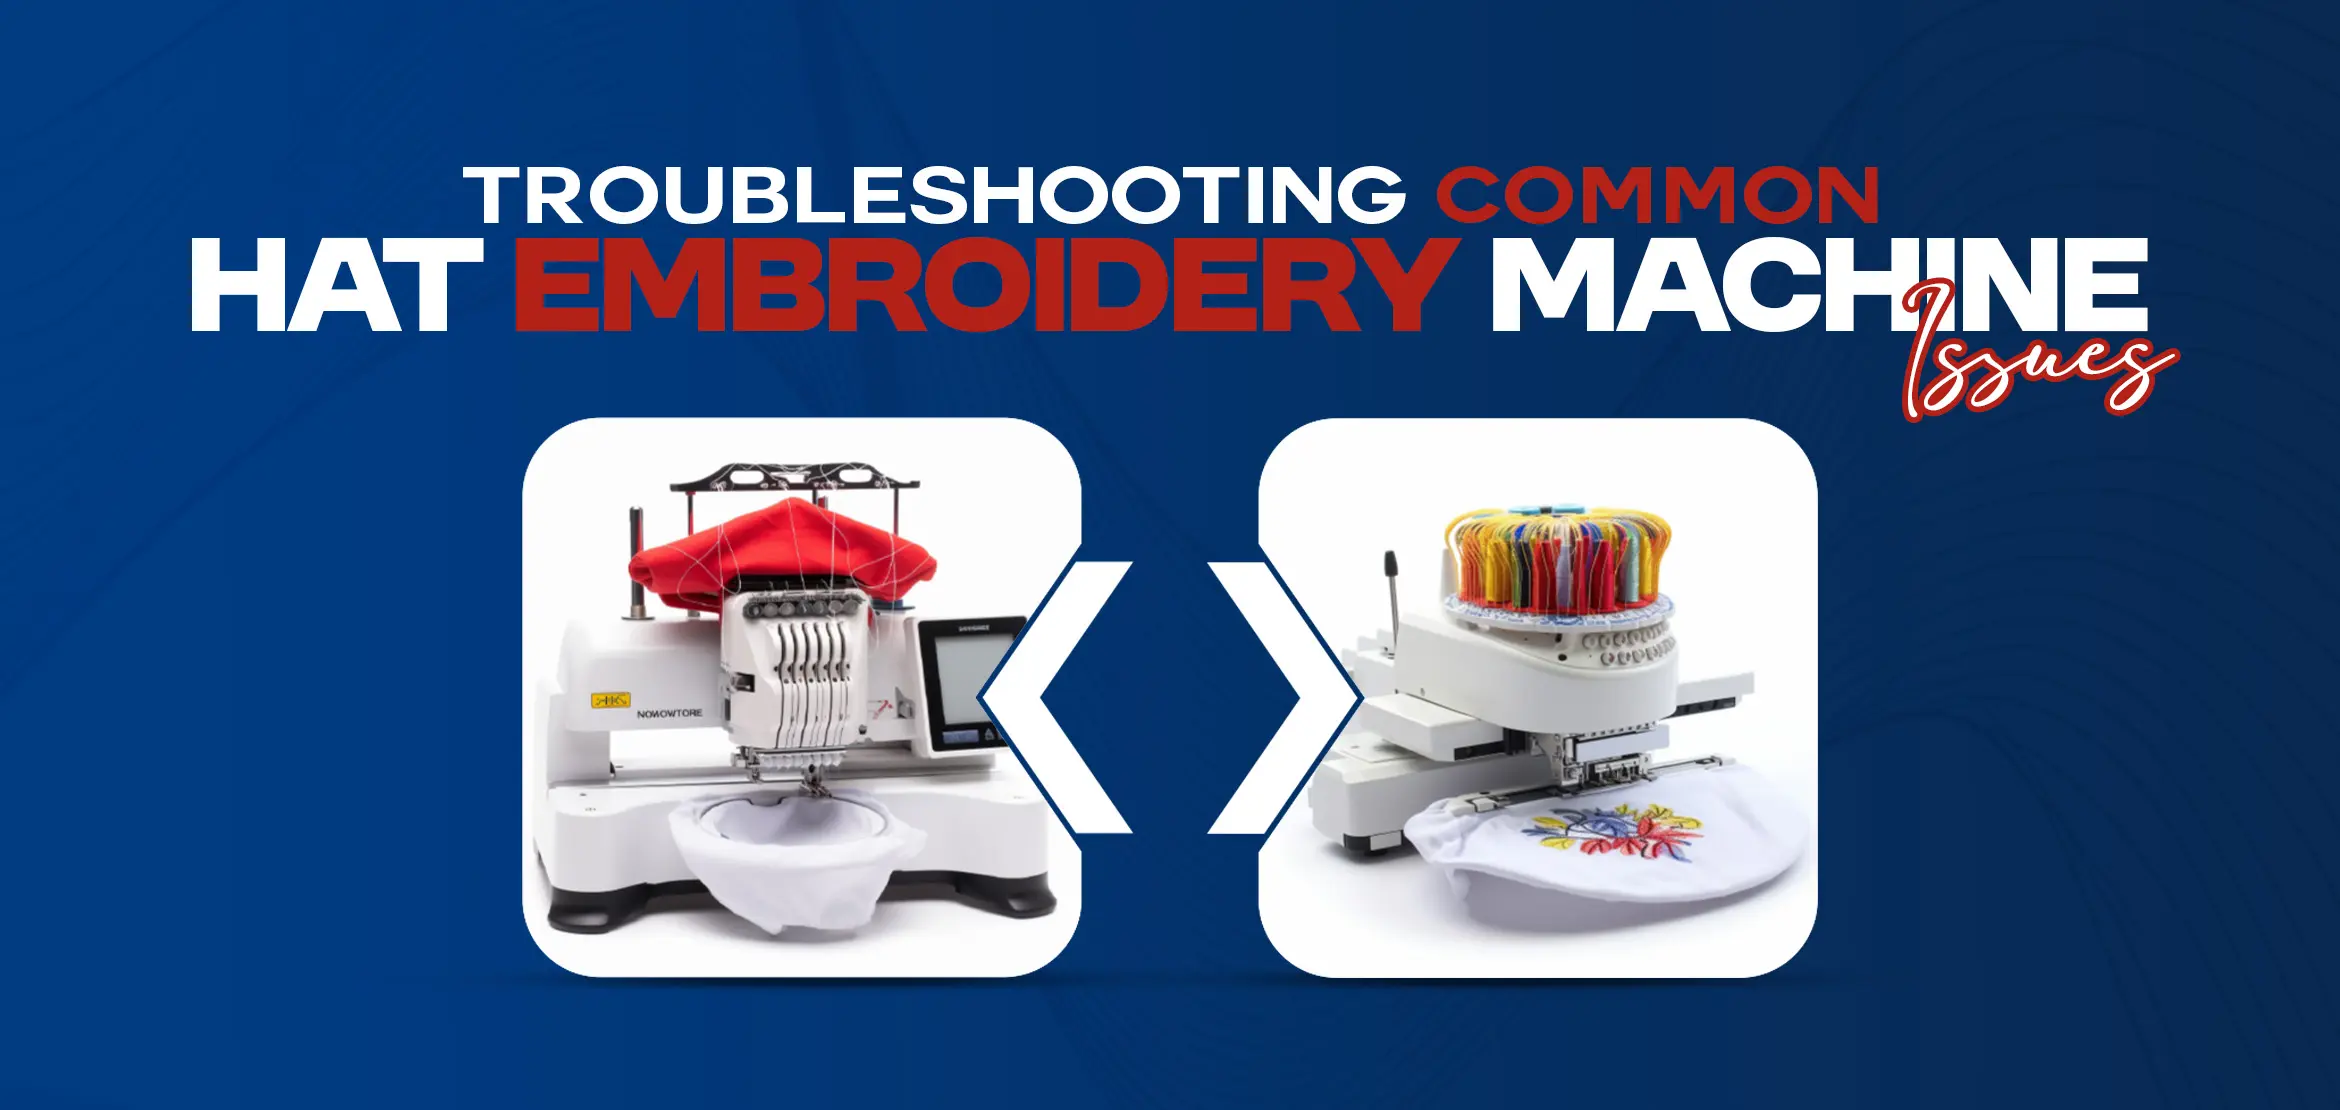
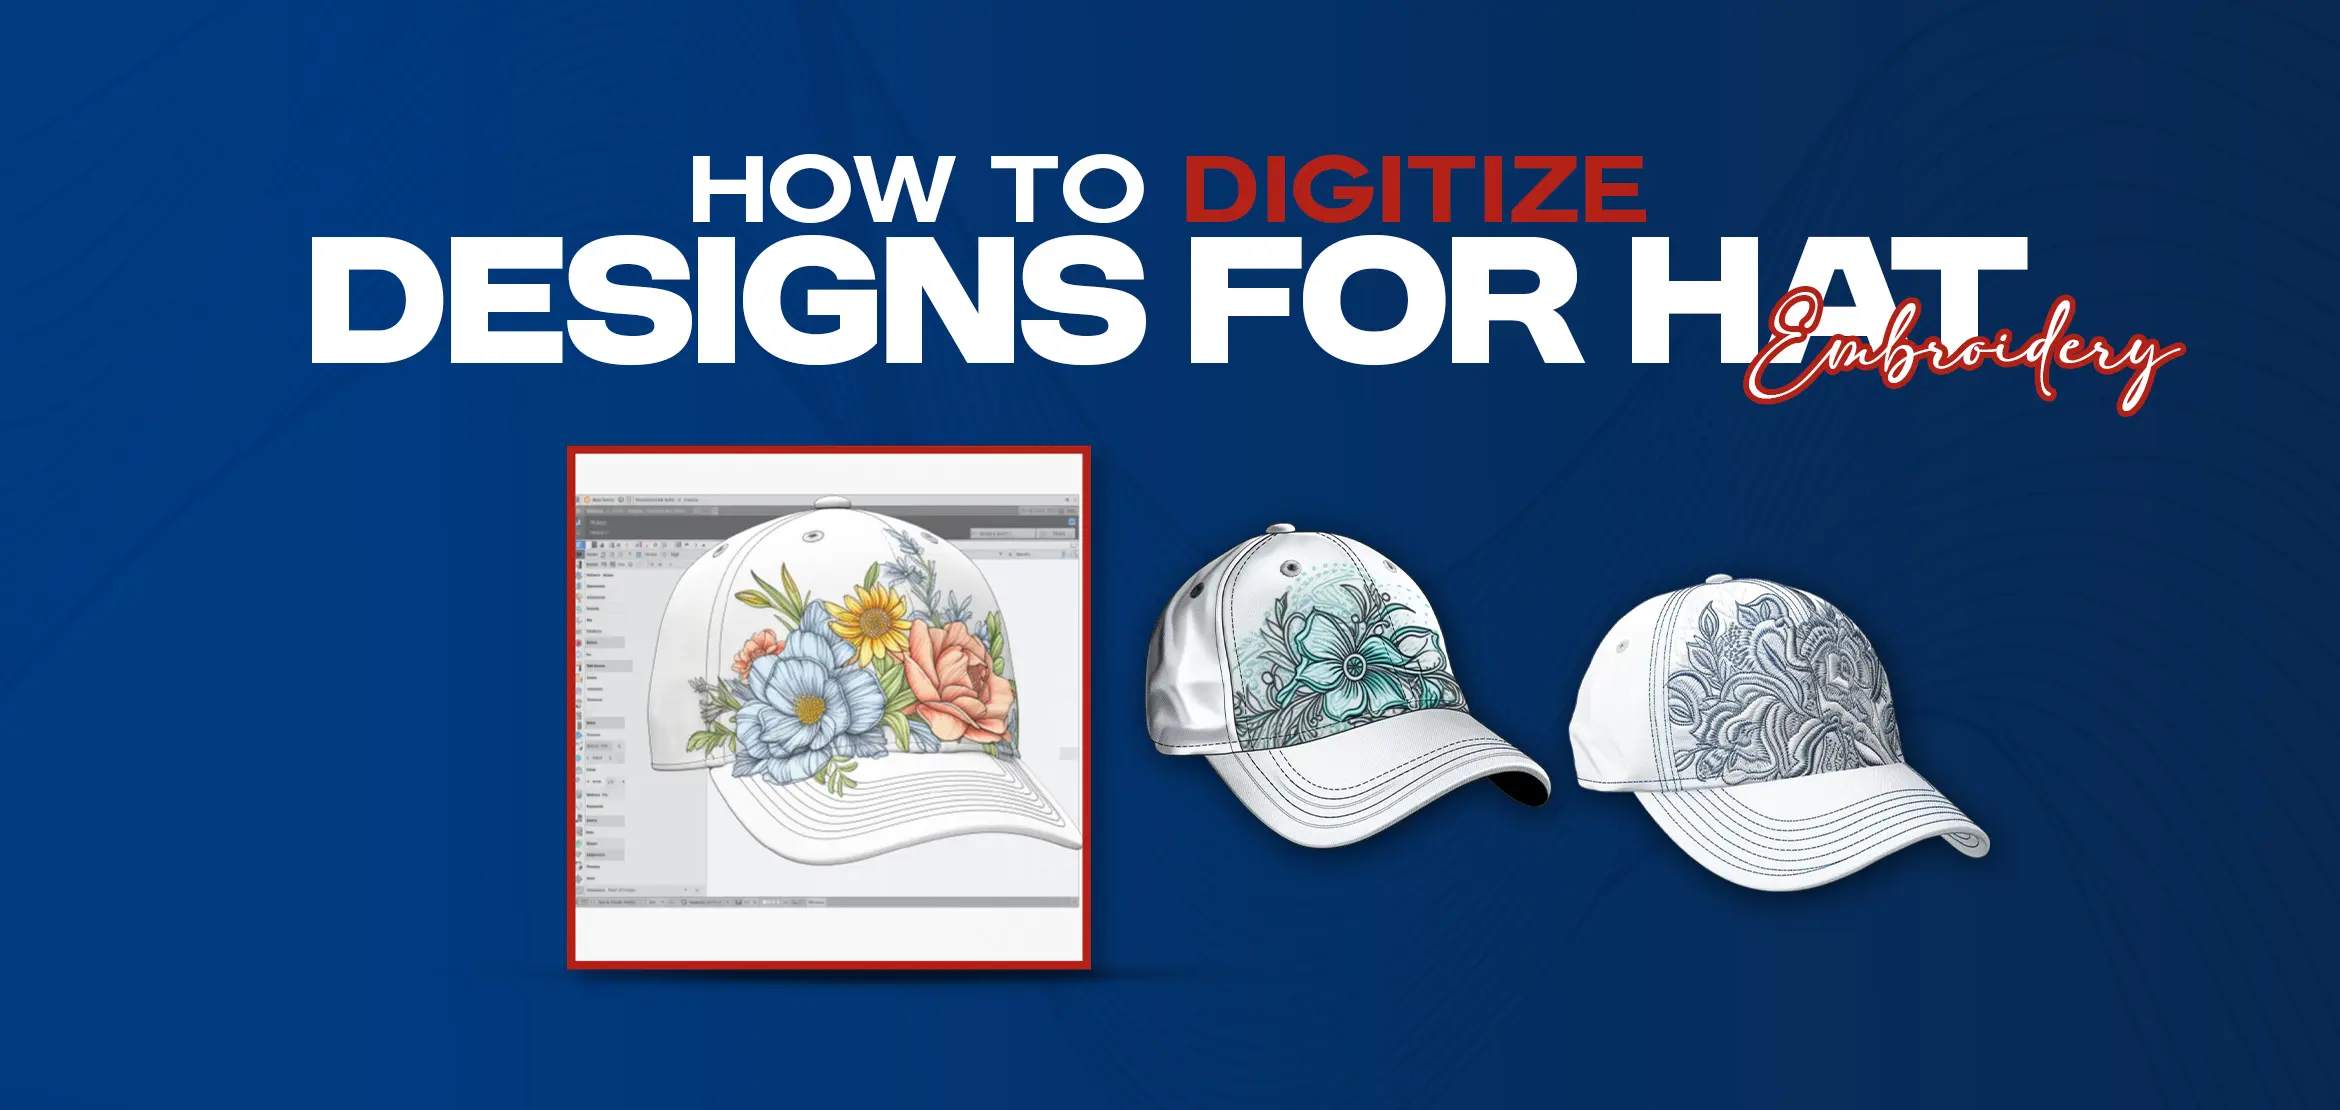
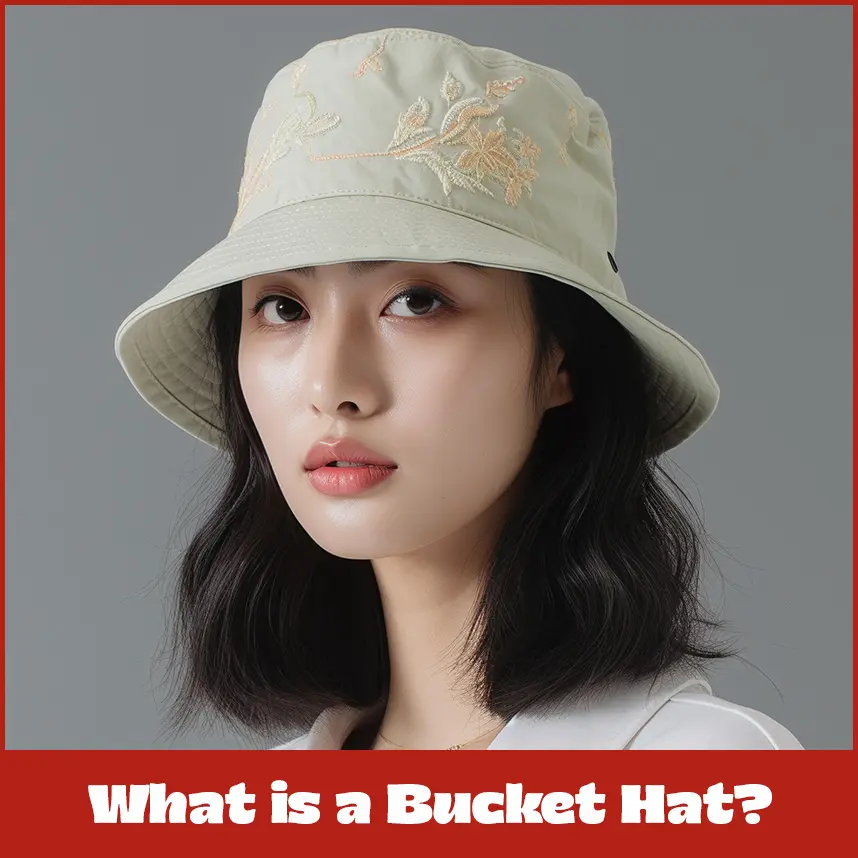
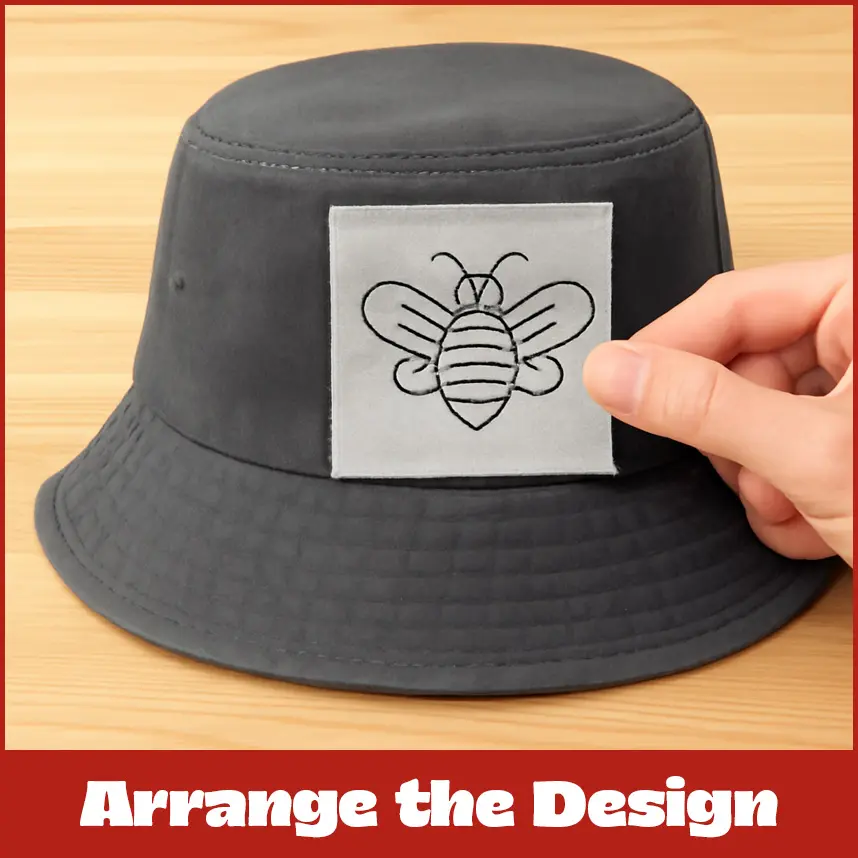
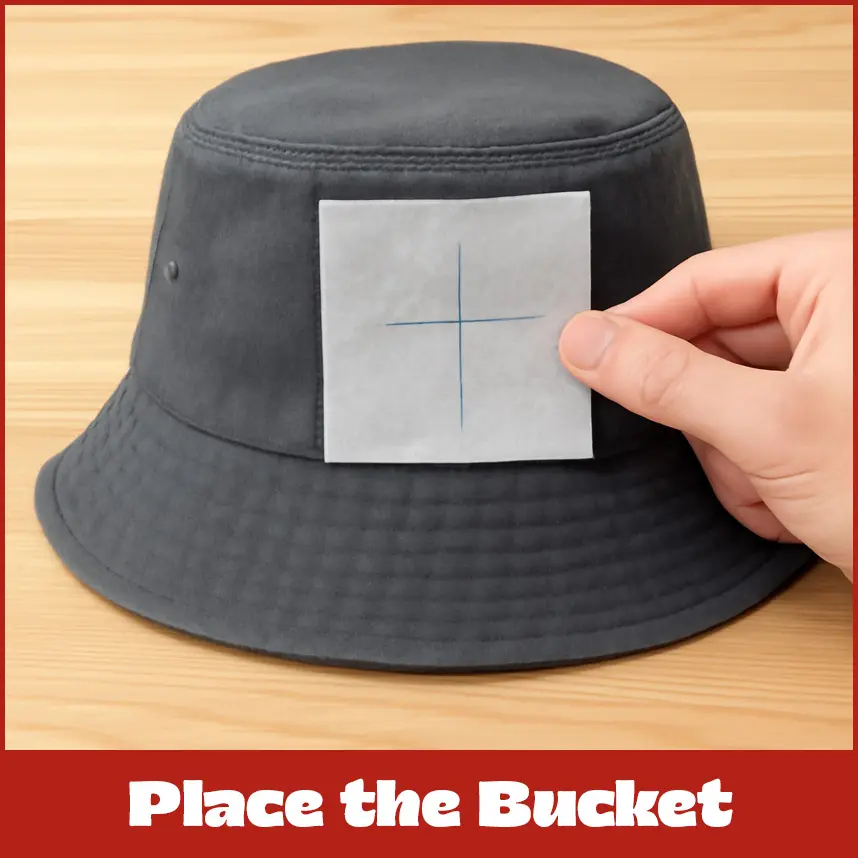
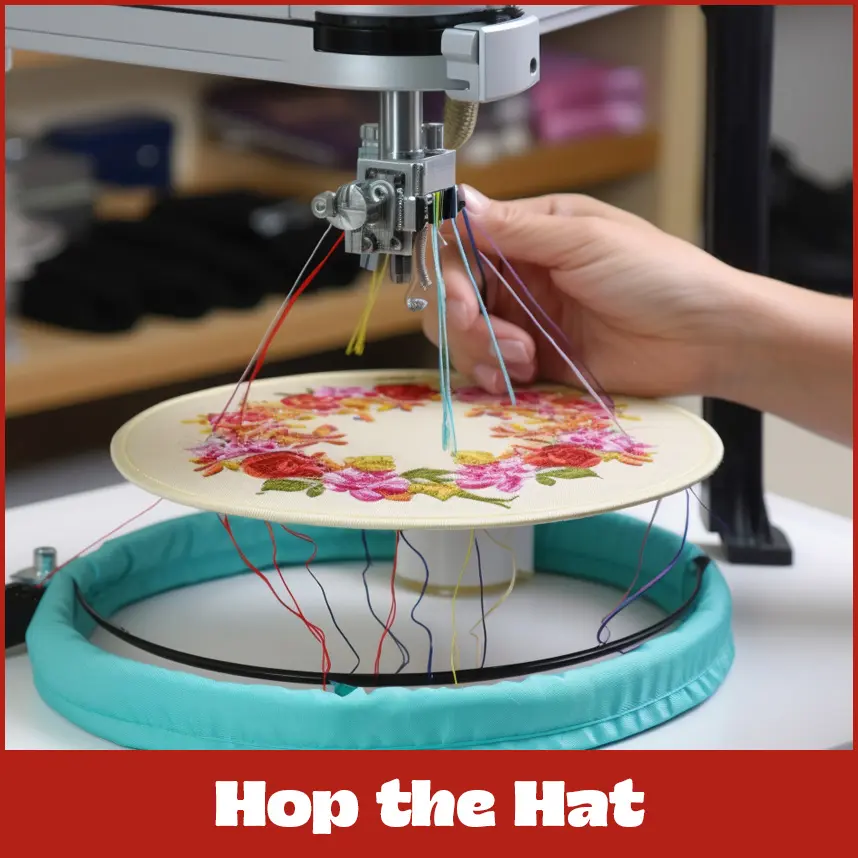
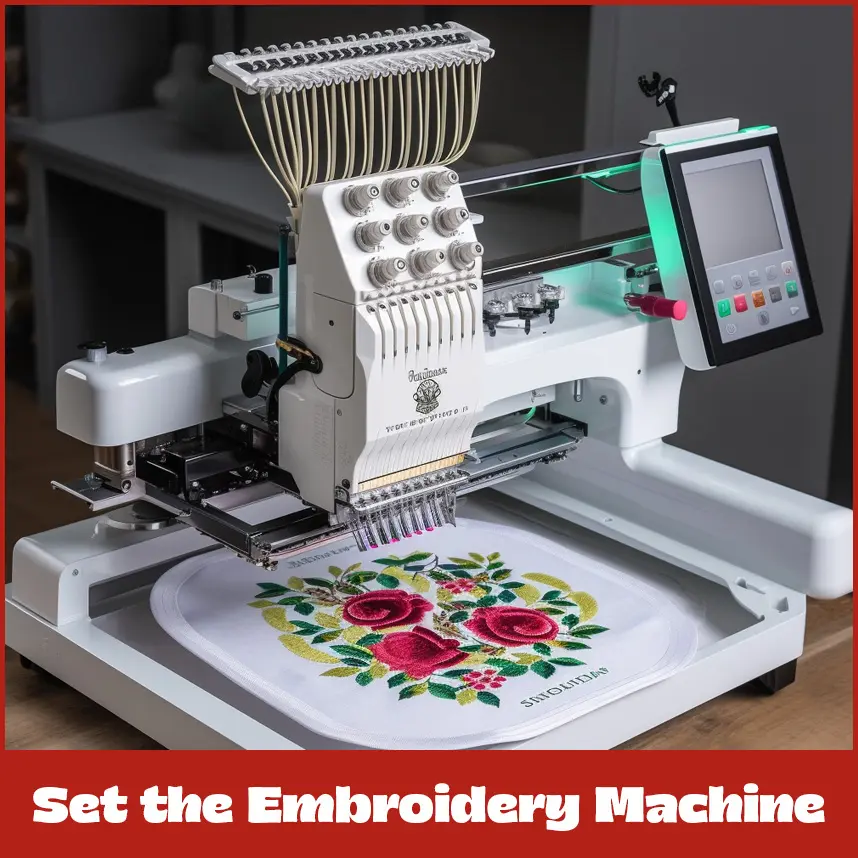
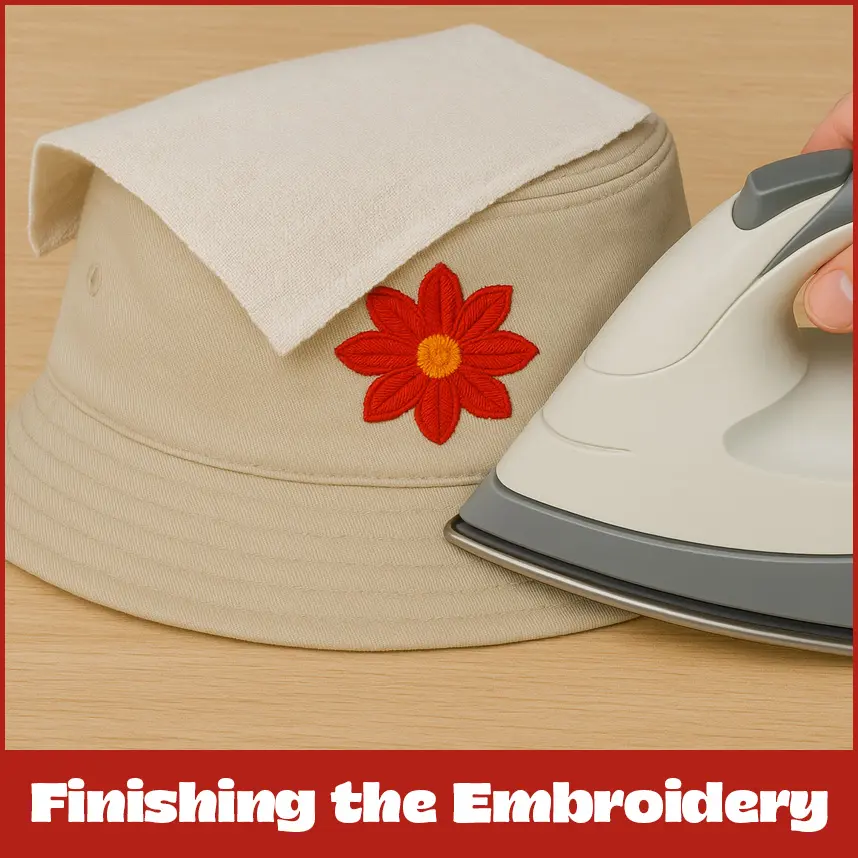
Whether you are doing it for yourself or gifting someone, creating an embroidered bucket hat is fun and simple. Let’s start making your own special bucket hat! A bucket hat is defined as a soft and round hat with a wide and sloping brim that surrounds the head, creating a bucket like shape. Generally, heavy duty cotton or denim is used in the making. Originally, it was designed for outdoor workers such as fishermen, to protect them from sunlight and rain. Now , modern bucket hats have ventilation eyelids and are available in different colors and patterns as well. To create impressive bucket hat embroidery, the right materials are required to make the process smoother with high quality results. Here are the important items for it: Bucket hat fabric Lining fabric Fused Woven Embroidery Thread Embroidery Stabilizer Bobbin Thread Temporary Adhesive Fabric Spray Embroidery Needles (80/12) Embroidery Designs The fabric for the bucket hat should be durable and comfortable. The cotton canvas is recommended highly because of the tight weave, which makes tidy and clear prints while saving structural strength through washes. The denim is another good option, giving a solid and fashionable look. Medium weight cotton can also be used for giving a softer feel, which balances the comfort and structure. The lining fabric improves comfort and can impress the overall fit for the hat. Cotton is a famous choice for the softness of the skin and the fabric is breathable as well. For getting a more lavish feel, satin polyester can be used, while it may be not much breathable. The fusible woven is used for adding hardness to the brim for maintaining the shape. It is particularly beneficial when working with lighter fabrics that may lack structure on their own. Choosing the best thread for bucket hat embroidery is important for lasting and best results. Polyester embroidery thread is highly recommended because of the durability, making it perfect for outdoor wear. Stabilizers are very important and they make sure to get clean embroidery results. The cut-away stabilizer is often selected as it provides support during stitches and stays with fabric after embroidery, helping to protect from distortion. For light fabrics, tear-away stabilizer can also be efficient but may not deliver the desired support. A lightweight bobbin thread is ideal as it diminishes the bulk under the embroidery while providing enough strength to hold the stitches. This fabric spray helps to grip the layers together during the process without permanent bond. It allows the easy reposition of fabric. Using embroidery needles having size of 80/12 ensures that the needle can hold the thicker threads without breaking it. Selecting the right design that perfectly fits the crown section of the hat is essential. Personal choice may be used for creating or making custom designs, provided they coordinate with the chosen fabric. There is a series of processes involved in the embroidery of bucket hat which make for professional and polished results. Choose or digitize a design suitable for bucket hats. Ensure that the design isn't too tight, as fabric in a bucket hat can be difficult. Save the design in the correct file format (for example, DST, PES) for your machine. Enlarge or resize the design to cover the hat's embroidery area. Flatten the area of the hat where the embroidery is to be placed. Typically, the front panel or side panels are suitable for embroidery. Mark the center of the design area with a chalk pencil or water-soluble pen. Position the stabilizer behind the marked area for added support. A cap frame or standard hoop should be used, depending on the machine. If working with a standard hoop, keep the stabilizer and fabric tight but not too much. Prevent wrinkles or gaps to achieve clean embroidery. Secure the hat tightly in the hoop so that it does not move while stitching. Load the design file into the machine. Choose the correct needle and thread colors for the design. Secure the hooped bucket hat to the machine. Run the machine on a scrap piece of fabric or stabilizer to check the design. Adjust tension, speed, or thread as needed. Watch the embroidery closely to avoid snags or misalignments. Stop the machine if it requires adjustments. After the design is finished, carefully remove the hoop. Trim the excess stabilizer from the back of the hat. Gently iron the embroidered area with an iron (using a pressing cloth) to set the stitches. Maintain the embroidery design at 2.5 inches in height and 4 inches in width. This measurement is ideal for the smaller front section of bucket hats so that the pattern remains clear and defined. Choose a firm stabilizer, such as medium tear away or sticky stabilizer. It provides good support without making the fabric large. Watch the embroidery process closely to ensure the hat doesn’t get caught in the presser foot or needle. Make adjustments as needed to avoid any issues. Bucket hats can be tricky to embroider due to their shape and limited space. Some common problems and their solutions: Bucket hats also feature a reduced embroidery area, especially on the back and front. Air holes or snaps also present a challenge for placement. Place designs no taller than 2.5 inches and not wider than 4 inches. Opt for the front or back of the hat, where there is more space. Puckering can lead to uneven embroidery and a less polished finish. Ensure the hat is securely hooped, and use a medium tear-away or sticky stabilizer. Iron out any creases in the fabric before starting. Embroidering bucket hats adds a personal and stylish touch to your wardrobe. With these simple steps and troubleshooting guidelines, professional quality results can be achieved each time. For high quality bucket hat embroidery services, your custom designs are turned into reality with precision and care. Ready to transform your bucket hat into a wearable masterpiece? Get started today with custom embroidery from DigitizingUSA!What is a Bucket Hat?
Why the Right Material Choice Matters for Bucket Hat Embroidery
Bucket Hat Fabric
Lining Fabric
Fused Woven
Embroidery Thread
Embroidery Stabilizer
Bobbin Thread
Temporary Adhesive Fabric Spray
Embroidery Needles
Embroidery Designs
Step by Step Process of Bucket Hat Embroidery
Arrange the Design
Place the Bucket
Hop the Hat
Set the Embroidery Machine
Do a Test Run

Start Do Embroidering
Finishing the Embroidery
Points to Observe while Embroidering Bucket Hat
Select the Right Design
Use Suitable Stabilizer
Watch the Embroidery Process
Troubleshooting Bucket Hat Embroidery Issues
Limited Design Space
Solution
Puckering or Distortion
Solution
Closure
