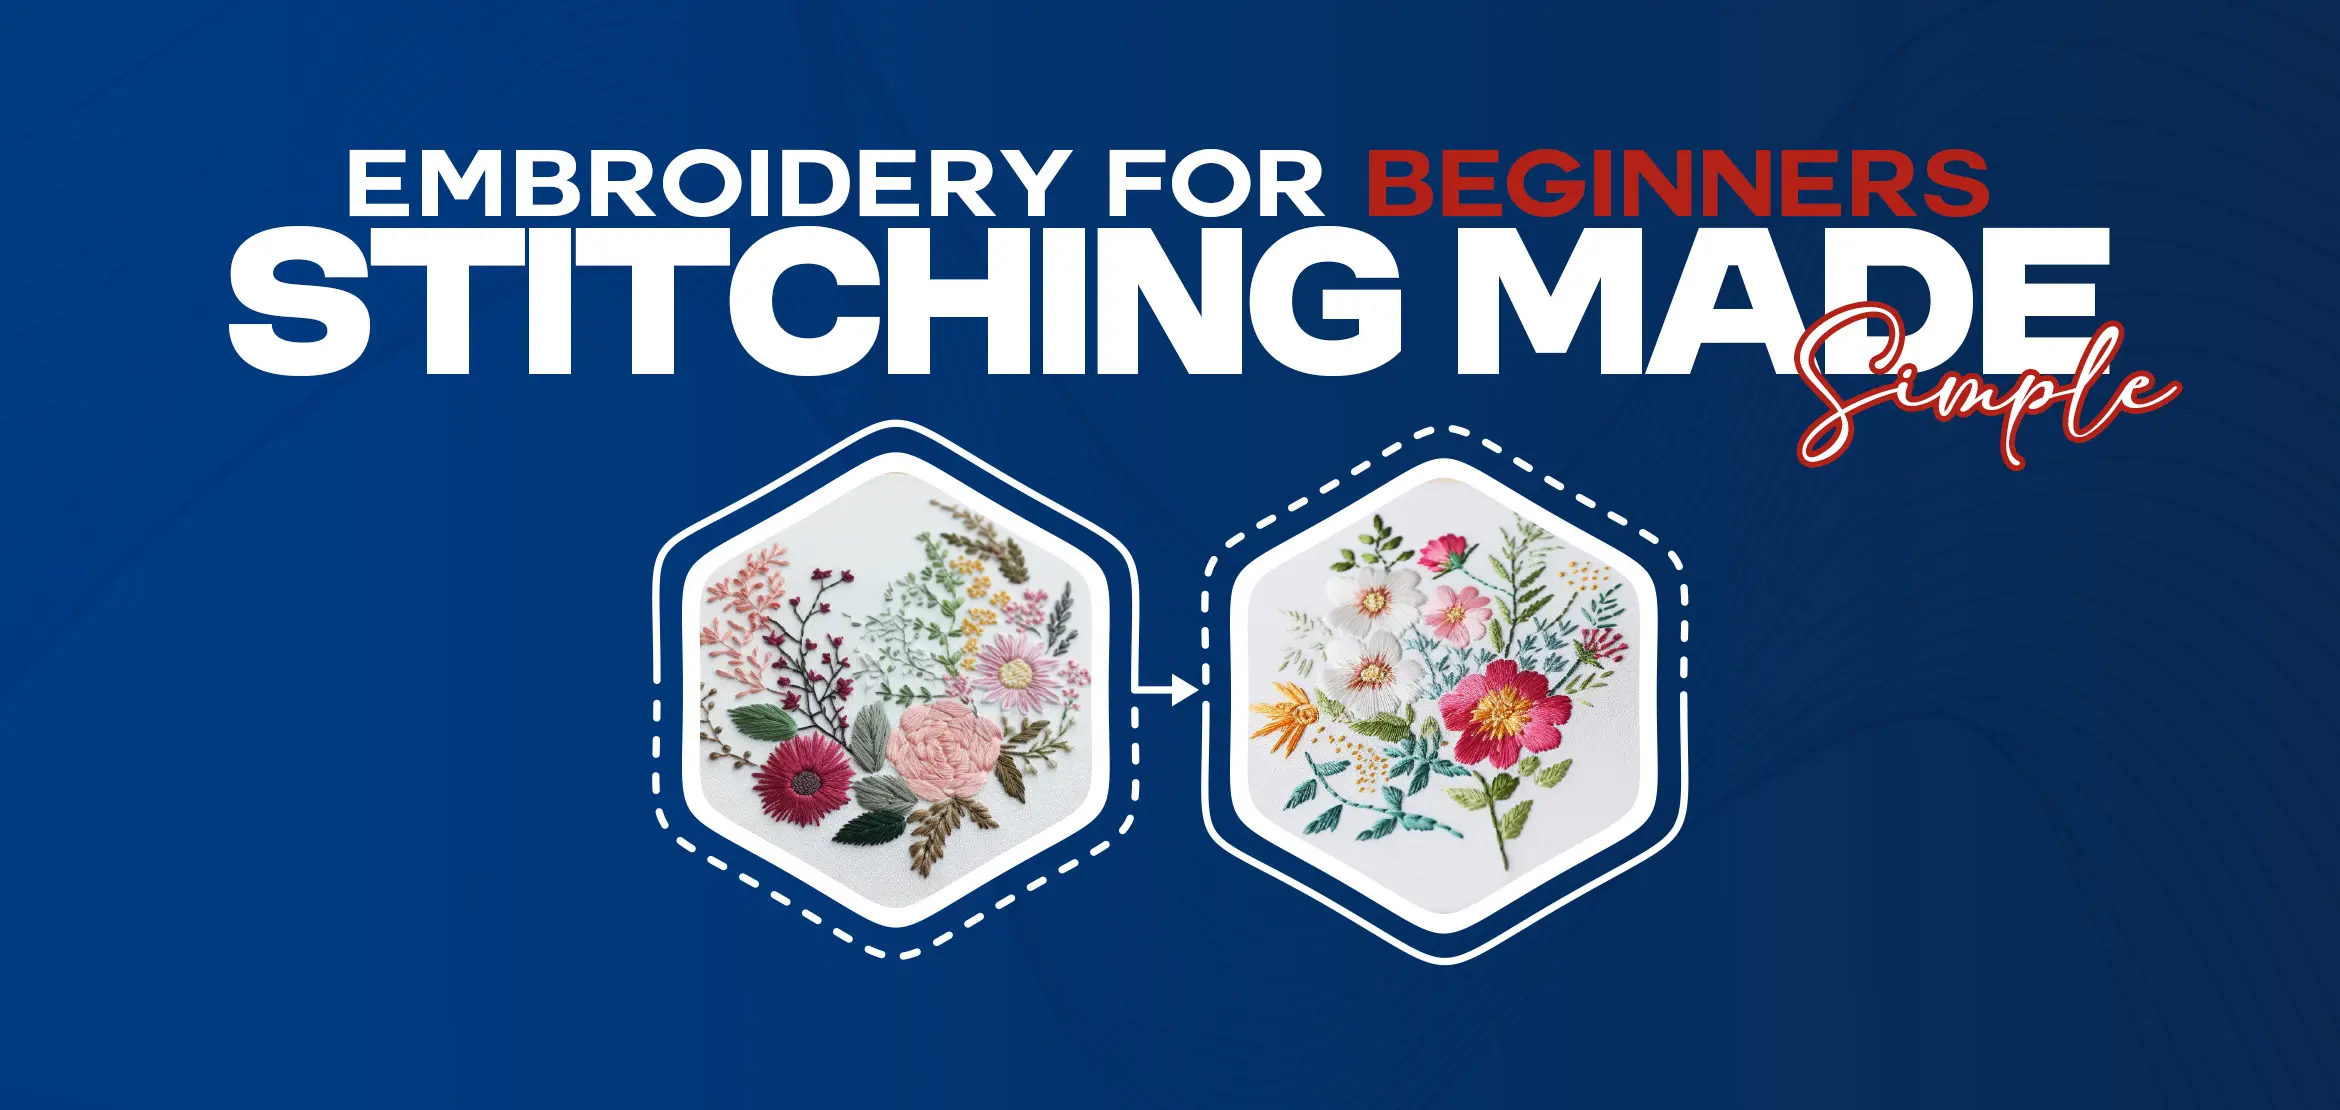
Embroidery for Beginners - Stitching Made Simple
Embroidery is a creative and fulfilling craft that allows you to express your artistic abilities through complex designs and patterns. If you're a beginner looking to dive into the world of stitching, it can seem overwhelming at first; however, with the right guidance and practice. You can quickly master the basic stitches and create beautiful embroidered designs. In this article, we will explore some essential stitches for beginners, provide tips on choosing the right materials, and introduce you to some popular embroidery patterns and designs. Whether you're interested in learning the art of embroidery as a hobby or as a way to personalize everyday items. This guide will help you get started on your embroidery journey. So grab your embroidery hoop, needle, thread, and let's begin.
Table Of Content
- Materials Required for Beginners
- 1. Embroidery Needles
- 2. Embroidery Hoop
- 3. Embroidery Thread
- 4. Scissors
- 5. Fabric
- Step-by-Step Guide: Embroidery for Beginners
- Step 1. Choosing a Pattern or Design
- Step 2. Transferring the Design onto Fabric
- Step 3. Hooping the Fabric
- Step 4. Beginning the Stitches
- Practice Exercises for Beginners
- Tips to Improve Stitch Consistency
- Basic Stitches for Beginners in Embroidery
- 1. Running Stitch
- 2. Backstitch
- 3. Split Stitch
- 4. French Knot
- 5. Satin Stitch
- 6. Straight Stitch
- 7. Detached Chain Stitch
- 8. Feather Stitch
- Troubleshooting and Tips: Embroider for Beginners
- Neater and More Professional-Looking Beginner Embroidery
- 1. Thread Management
- 2. Consistency in Stitching
- 3. Quality of Materials
- 4. Regular Practice
- How to Take Care of Your Embroidery Projects as a Beginner?
- 1. Cleaning and Storage
- When the embroidery is complete, gently hand wash the fabric using mild detergent if necessary. Avoid scrubbing directly on the stitches. Air dry or lay flat to dry to maintain the shape and appearance of the embroidery.
- 2. Framing and Display
- 3. Preservation
- Conclusion
- FAQs (Frequently Asked Questions)
Materials Required for Beginners
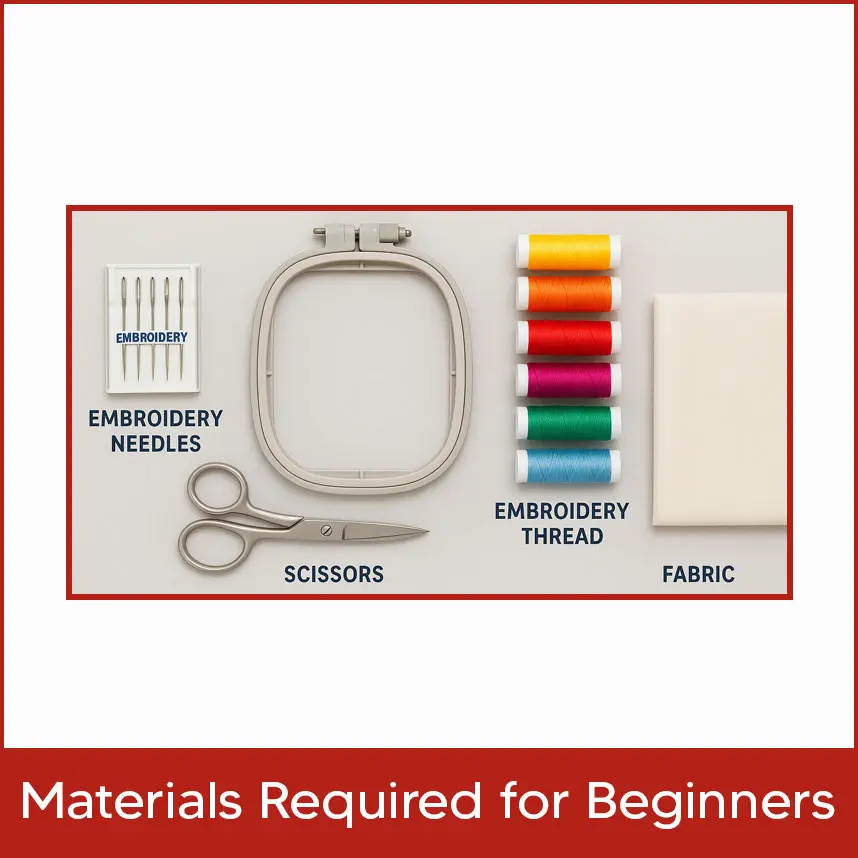
Embroidery is an age-old craft, offering a world of creativity and self-expression. Whether you are a beginner or an experienced embroiderer, having the right materials is essential for a successful project. Before you start stitching, gather the following materials:
1. Embroidery Needles
Choose needles specifically designed for embroidery. They come in various sizes, allowing you to work with different types of fabric and threads.
2. Embroidery Hoop
An outer hoop and an inner hoop are used to secure the fabric tightly while you stitch. Opt for a hoop that comfortably holds your fabric without distorting it.
3. Embroidery Thread
Embroidery thread is the most common thread used, composed of six individual strands that can be separated according to your desired thickness. Explore different colors and textures to bring your designs to life.
4. Scissors
Have a pair of sharp scissors dedicated to embroidery, ensuring clean cuts and preventing fraying.
5. Fabric
Start with a light-colored, medium-weight fabric that is easy to stitch on. Cotton, linen, and Aida cloth are popular choices for beginners.
By gathering these essential materials, you are ready to begin your embroidery journey and explore the versatile world of stitches and designs. Let your creativity soar as you bring colorful threads to life on fabric.
If you can’t afford embroidery materials, then no worries, you can place an order at Digitizing USA because we provide custom embroidery digitizing services at minimal flat rates, so say goodbye to costly embroidery accessories.
Step-by-Step Guide: Embroidery for Beginners
Starting your first embroidery project can be thrilling and a bit scary at the same time. Here's a step-by-step guide to help beginners start their stitching journey:
Step 1. Choosing a Pattern or Design
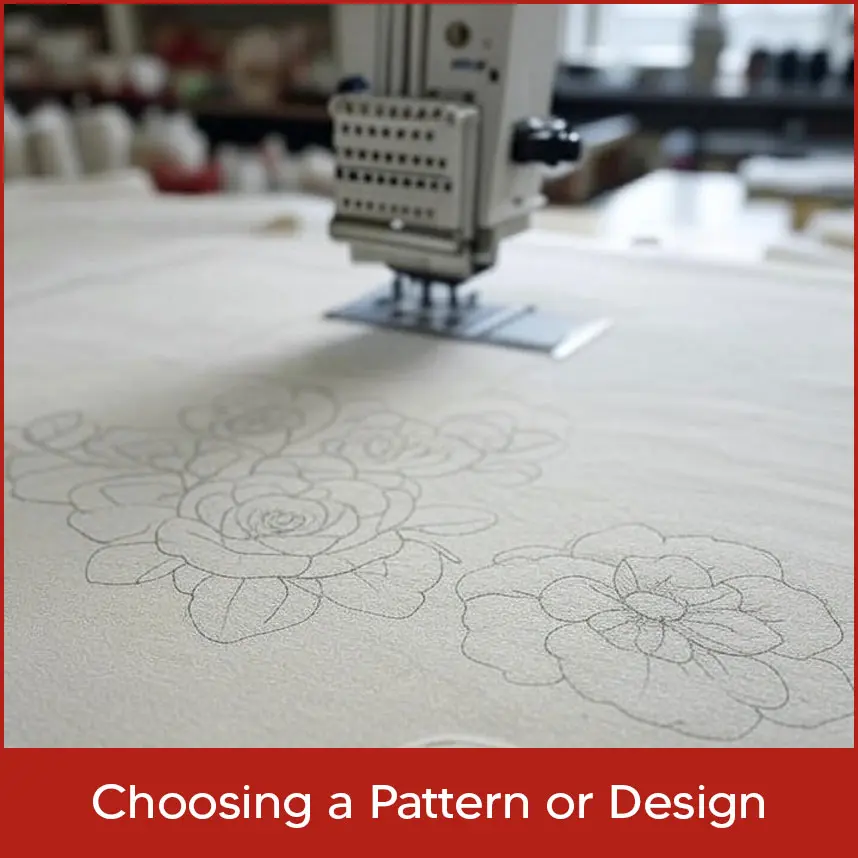
Start with a simple design or pattern, such as a small flower, heart, or geometric shape.
Consider using transfer pens, carbon paper, or embroidery transfer tools to trace or transfer the design onto your fabric.
Step 2. Transferring the Design onto Fabric
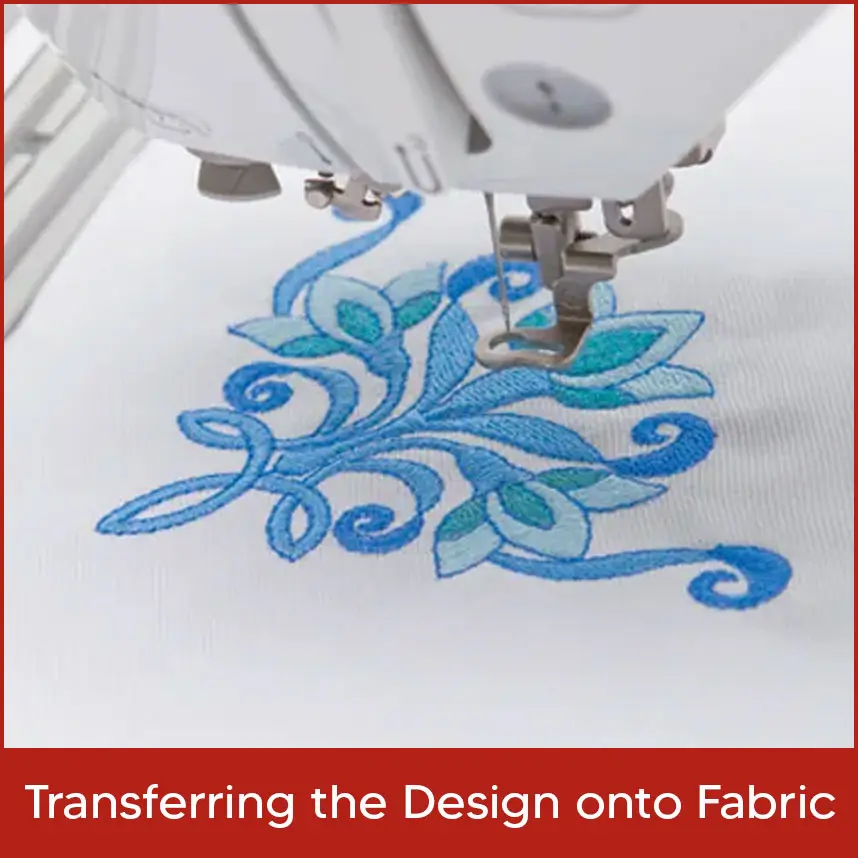
Secure the fabric on a flat surface and place the chosen design over it.
Trace the design onto the fabric using a transfer method of your choice. This could be done by lightly sketching the design with a water-soluble pen or by using iron-on transfer methods.
Step 3. Hooping the Fabric
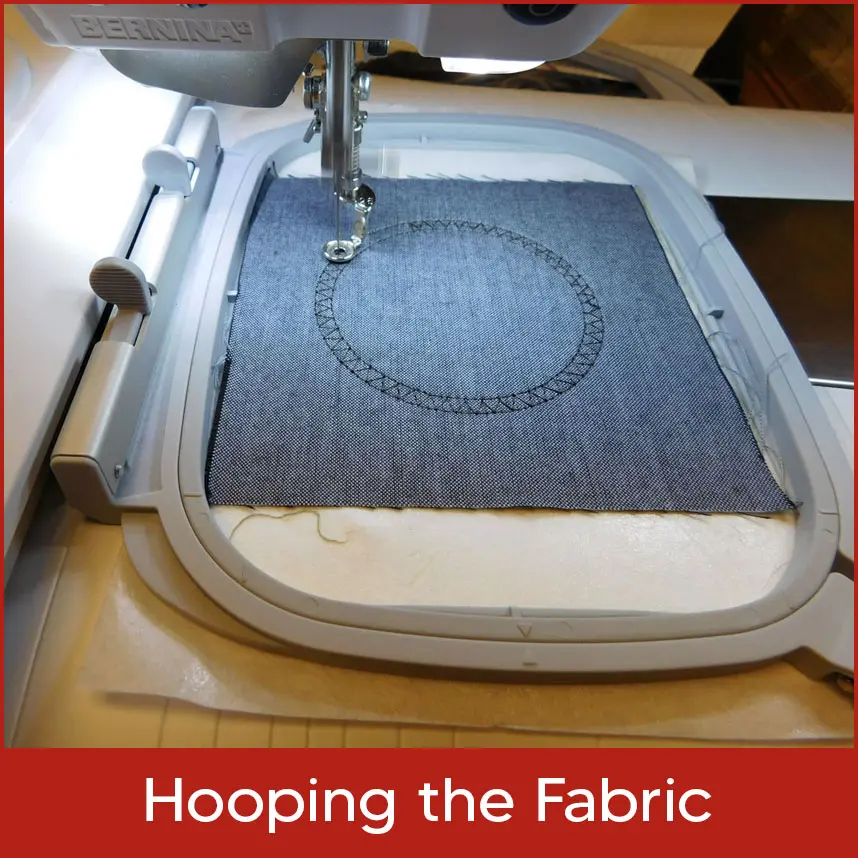
Place the fabric in an embroidery hoop. Make sure the fabric is tight but not stretched, as excessive stretching can distort the final design.
Step 4. Beginning the Stitches
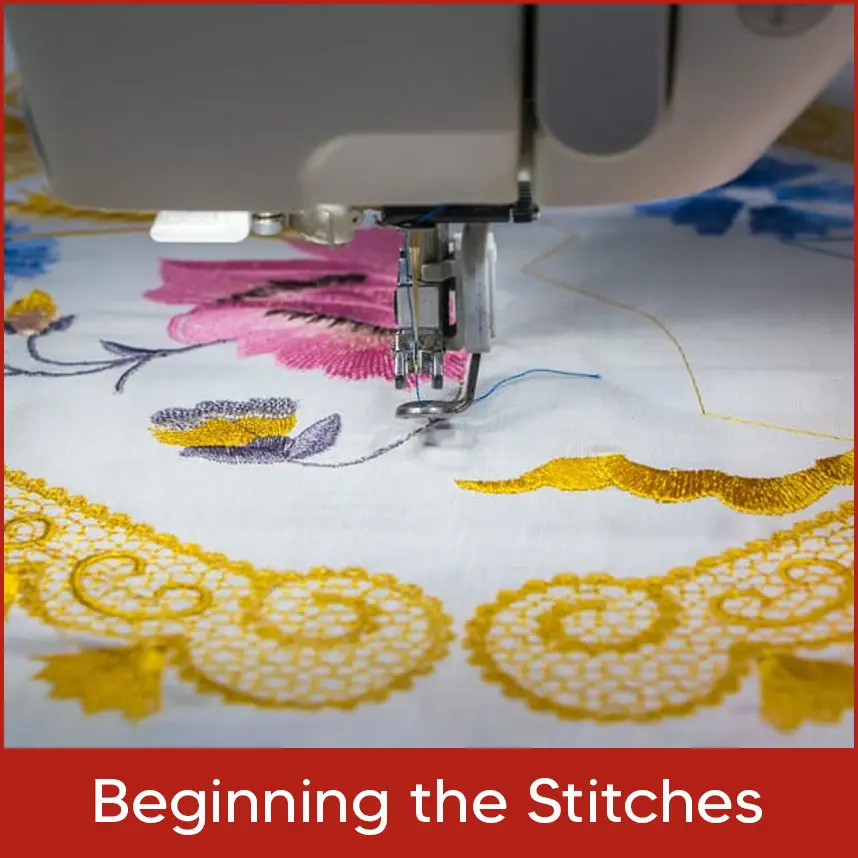
Start with outlining the design using a simple back stitch or running stitch. Begin stitching along the traced design, working with one color at a time. This will help create a clear outline for your project.
Practice Exercises for Beginners
Simple Patterns for Practice:
Begin with basic geometric shapes or simple patterns to practice your stitches. These could include circles, squares, or lines. Practice different stitches within these shapes to understand how each stitch works and its visual impact on the design.
As you progress, gradually move on to slightly more complex designs. Practicing regularly will help in gaining confidence and enhance your skills.
Tips to Improve Stitch Consistency
Maintain an even tension on your thread while stitching. Avoid pulling too tightly or leaving the thread too loose, as this can affect the appearance of the stitches.
Practice the same stitch repeatedly to achieve consistency in stitch length and appearance.
Use a small embroidery hoop that comfortably fits the project you're working on. This helps maintain fabric tension and makes stitching more manageable.
Basic Stitches for Beginners in Embroidery
When it comes to embroidery for beginners, mastering a few basic stitches is essential. These stitches are the base of more complex designs and allow you to create beautiful and complicated patterns. Whether you're new to embroidery or looking to refine your skills, learning these basic stitches will help you on your creative journey.
1. Running Stitch
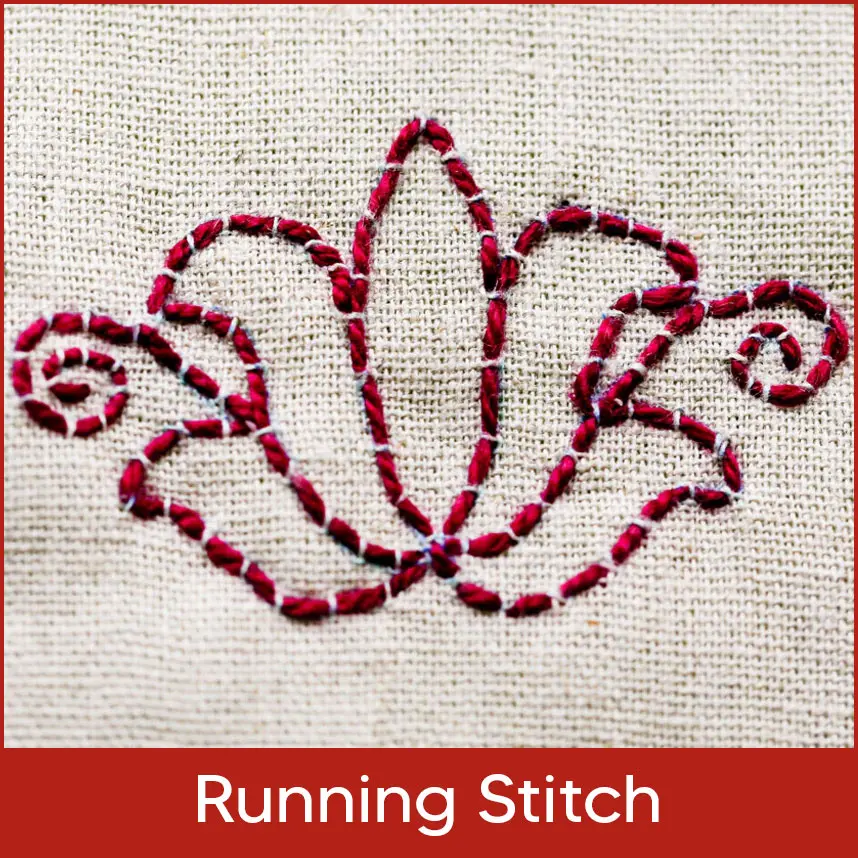
The running stitch is one of the simplest stitches for beginners. It includes making straight even stitches in a continuous motion, perfect for outlining and adding decorative details to your design.
2. Backstitch
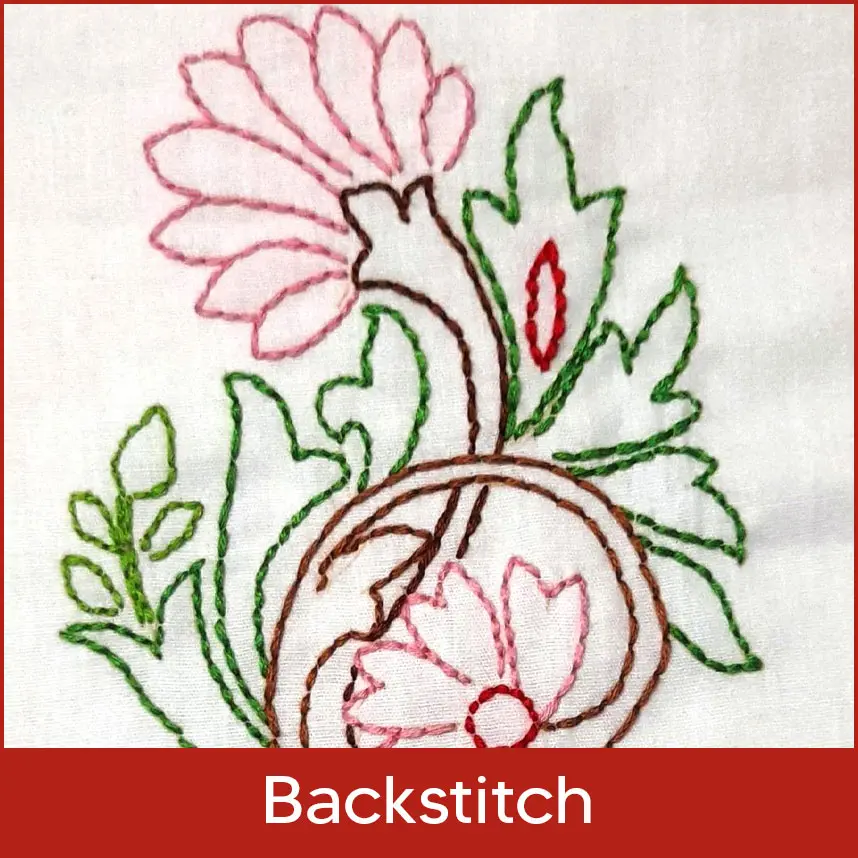
The backstitch is another fundamental stitch that creates a solid line. It involves stitching backward, then forward, to create a continuous line. This stitch is great for creating fine outlines and adding text to your embroidery.
3. Split Stitch
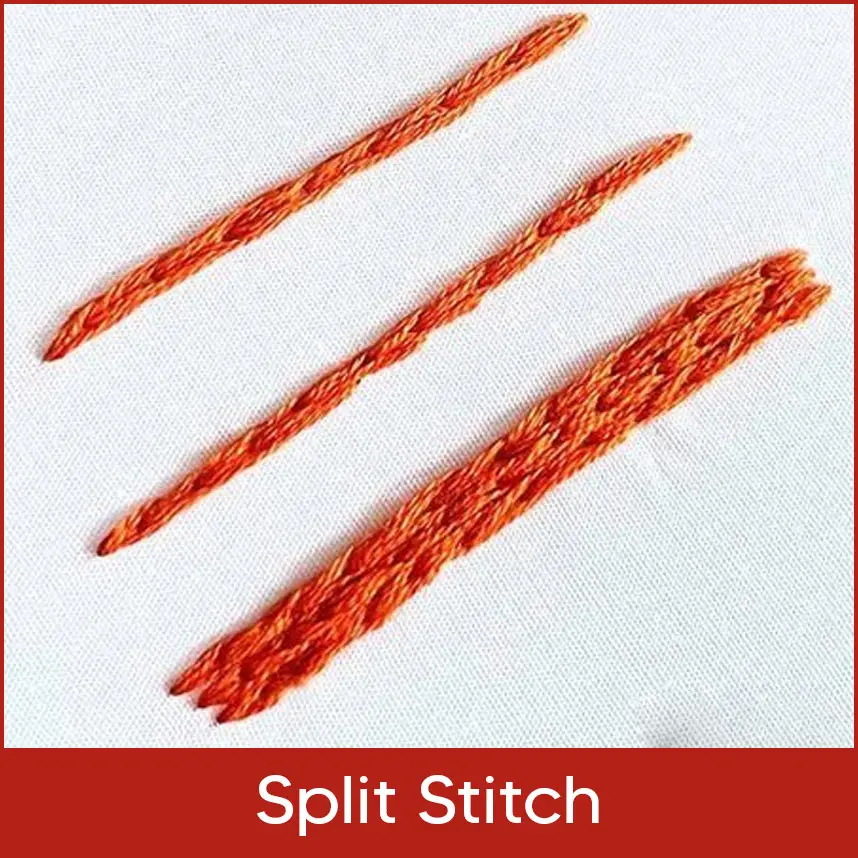
The split stitch is a decorative stitch that can be used for outlining or filling in larger areas. To create this stitch, bring the needle up through the fabric and then insert it back down through the previous stitch, splitting the thread.
4. French Knot
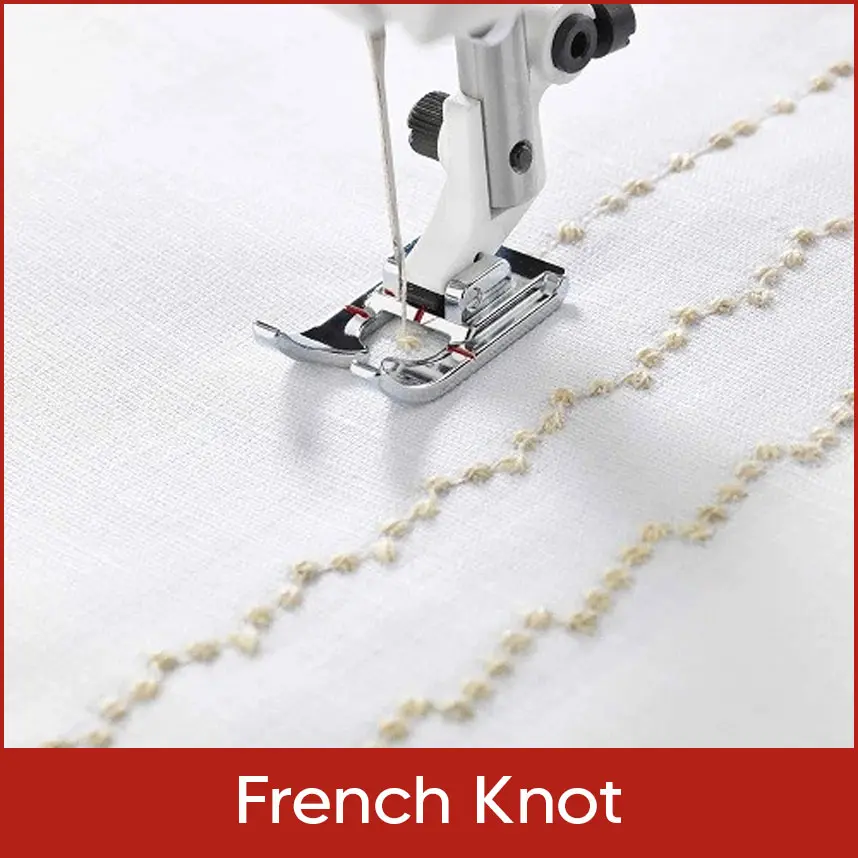
French knots are small knots that add texture and dimension to your embroidery. To create this stitch, bring the needle up through the fabric, wrap the thread a few times, then insert the needle. And insert it back into the fabric near the starting point, holding the wraps in place.
5. Satin Stitch
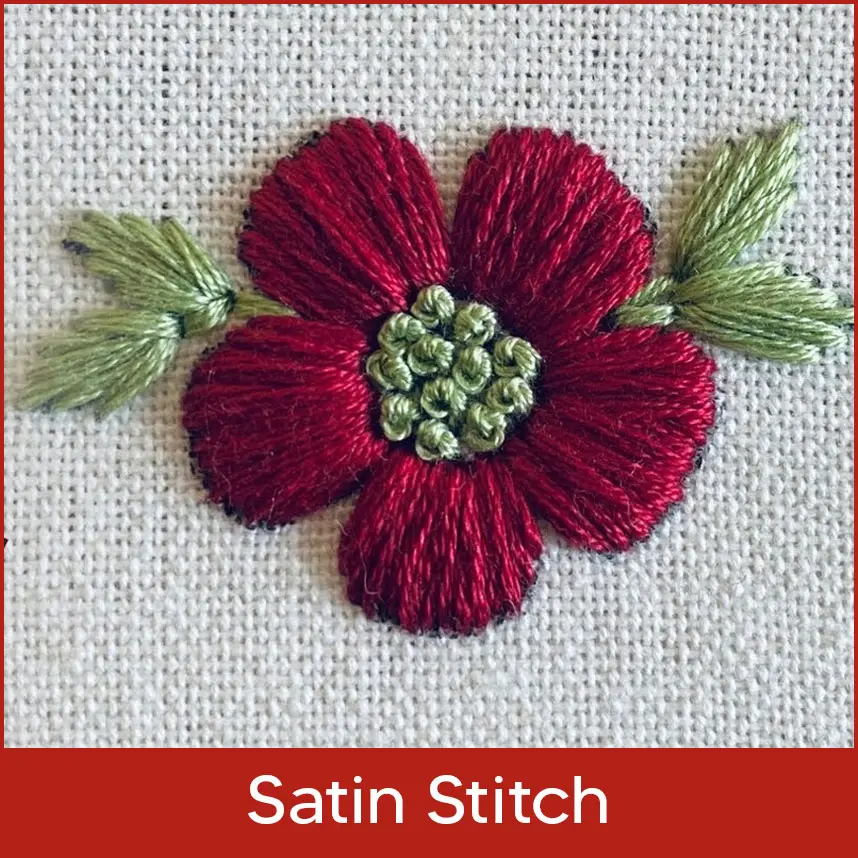
The satin stitch is ideal for filling in larger areas with smooth, solid stitches. It involves stitching parallel lines close together until the desired area is covered, creating a satin-like finish.
6. Straight Stitch
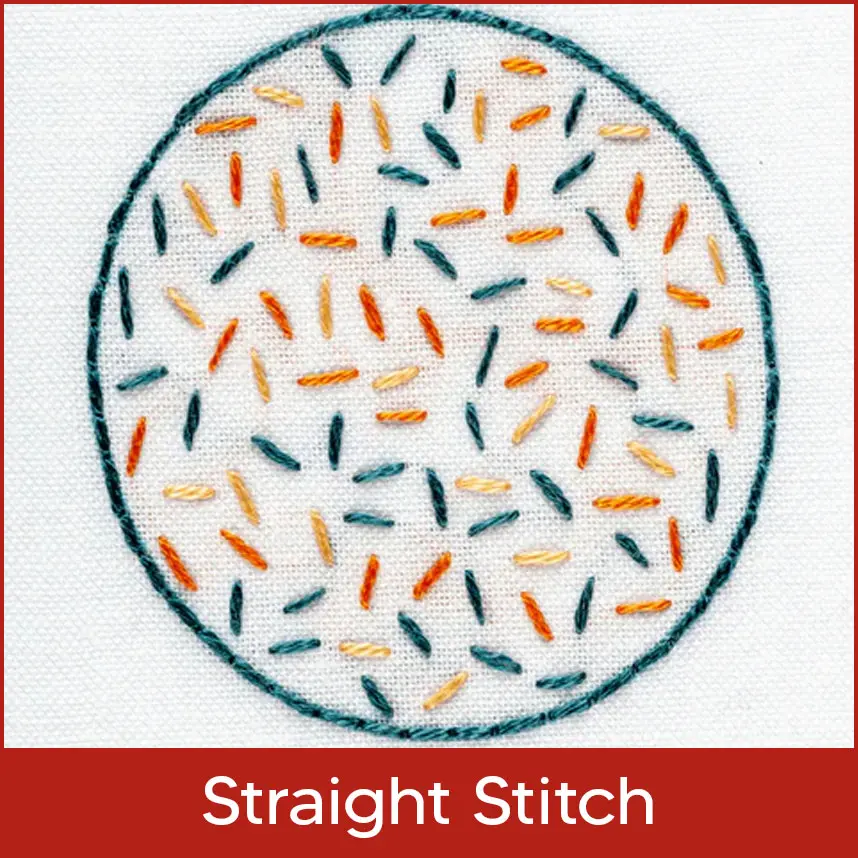
The straight stitch is a fundamental embroidery stitch that every beginner should learn. It is a versatile stitch that can be used to create various shapes and designs. Just like drawing a line with a pencil, the straight stitch allows you to make continuous lines or individual dots.
The beauty of the straight stitch lies in its simplicity and adjustability. You can easily change the length of your stitches to suit your needs. Shorter stitches create a dense line, while longer stitches allow for quick coverage of larger areas. This makes the straight stitch perfect for creating both complex details and bold outlines.
7. Detached Chain Stitch
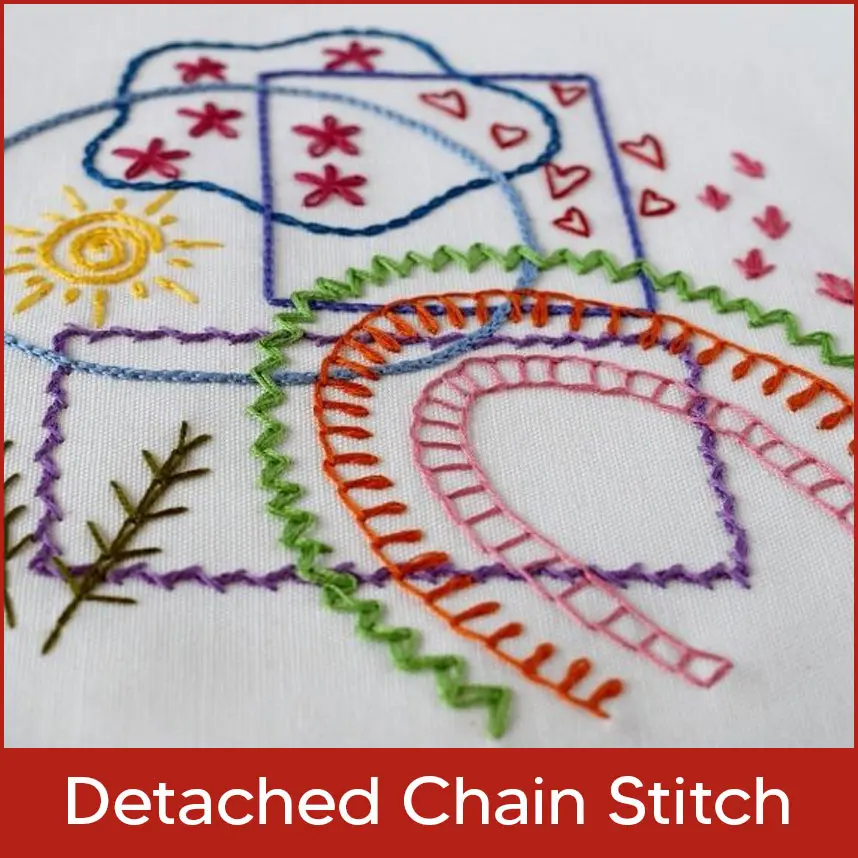
The Detached Chain Stitch is a versatile stitch in embroidery that can be used for both outline and filling purposes. It is made up of individual loops that are not interconnected, giving it a unique and decorative look.
To create the Detached Chain Stitch, start by bringing your needle up through the fabric at the desired starting point. Then, form a loop by inserting the needle back into the fabric right next to where it came up. The loop should be open and not tightened.
To anchor the loop, bring the needle back up through the fabric at the base of the loop. This will secure the loop in place. Repeat this process to create as many loops as desired, spacing them evenly along the desired shape or outline.
To finish the stitch, bring the needle to the back of the fabric and secure the thread.
8. Feather Stitch
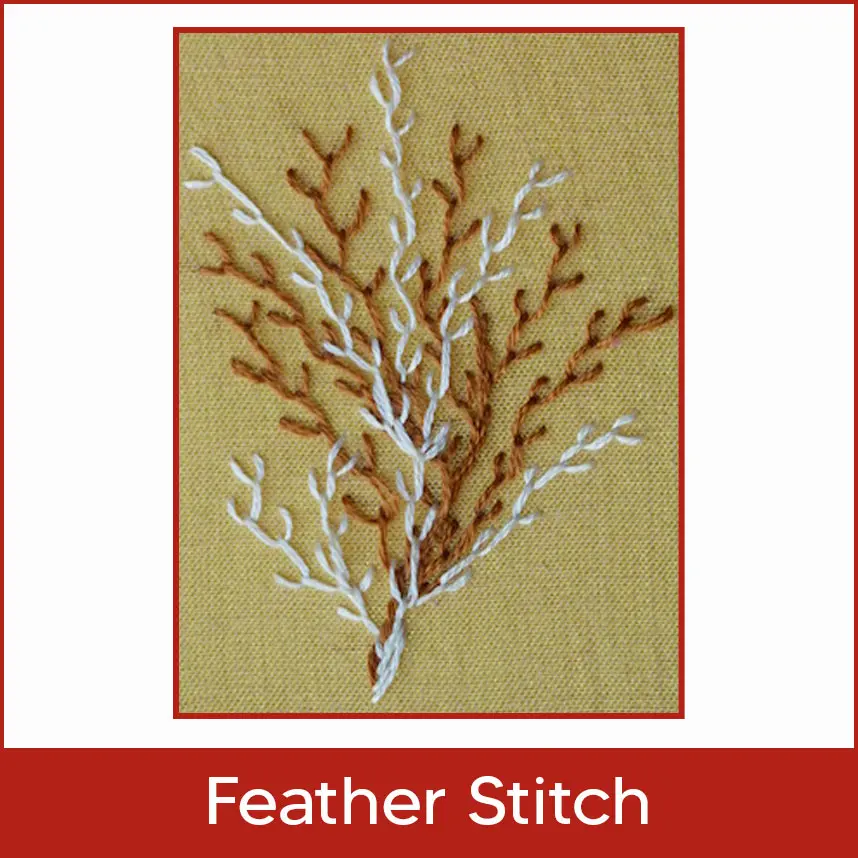
To create the feather stitch, start by bringing the needle and floss up through the fabric, creating a straight stitch and allowing a loop to form. Space the next stitch in the opposite direction of the previous stitch, creating another loop.
To secure each loop individually, use a longer stitch and work from the top down. This will ensure that the loops stay in place.
By practicing and mastering these basic stitches, you'll gain the confidence and skills necessary to explore more advanced stitches and techniques in your embroidery journey. Remember, embroidery is a versatile and creative craft, and the possibilities are truly endless.
Troubleshooting and Tips: Embroider for Beginners
Knots and Tangles: If your thread keeps knotting or tangling, try using shorter thread lengths. Also, make sure that the thread doesn't twist too much while stitching.
Uneven Stitches: Uneven stitches might result from inconsistent tension. Practice maintaining an even tension on the thread, neither too loose nor too tight.
Fabric Puckering: Puckering occurs when the fabric is pulled too tightly in the hoop. Loosen the hoop slightly to release tension and avoid stretching the fabric excessively.
Misplaced Stitches: Mistakes in stitching can happen. To correct misplaced stitches, gently unpick the incorrect stitches with a seam ripper or the tip of your needle and re-stitch the area.
Neater and More Professional-Looking Beginner Embroidery
1. Thread Management
Separate embroidery floss strands according to the project's requirements. Use a single strand for finer details and multiple strands for bolder lines or fills. Also, be mindful of thread lengths to prevent tangling.
2. Consistency in Stitching
Practice consistent stitch length to achieve a uniform and neat appearance. Slow down your stitching pace if necessary to maintain control and even stitches.
3. Quality of Materials
Invest in good-quality embroidery materials. Higher-quality threads and fabrics make a significant difference in the final appearance of your embroidery.
4. Regular Practice
Regular practice helps in improving your embroidery skills. Set aside dedicated time for stitching to enhance your techniques and develop a more polished finish.
How to Take Care of Your Embroidery Projects as a Beginner?
1. Cleaning and Storage
When the embroidery is complete, gently hand wash the fabric using mild detergent if necessary. Avoid scrubbing directly on the stitches. Air dry or lay flat to dry to maintain the shape and appearance of the embroidery.
2. Framing and Display
When framing the embroidery, use mats and materials to prevent discoloration over time. Keep the piece out of direct sunlight to avoid fading. Store finished projects in a clean, dry place to prevent dust accumulation.
3. Preservation
If not framed, store finished embroidery in acid-free tissue paper and avoid folding it to prevent creases or damage. Regularly check stored pieces to ensure they are in good condition.
By being mindful of common mistakes, implementing tips for better outcomes, and practicing proper care and preservation techniques, you can ensure that your embroidery projects remain in good condition and showcase the effort and artistry put into them.
Conclusion
Embroidery is a wonderfully creative and fulfilling craft, providing a platform for artistic expression through complicated designs. Whether you're just starting as a beginner or an experienced embroiderer, this guide shares valuable insights to help you embark on your embroidery journey.
With the right materials, techniques, and consistent practice, you can achieve neater and more professional-looking embroidery. Caring for your projects ensures they stand the test of time, whether framed or stored.
So, take the first step into the world of embroidery and let your creativity soar. And when you're ready, explore professional embroidery services to bring your designs to life with precision and expertise.
Happy stitching!
FAQs (Frequently Asked Questions)
Q1. What is the history of embroidery?
Embroidery has a rich history dating back centuries, originating in ancient civilizations and evolving across regions and periods, contributing unique styles and stitches to the craft.
Q2. Why has embroidery become popular in contemporary times?
Embroidery's popularity has surged due to factors such as the maker movement, the joy of creating personalized items, and the influence of social media, fostering a vibrant community of embroiderers.
Q3. What are the benefits of learning embroidery for beginners?
Embroidery enhances concentration, fine motor skills, and patience. It promotes mindfulness and relaxation, making it a therapeutic hobby. It also opens doors to artistic expression and potential entrepreneurial opportunities.
Q4. What essential materials do beginners need to start embroidery?
Beginners require embroidery needles, hoops, thread, scissors, fabric, and patterns to begin their embroidery projects.
Q5. Can you provide a step-by-step guide for beginners?
Yes, we provide a step-by-step guide that includes choosing a pattern, transferring the design onto fabric, hooping the fabric, beginning the stitches, and practicing with simple patterns for skill improvement.
