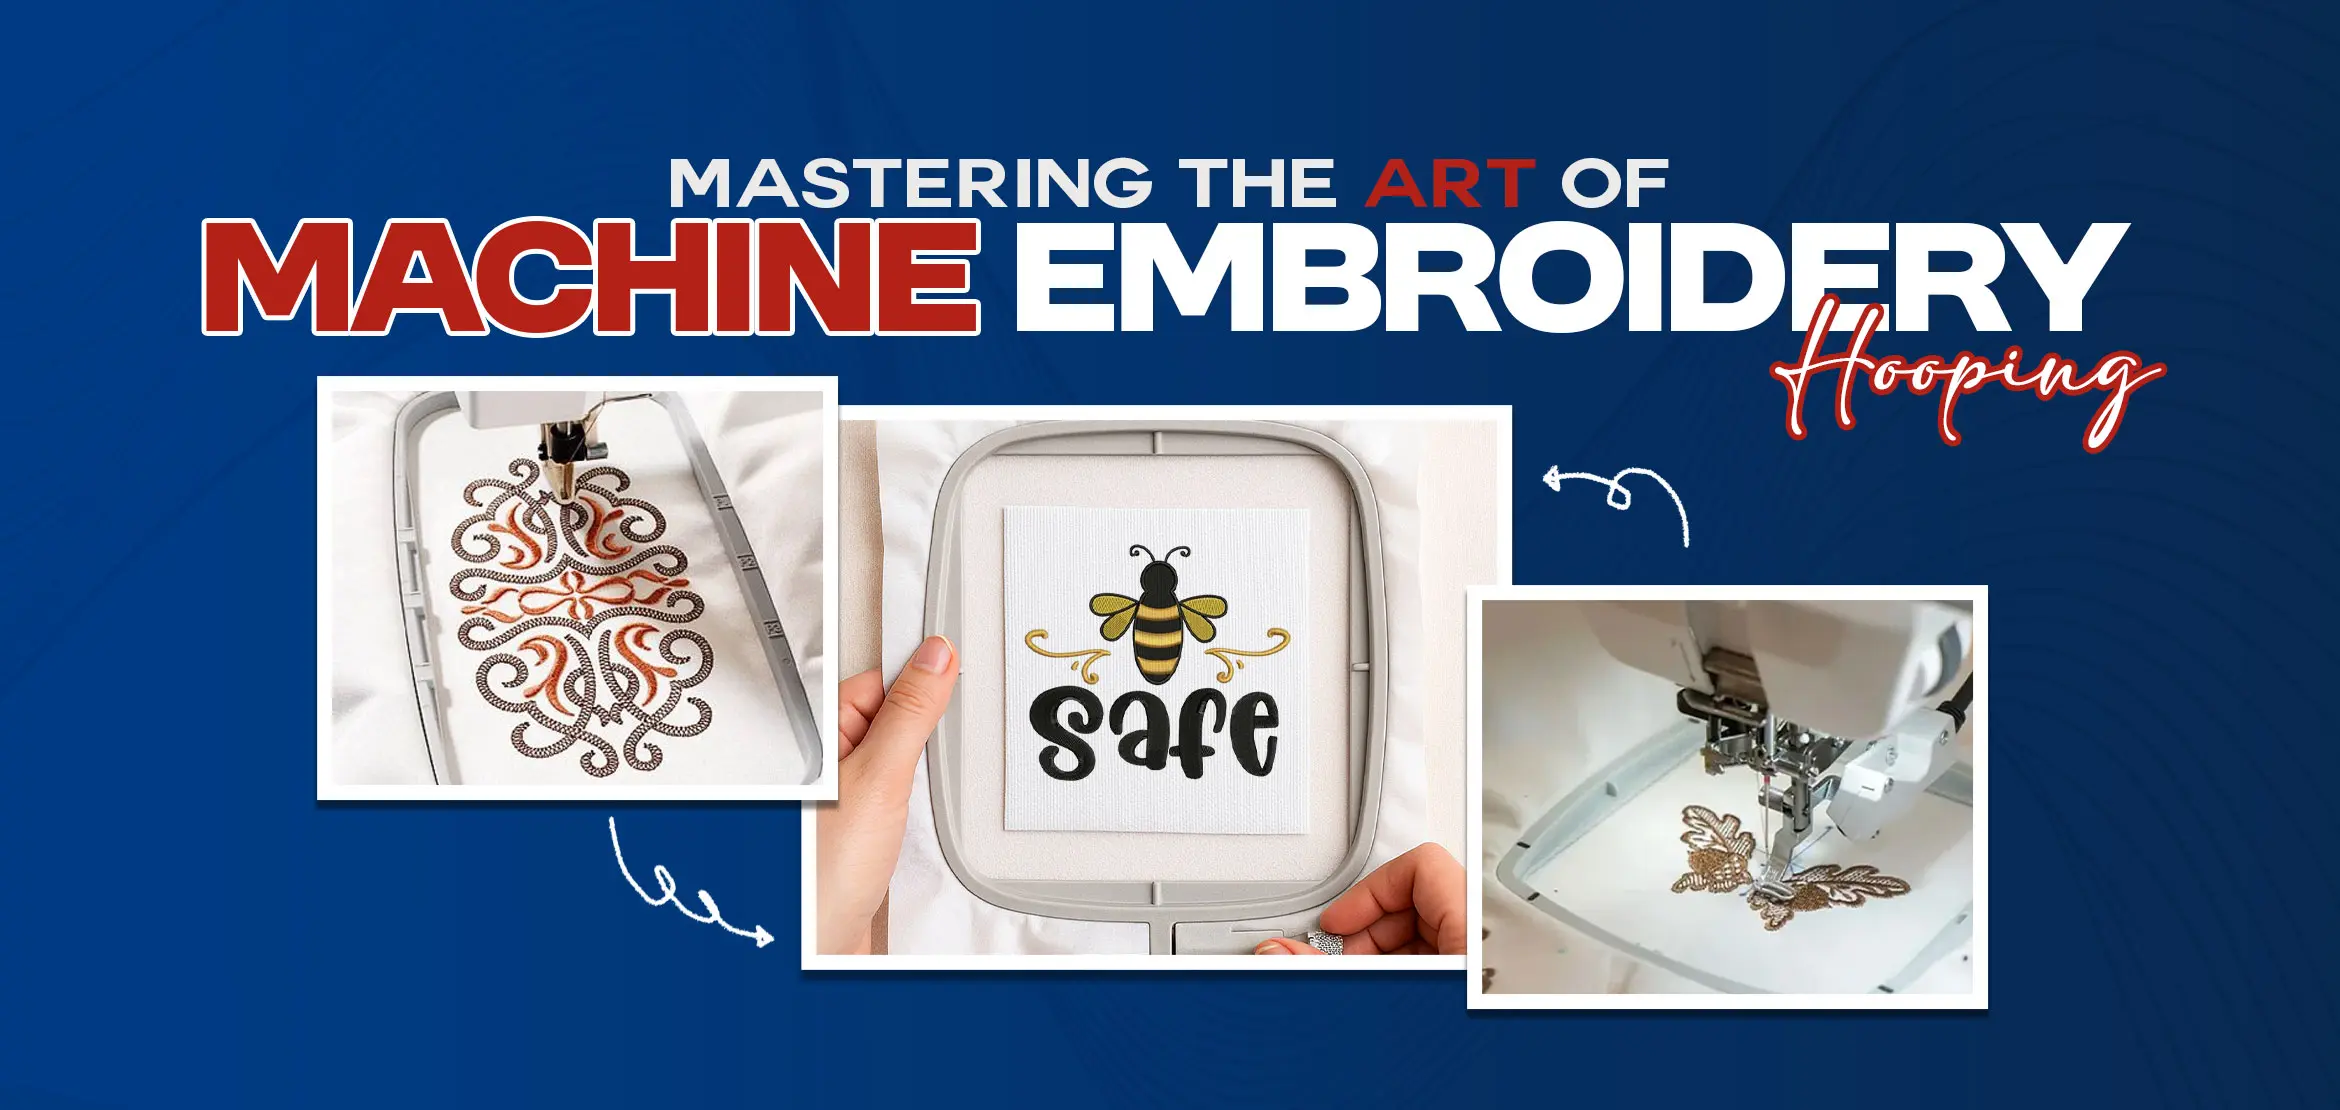
Mastering the Art of Machine Embroidery Hooping
Table Of Content
- Understanding the Basics of Hooping
- Choosing the Right Hoop
- Project Size
- Fabric Type
- Design Density
- Preparing Your Fabric
- Stabilizer
- Mark the Center
- Iron the Fabric
- Hooping Techniques
- Traditional Hooping
- Floating
- Hoopless Method
- Troubleshooting Common Hooping Issues
- Fabric Slippage
- Puckering
- Misalignment
- Confused About Hooping? Let Digitizing USA Do It for You
- Tips for Perfect Hooping
- Practice
- Invest in Quality Hoops
- Use Hooping Tools
- Advanced Hooping Techniques
- Floating Technique
- Hoop Helpers and Accessories
- Conclusion
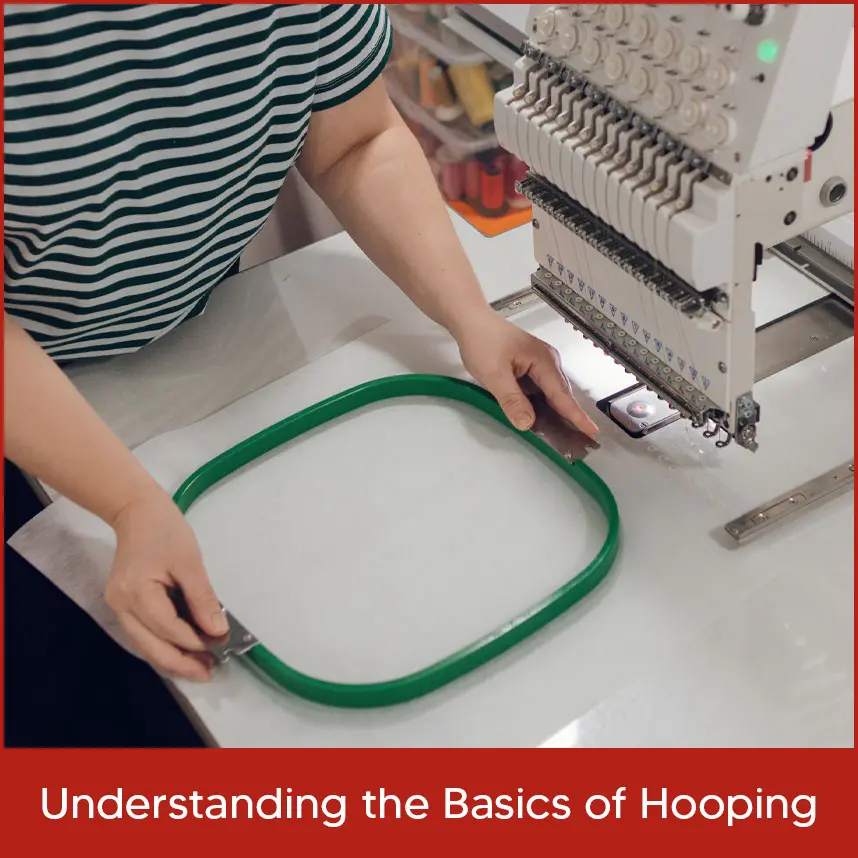
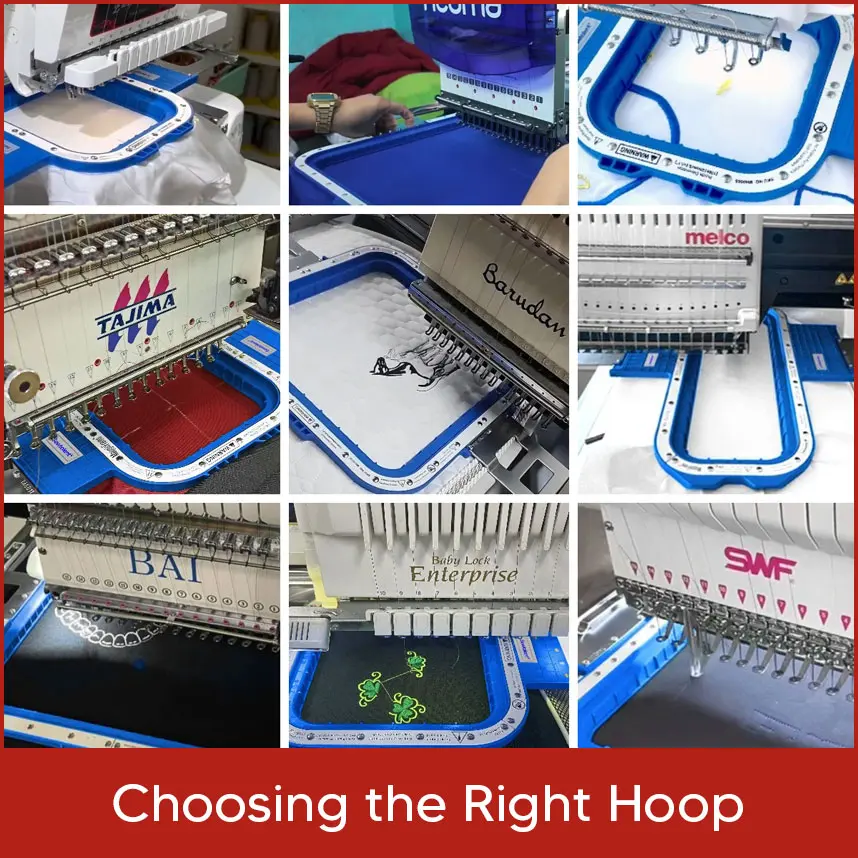
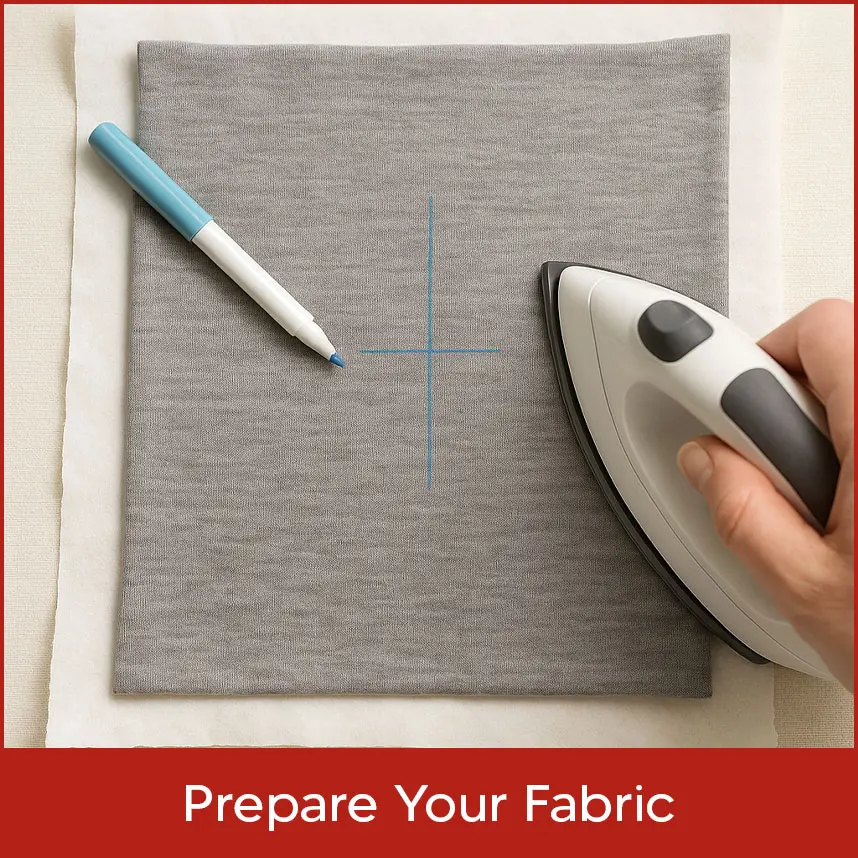
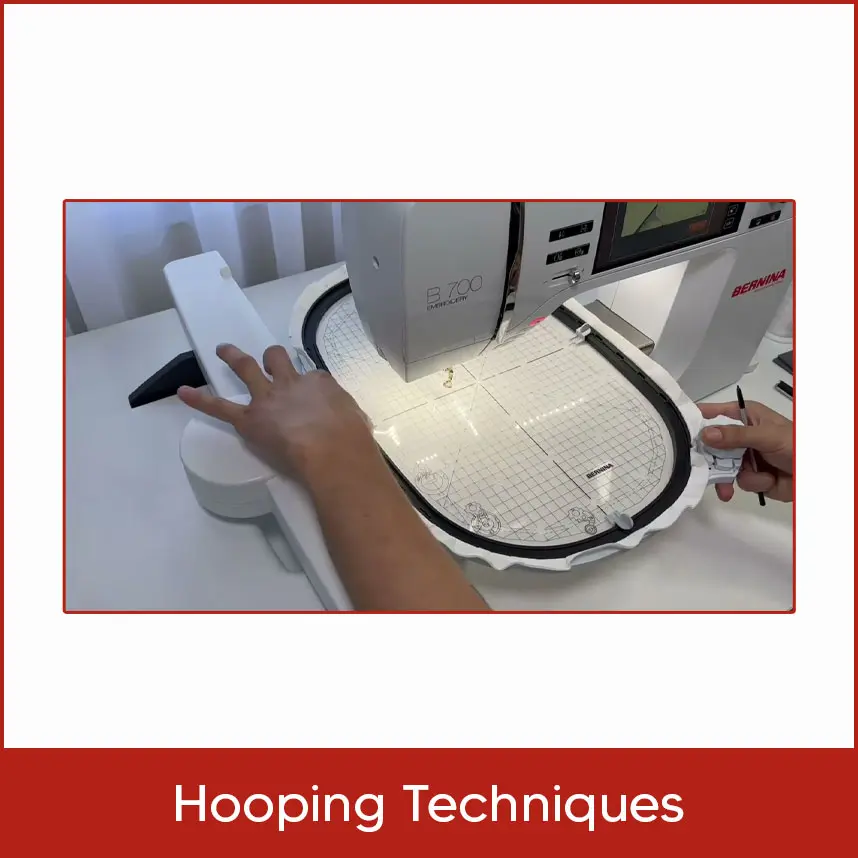
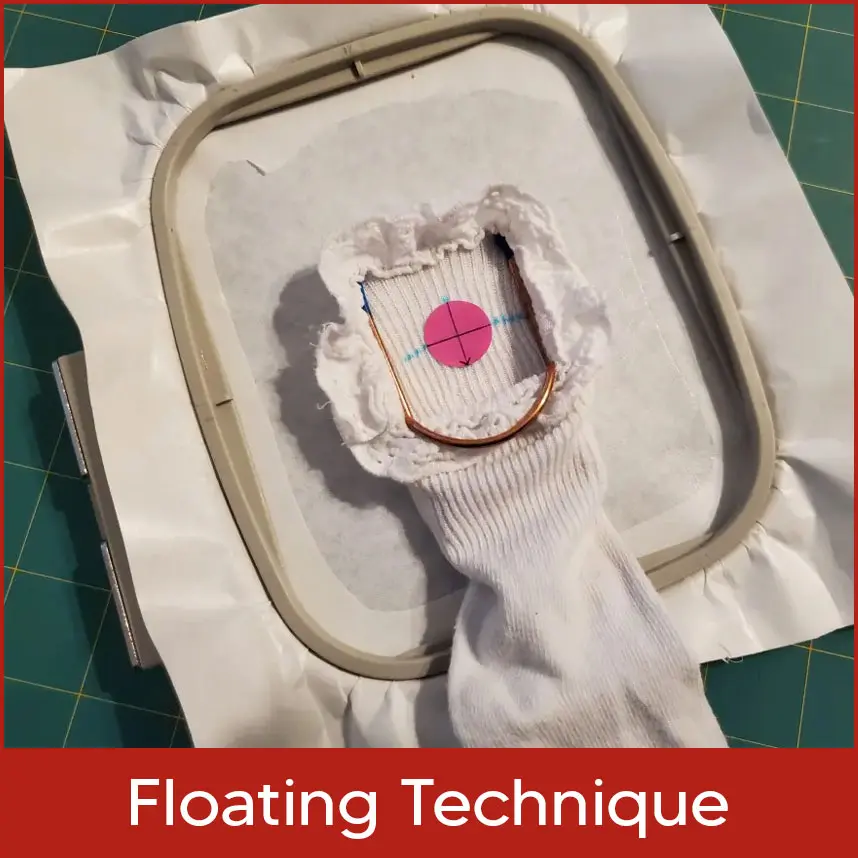
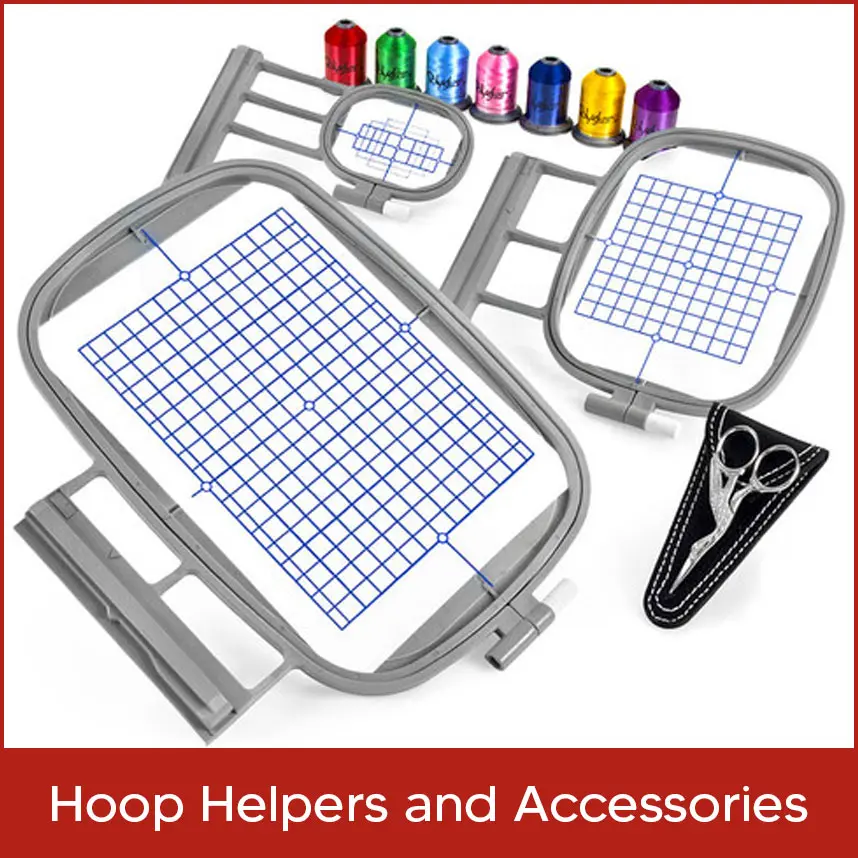
Machine embroidery is a craft that uses technology and creativity, creating complex designs with precision and ease. An important step in this process is hooping, which ensures your fabric remains tight and secure throughout the stitching process. Whether you're a seasoned embroiderer or just starting, understanding how to hoop properly can help improve the quality of your embroidery. Let’s delve into the essentials of machine embroidery hooping and explore some tips and tricks to achieve perfect results every time. Hooping involves securing your fabric within an embroidery hoop to keep it stable while the machine stitches your design. The key element of a hoop is the inner ring, which holds the fabric, and the outer ring, which tightens around the inner ring to lock the fabric in place. The right hooping technique prevents fabric movement, puckering, and distortion of your design. Selecting the appropriate hoop size for your project is important. Here are some considerations: Make sure the hoop fits your design comfortably. A hoop that's too small can cause the fabric to bunch, while a hoop that's too large may not hold the fabric tightly. Different fabrics require different hooping techniques. Delicate fabrics like silk need gentle handling, whereas thicker fabrics like denim need a more secure grip. For dense designs, a solid hoop and extra stabilization are essential to prevent shifting. Preparation is key to a successful hoop. Follow these steps: Use the appropriate stabilizer based on your fabric and design. Cut-away stabilizers are great for stretchy fabrics, while tear-away stabilizers work well for woven fabrics. Use a fabric marker or chalk to mark the center of your design on the fabric. Align this mark with the center of the hoop to ensure perfect placement. Smooth any wrinkles or creases to ensure the fabric lies flat in the hoop. Place the stabilizer behind the fabric, position both in the hoop, and tighten the outer ring. Ensure the fabric is tight but not stretched. If hooping is challenging, especially with bulky or delicate fabrics, you can float the fabric. Hoop only the stabilizer, then secure the fabric on top using temporary adhesive spray. For particularly tricky fabrics, use a sticky stabilizer. Lay the fabric on top, press it firmly to adhere and stitch away without actually hooping the fabric itself. Ensure the hoop is tightened properly. Consider using a grippy material between the fabric and hoop for extra hold. This can occur if the fabric isn't stabilized correctly. Make sure the fabric is tight in the hoop and change the stabilizer you chose. Always double-check the center marks on your fabric and hoop. Some machines have alignment tools that can help ensure precision. If you’re an embroidery expert but still find hooping tricky or if you're simply short on time, Digitizing USA is here to help. We specialize in providing custom embroidery digitizing servicesin the USA, offering precision-ready embroidery files that save you time and ensure flawless results. Whether you need digitized files for patchesor detailed embroidery designs, we’ve got you covered at affordable and minimal rates without compromising on quality. Let us take the hooping headache off your hands. Contact Digitizing USAtoday and get your designs digitized with perfection. Like any skill, hooping improves with practice. Try different fabrics and stabilizers to find what works best for you. A good-quality hoop makes a significant difference in the ease and outcome of your embroidery. Tools like hooping stations or clamps can make the process easier and more accurate. The two most significant techniques are listed below: It is a versatile hooping method for fabrics that are too thick, delicate, or oddly shaped to fit into a hoop comfortably. In this approach, only the stabilizer is hooped, and the fabric is "floated" on top, secured with temporary adhesive spray or sewn stitches. This is especially useful for materials such as towels, fleece, or velvet, where hoop marks can damage the surface. It also works very well for embroidered patches, complicated designs require extra precision. Although floating can save time, it is very important to ensure that the fabric is well attached to the stabilizer so that it doesn't shift while stitching. With practice, this technique can become a part of your embroidery skills. Hoop helpers-including sticky stabilizers, spray adhesives, and clamps, can make any slippery or stretchy material a delight to work on. Take the example of sticky stabilizers that do not attach to fabrics such as silk and spandex directly before hooping, so the delicate surfaces are protected. The clamps can be seen as having added tension if areas have slipped from the hoop for more consistent stitching. Specialty hooping can provide the necessary support for curve shaped items such as hats or sleeves for precision embroidery. These tools make hooping easier, but it is essential to couple them with the right stabilizer choices to avoid puckering or misalignment. By incorporating these accessories, embroiderers can confidently work with challenging fabrics and unique designs. Mastering the art of machine embroidery hooping is essential for producing beautiful, professional-quality designs. By understanding the basics, choosing the right tools, and using effective techniques, you can ensure your fabric stays stable and your designs come out flawless.Understanding the Basics of Hooping
Choosing the Right Hoop
Project Size
Fabric Type
Design Density
Preparing Your Fabric
Stabilizer
Mark the Center
Iron the Fabric
Hooping Techniques
Traditional Hooping
Floating
Hoopless Method
Troubleshooting Common Hooping Issues
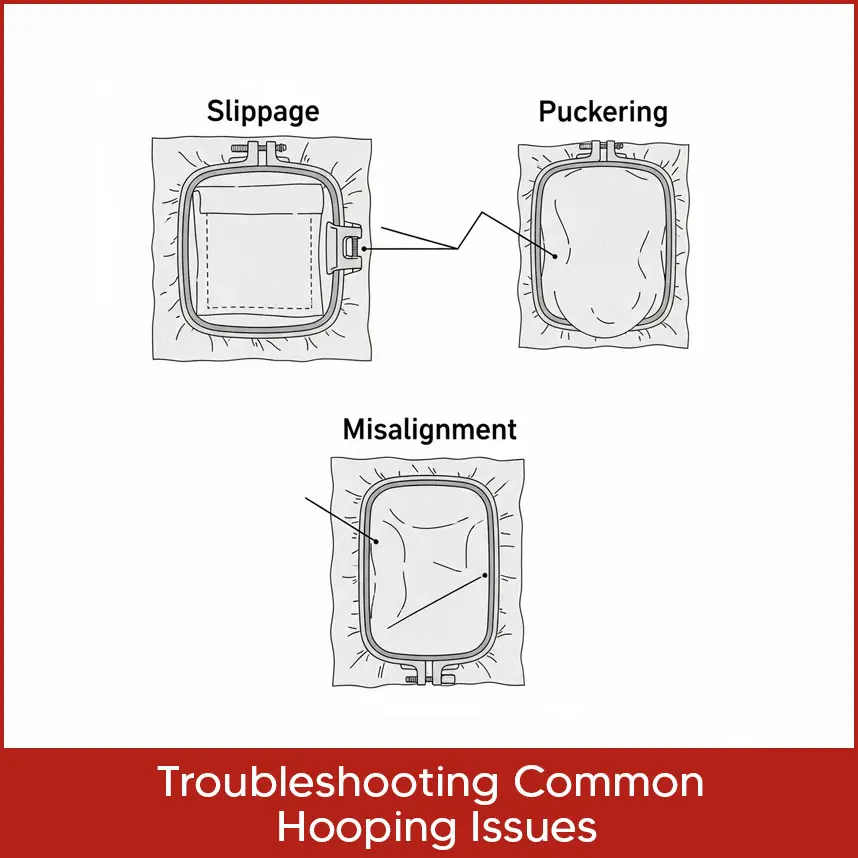
Fabric Slippage
Puckering
Misalignment
Confused About Hooping? Let Digitizing USA Do It for You
Tips for Perfect Hooping
Practice
Invest in Quality Hoops
Use Hooping Tools
Advanced Hooping Techniques
Floating Technique
Hoop Helpers and Accessories
Conclusion

