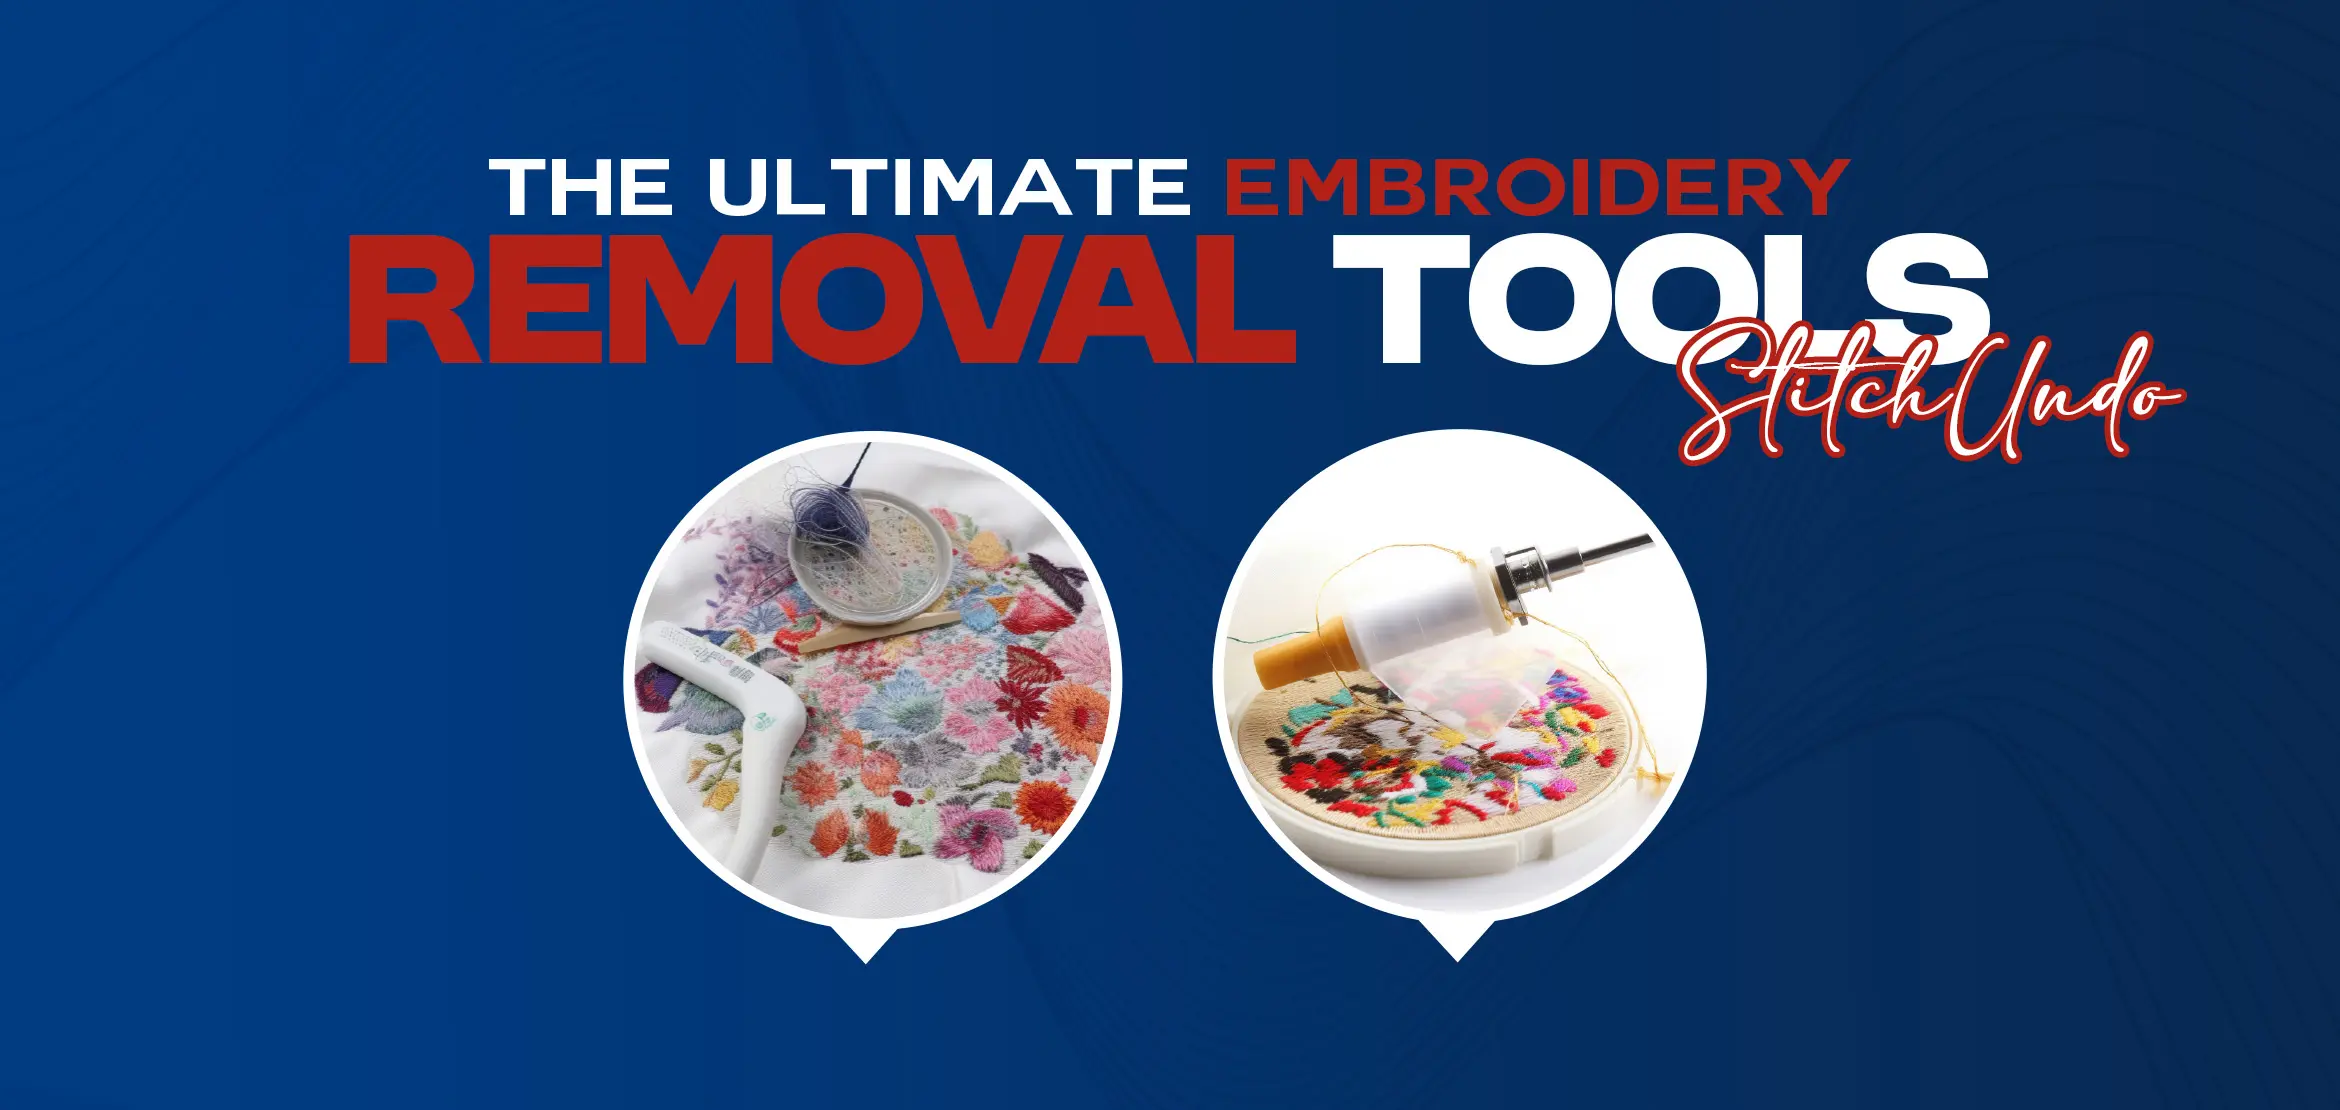
What's Best for Embroidery Removal?
Want to know how to remove the embroidery? Whether handmade or machined, embroidery takes time, and it's never fun when you need to remove all those stitches.
But sometimes, it is necessary. No matter the reason, learning how to remove some or all of the embroidery from a design is essential for hobbyists and keeping the fabric intact for new stitches.
Reasons for Embroidery Removal
Some situations may require embroidery removal and here we will mention some ways to deal with stitch removal.
The primary reason is when you no longer want an entire layout on a fabric.
Another common reason for removing embroidery is when you are working on a project, and something has gone wrong.
Maybe the dots don't look right, or you want a different color. It usually involves removing a small part of a drawing to start over.
Whatever the reason and method you use, it is essential to ensure that the fabric is not damaged during the work. Ready to read amazing tricks? Grab your removal box and get started!
Start By Cutting off the Embroidery Tips
If you are removing finished embroidery, start here. First, cut the nodes in the area you want to remove. If you don't want to keep any embroidery, you can also cut the back of many stitches to make them quicker to remove.
Fine point embroidery scissors are an excellent tool for removing patches or embroidery.
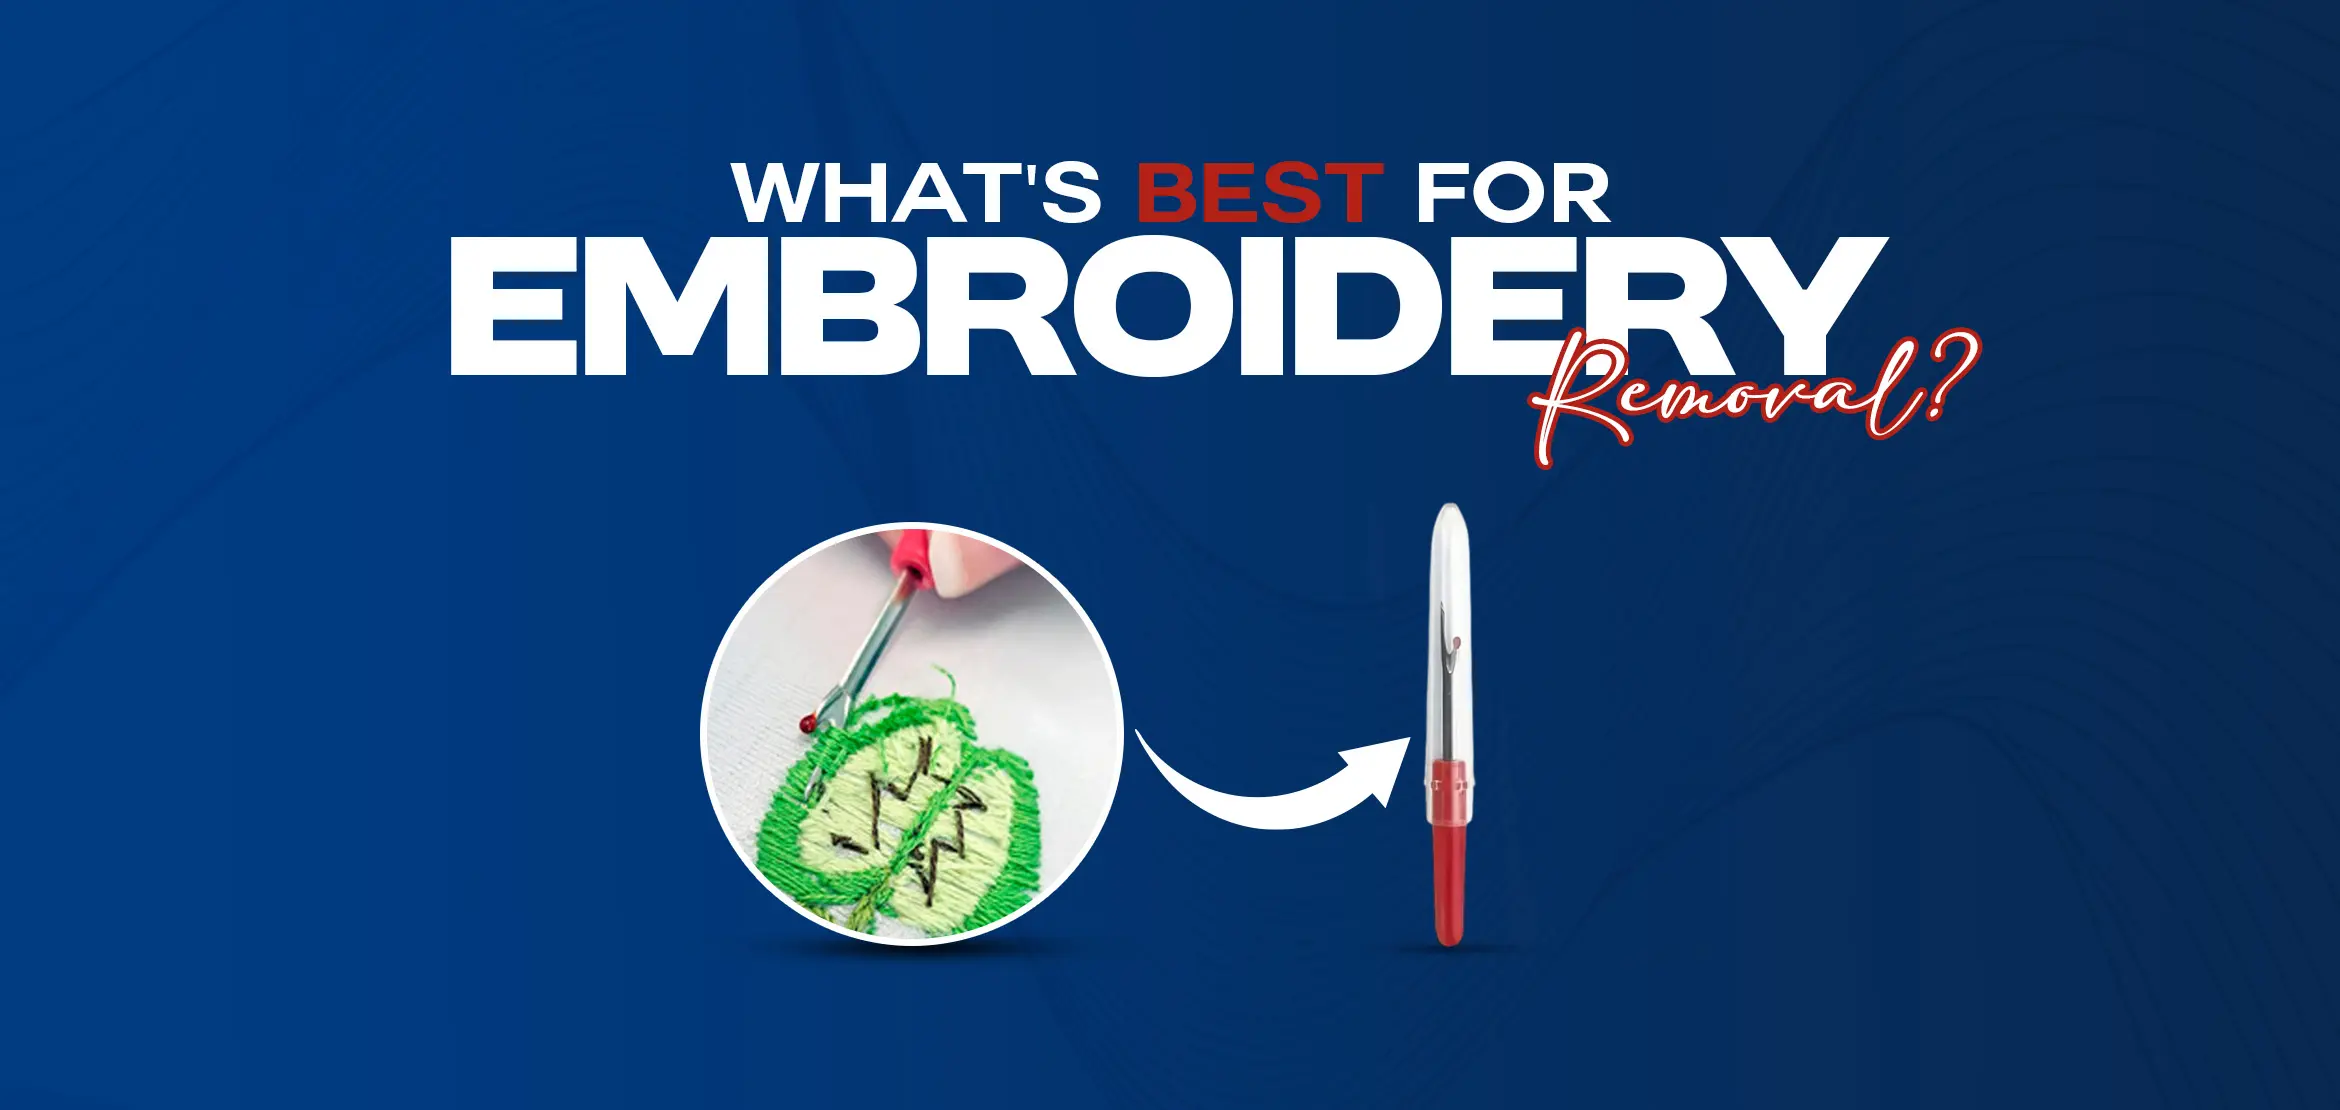
You can easily use a seam ripper for removal, but it may rip the back of many stitches at once, which is not a good idea.
Even with a seam ripper, you must work mechanically to avoid the risk of ripping the fabric.
Remove Stitches Carefully
Go easy if you are only removing part of your work to fix the hand embroidery. Slide the needle out of the thread and gently use it to pull the stitches gently.
It may be helpful to use a blunt needle, such as a cross-stitch needle, to undo the stitches.
You can easily slide the needle under the back of the stitches to undo them. Turn the embroidery over and remove a little more from the front.
If you sew with a sharp needle, you can use your eye to undo the stitches and prevent the fabric from sticking.
You have to work back and forth between the front and back to pull the embroidery through gently.
If you experience any resistance, check to see what is causing this rather than pulling more. The process can be done at a slow pace.
If you cut multiple points, the line will come out in bits. It is faster, but you still need to remove the threads carefully.
Removing Holes From the Embroidery Fabric
After the stitches are removed, there will be holes in most fabric types. Even the most open weave materials show signs of where the threads used to be. To close them, there are a few methods you can try.
The easiest solution is to use your fingernail to align the fibers again. Rubbing the fabric fiber in two directions corrects most holes left by hand embroidery. You can also use the steam from your iron to help close these holes.
When removing embroidery from felt, holes may be pretty obvious, but you can use a bit of moisture and a needle to refill the felted wool or wool blend areas.
Other non-woven or very delicate materials are much more difficult to preserve than the fabric, and in some cases, there is no concealment of the holes without covering them. It is an excellent opportunity to add a new embroidery or patch!
