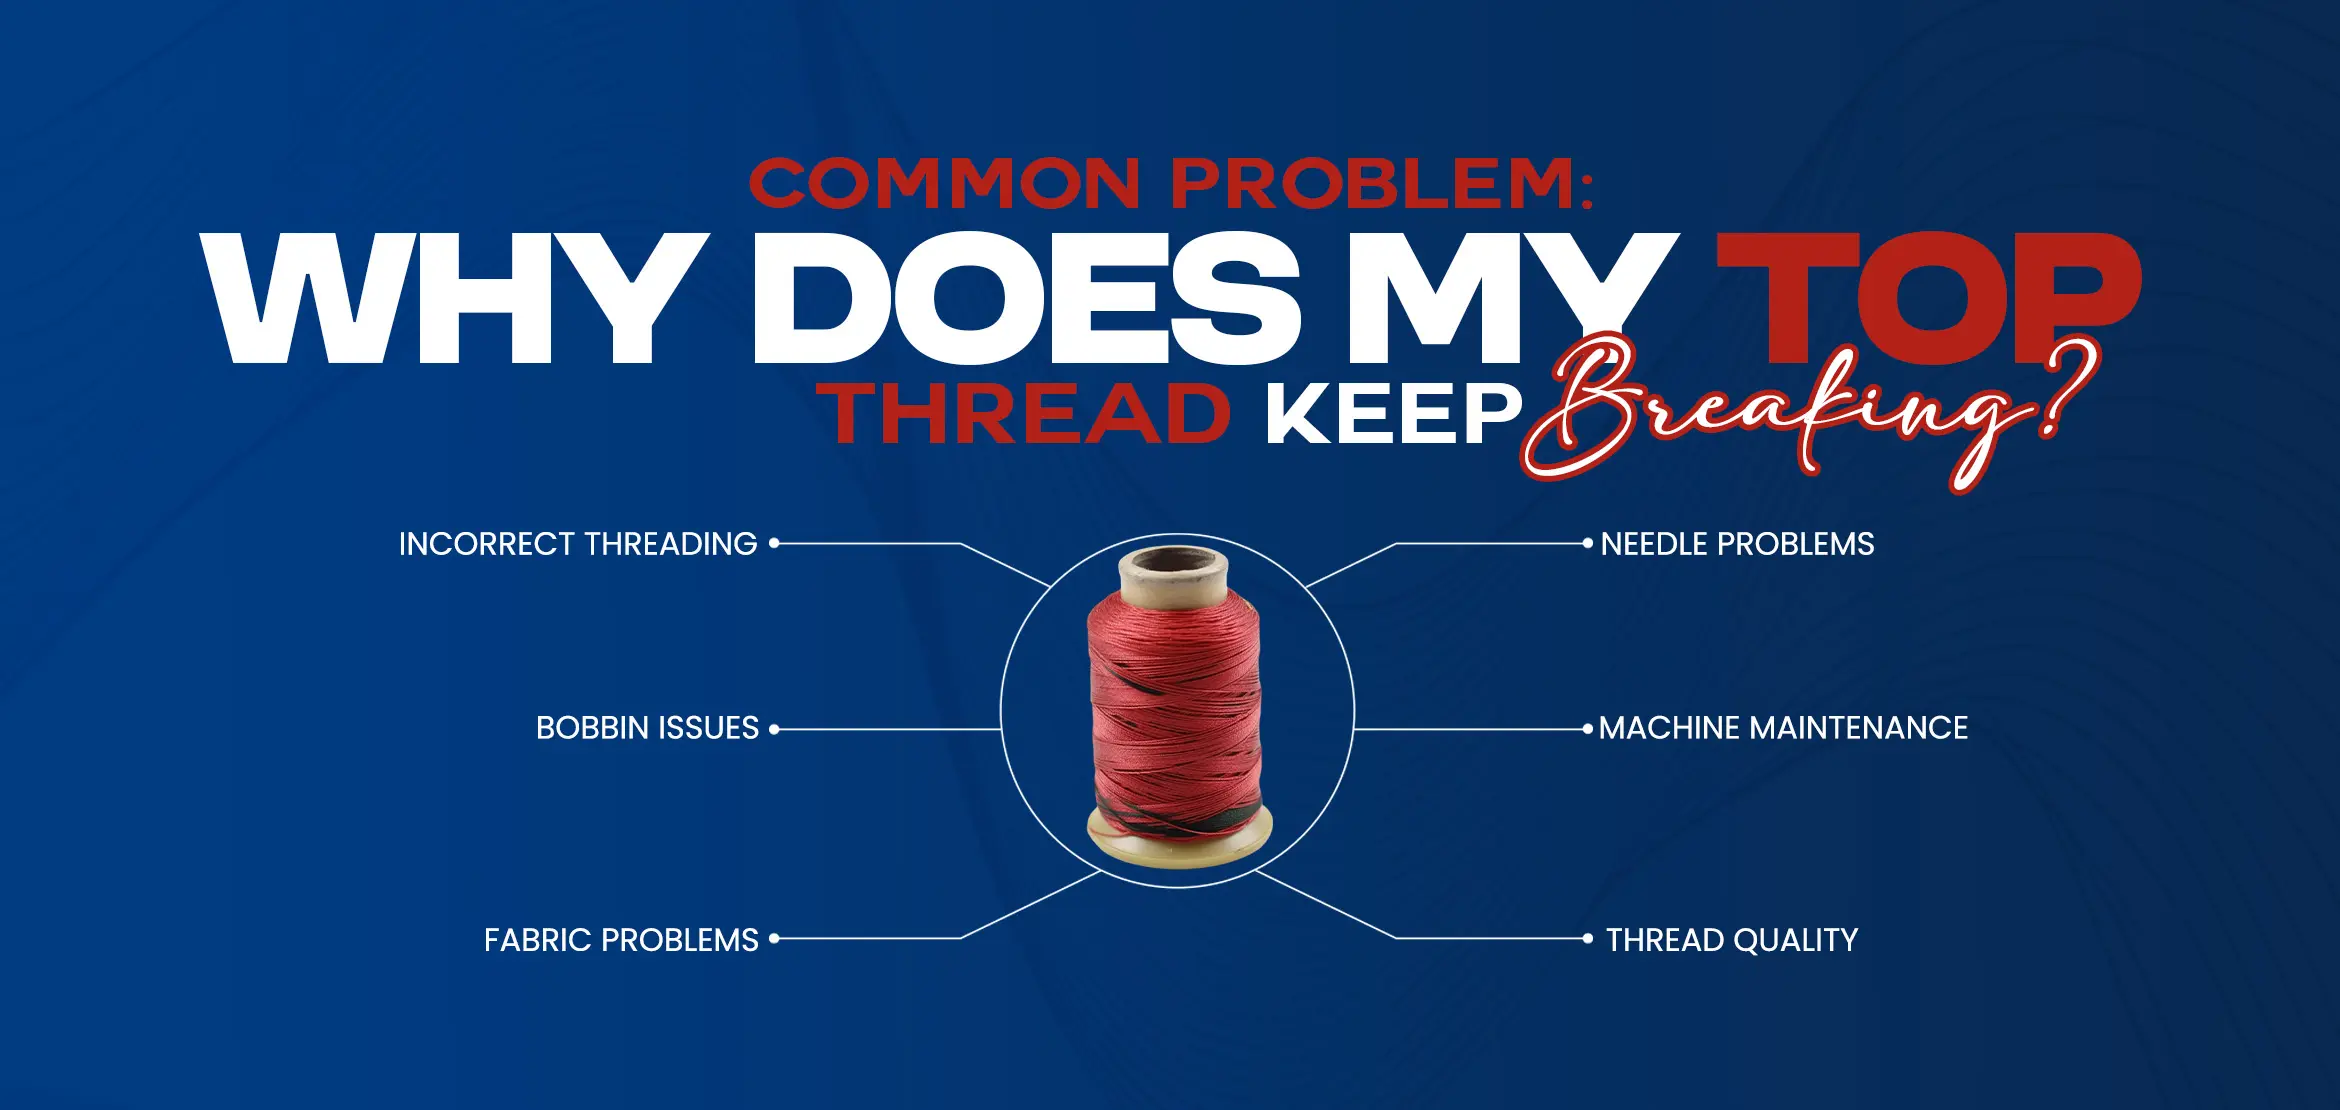
Common Problem: Why does my top thread keep breaking?
Table Of Content
- Common Reasons Why Your Top Thread Keeps Breaking And How to Fix the Issue
- Tension Issues
- Needle Problems
- Incorrect Threading
- Bobbin Issues
- Fabric Problems
- Machine Maintenance
- Sewing Machine Top Thread Breaking
- Another Issue: Top Thread Keeps Breaking Singer
- Thread Quality
- Bobbin Threading Issues
- Improper Thread Tension
- The upper Thread Keeps Breaking
- Conclusion
Breaking threads is one of the most annoying and potentially disastrous issues that can crop up when sewing. It's also one of the most common, and if you're here, chances are you've been struggling with a mischievous top thread.
You know how it goes. You start with a full bobbin, freshly wound spool, and a cheerful stitching mood, only to find your thread snarling and breaking within minutes. If this is an all-too-familiar scenario, don't worry. It's a problem that can be solved!
In this article, we'll help you figure out why your top thread keeps breaking and what you can do about it. We'll cover tips on tension settings, needle size, fabric choice, and more, so grab your sewing machine oil because we're about to dive deep into the frustrating world of thread breakage!
Common Reasons Why Your Top Thread Keeps Breaking And How to Fix the Issue
Sewing machines can be valuable for creating various projects, from clothing and accessories to home decor and quilts. However, even experienced sewists may experience frustration when their top thread keeps breaking. Fortunately, there are several common reasons for this issue, many of which can be easily fixed with a few simple steps.
Tension Issues
One of the most common reasons for a top thread to break is incorrect tension settings. If the tension is too tight, the thread may snap as it tries to pass through the fabric. If the tension is too loose, the thread may loop and tangle, causing it to break. To fix this issue, first, ensure the tension settings are correctly adjusted for the fabric you are using. Consult your sewing machine manual for guidance on adjusting tension, or try adjusting the tension incrementally until the thread stops breaking.
Needle Problems
A dull or damaged needle can cause the thread to break. Make sure to change the needle regularly and use the correct size and type for the fabric you are sewing. Using a needle that is too small for the fabric may cause the thread to break as it struggles to pass through the material. Similarly, a too-large needle may cause the thread to break as it pulls through the fabric. To fix this issue, check the needle and replace it if necessary.
Incorrect Threading
Ensure that the thread is properly threaded through the machine and the needle. If the thread is not properly threaded, it may break as it passes through the machine. To fix this issue, rethread the machine, ensuring the thread is correctly threaded through the tension disks, take-up lever, and needle. If you're unsure how to thread your machine, consult the manual or search for a video tutorial online.
Bobbin Issues
A poorly wound or incorrectly inserted bobbin can cause thread breakage. Make sure the bobbin is properly wound and inserted into the machine. If the bobbin thread is too loose, it may cause the top thread to break as it tries to pass through the fabric. If the bobbin thread is too tight, it may cause the top thread to loop and tangle, leading to breakage. To fix this issue, check the bobbin and rewind or reinsert it if necessary.
Fabric Problems
Thick or heavy fabrics can be more difficult to sew and may cause the thread to break. Use the correct needle and thread for the fabric you are working with. If you are working with a particularly heavy or dense fabric, you may need to adjust the tension settings to accommodate the material. Use a slow and steady sewing speed to prevent the needle from breaking or bending.
Machine Maintenance
Regular sewing machine maintenance, including cleaning and oiling, can help prevent thread breakage. Dirt and debris can build up in the machine, causing it to run less smoothly and potentially leading to thread breakage. To fix this issue, clean the machine regularly and oil it as directed in the manual
Sewing Machine Top Thread Breaking
If you’ve been having trouble with your sewing machine’s top thread breaking, you can take a few simple steps to fix the issue.
First, make sure the thread is wound correctly. Check that the top thread is installed and tensioned properly. Ensure the thread is fed through the tension disks, and check for any knots or tangles. Replacing the old needle with a new one can also help to improve tension and prevent thread breakage.
Next, adjust your sewing machine’s stitch length and tension. Make sure that these settings are properly balanced for your fabric type. If the settings are too tight, it can cause excessive strain on the top thread, breaking the sewing machine thread. You may not get a good stitch formation if the settings are too loose.
Finally, ensure your machine is properly lubricated and clean before sewing any fabric. Oils and dirt on your machine can affect how well its components run together and clog up small areas like tension disks or feed dogs, causing sewing machine thread-breaking problems and skipped stitches or puckering the fabric.
Another Issue: Top Thread Keeps Breaking Singer
Do you have a Singer sewing machine, and the top thread keeps breaking? You're not alone. It's a common problem with many possible causes.
Let's explore the most common reasons why your top thread keeps breaking the Singer sewing machine.
Thread Quality
The most common cause of a broken thread is using poor-quality thread. Make sure you use high-quality, strong thread that won't break as easily when it comes to contact with pins and needles. After all, if the thread isn't strong enough, it won't withstand the tension when used to stitch fabric and other materials together.
Bobbin Threading Issues
Sometimes, your bobbin may be improperly threaded. Check the manual for your specific model to thread the bobbin in your machine properly. Ensure the bobbin threads through all tension disks are placed correctly in the bobbin case before inserting it into the machine.
Improper Thread Tension
If you've properly threaded your machine's top and bottom spools but still have problems with breaking threads, check to ensure your tension settings are correct for that particular project. Sometimes, a certain type of fabric will require different settings than usual! You’ll want to tailor those settings specifically for the type of fabric or material you're working on to avoid putting too much strain on either side of the stitch’s pattern while stitching through it.
Finally, ensure that any material or fabric you’re sewing is free from dirt or debris before starting any stitching projects, as this can weaken or break even the highest quality thread!
The upper Thread Keeps Breaking
Several potential causes could contribute to the issue if your upper thread keeps breaking.
One common reason the upper thread keeps breaking is if it becomes tangled or knotted as it moves through the machine. To avoid this, thread your machine correctly and use high-quality thread suitable for your project. You should also ensure that your machine's tension is set properly, as incorrect tension can cause the thread to break.
Another potential cause of the upper thread keeps breaking is a damaged or dull needle. If your needle is not sharp or is bent, it may snag or break your thread. Make sure to use a new needle for each project, and replace your needle if it becomes damaged or dull.
In addition, if your machine is not properly cleaned and maintained, it can cause issues with your thread. Dust, lint, and other debris can build up in your machine over time, which can cause your thread to break or become tangled. Be sure to clean and oil your machine regularly to prevent this.
Finally, it is also possible that the thread itself is faulty or damaged. If you have ruled out all other causes, you may want to try using a different type or brand of thread to see if this resolves the issue.
Conclusion
In conclusion, top thread breaking is a problem many sewers run into, and it can be tricky to diagnose properly. A few common causes can be investigated and addressed, such as poor thread tension, poor quality thread, or dull needle to avoid any problem even when one has to do digitize logo for embroidery.
When your top thread keeps breaking, ensure that you understand how to handle each of these issues and how they may be impacting your sewing. When in doubt, look at your owner’s manual, consult an experienced sewer, or contact the manufacturer for additional help. With the right knowledge and a few troubleshooting techniques, you'll be back to creating beautiful projects quickly!
