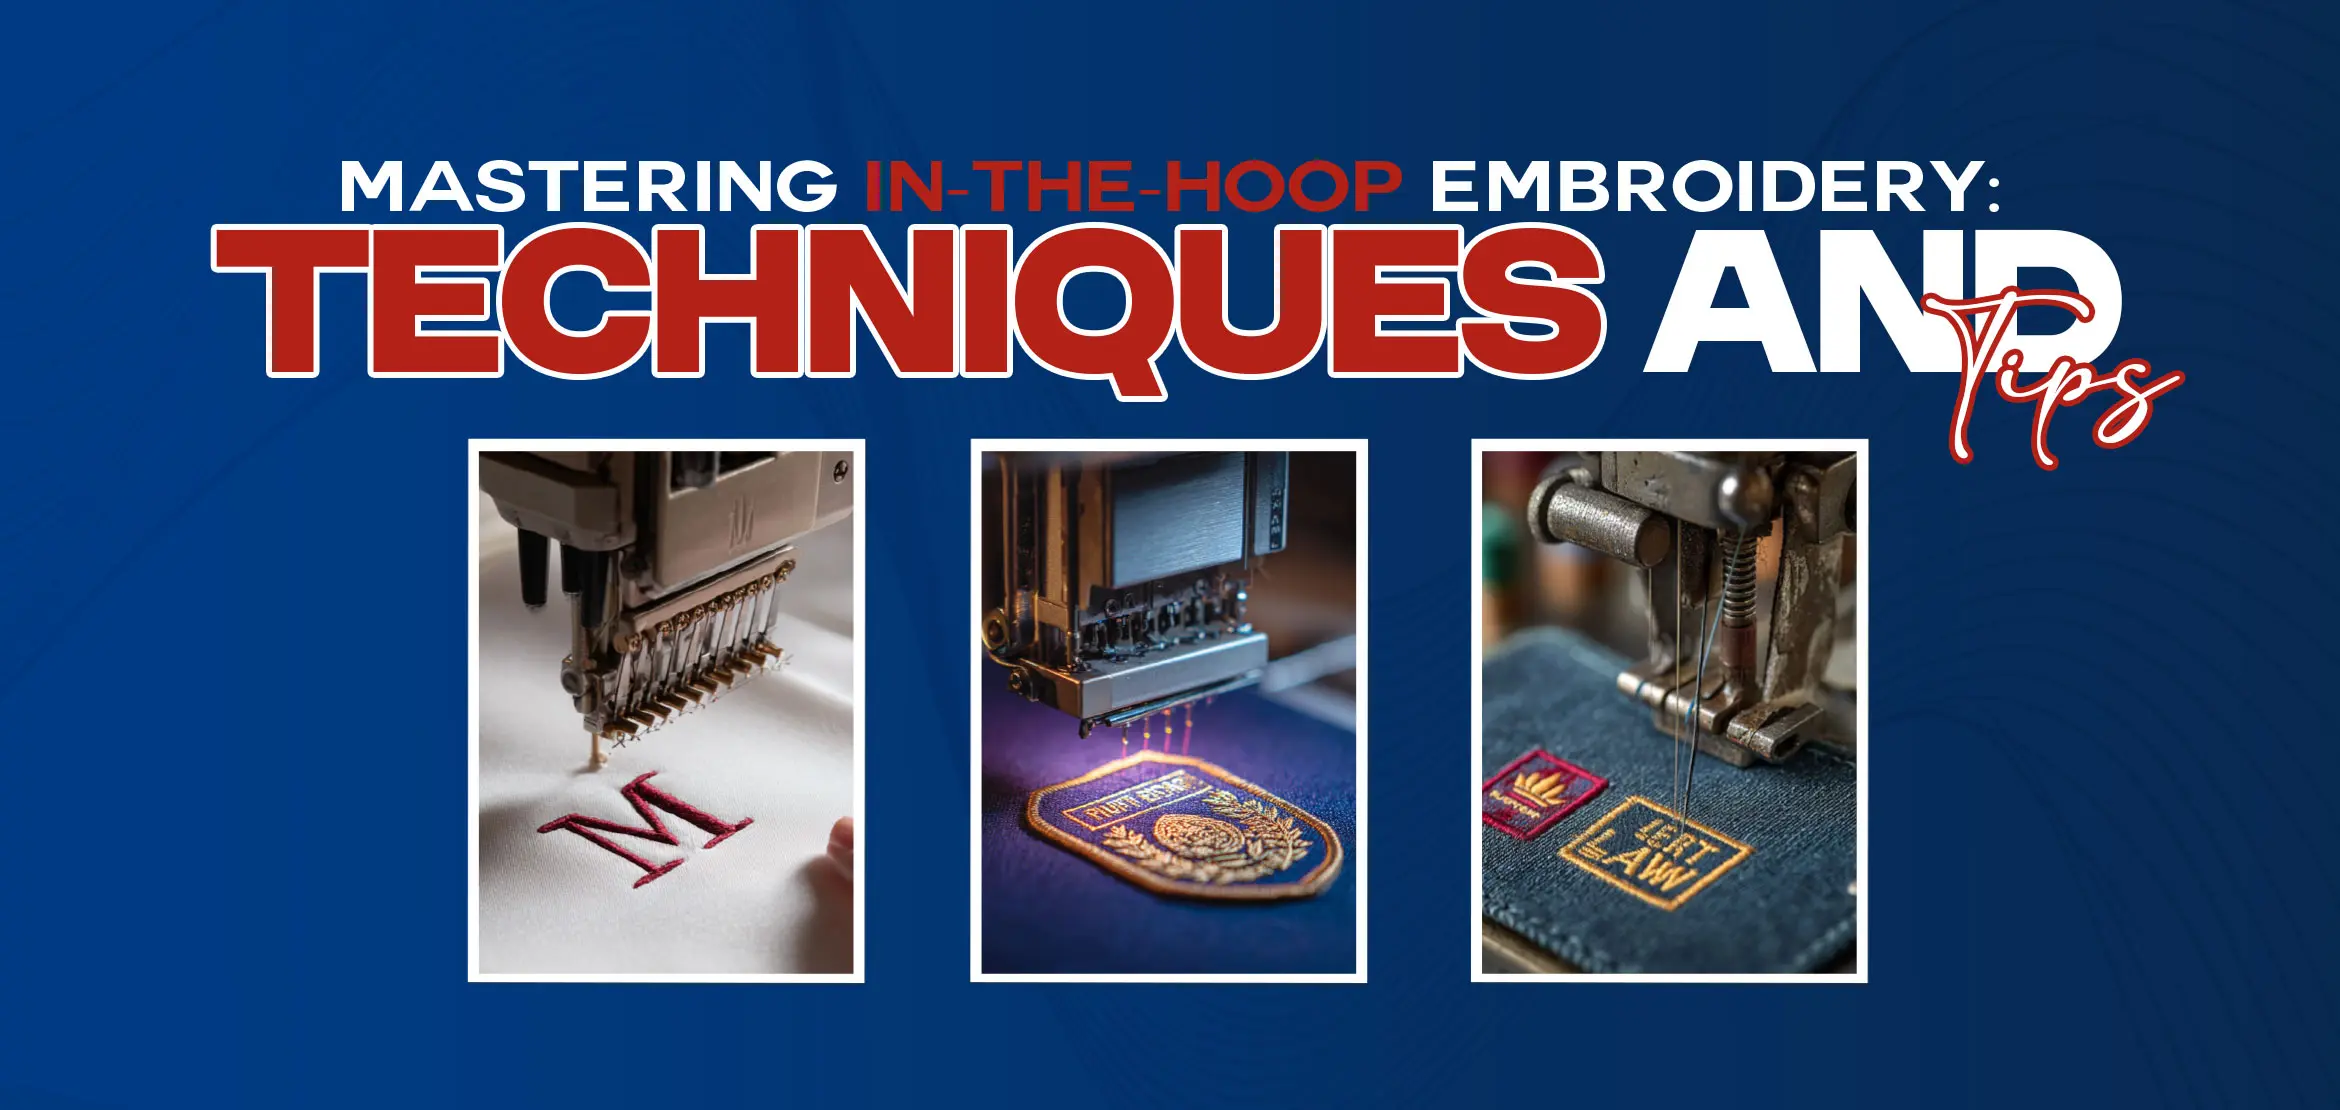
Mastering In-The-Hoop Embroidery: Techniques and Tips
Table Of Content
- The Benefits of In-The-Hoop Embroidery
- Hooping the Fabric for In-The-Hoop Embroidery
- Choosing the Right Hoop for In-The-Hoop Embroidery
- Preparing the Fabric and Placing It in the Hoop
- Why Keep the Fabric Tight During Hooping?
- Choosing an Embroidery Machine for In-The-Hoop Projects
- Finding the Right Pattern or File Format
- Supplies Needed for In-The-Hoop Embroidery Projects
- Needles and Threads Used in In-The-Hoop Projects
- In-The-Hoop Embroidery Tips
- Setting Up Your Machine for In-The-Hoop Projects
- Conclusion
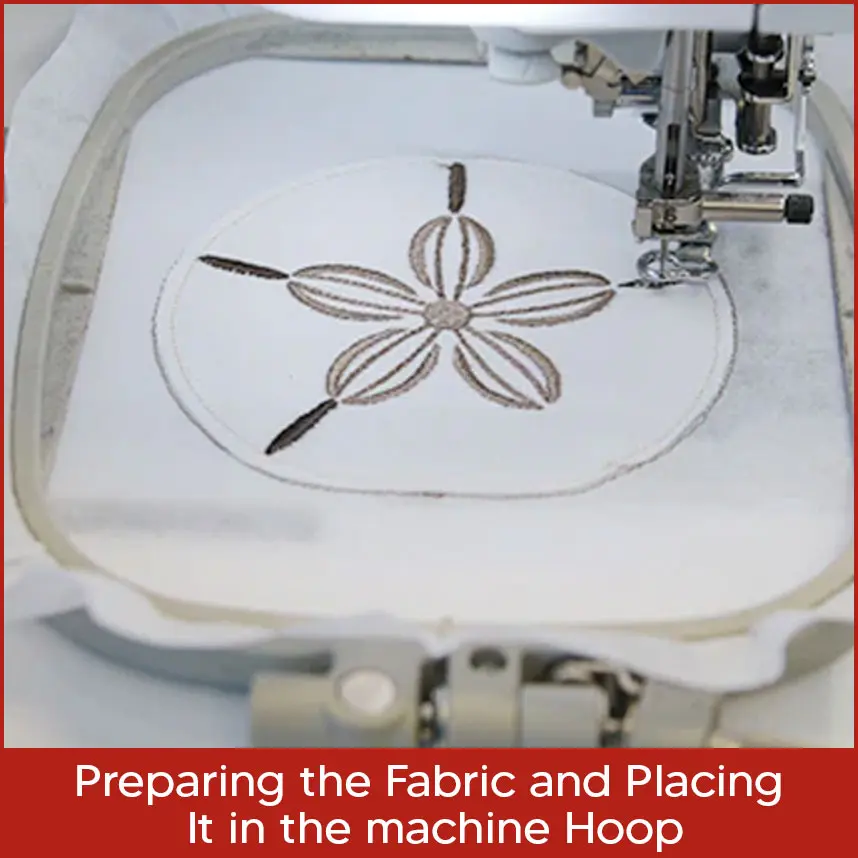
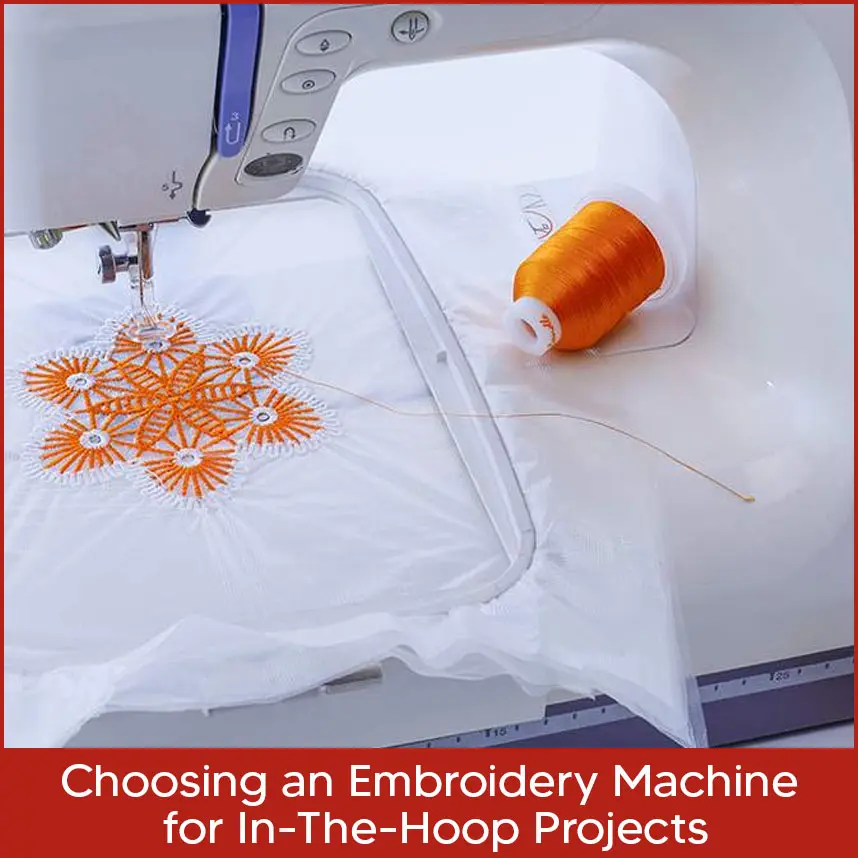
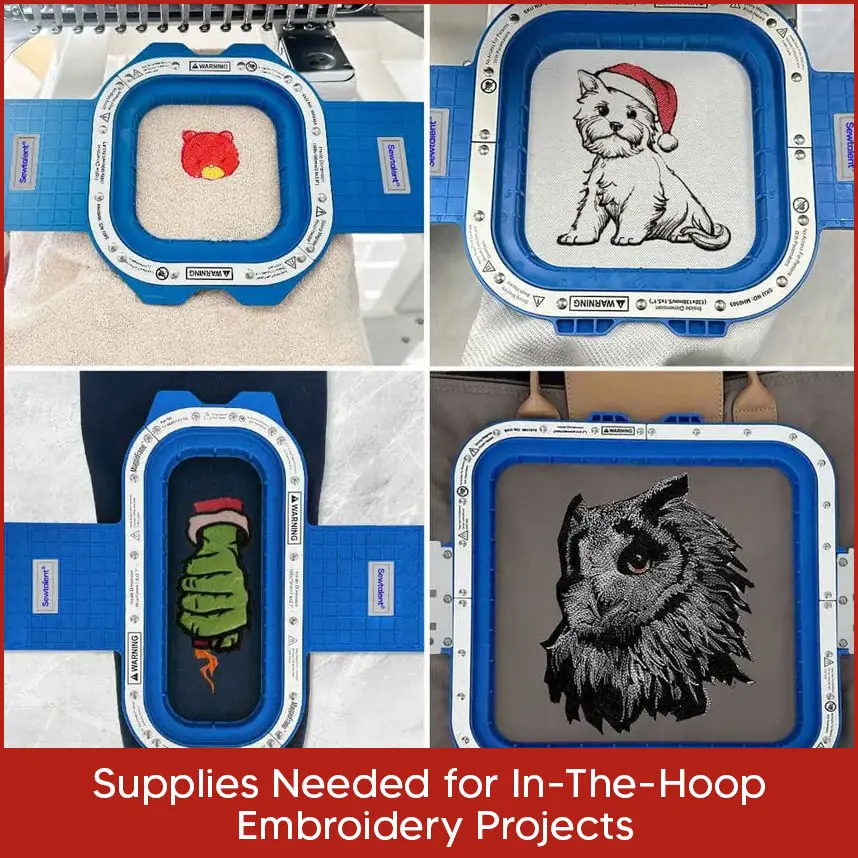
Hoop embroidery is a method where designs are stitched directly onto fabric using an embroidery machine, removing the need for design transfers. The fabric is held tight in the hoop for precise stitching, often supported by stabilizers. This allows complete projects to be made in the hoop itself, offering accuracy and convenience. In-the-hoop embroidery provides unlimited creative possibilities for both beginners and experts, producing professional and detailed results when paired with proper hooping techniques. This technique allows the creation of complex designs with machine precision, producing results difficult to achieve by hand. Designs are fully completed in the hoop, saving time and ensuring a neat finish. It’s ideal for mass production or personal gifts due to its ability to replicate designs consistently. The versatility makes it suitable for both simple and complex projects, adaptable to different fabrics and styles. Proper hooping ensures designs are stitched accurately. Choose a hoop size slightly larger than the design, prepare the fabric by pressing, and use stabilizers for support. Position the fabric evenly, avoiding overstretching, and secure it using clips or tape. Align the design with the hoop using your embroidery machine’s guides, then start stitching without disturbing the fabric to maintain clean results. The hoop should fit your design size comfortably to avoid repositioning and misalignment. Consider hoop material, wooden hoops provide better tension than plastic. Fabric weight also matters; thick fabrics benefit from thicker hoops, while delicate fabrics require lighter ones. If displaying your work in the hoop, choose an aesthetically pleasing frame. Custom frames can also add extra stability during stitching. Clean, press, and prepare the fabric before hooping. Choose a hoop slightly larger than the design for easier alignment. Position the fabric over the inner hoop, smooth it out then place the outer hoop and tighten gently. Taking time with this step ensures stability throughout stitching and results in a polished final design. Tight fabric prevents puckering and ensures smooth stitches. T-pins can help hold the fabric in place, or magnetic hoops can secure it without damaging delicate materials. These methods maintain tension for consistent and professional results in in-the-hoop embroidery. Select a machine compatible with in-the-hoop designs, offering various hoop sizes, multiple stitch types and precise stitching capabilities. Automatic thread cutting is a time-saver for projects with frequent color changes. If you want to skip the high cost of machines and still achieve flawless in-the-hoop designs, consider Digitizing USA. We provide affordable, custom embroidery digitizing services, including chenille embroidery digitizing, 3D puff, applique and more, so you can focus on stitching while we handle the design preparation. Ensure your pattern’s file format matches your machine brand, such as .PES for Brother or .DST for Tajima. Check your machine’s documentation or explore embroidery websites that categorize designs by brand and file type to find compatible patterns easily. Essentials include an embroidery machine, various threads, stabilizers, sharp scissors, and different hoop sizes. Depending on the project, extras like ribbons or fabric markers may be needed. With the right supplies, you can confidently create professional-quality in-the-hoop projects. Choose needles suited to your fabric, universal for most, and sharp for heavy fabrics. Use embroidery thread for vibrant designs or sewing thread for delicate fabrics. Match bobbin thread to fabric color for a neat underside and consistent appearance. Select the right hoop size and stabilizer type for your design density and fabric. Stock essential tools like thread snips and fabric markers for accuracy. Many crafters trust Digitizing USA because we provide custom embroidery digitized designs at very low prices. Our professional digitizing ensures smooth stitching and accurate results. Perfect for both hobbyists and business owners. Use high-quality thread, match the needle type to the fabric, and choose a bobbin thread that blends with your fabric. Trim excess fabric neatly at a perpendicular angle. Following these steps ensures your designs look clean and professionally finished. In-the-hoop embroidery offers efficiency, precision and the ability to create detailed designs directly on fabric. It’s ideal for both small personal projects and large-scale production. With the right hoop, supplies, and embroidery machine, you can consistently achieve professional results. Pay attention to details, follow the right techniques, and your embroidery projects will shine.The Benefits of In-The-Hoop Embroidery
Hooping the Fabric for In-The-Hoop Embroidery
Choosing the Right Hoop for In-The-Hoop Embroidery
Preparing the Fabric and Placing It in the Hoop
Why Keep the Fabric Tight During Hooping?
Choosing an Embroidery Machine for In-The-Hoop Projects
Finding the Right Pattern or File Format
.webp)
Supplies Needed for In-The-Hoop Embroidery Projects
Needles and Threads Used in In-The-Hoop Projects
In-The-Hoop Embroidery Tips
Setting Up Your Machine for In-The-Hoop Projects
Conclusion
