Advanced Monogram Digitizing: Tips and Tricks
Table Of Content
- Benefits of Advanced Monogram Digitizing
- Optimizing the Design Setup for Monograms
- Designing for Embroidery: Advanced File Prep
- Preparing the File for Smooth Stitching
- Transferring Your File: Organize Like a Pro
- Choosing the Right Embroidery Machine for Monogramming
- Advanced Techniques to Enhance Your Monograms
- Traditional vs Digital Monogramming
- Using Borders, Satin Stitches, and Custom Lettering
- Tips and Tricks for Pro-Level Monogramming
- Conclusion
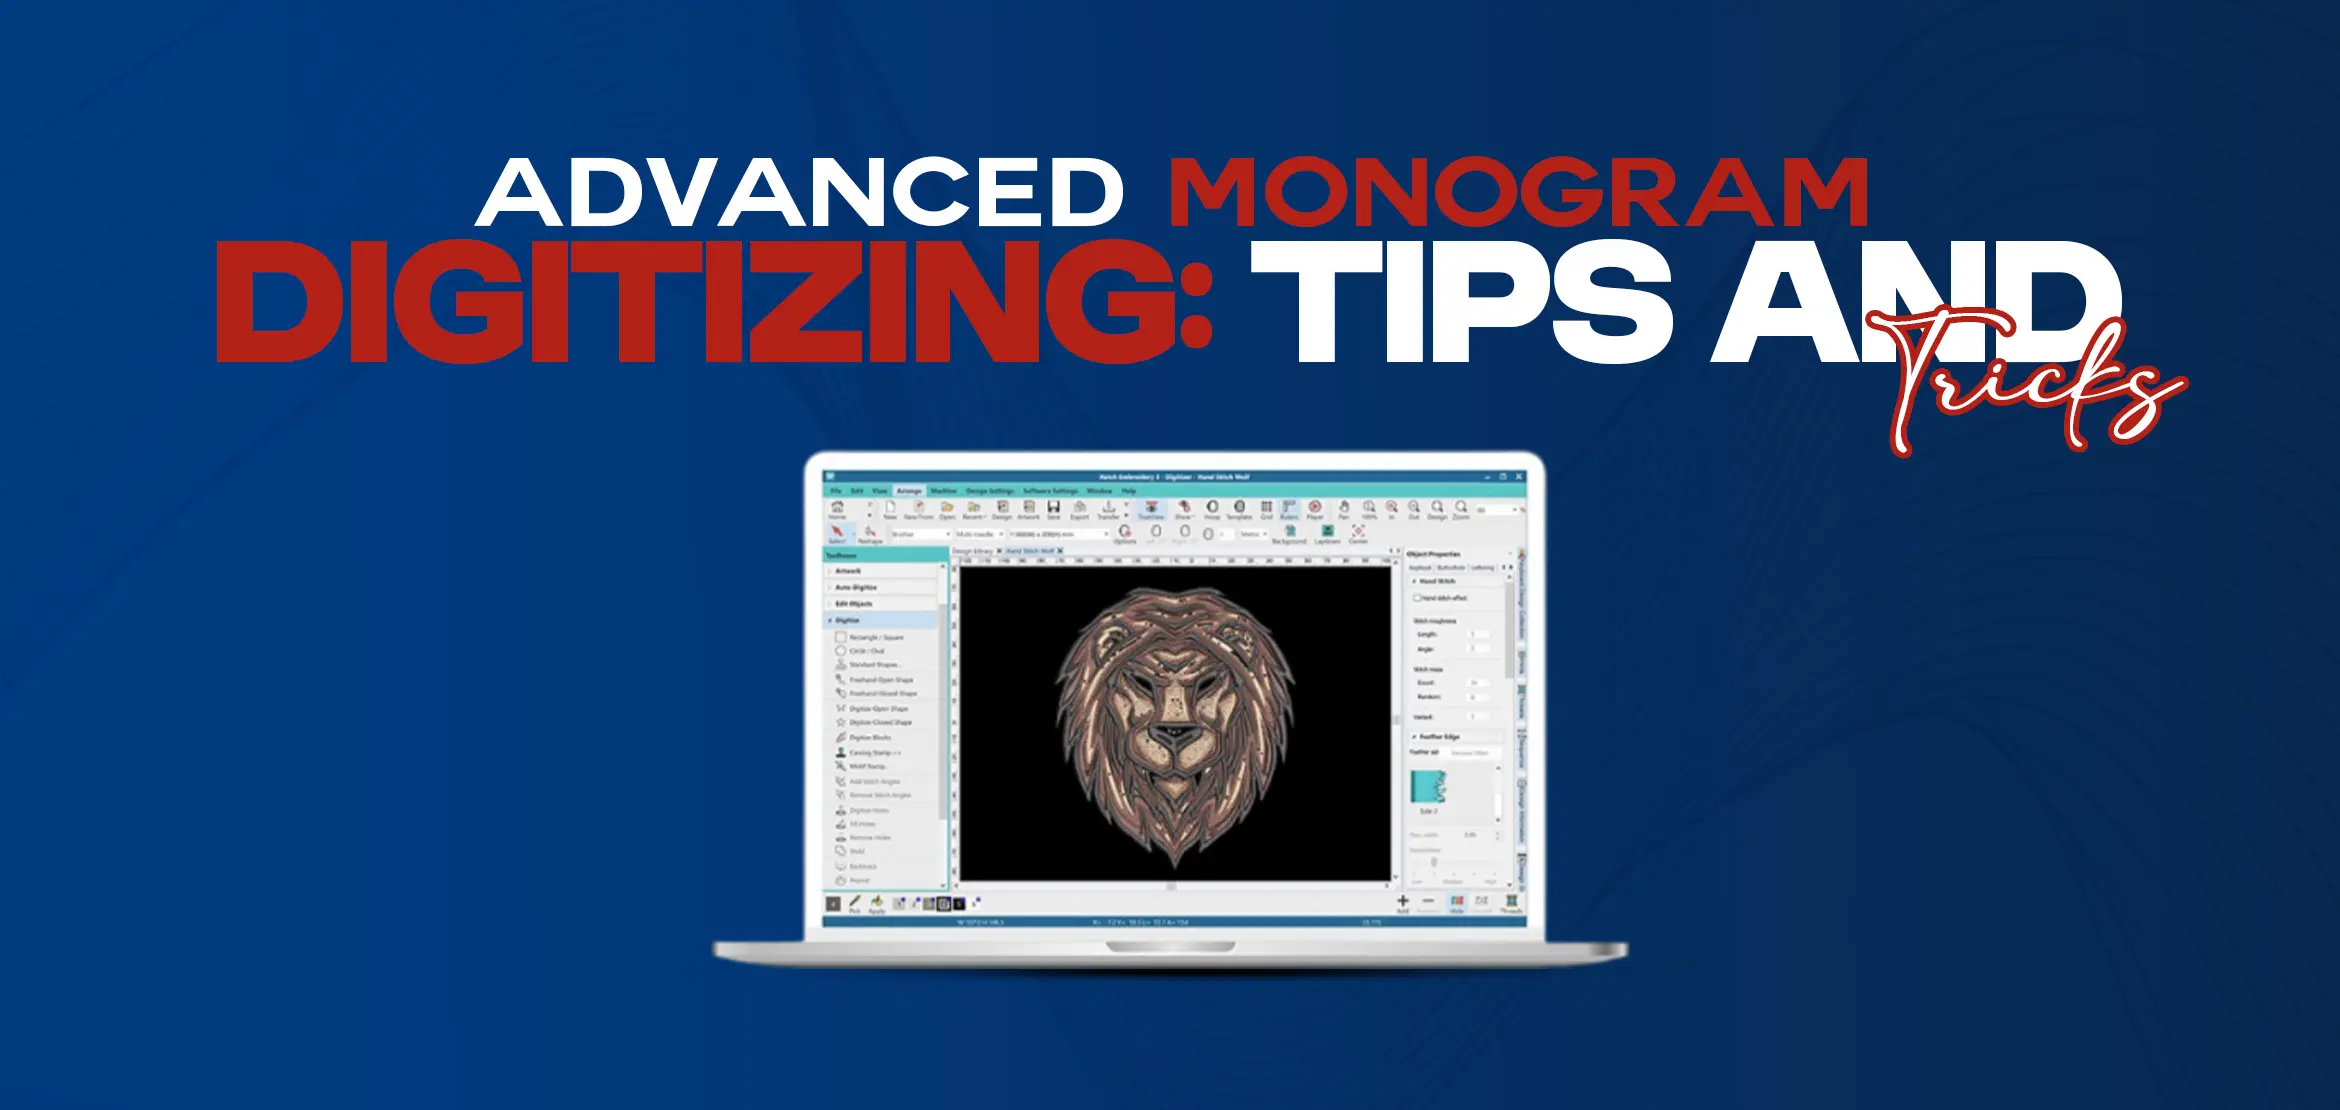
Monogram digitizing is the art of turning elegant, overlapping initials or decorative letter designs into stitch-ready digital files for embroidery machines. While the basic process involves converting a monogram into a readable embroidery format, advanced monogram digitizing is all about precision, ensuring smooth curves, consistent spacing, and clean borders that enhance the final stitched look. With specialized software and expert knowledge, monogram digitizing allows unmatched customization for clothing, linens, bags, and more, combining tradition with modern embroidery precision.
Benefits of Advanced Monogram Digitizing
Advanced monogram digitizing goes far beyond simple letter conversion. It introduces features like. ESA-based fonts and advanced programs in premium software like Hatch Embroidery help create refined, scalable monogram designs. These tools allow for:
Smoother curves and tighter alignment between letters.
Professional finishing with consistent underlay and stitch density.
Better results across different fabrics (from polos to plush towels).
With advanced techniques, your final embroidery will look cleaner, sharper, and more professional, making a big difference whether you’re digitizing for personal keepsakes or business branding.
Optimizing the Design Setup for Monograms
Rather than simply importing a font and clicking “digitize,” advanced users focus on letter spacing, alignment, and layering. Key steps include:
Choosing the Right Monogram Style: Interlocking, stacked, or classic three-letter styles, depending on item type.
Manual Pathing Adjustments: Controlling the stitch path to reduce trims and avoid jump stitches.
Underlay Control: Selecting center run or edge walk underlay to stabilize delicate satin lettering.
Pull Compensation: Make sure letters don't shrink on dense or stretchy fabrics.
These micro-adjustments ensure your monogram maintains perfect form post-stitch-out.
Stuck in monogramming embroidery and can't create it properly? No worries. Digitizing USA will do it for you. We provide custom embroidery digitizing services at reasonable prices across the USA, so you can relax while we turn your ideas into clean, professional stitch files.
Designing for Embroidery: Advanced File Prep
Instead of covering general photo stitch or chain stitch digitizing, let’s focus on monogram-specific preparation:
Use of Modular Lettering Tools: Software like Wilcom or Hatch lets you adjust each letter individually while keeping spacing uniform.
Digitizing Borders and Frames: Add satin-stitched frames or geometric borders to enhance the monogram’s elegance.
Resizing Safely: Resize within digitizing software (not on the machine) to preserve density and stitch logic.
Monograms are usually seen on delicate surfaces (like napkins or robes), so well-prepared files are important to avoid puckering or distortion.
Preparing the File for Smooth Stitching
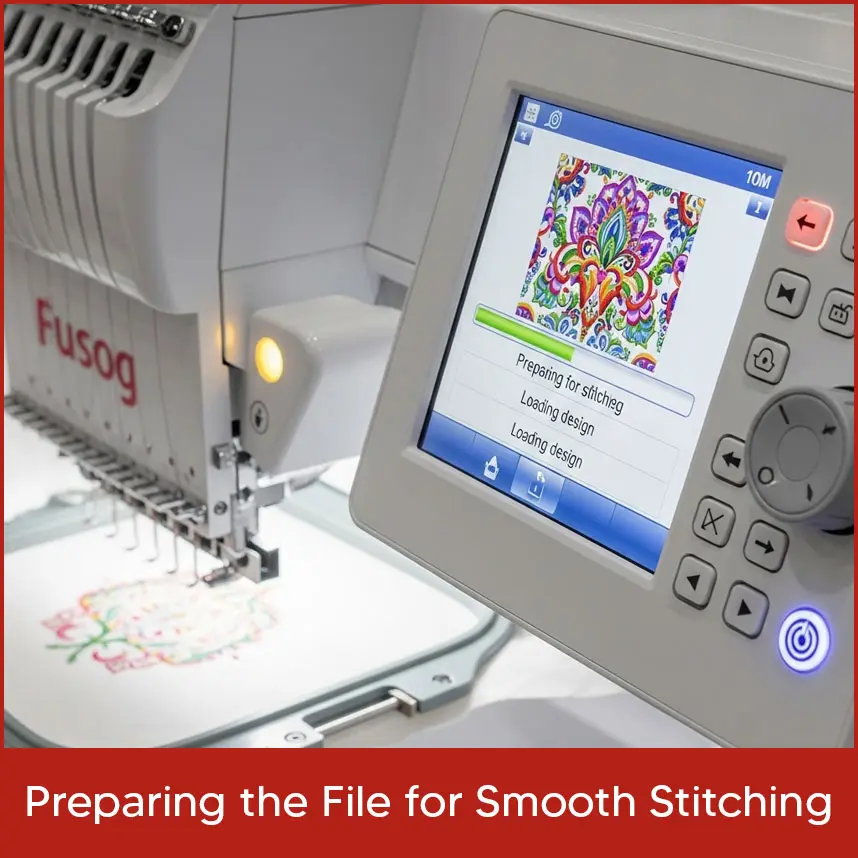
Advanced users know monograms need specific tweaks based on fabric type and usage. Here’s how to prepare:
Choose the Right Stabilizer: Use soft tear-away for lightweight fabric or cut-away for knits.
Adjust Stitch Density for Satin Fonts: Too tight can cause fabric puckering; too loose weakens the impact.
Use Knockdown Stitching: For towels or fleece, a knockdown layer presses down the fabric’s texture so the monogram looks neat and smooth.
By adjusting the file setup for the project, you can avoid common embroidery issues before they occur.
Transferring Your File: Organize Like a Pro
Rather than just using a USB stick, advanced digitizers often keep structured folders with labeled file versions (e.g., “3in_Monogram_Satin.wil”). This helps:
Restore or reuse previous designs quickly.
Test run different sizes without re-digitizing.
Keep backups for clients or repeated orders.
Some commercial machines allow networked file transfer, enabling faster access and remote loading.
Choosing the Right Embroidery Machine for Monogramming
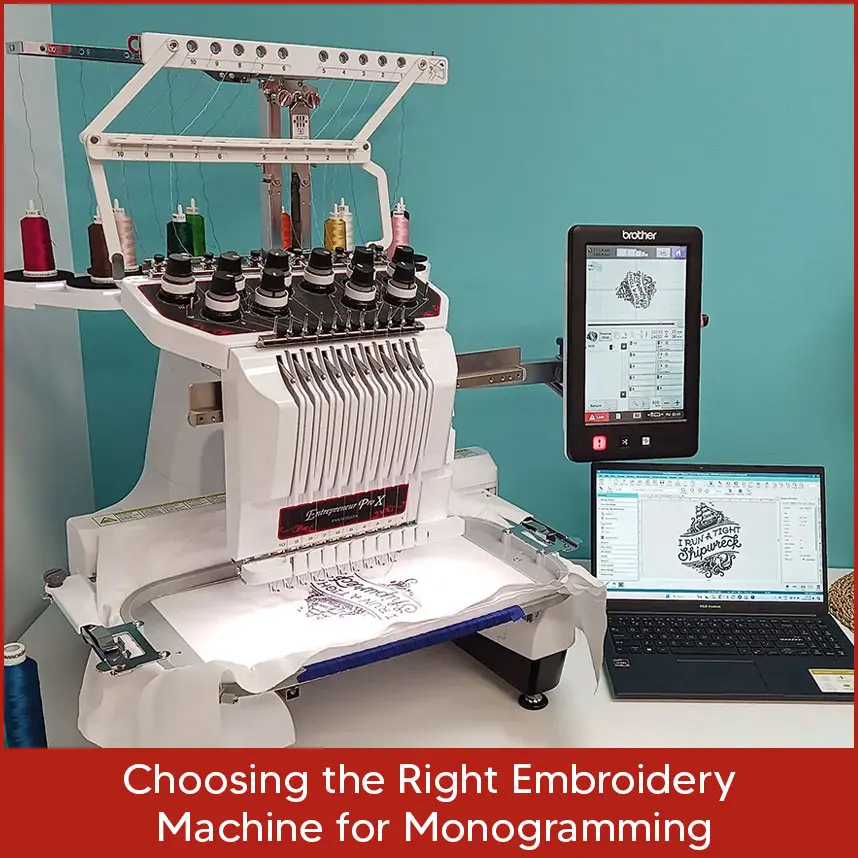
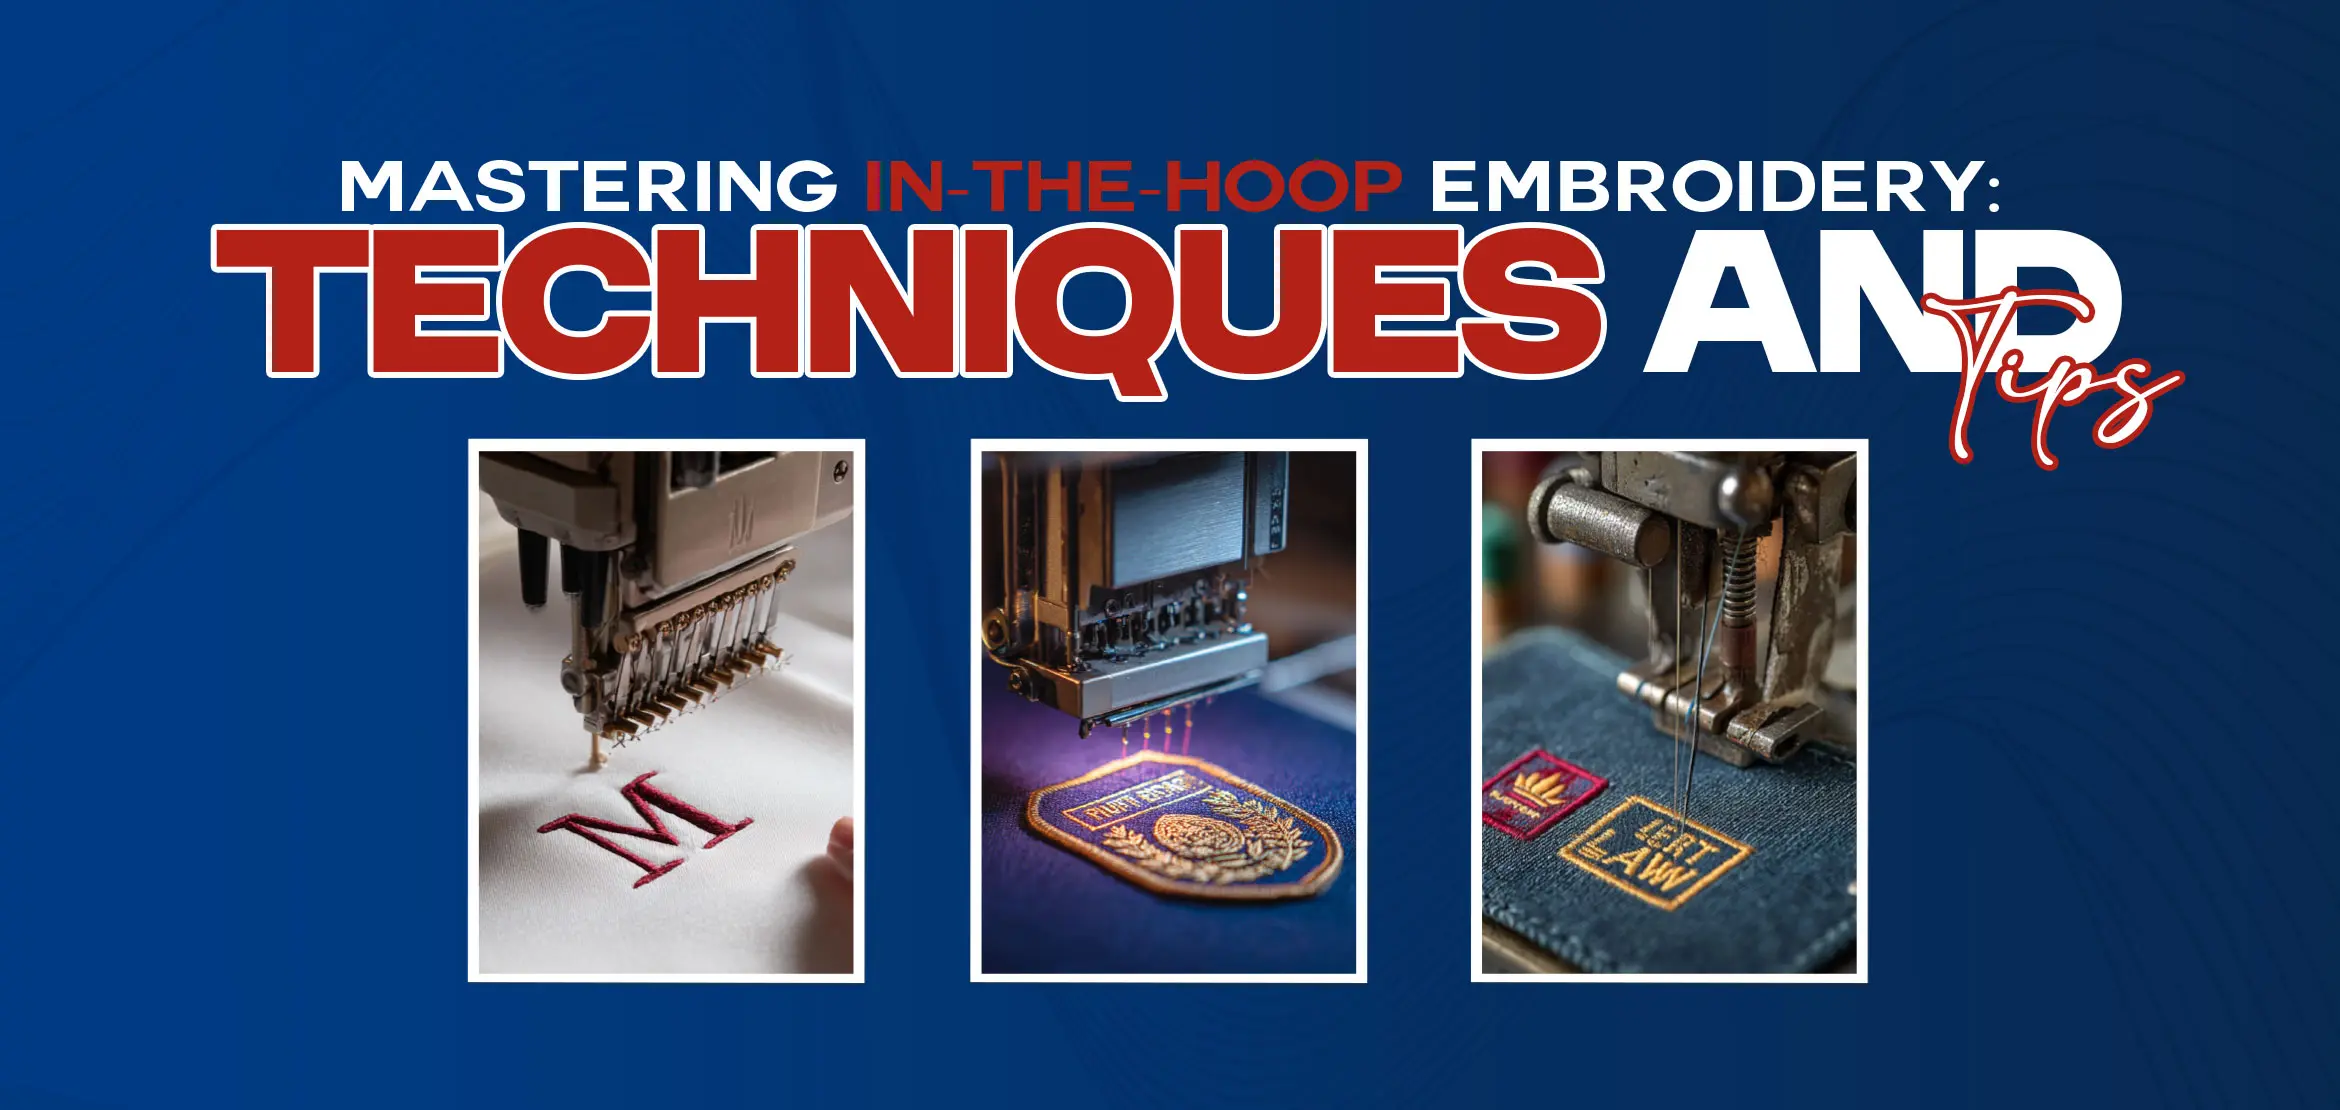
Monograms demand clean, tight detail, especially on small fonts. Choose a machine that offers:
Minimum 400 to 800 SPM (stitches per minute) with precision.
Small hoop compatibility for napkins, pockets, and collars.
USB and Wi-Fi transfer support.
Compatibility with formats like .DST, .PES, .EXP and high-resolution previews.
Brands like Brother PR series, Bernina E16, or Janome MB-7 are preferred for boutique monogramming businesses.
Advanced Techniques to Enhance Your Monograms
Letter Overlap Blending: Merging stroke ends so the overlap doesn’t look jagged.
Satin Column Shaping: Reducing the end of a satin stitch for sharp letter points.
Curved Baseline Text: Perfect for wedding monograms or vintage designs.
Multiple Stitch Types in One Monogram: For example, using satin for names and fill stitch for the frame.
These small changes make a big difference in how good your embroidery looks.
Traditional vs Digital Monogramming
Using Borders, Satin Stitches, and Custom Lettering
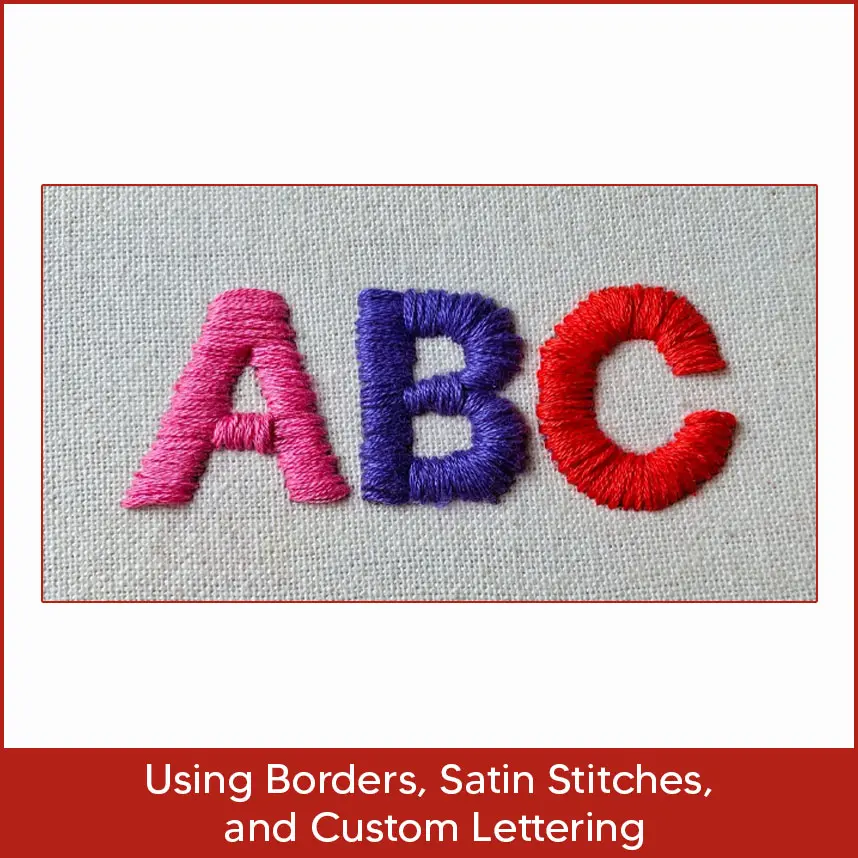
Borders: Use bean stitch for a natural look or satin stitch for elegance.
Lettering: Stick to fonts designed for embroidery (.ESA) to avoid distortion.
Spacing & Padding: Leave 0.3 to 0.5mm around borders to prevent overlap issues.
These elements help create monograms that don’t just look good in the software but shine on the actual fabric.
Tips and Tricks for Pro-Level Monogramming
Use a 3-layer underlay when stitching tall satin letters on thick fabric to make them look better and more stable.
Digitize letters individually for complex layouts.
Always test on similar fabric before final results.
Save custom templates for repeat orders.
And most importantly, hoop matters. Perfectly hooped fabric means your digitized design will stitch out clean, every time.
Conclusion
Advanced monogram digitizing isn’t just about converting letters, it's about mastering design logic, software tools, machine settings, and embroidery best practices. By fine-tuning stitch paths, adjusting underlays, choosing the right fonts, and using framing creatively, you ensure your monograms have a professional finish every time. Whether for towels or high-end fashion, advanced monogramming enhances embroidery from simple names to wearable art.
Need support with professional monogram digitizing? Digitizing USA delivers high-quality, custom monogram files ready for flawless stitching and delivers fast and at affordable rates.
