Digitizing a Logo for Embroidery in 4 Simple Steps
Table Of Content
- Benefits of Digitizing a Logo for Embroidery
- Step 1: Prepare the Design
- 1.1 Gather Images and Fonts
- Determine the design elements:
- Source high-quality images:
- Select suitable fonts:
- Consider embroidery limitations:
- 1.2 Create a File in the Proper Format
- Choose the appropriate file format:
- Convert the logo to the desired file format:
- Crop the logo file:
- Check the resolution:
- 1.3 Select Thread Colors and Fabric Type
- Evaluate the logo design:
- Choose thread colors:
- Consider fabric type:
- Step 2: Understand Stitches and Maximum Stitch Lengths
- 2.1 Types of Stitches Used in Embroidery
- Running Stitch:
- Back Stitch:
- Split Stitch:
- Stem Stitch:
- Chain Stitch:
- 2.2 Understanding Maximum Stitch Lengths for Different Fabric Types
- Step 3: Digitize the Design with Software or Professional Digitizer
- 3.1 Using Embroidery Software to Create the File
- 3.2 Hiring a Professional Digitizer to Create a Design File
- Step 4: Test the Design on Fabric Piece
- 4.1 Choosing a Suitable Piece of Fabric to Test The Design
- Conclusion
- FAQs (Frequently Asked Questions)
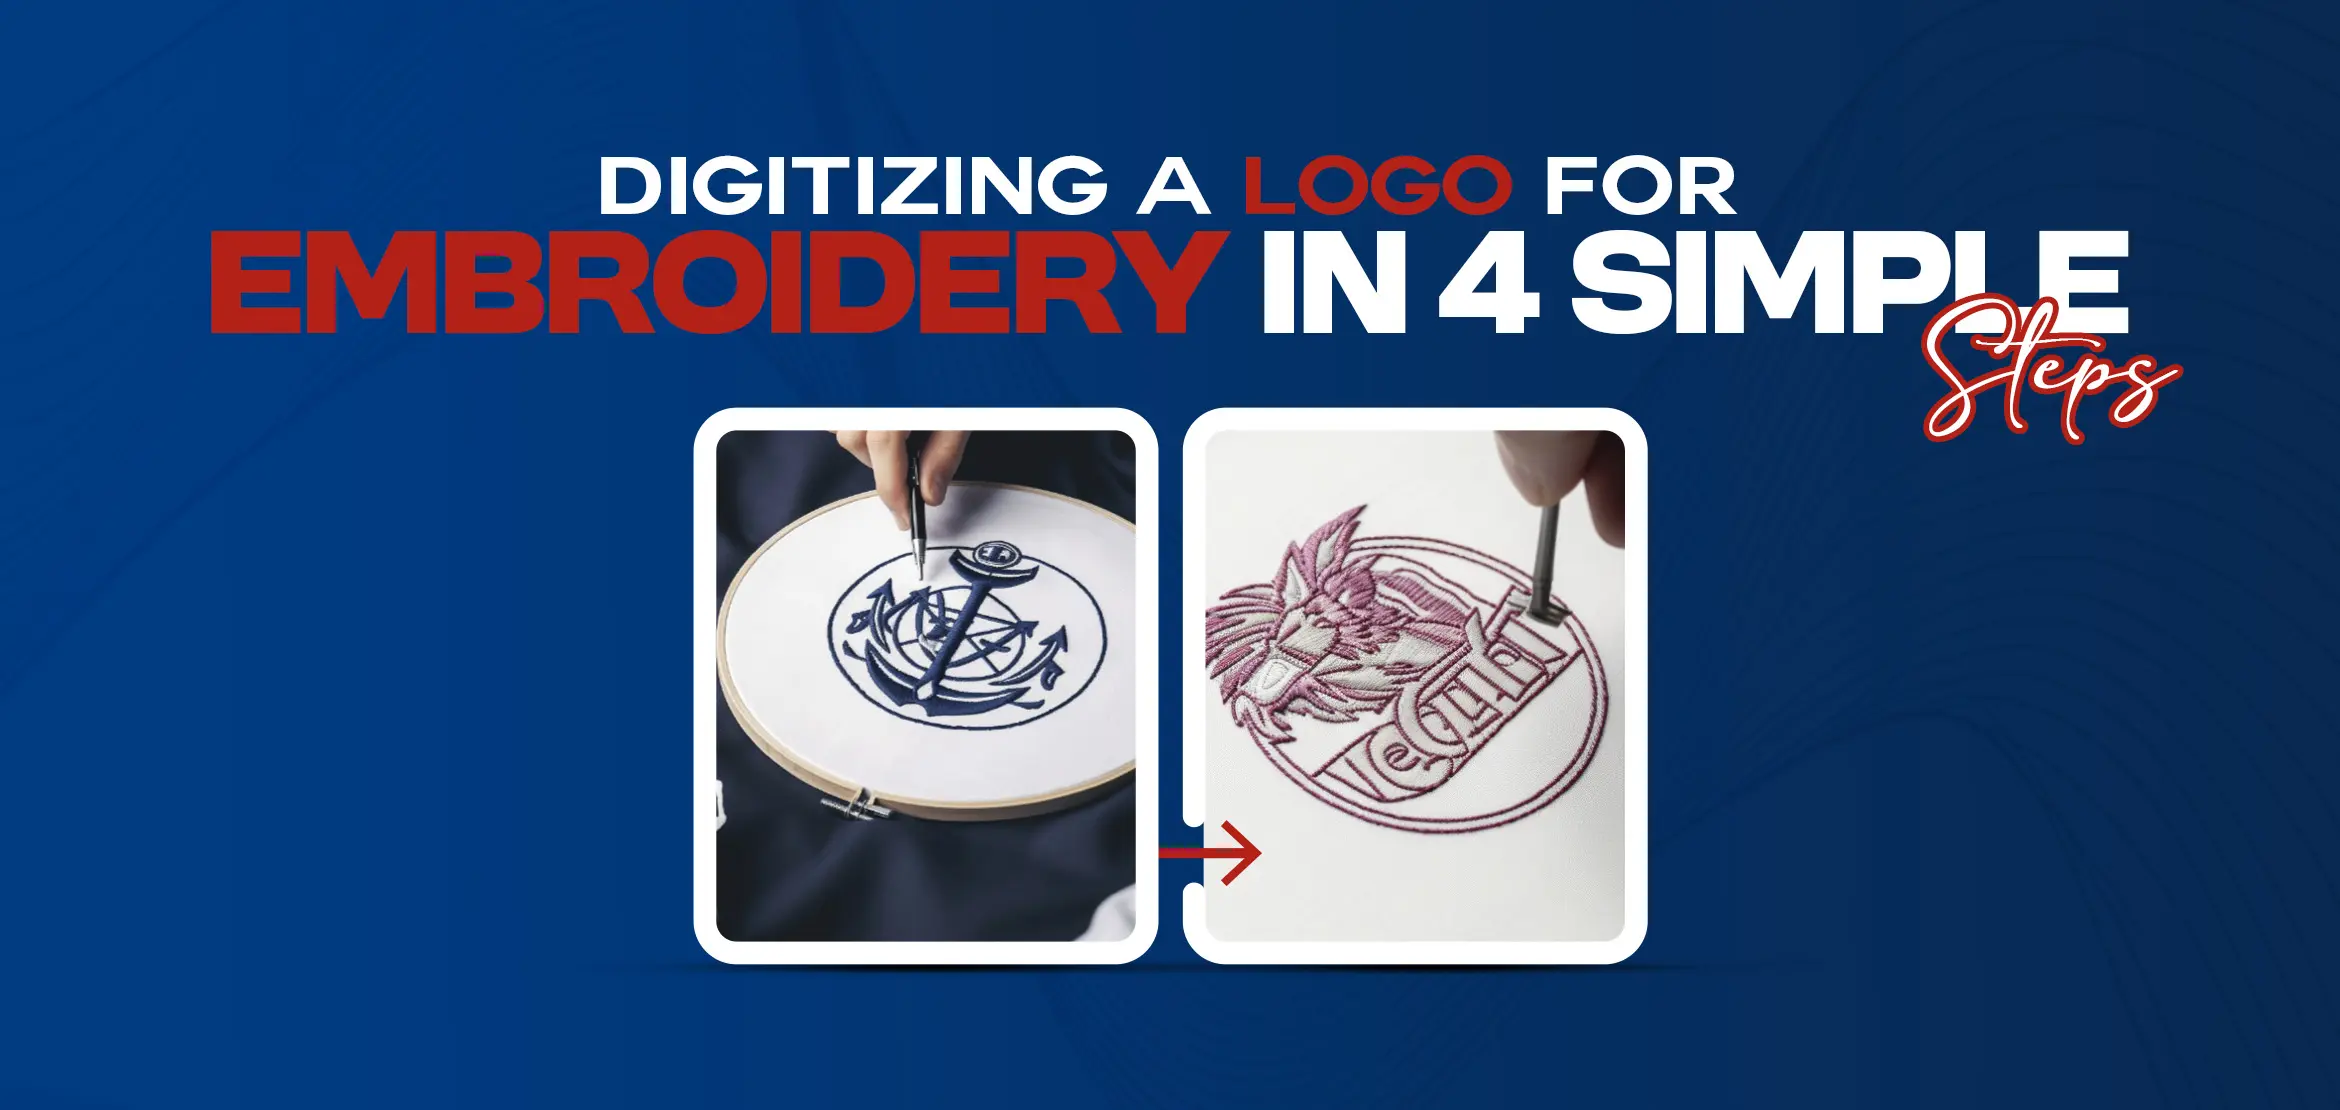
Digitizing a Logo for embroidery is the process of converting a design or logo into a digital file that can be read and interpreted by an embroidery machine. This file contains all the necessary information such as stitch types, thread colors, and stitch directions to recreate the design accurately on a piece of fabric. The digitizing process is crucial as it determines the quality and precision of the final embroidered piece. It requires specialized skills and software to create the digital file, which is then loaded onto the embroidery machine via a USB cable. Digitizing helps to bring logos, designs, and artwork to life through the art of embroidery. Making it an essential step for those looking to create custom embroidered merchandise or promotional items. Digitizing a logo for embroidery offers a range of benefits that enhance the quality and versatility of the design. By converting a logo into a digitized file, it can be seamlessly stitched onto various materials such as clothing, accessories, and promotional items. One of the key advantages of digitizing a logo is the improved stitch accuracy and consistency. Through the use of specialized embroidery software and machines, each stitch is carefully programmed to create precise lines, shapes, and textures. This ensures that the logo appears crisp and professional. Using the appropriate file format is crucial when digitizing a logo for embroidery. The most commonly used file formats are DST, PES, and EMB. These formats retain the necessary information to achieve optimal stitch quality and allow for easy transfer to embroidery machines. Digitization also allows for customization of thread colors and fabric types. Whether it's a vibrant logo with multiple colors or a subtle design with different shades of the same color. The flexibility in thread selection offers endless possibilities for creativity. Furthermore, digitizing a logo enhances production efficiency and speed. Once the design is digitized and the file is ready, it can be easily replicated on multiple items without any loss of quality. This eliminates the need for manual stitching and saves time in the production process. Before digitizing a logo for embroidery, it's important to properly prepare the design. To prepare a design, we break down the first step into three simple sections. Let's now delve into some of the key tasks involved in digitizing a logo for embroidery. 1.1 Gather Images and Fonts 1.2 Create a File in the Proper Format 1.3 Select Thread Colors and Fabric Type By thoroughly preparing the design before digitizing, you can ensure a smoother and more accurate embroidery process. Gathering the right images and fonts is a crucial step in the process of digitizing a logo for embroidery. Follow these steps to ensure you have the necessary elements for a successful digitization process. Start by identifying the key design elements that need to be included in the logo. This may include a company name, slogan, or any specific imagery that represents the brand. Look for high-resolution images that accurately represent the desired logo. Utilize stock image websites, brand assets, or hire a professional photographer or designer to ensure you have clear and sharp images to work with. These images will be easier to digitize and will result in better embroidery quality. Choose fonts that are legible and match the style and tone of the logo. Consider the final embroidery size when selecting fonts to ensure they will be visible and easily readable. Avoid overly complex or intricate fonts that may not translate well in the embroidery process. Keep in mind that embroidery has limitations in replicating fine details or small text. Opt for fonts that have clear lines and avoid serif or script fonts with delicate details. Similarly, choose images with defined shapes and minimal intricate details to ensure they translate well in the embroidery process. By gathering high-quality images and selecting appropriate fonts. You ensure a smooth digitization process and achieve the best results for your embroidered logo. To create a file in the proper format for digitizing a logo for embroidery, follow these steps: Embroidery software and machines typically accept file formats such as JPG or PNG. These formats are machine-readable and ensure that the logo is accurately translated into embroidery stitches. If your logo is not in the acceptable file format, use image editing software to convert it. Save it as a JPG or PNG file before proceeding. Before uploading the logo to embroidery software, make sure to crop any irrelevant spaces around the logo. This step reduces unnecessary stitching and ensures that the logo fits properly within the embroidery frame. Ensure that the logo file has a high resolution to achieve better embroidery quality. The higher the resolution of the file, the more accurate the embroidery machine will be in stitching the design. By creating a logo file in the proper format, you can easily upload it into embroidery software or machines, ensuring that your logo is accurately digitized for embroidery. Remember to choose a machine-readable format like JPG or PNG, crop the logo file if necessary, and check the resolution for optimal results. When digitizing a logo for embroidery, selecting the right thread colors and fabric type is crucial for achieving accurate and visually appealing results. Here are the steps to follow: Start by carefully examining the logo and its colors. Determine the main colors used in the logo and any additional accent colors that may be present. This analysis will help in selecting the appropriate thread colors. Utilizing the Pantone color matching system (PMS) can be immensely helpful in ensuring that the thread colors closely match those in the original logo. Refer to the PMS guide to find the corresponding thread color numbers for each color in the logo. This ensures consistency and accuracy in color reproduction. The fabric you choose for embroidery can impact the overall appearance of the logo. Different fabrics may require different thread thicknesses and densities to achieve the desired result. For example, a thicker fabric may require thicker threads to ensure the design stands out. While a delicate fabric may require finer threads for a more delicate and professional finish. Consider the fabric type and its characteristics when selecting thread colors. Embroidery involves the use of various stitch types to create stunning designs. Each stitch has its own characteristics and purposes, so it's important to understand them when digitizing a logo for embroidery. Some common stitch types include satin stitches, straight stitches, split stitches, and running stitches. Understanding the various stitch types and the maximum stitch lengths your machine can handle will ensure that your logo digitization process goes smoothly and the final embroidery results are precise and visually appealing. itches to create beautiful designs. Each stitch has its own unique characteristics and puEmbroidery is an art form that utilizes a variety of strpose, allowing for endless possibilities in embroidery projects. Here are some of the most commonly used stitch types in embroidery: The running stitch is the most basic and versatile stitch. It consists of straight stitches that run continuously, either in a straight line or in a curved shape. This stitch is primarily used for outlining or adding texture to a design. The back stitch creates a solid, continuous line and is commonly used for outlining and adding fine details. It is created by stitching backward, inserting the needle into the previous stitch to create a continuous line. The split stitch is a versatile stitch that adds texture and depth to embroidery designs. It is created by splitting the previous stitch with each subsequent stitch, resulting in a raised, rope-like effect. The stem stitch is often used for creating smooth, curved lines. It creates a slightly twisted rope-like effect and is commonly used for outlining and adding details to flower stems, branches, and other curved shapes. The chain stitch is a looped stitch that creates a chain-like effect. It is commonly used for creating borders, outlines, and filling large areas. This stitch can be worked in a straight or curved line, allowing for flexibility in design. When using these stitches in embroidery, it's important to maintain even tension and stitch length to ensure smooth and precise results. Practice on a scrap fabric before starting your project to refine your technique and achieve the desired effect. With these stitches in your embroidery arsenal, you can create stunning and intricate designs that stand out. When it comes to digitizing logos for embroidery, understanding the maximum stitch lengths for different fabric types is crucial. The maximum stitch length refers to the distance between individual stitches and it varies depending on the fabric being used. The choice of fabric greatly impacts the stitch type selection and the overall success of the embroidery. It is important to consider factors such as fabric choice, push and pull resistance, and the impact on stitch type selection. Certain fabric types, like delicate and lightweight fabrics, require shorter stitch lengths to avoid pulling and stretching. On the other hand, heavier and more durable fabrics can withstand longer stitch lengths without compromising the quality of the embroidery. When digitizing a logo for embroidery, it is essential to choose the appropriate stitch type for the fabric. Common stitch types used in machine-based embroidery include straight stitch, satin stitch, running stitch, split stitch, and foundational stitch. Each stitch type has its own effects on different fabric types. By understanding the maximum stitch lengths for different fabric types and considering factors like push and pull resistance, digitizers can ensure that the embroidery not only looks visually appealing but also remains durable and long-lasting. Once you have chosen the appropriate fabric and stitch type for your embroidery logo, it's time to digitize the design. This process involves converting the logo into a format that can be read and interpreted by an embroidery machine. Whether you choose to digitize the design yourself or rely on a professional. The goal is to create an embroidery file that the machine can read. This file contains information about the stitch types, stitch lengths, and thread colors required to recreate your logo. Once the file is created, it can be transferred to the embroidery machine using a USB cable or other compatible method. Using embroidery software to create a design file for embroidery digitization is a convenient and customizable option. There are various options available, such as SewArt and Ink/Stitch, that offer beginner-friendly features. To start, open the embroidery software and import your logo or design into the program. Most software allows you to import various file formats, such as PNG or JPEG. Once imported, you can use the software's tools and features to clean up the design and make any necessary adjustments. Next, choose the stitch type that you want to use for your logo. Options may include satin stitches, straight stitches, or even specialized stitch types like split stitches or tatami stitches. You can also set the stitch lengths and stitch direction according to your preferences. Another useful feature of embroidery software is the ability to choose thread colors. The software usually provides a wide range of thread color options, allowing you to match the colors in your logo accurately. Once you have customized all the design elements, it's time to save the file in the appropriate embroidery file format, such as PES or DST. These formats are compatible with most embroidery machines. If you're interested in converting your embroidery files to vector-based images, some embroidery software programs offer this option. Vector files can be scaled and edited without losing quality. Making them ideal for other applications like screen printing or graphic design. Using embroidery software to create the design file gives you control over every aspect of the digitization process, ensuring a precise and accurate result. When it comes to digitizing a logo for embroidery, one option is to hire a professional digitizer to create the design file. This outsourcing process has many benefits and ensures that you get a high-quality embroidery file. Professional digitizers have the expertise and knowledge to create intricate and accurate designs. They understand the different stitch types, thread colors, and fabric types that work best for embroidery. By hiring a professional digitizer, you can be confident that your logo will be digitized properly and look great on your merchandise or products. To hire a professional digitizer, start by reviewing their portfolio. This will give you an idea of their skill level and the quality of their work. Look for examples that are similar to the type of design you need digitized. Next, discuss pricing and turnaround time with the embroidery digitizer. Some digitizers charge based on the complexity of the design or the number of stitches, while others may have a flat fee. Make sure to clarify any additional costs, such as rush fees or revisions. Once you have selected a professional digitizer, provide them with your logo or design. They will use their expertise to digitize the design file, taking into consideration factors like stitch type, thread colors, and fabric type. After the professional digitizer has digitized your logo or design, it's important to test it on a fabric piece before finalizing the embroidery. This step ensures that the design looks as intended and that any issues or adjustments can be addressed before the actual embroidery process begins. To test the design, choose a fabric piece with similar characteristics to the final product. This can include the fabric type, color, and texture. Cut a small section of the fabric and securely hoop it on an embroidery frame or hoop. Prepare your embroidery machine by connecting it to your computer or uploading the design file via USB cable. Set up the machine with the appropriate thread colors and embroidery file format. Make sure the machine is ready and properly calibrated for embroidery. Load the design file onto the machine and align the hoop so that the needle is positioned correctly over the fabric piece. Start the embroidery process and carefully observe the machine as it stitches the design onto the fabric. Pay attention to the stitch lengths, stitch direction, and any areas that may require additional adjustments. Once the design is complete, remove the fabric from the hoop and inspect the embroidered logo closely. Check for any errors, missed stitches, or areas where the design may need resizing or refining. Take note of any necessary changes and communicate them to the professional digitizer for adjustments. When testing a design for embroidery, it is crucial to choose a suitable piece of fabric. This ensures that the design will look its best and that there won't be any issues during the embroidery process. The right fabric will be compatible with both the embroidery type and stitches used, preventing any tearing or misshaping. Several factors should be considered when selecting a fabric for testing. First, consider the fabric type. Different fabric types have different characteristics and behave differently when embroidered. For example, satin stitches, which are commonly used for logos and lettering, work best on smooth, tightly-woven fabrics like cotton or polyester blends. Next, think about the weight and texture of the fabric. Heavier fabrics, such as denim or twill, can handle more intricate designs and heavier stitching. Meanwhile, lighter fabrics like silk or chiffon may require more delicate stitches to avoid tearing. Stability is another important factor to consider. Fabrics that are stretchy or have a lot of give might not hold up well under the tension of the embroidery machine. Opt for stable fabrics like felt or canvas that will keep the design in place. By carefully considering fabric type, weight, texture, and stability, you can choose a suitable piece of fabric to test your embroidery design. This will ensure that the final product looks as intended and that there are no issues with tearing or misshaping during the embroidery process. In conclusion, digitizing a logo for embroidery is a crucial process that can transform your design into a stunning, high-quality embroidered piece. By following the above four simple steps, you can ensure the success of your embroidery project. First Step, prepare your design by gathering the right images and fonts, creating a file in the proper format, and selecting thread colors and fabric types. Second Step, understand the various stitches and maximum stitch lengths for different fabric types, ensuring precise and visually appealing results. Third Step, digitize the design using embroidery software or a professional digitizer, allowing you to convert your design into a format that an embroidery machine can understand. Fourth Step, test the design on a fabric piece to address any potential issues before commencing the full embroidery process. For professional and reliable embroidery digitizing services, make sure to contact us and bring your logo to life through the art of embroidery. Whether it's custom merchandise or promotional items, digitizing your logo is the key to achieving high-quality and visually appealing results. Don't miss out on the opportunity to elevate your brand or project with the magic of embroidery digitization. Q1: What is the purpose of digitizing a logo for embroidery? Digitizing a logo for embroidery converts a design into a digital format that can be read by an embroidery machine, enabling it to accurately recreate the design on fabric. Q2: Why is it important to choose the right thread colors when digitizing a logo for embroidery? Selecting the right thread colors ensures that the embroidery design accurately matches the original logo, maintaining consistency and visual appeal. Q3: What are some common stitch types used in embroidery? Common stitch types include running stitch, back stitch, split stitch, stem stitch, and chain stitch. Understanding these stitch types is crucial for achieving the desired texture and appearance of the embroidery design. Q4: How can embroidery software help in the digitization process? Embroidery software allows users to create and customize embroidery files for digitization. It provides control over stitch types, thread colors, and design elements, resulting in precise and accurate digitization. Q5: Why is testing the design on a fabric piece an important step? Testing the design on fabric helps identify any issues or adjustments needed before the actual embroidery process, ensuring that the final embroidered product looks as intended and meets quality standards.Benefits of Digitizing a Logo for Embroidery
Step 1: Prepare the Design
1.1 Gather Images and Fonts
Determine the design elements:
Source high-quality images:
Select suitable fonts:
Consider embroidery limitations:
1.2 Create a File in the Proper Format
Choose the appropriate file format:
Convert the logo to the desired file format:
Crop the logo file:
Check the resolution:
1.3 Select Thread Colors and Fabric Type
Evaluate the logo design:
Choose thread colors:
Consider fabric type:
Step 2: Understand Stitches and Maximum Stitch Lengths
2.1 Types of Stitches Used in Embroidery
Running Stitch:
Back Stitch:
Split Stitch:
Stem Stitch:
Chain Stitch:
2.2 Understanding Maximum Stitch Lengths for Different Fabric Types
Step 3: Digitize the Design with Software or Professional Digitizer
3.1 Using Embroidery Software to Create the File
3.2 Hiring a Professional Digitizer to Create a Design File
Step 4: Test the Design on Fabric Piece
4.1 Choosing a Suitable Piece of Fabric to Test The Design
Conclusion
FAQs (Frequently Asked Questions)
