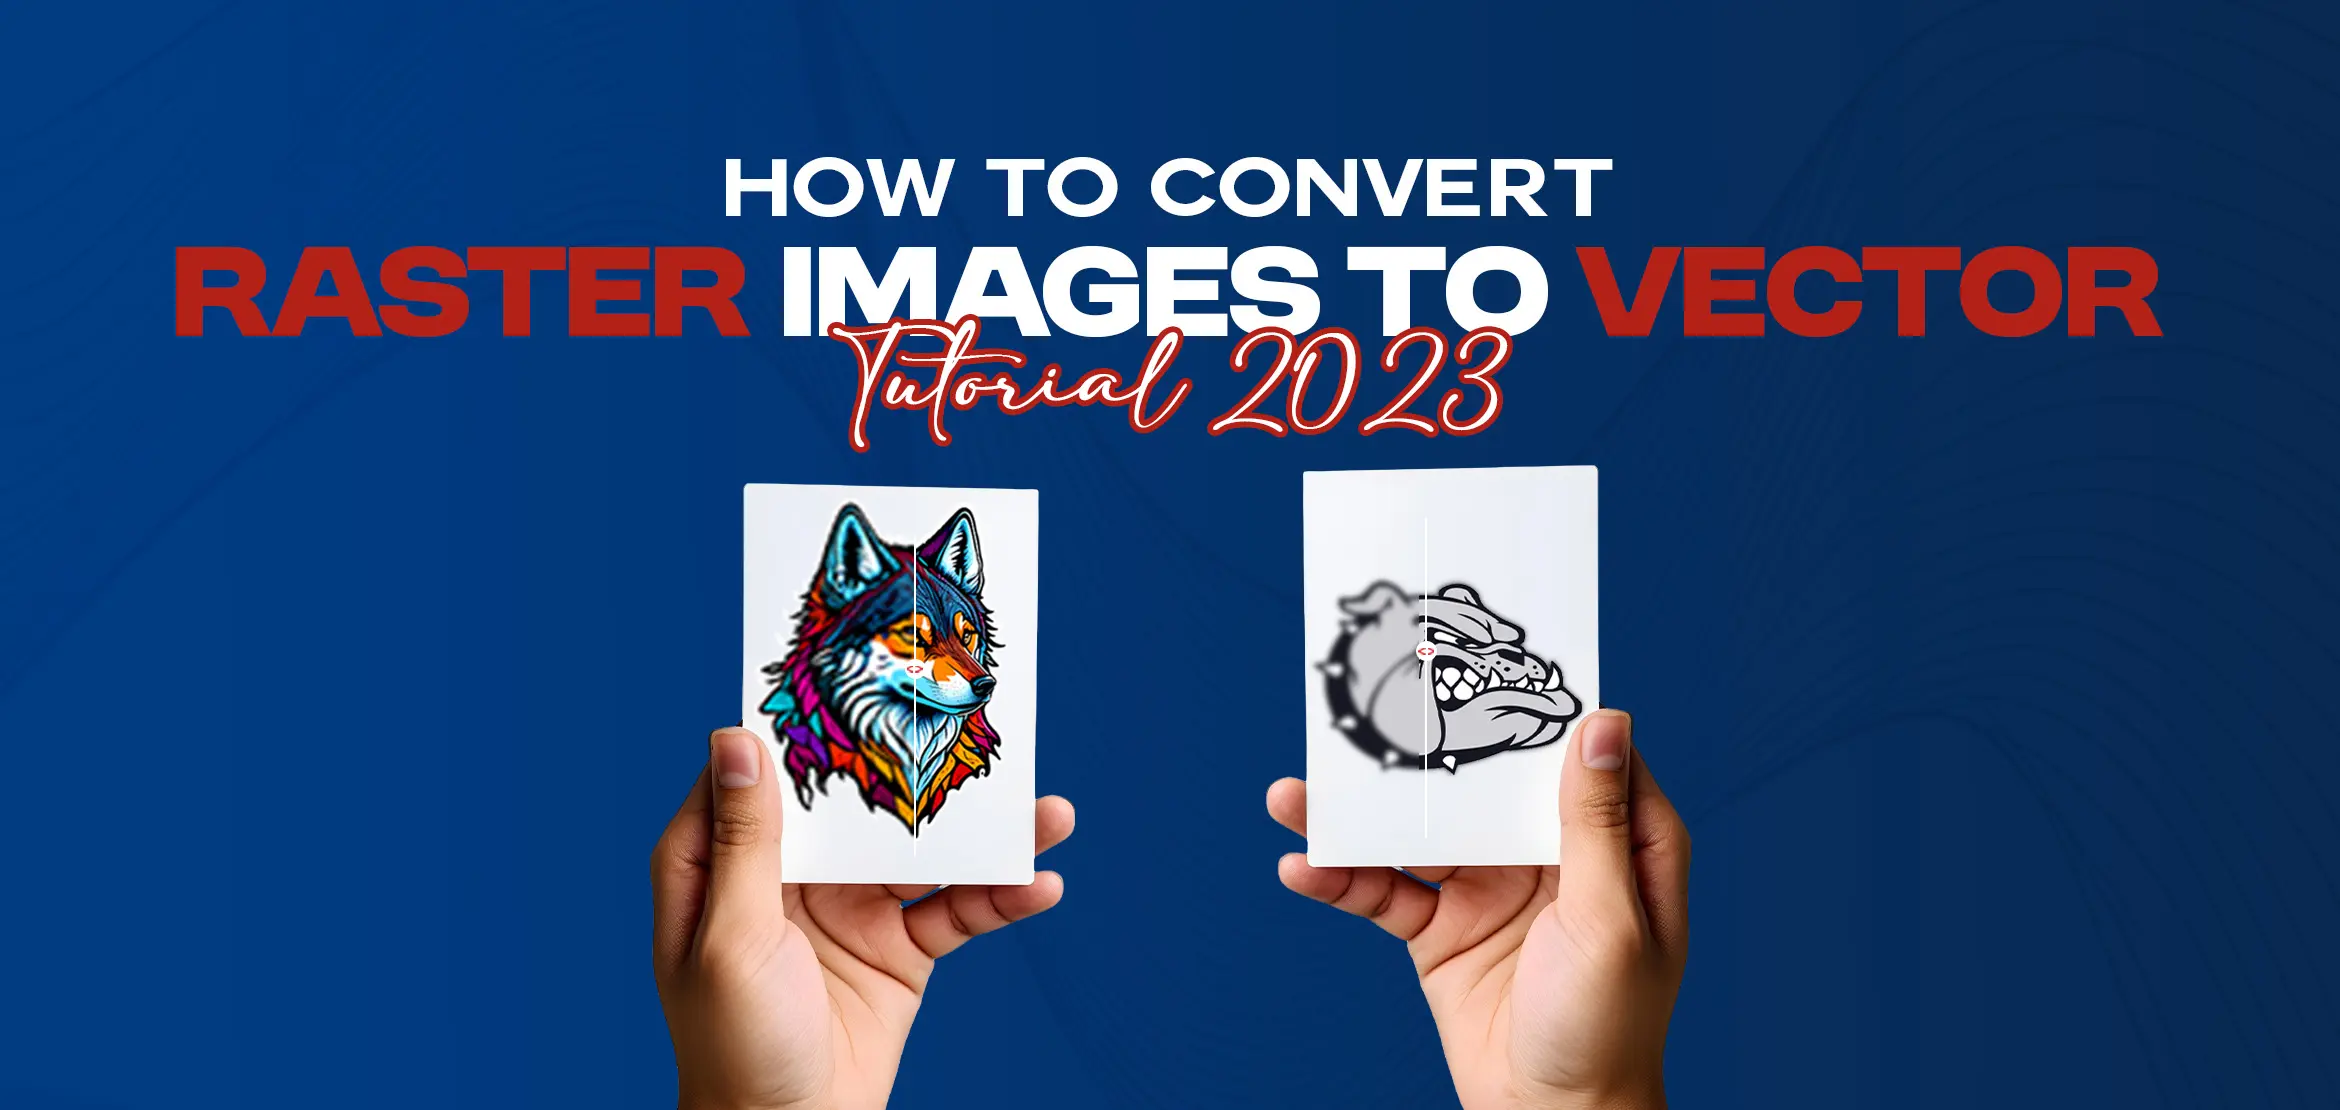
How to Convert Raster Images to Vector : Tutorial 2023
Table Of Content
- Step 1: Selecting a software tool for conversion
- Step 2: Preparing the raster image
- Step 3: Create a new vector document
- Step 4: Importing the raster image
- Step 5: Tracing the image
- Step 6: Cleaning up the vector paths
- Step 7: Defining shapes and objects
- Step 8: Applying color and fills
- Step 9: Adding gradients and effects (optional)
- Step 10: Adjusting strokes and outlines
- Step 11: Saving the vector file
- Step 12: Exporting the vector file
- Step 13: Reviewing and refining
- The Takeaway
- Frequently Asked Questions (FAQs)
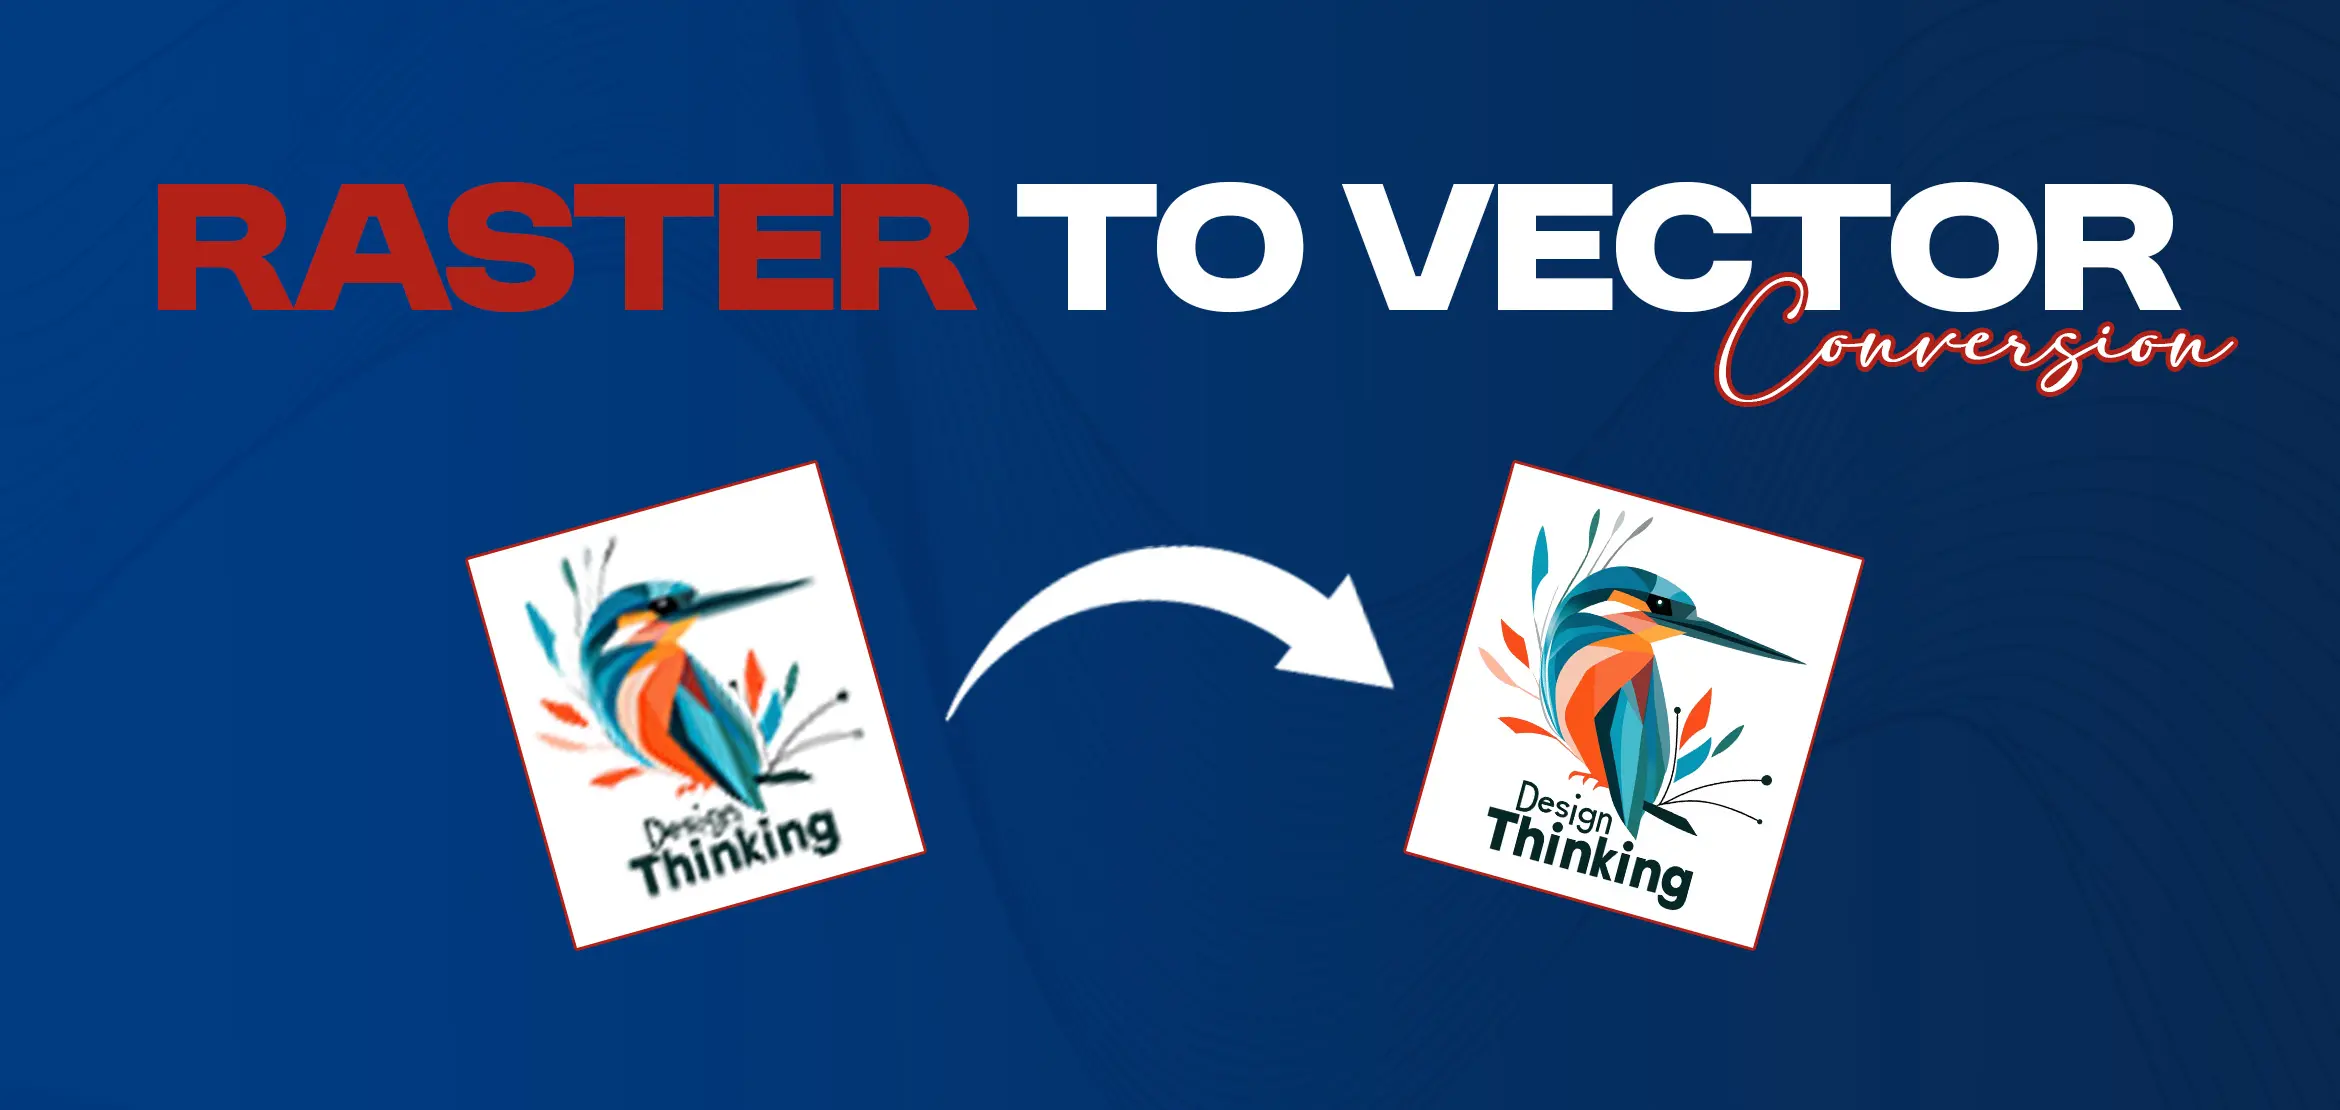
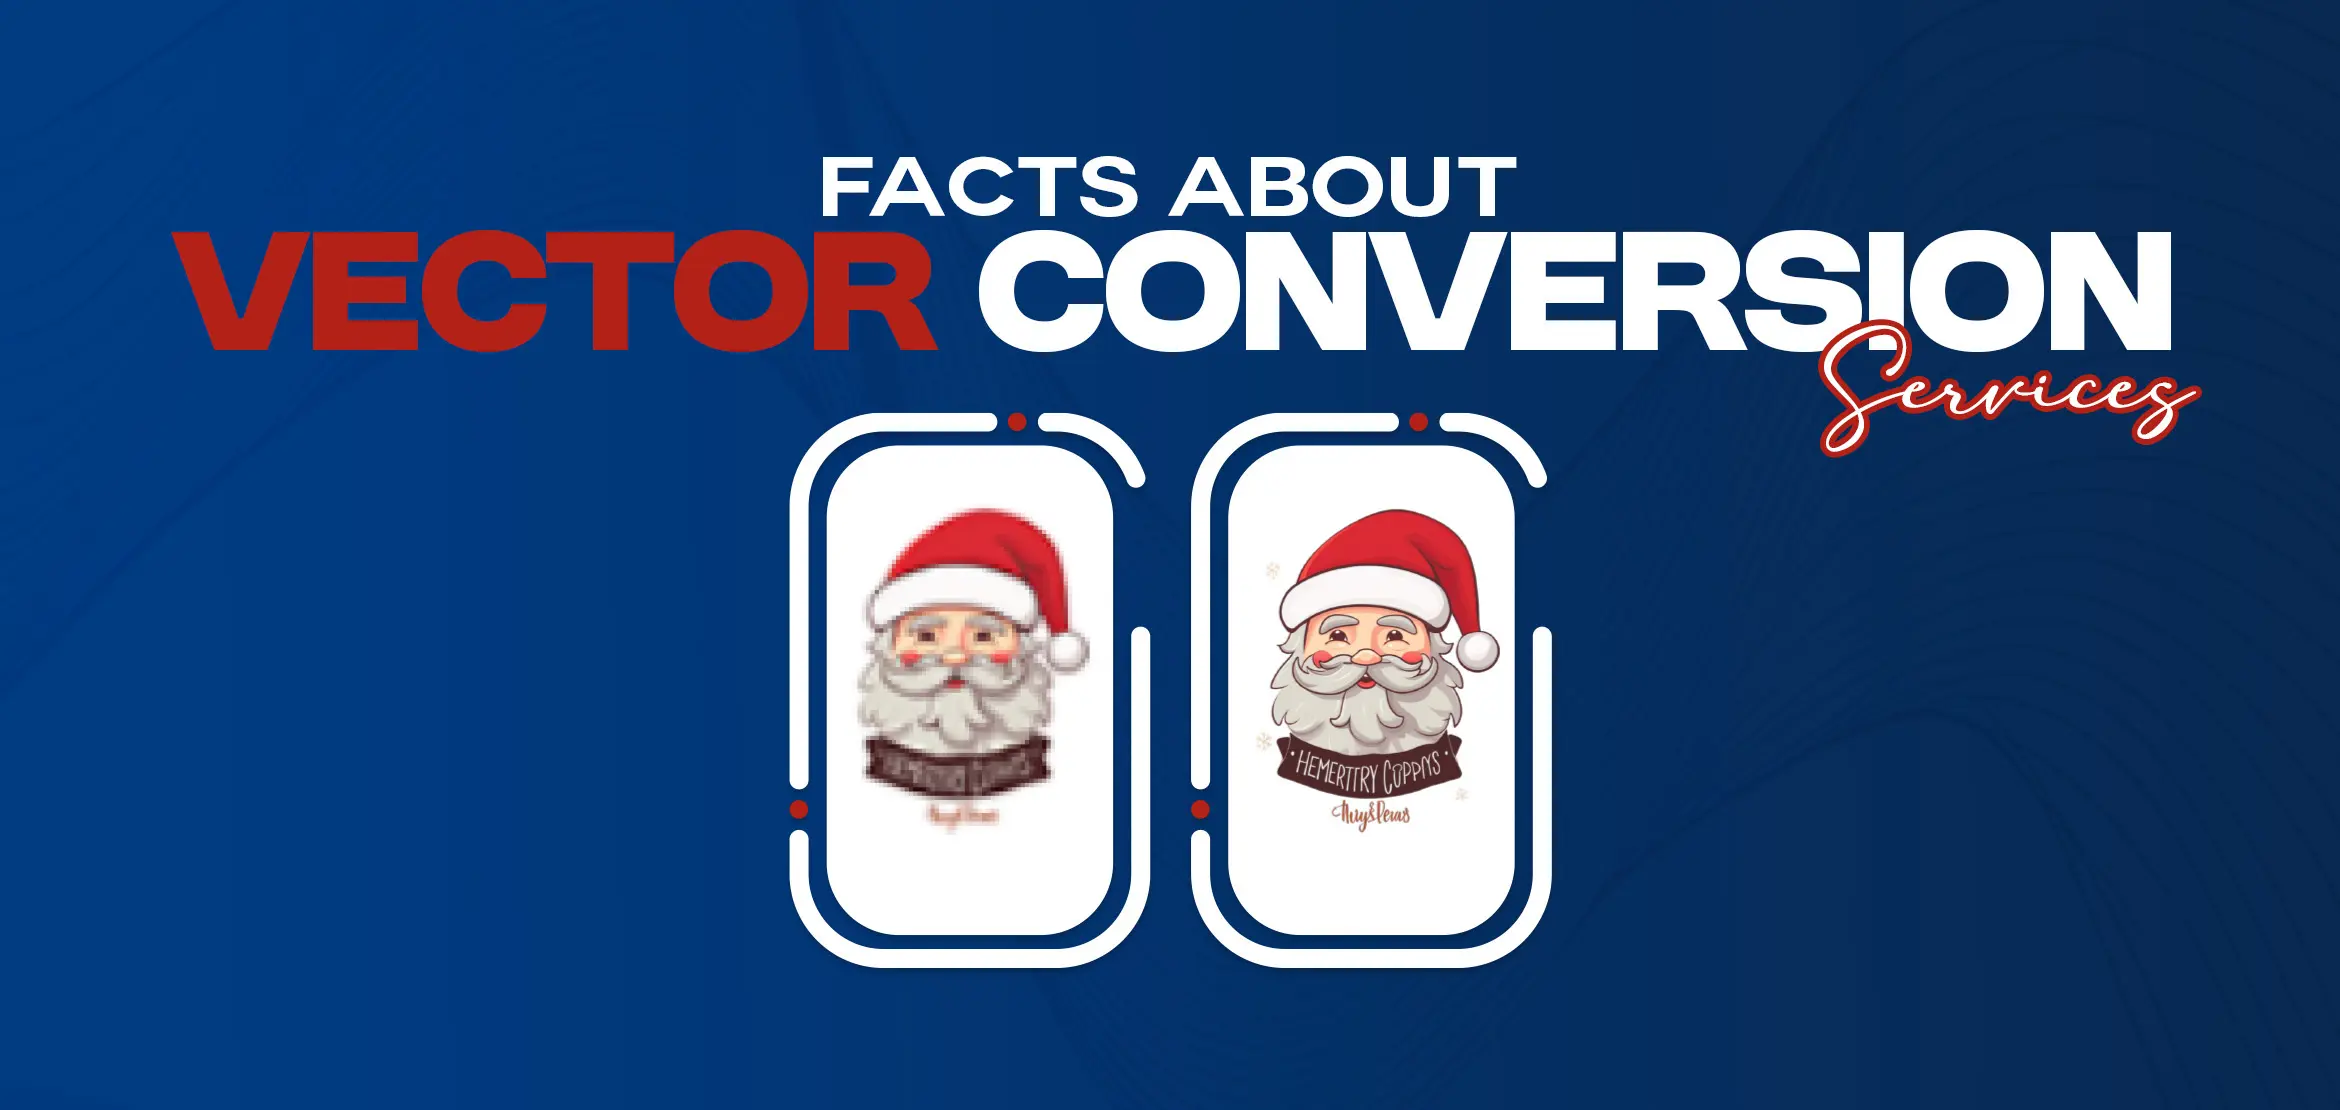
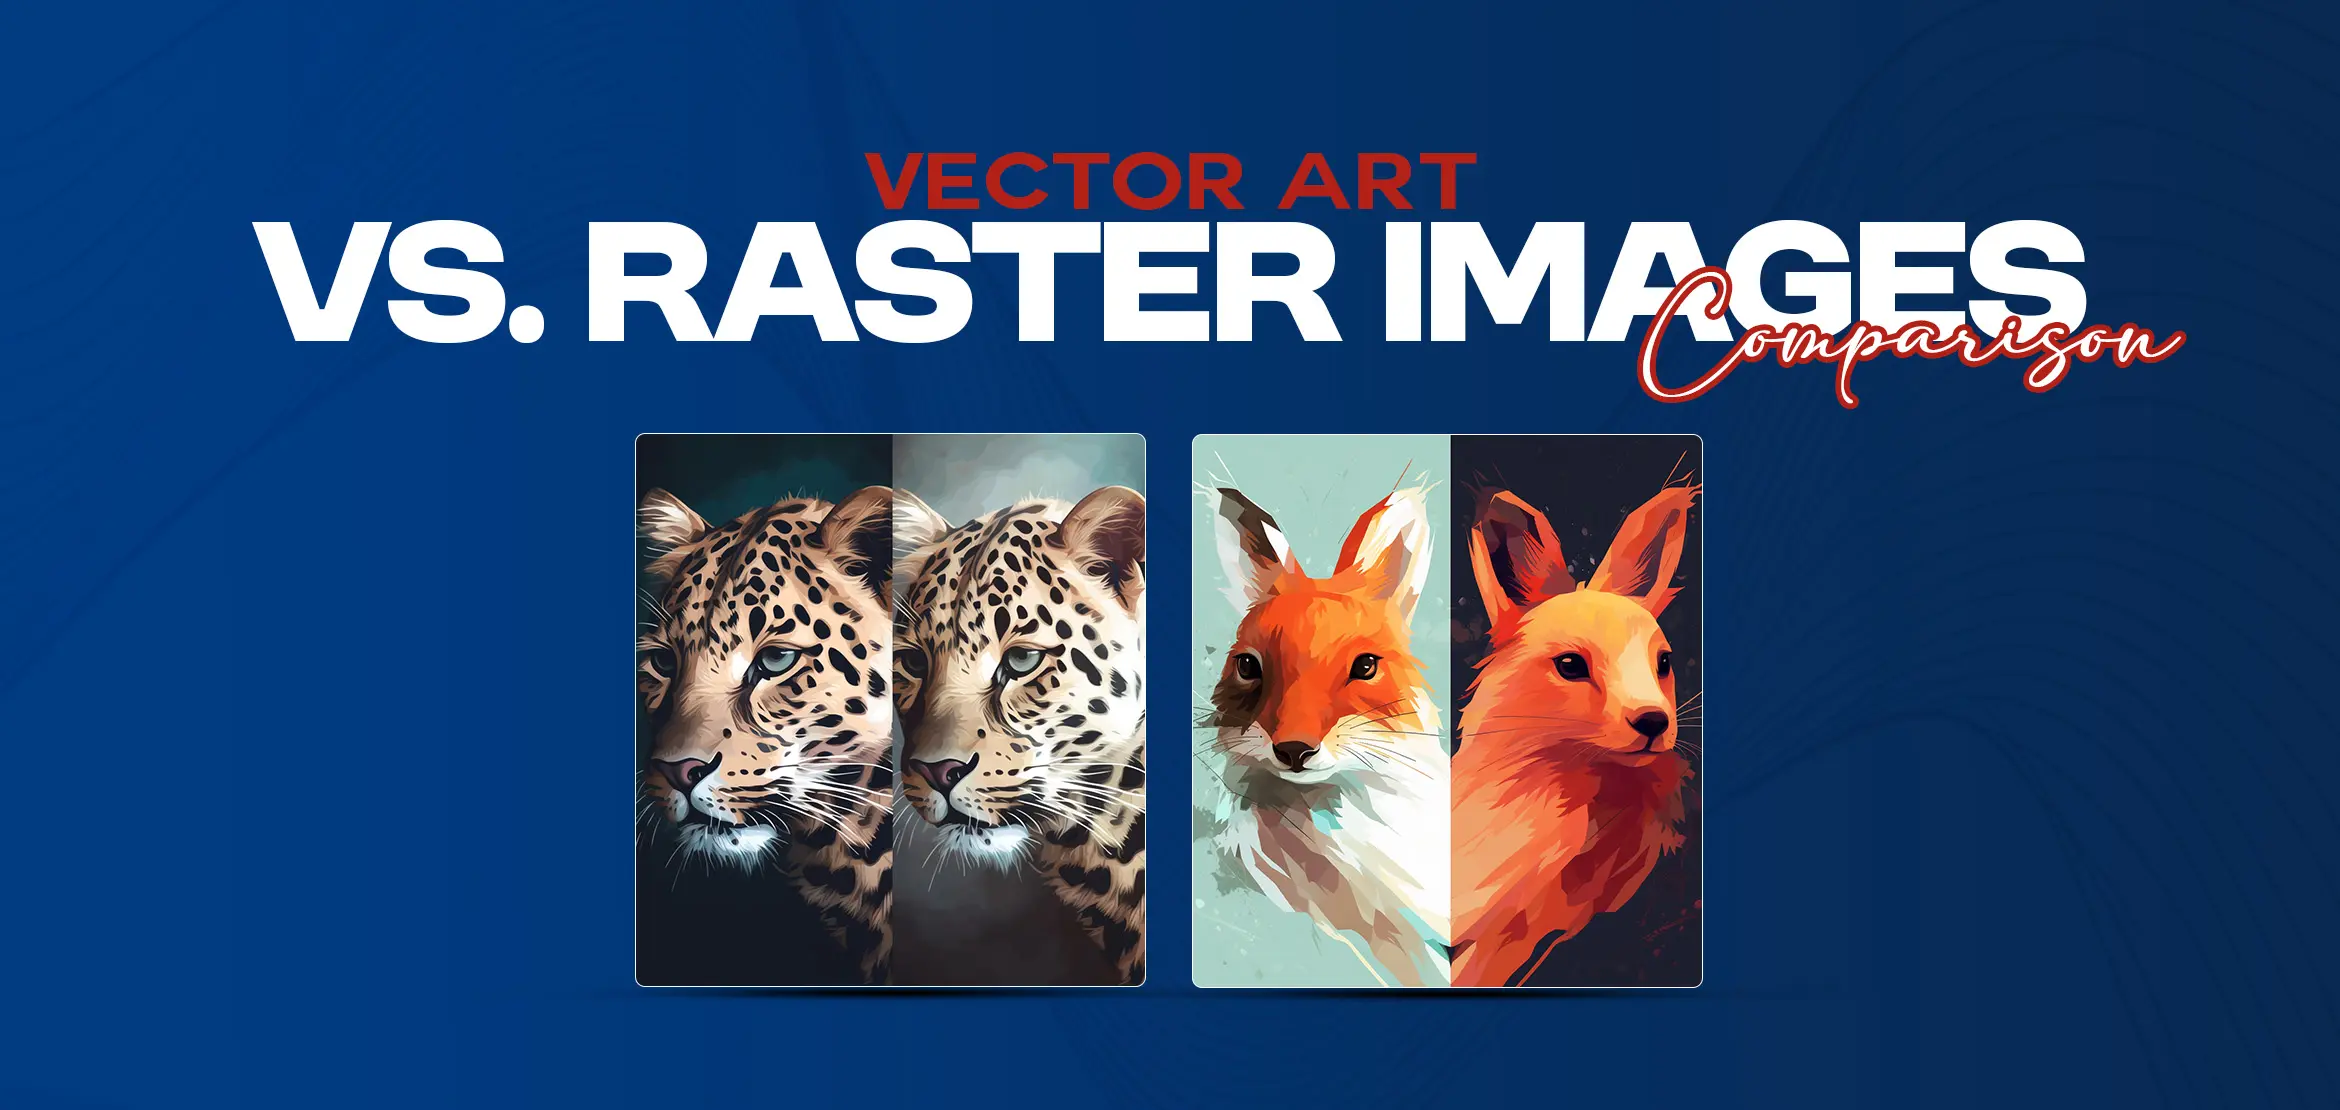
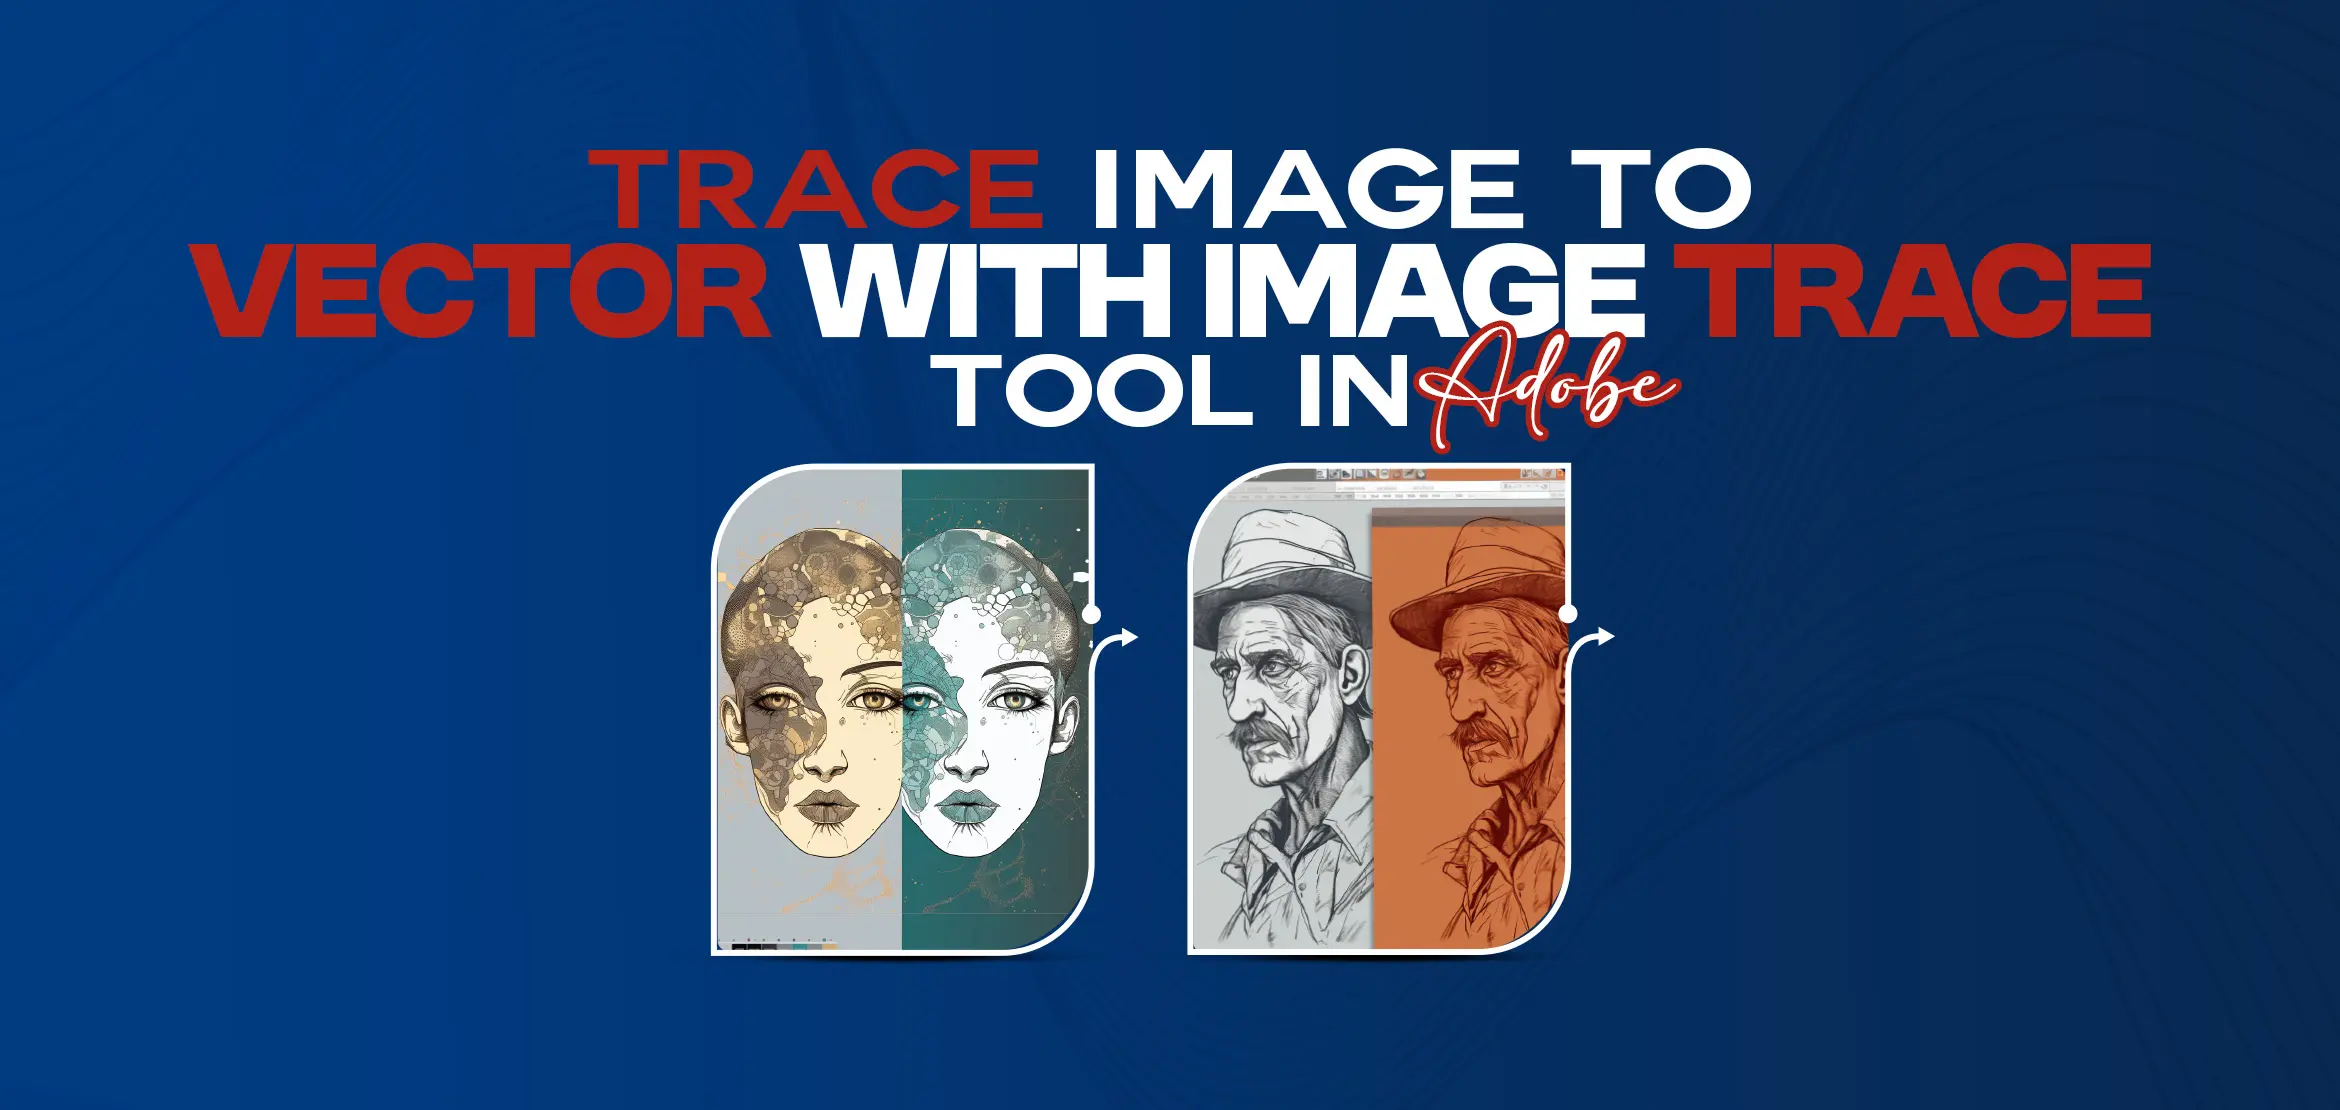
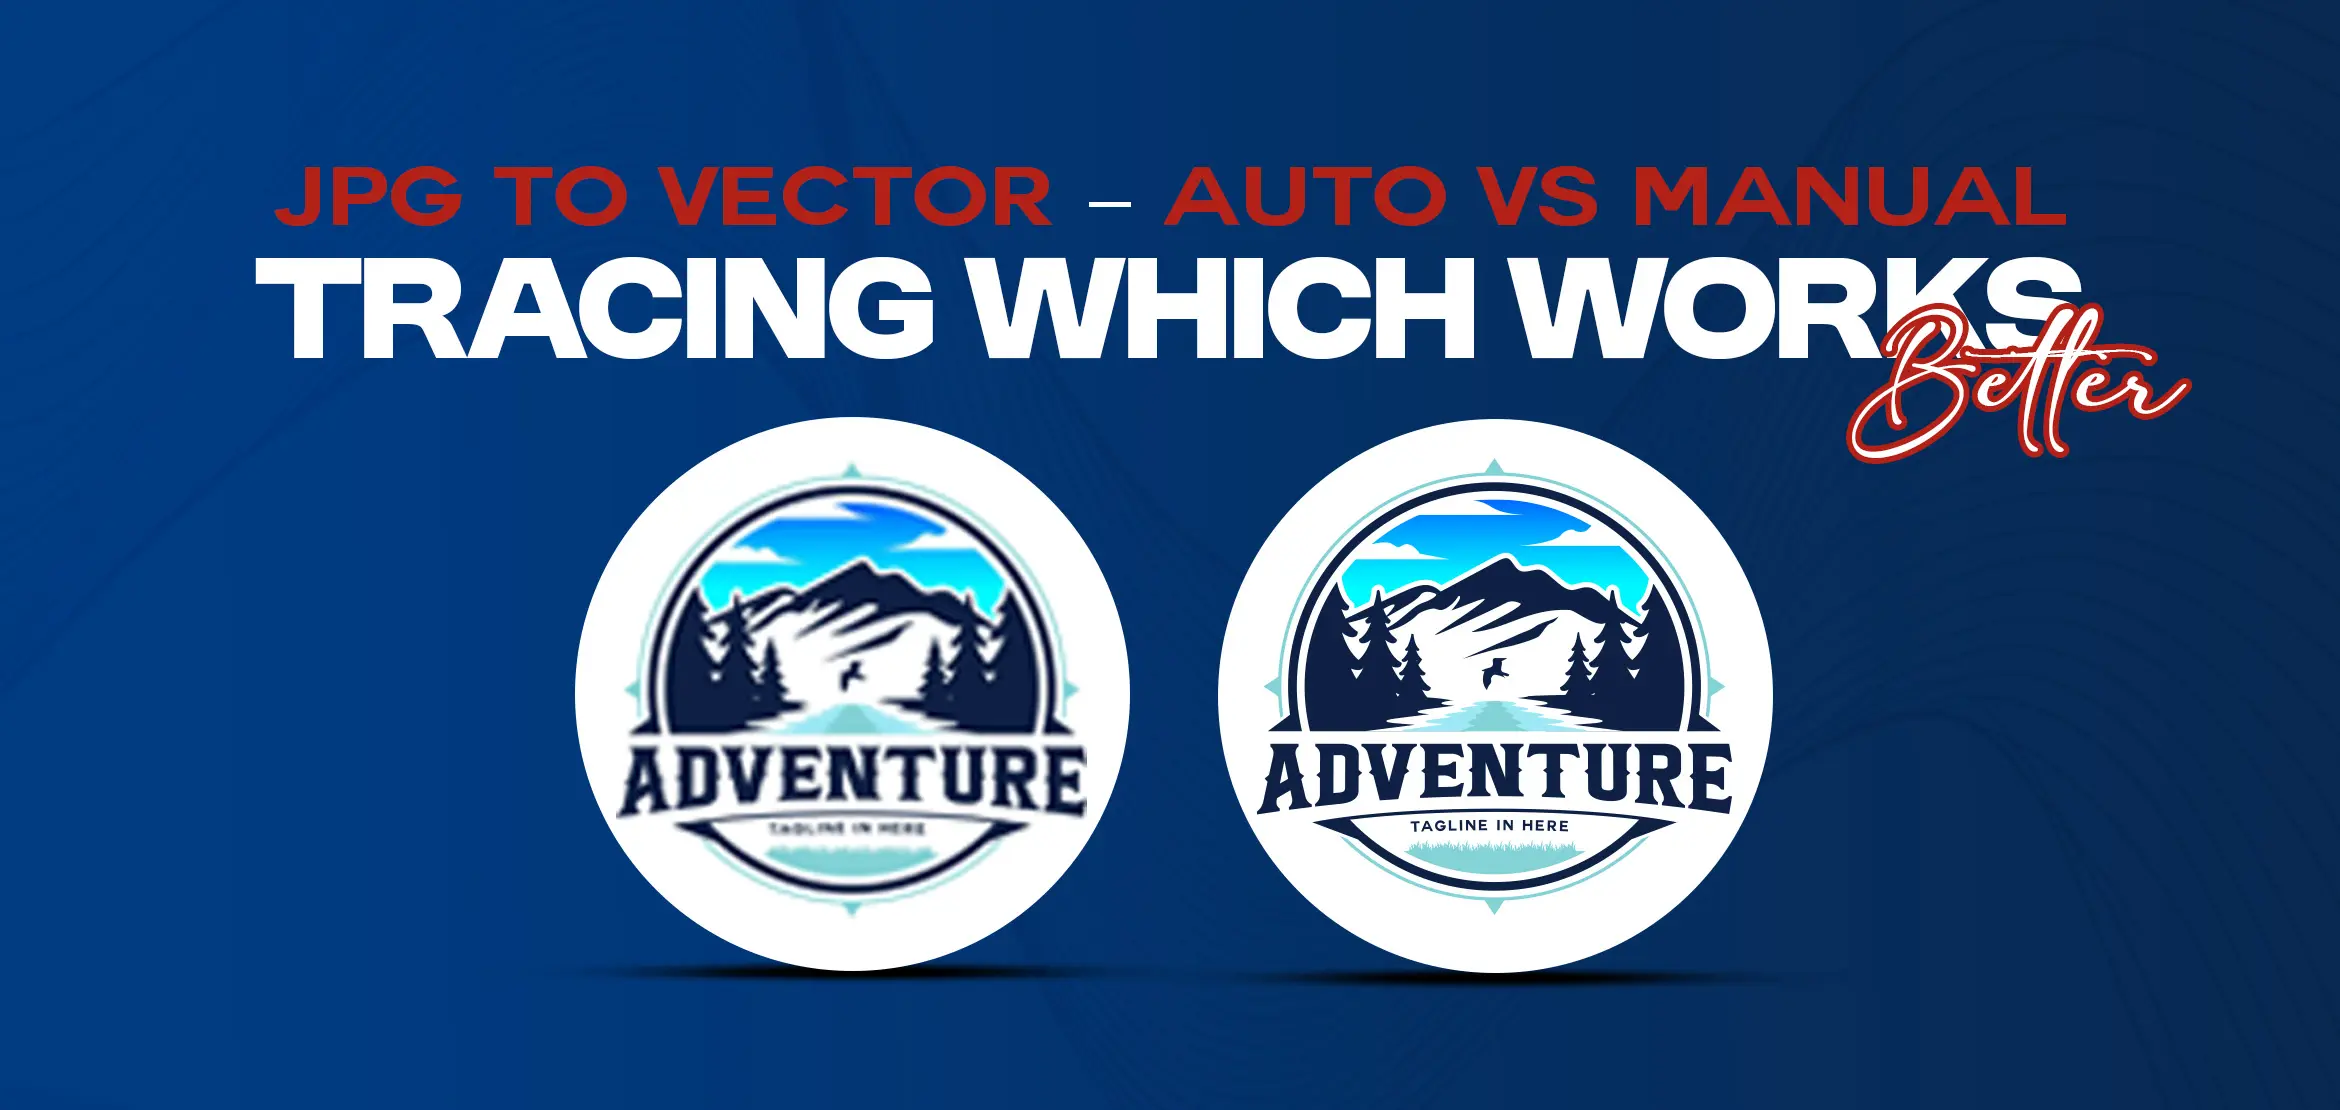
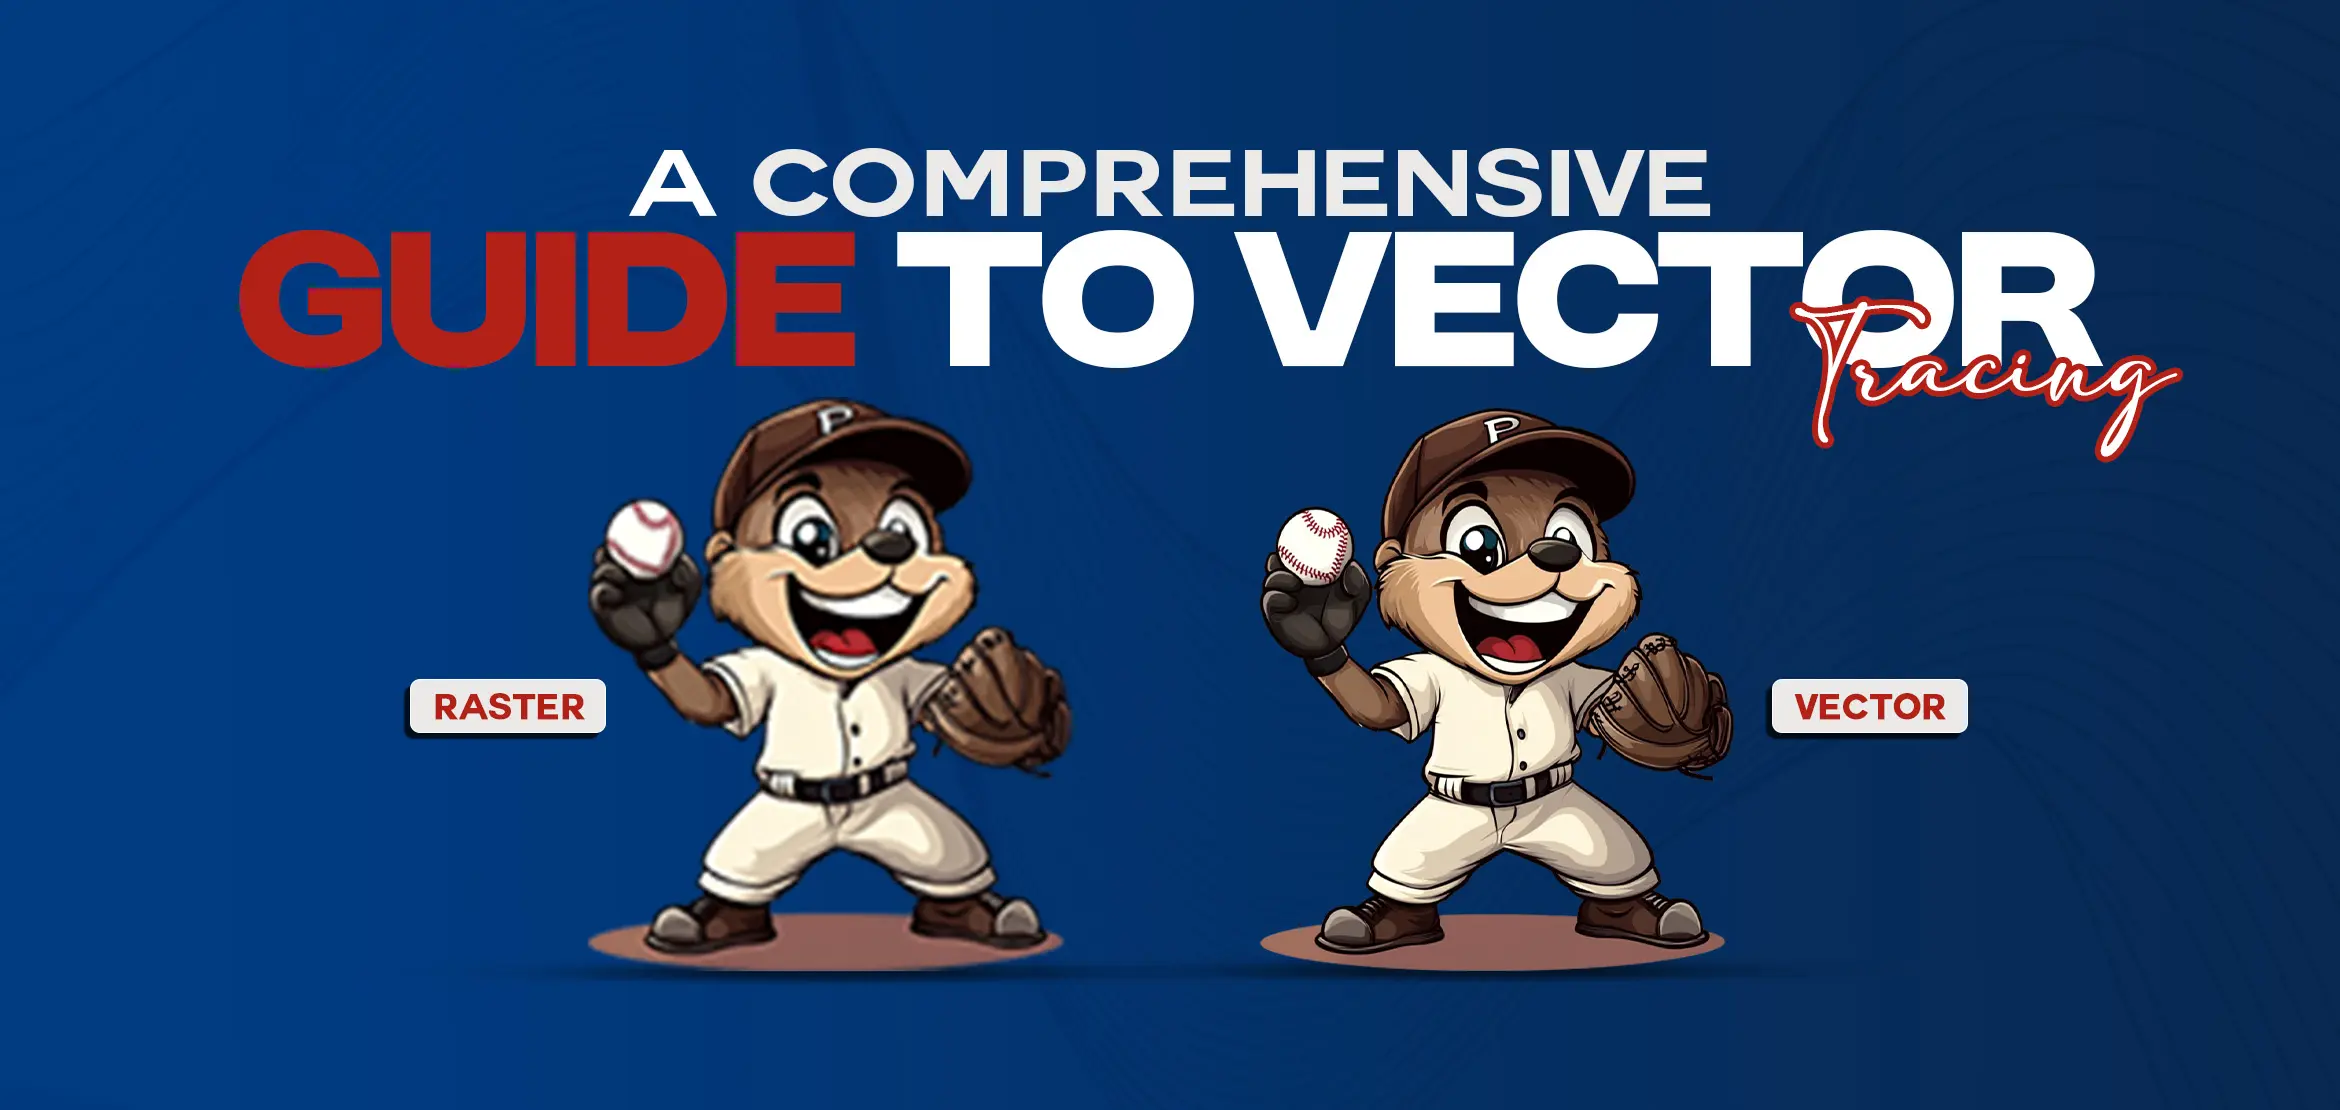
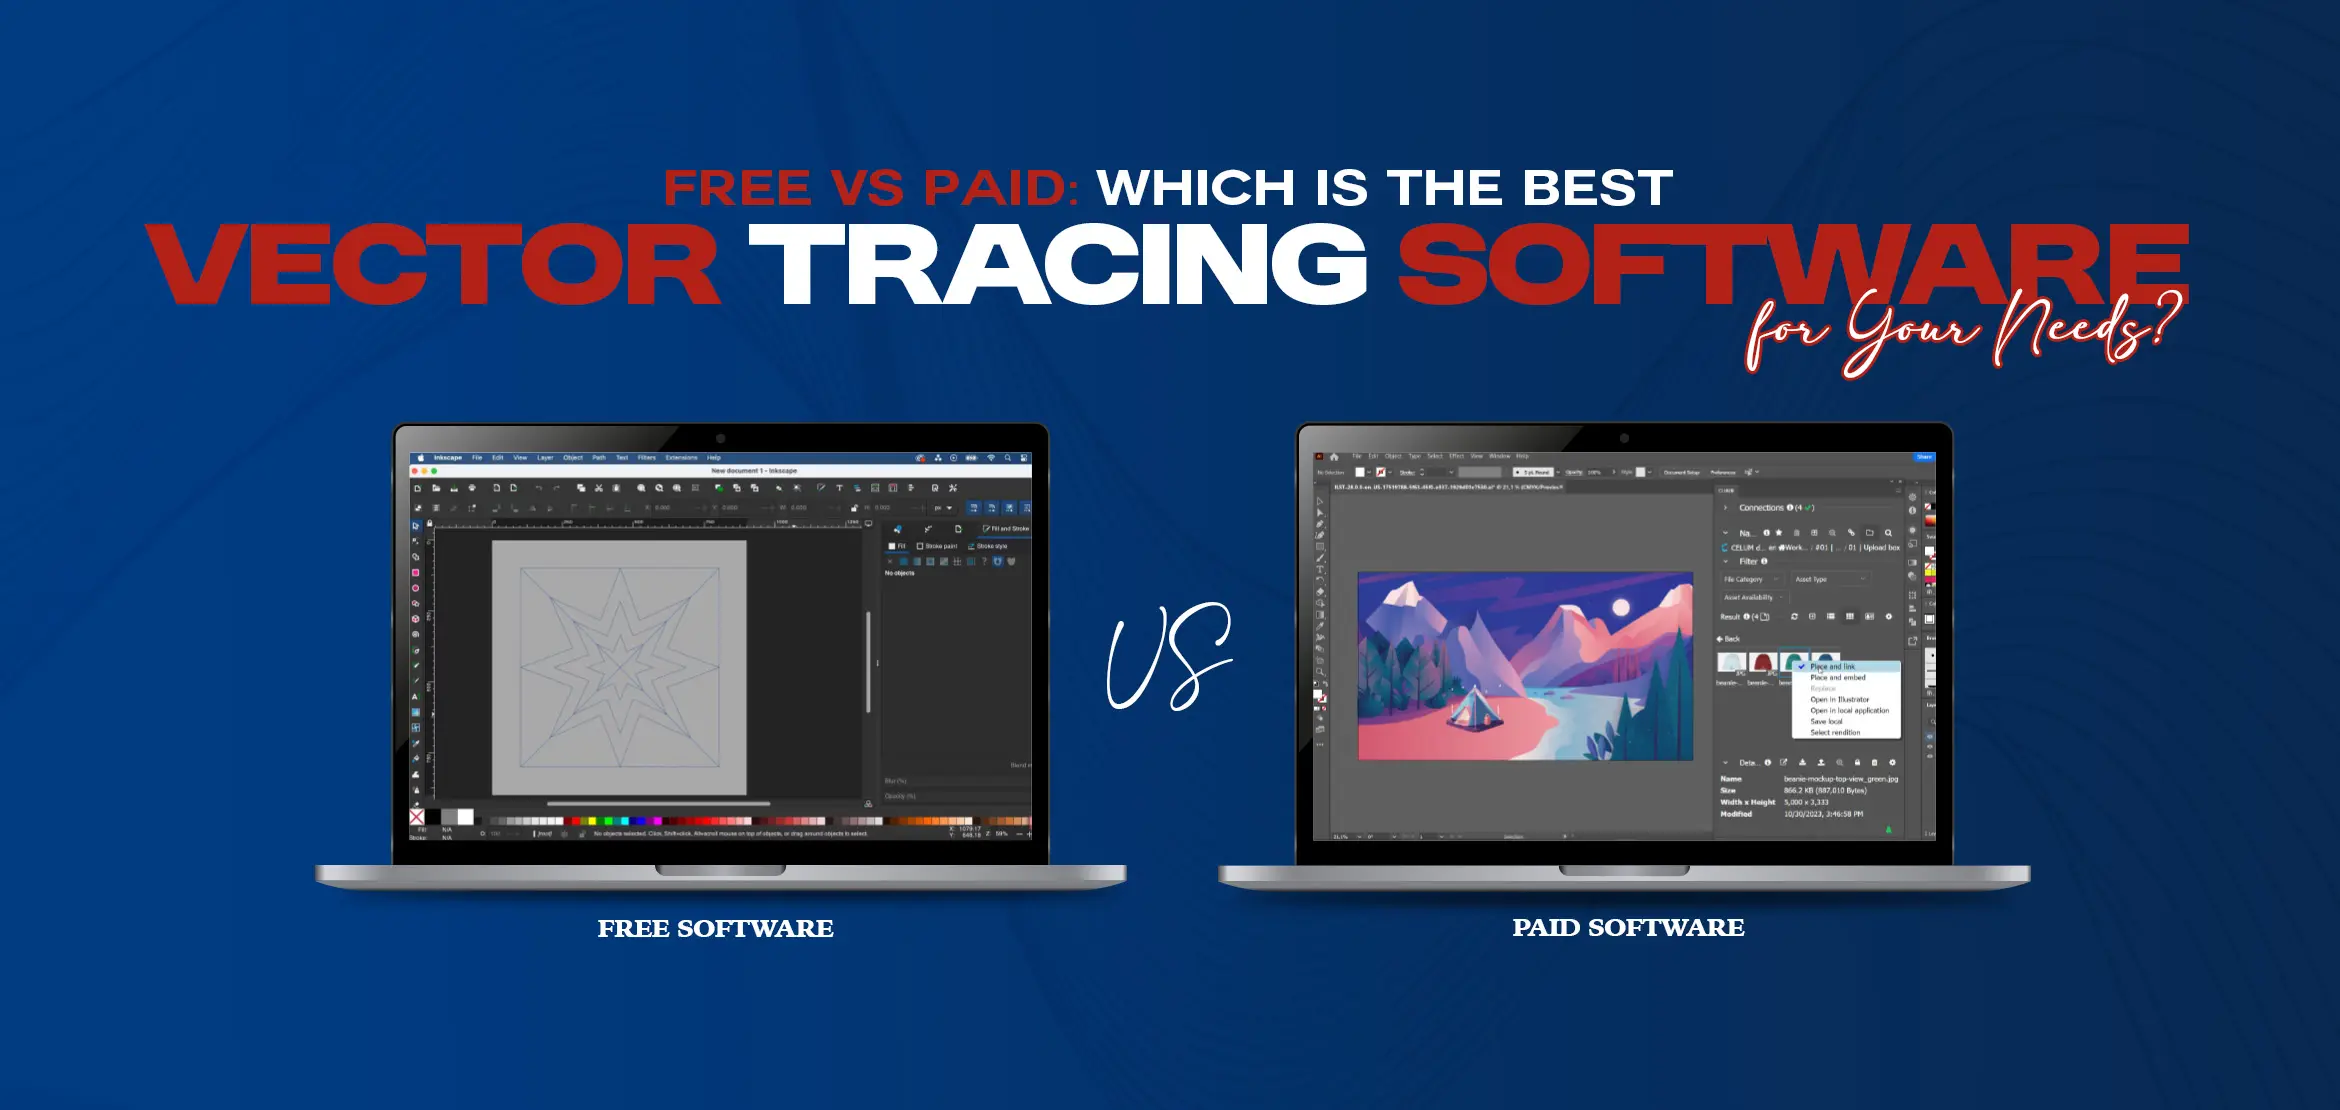
Raster images and vector graphics are two common digital image formats, each with unique characteristics. Raster images, also known as bitmap images, are made up of a grid of pixels and are resolution-dependent. On the other hand, vector graphics use mathematical formulas to define shapes and lines, allowing for scalability without loss of quality. Converting raster images to vectors can unlock various benefits, such as resizing without pixelation, editing individual elements, and using the artwork for various purposes. In this step-by-step tutorial, we will guide you through converting raster images to vectors, providing you with the knowledge and skills to transform your digital images into versatile vector formats. The first step in converting raster images to vectors is choosing the appropriate software tool. A wide array of options are available, such as Adobe Illustrator, CorelDRAW, Inkscape, and more. These software tools offer robust vector editing functionalities and various tracing options to convert raster images into vector artwork. When selecting, carefully evaluate each tool's features and functionality to ensure it aligns with your specific needs and budget. Consider factors such as ease of use, available tools and effects, compatibility with your operating system, and the learning curve associated with each software. Choosing the right software tool sets a solid foundation for successfully transforming your raster images into scalable and editable vector graphics. After selecting the software, the next step is to prepare the raster image before converting it to a vector format. Begin by opening the raster image in your chosen software and carefully assess its quality and resolution. Note any potential issues, such as blurriness or pixelation, which might affect the final vector output. Make necessary adjustments like cropping or resizing to optimize the image for the conversion process. Keep in mind that higher-resolution images usually result in better-quality vectors. Ensuring the raster image is in its optimal state lays the groundwork for a successful conversion, allowing for improved clarity, accuracy, and overall quality in the final vectorized output. Before importing the raster image, creating a new vector document within your software is essential. This involves setting the appropriate dimensions and units for the vector file and aligning them with your intended use of the artwork. Creating a new vector document ensures that the resulting vector artwork is generated with precise size and proportions. Consider factors such as aspect ratio, output requirements, and any specific guidelines or specifications for your project. Starting with a well-defined vector document lays the foundation for accurate scaling, compatibility with various mediums, and a seamless workflow throughout the conversion process. Now it's time to import the prepared raster image into your chosen vector software. Within the software, locate the option to import or open the image file. Once imported, position the raster image on the canvas according to your artistic vision, considering the composition and layout of your vector artwork. It is important to ensure that the placement of the raster image allows for seamless tracking and convenient editing. Important factors include visibility, accessibility, and the overall flow of the design. By strategically positioning the raster image, you set the stage for a smooth and efficient tracing process, facilitating the subsequent image conversion into vector paths. The tracing process is a crucial step in converting the raster image to a vector. Most vector software tools provide an "Image Trace" or similar feature that automates conversion. Adjust the tracing settings based on the desired level of detail and accuracy. Experiment with options such as color threshold, path smoothness, and noise reduction until you achieve satisfactory results. The software will analyze the raster image and generate vector paths based on the defined parameters. This process essentially converts the pixels of the raster image into vector shapes. Once the tracing process is complete, meticulously inspect the vector paths created by the software. The traced paths might exhibit errors, imperfections, or unwanted elements. In such cases, utilize the editing tools provided by the software to fine-tune and purify the paths. Clear away any stray lines, unnecessary anchor points, or other artifacts that might have been introduced during the tracing process. This crucial step guarantees that your vector artwork achieves a clean and precise appearance, free from distractions or inaccuracies. By ensuring the vector paths are pristine, you lay the groundwork for further manipulation and creative enhancements, confident in the accuracy and quality of your artwork. Distinguish and isolate distinct shapes and objects within the vector paths using the tools provided by your software. This step involves identifying individual elements and defining them as separate objects. Doing so gives you precise control over each component of your vector artwork. This newfound control enables you to independently manipulate, modify, or recolour the objects, granting flexibility for future editing and customization. Whether separating logo elements or isolating different parts of an illustration, defining shapes and objects empowers you to work with greater precision and efficiency. Embrace this step to unlock the full potential of your vector artwork and unleash your creativity in shaping each element to perfection. Choose suitable colors for various elements of the vector image. Utilize the fill tools in your software to apply colors to the defined objects. This step involves the transformation of a previously monochromatic raster image into a vibrant and colorful vector artwork. Take advantage of this opportunity to explore different color schemes and combinations, allowing you to achieve the desired aesthetic for your artwork. Experimentation is key, so don't hesitate to try various color palettes and combinations until you find the perfect match. Adding color and fills allows you to breathe life into your vector image, enhancing its appeal and creating a captivating visual experience. Consider incorporating gradients and other effects into your vector image for an added visual allure. Most vector software tools offer features to create gradients, shadows, glows, and more. These effects can introduce depth, dimension, and visual interest to your artwork. It's important to exercise moderation and ensure the effects harmonize with the overall design without overpowering it. Strive for a balanced composition where the gradients and effects complement and enhance the aesthetics rather than distract from them. Take the opportunity to experiment and find the perfect combination of effects that accentuates the unique qualities of your vector image. By tastefully applying gradients and effects, you elevate your artwork and captivate viewers with a visually stunning result. Refine your artwork by modifying the stroke or outline properties of the vector objects. Adjust the color strokes, thickness, or style to achieve the desired visual effect. This step allows one to emphasize specific elements, establish visual hierarchy, or infuse artistic flair into vector artwork. Experiment with different stroke attributes to find the perfect balance that enhances the composition. Consider the impact of stroke variations on the overall aesthetics and ensure they align with your artistic vision. By meticulously adjusting strokes and outlines, you can refine the details of your vector artwork, adding depth, definition, and personality to your design. Before exporting, it is crucial to save your vector image in the native format of your software. Saving the file in its original format preserves the layers, objects, and editable properties, enabling future modifications and ensuring your work is backed up. This step is essential for maintaining the flexibility to make necessary changes or adjustments. By saving in the native format, you can revisit and refine your vector artwork without losing crucial information. It serves as a safeguard for your creative efforts, providing peace of mind and enabling a seamless workflow for future iterations or adaptations of your artwork. Once you're ready to share or utilize the vector image outside of the software, it's time to export it to a suitable file format. There are several common vector file formats to choose from, including SVG (Scalable Vector Graphic), AI (Adobe Illustrator), EPS (Encapsulated PostScript), and PDF (Portable Document Format). When selecting the format, consider the intended use and compatibility requirements. SVG is a popular choice if the artwork will be used on the web or needs to be easily scalable. On the other hand, AI and EPS formats are well-suited for compatibility with design software. PDF is a versatile format suitable for both digital and print applications. By exporting to the appropriate file format, you ensure your vector image can be effectively utilized and shared across different platforms and mediums. Before concluding the conversion process: Allocate time to thoroughly review the vector image for any remaining issues or areas of enhancement. Scrutinize the artwork for unnoticed errors, inconsistencies, or artifacts that may have gone undetected. Refine the vector image by implementing necessary adjustments, such as fine-tuning colors, repositioning objects, or optimizing the overall composition. This final review guarantees the vector image is polished, precise, and visually captivating. By conducting a comprehensive assessment, you can ensure that the artwork meets your desired standards of quality and aesthetics. Take advantage of this opportunity to refine any details that may have been overlooked, resulting in an impeccably crafted vector image that accurately represents your creative vision. Congratulations! You have completed the step-by-step tutorial on converting raster images to vectors. Following these thirteen steps, you have gained the knowledge and skills to transform raster images into versatile vector formats. Converting raster images to vector graphics opens up a world of possibilities, allowing you to scale, edit, and manipulate your artwork without losing quality. Whether you are a designer, illustrator, or simply looking to optimize your digital images, the ability to convert raster to vector is an invaluable skill. Start exploring the benefits of vector graphics today using our company, Digitizing USA, and unleash your creativity with vectorized images. Q1. What are the advantages of converting raster images to vectors? Converting raster images to vector allows for scalability without losing quality, the ability to edit individual elements, and versatility for various applications such as printing, embroidery, or logo design. Q2. Can any software be used to convert raster images to vectors? Several software tools like Adobe Illustrator, CorelDRAW, and Inkscape offer robust vector editing capabilities and tracing options for converting raster images to vectors. Q3. How do I choose the right software for raster-to-vector conversion? Consider features, ease of use, cost, and compatibility with your operating system. Trial versions or online tutorials can help you assess which software suits your needs best. Q4. What file formats are suitable for exporting vector images? Common vector file formats include SVG, AI, EPS, and PDF. The choice depends on compatibility requirements and the intended use of the vector image. Q5. Is it necessary to clean up and refine vector paths after tracing? Cleaning up vector paths ensures accuracy and eliminates errors or unwanted elements. It allows for smoother editing and manipulation of the vector artworkStep 1: Selecting a software tool for conversion
Step 2: Preparing the raster image
Step 3: Create a new vector document
Step 4: Importing the raster image
Step 5: Tracing the image
Step 6: Cleaning up the vector paths
Step 7: Defining shapes and objects
Step 8: Applying color and fills
Step 9: Adding gradients and effects (optional)
Step 10: Adjusting strokes and outlines
Step 11: Saving the vector file
Step 12: Exporting the vector file
Step 13: Reviewing and refining
The Takeaway
Frequently Asked Questions (FAQs)
