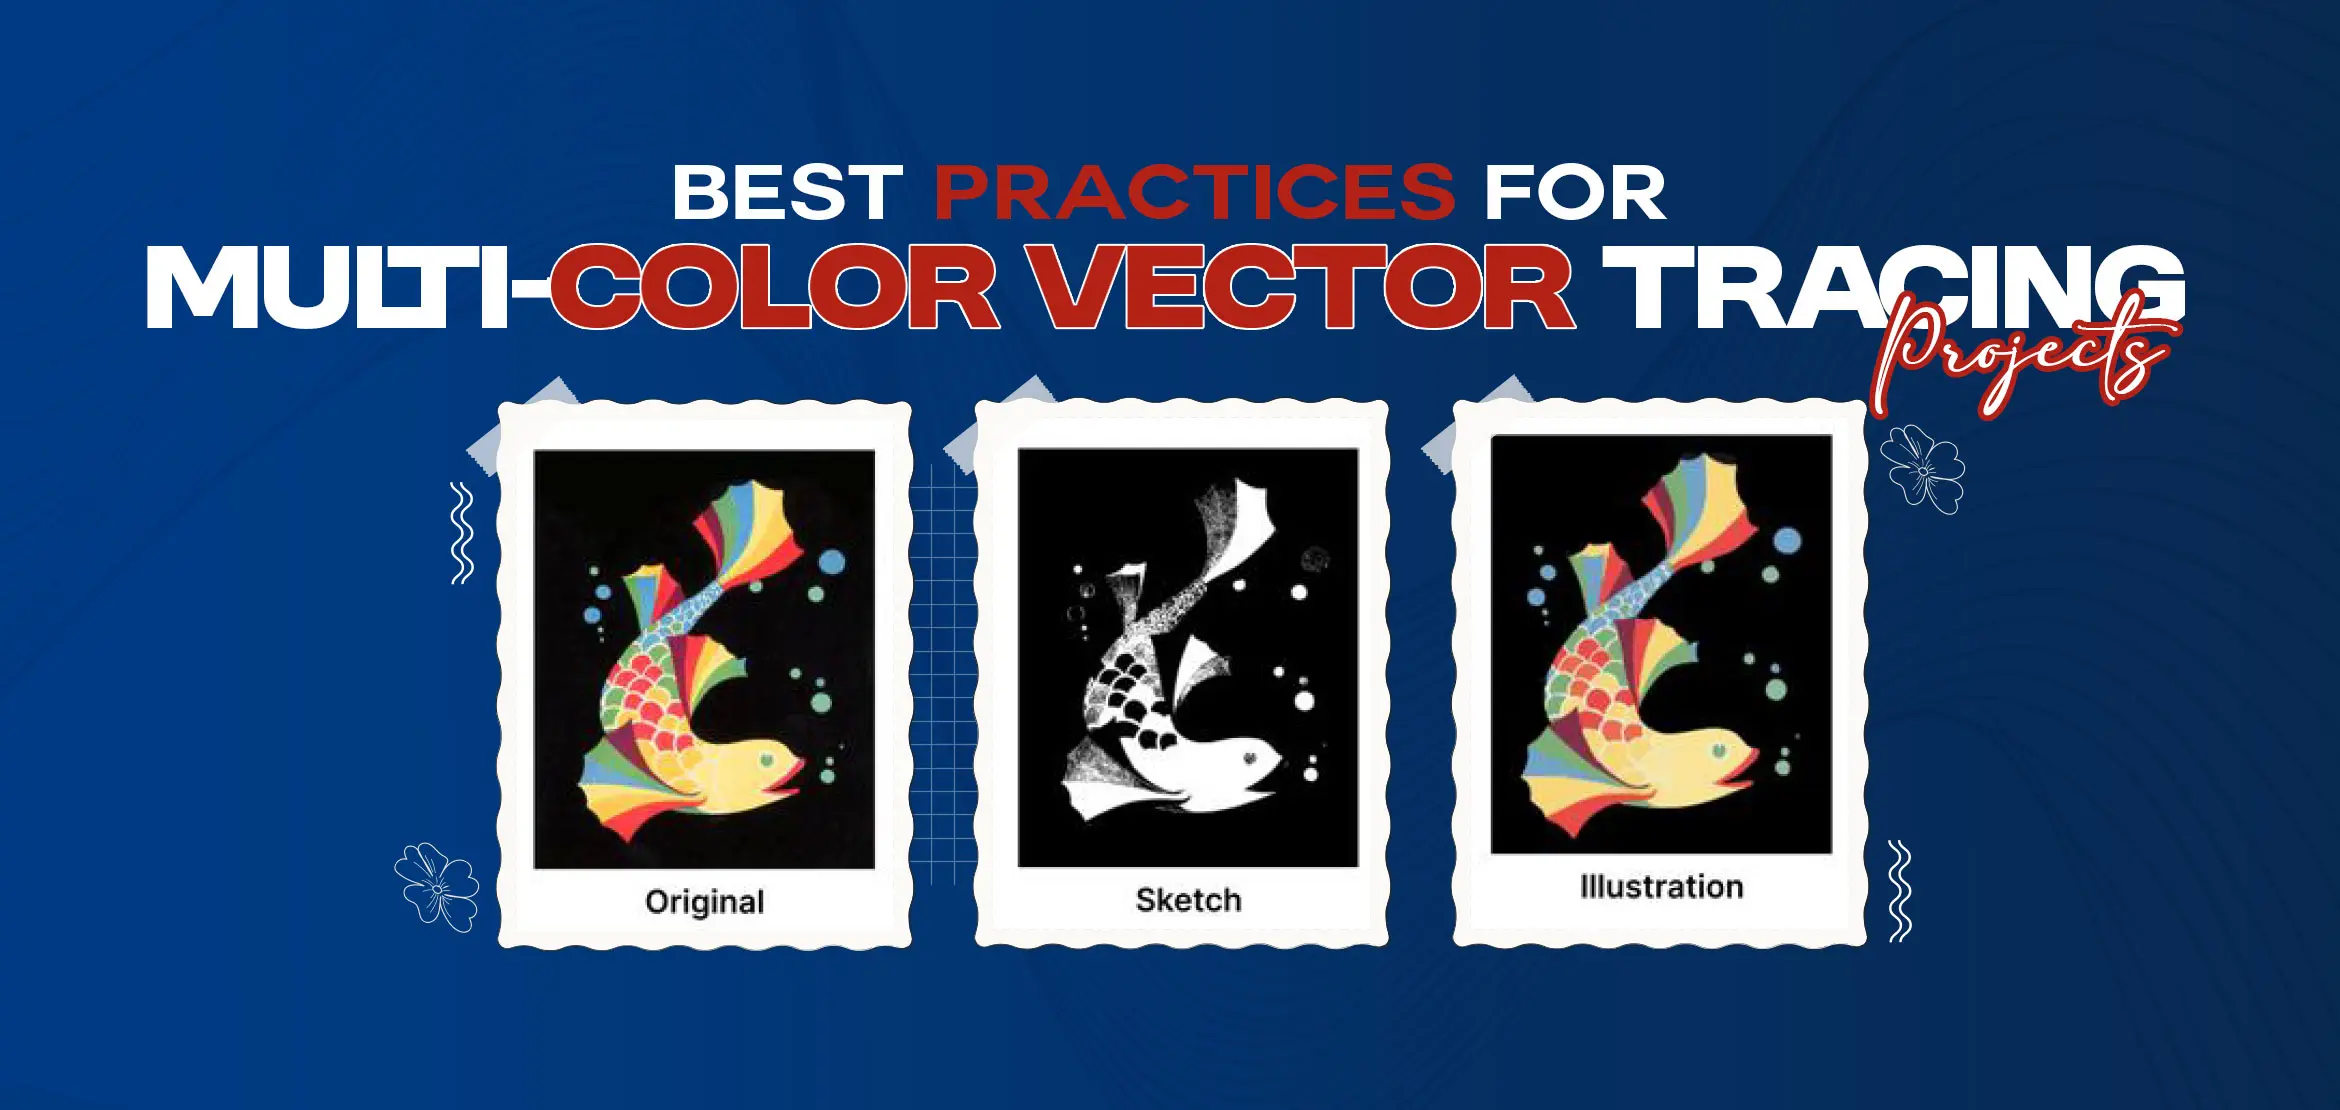
Best Practices for Multi-Color Vector Tracing Projects
Alright, vector tracing fans. Today we're going to teach you how to take a colorful artwork or logo and turn it into a clean, scalable vector. If you've tried multi-color vector tracing but did not get perfect results, this blog post is for you. Learning multi-color vector tracing can make your project shine. Now we're going to discuss some easiest ways to nail it, if you're new to this or have been doing it for a long time. So without wasting time, let's get started.
Table Of Content
- Why Multi-Color Vector Tracing Isn't as Easy as It Looks?
- Vector Tracing vs Manual Tracing: What Works Best for Multi-Color Designs?
- How to Trace Complex Design with Different Colours?
- Step-by-Step Multi-Color Vector Tracing Process
- Choosing the Right Tools for Multi-Color Vector Tracing Projects
- Should You Manually Trace or Auto-Trace Multi-Color Artwork?
- The Role of Color Separation in Multi-Color Vector Tracing
- How to Trace Colorful Artwork Without Losing Detail?
- Ready to Turn Your Artwork into Clean, Scalable Vectors? Let the Experts Handle It
- Final Words
Why Multi-Color Vector Tracing Isn't as Easy as It Looks?
You're likely thinking, "Oh, I'll just draw a picture and trace it into a vector with all those nice colors." Simple. But when you have several colors to deal with, it's a whole different game. Unlike with a one color design, you're working with various shades, layers, and details; they must all be visible.
Here's the thing: Each color needs its own layer and path, which means you have to plan. If you don't chart it out, you may get colors squishing on top of each other or looking all wrong when printed or sewn. Additionally, if there are gradients or small details in your design, it's like trying to assemble a puzzle with half the pieces missing.
These simple, proven tips will help you get professional results.
Vector Tracing vs Manual Tracing: What Works Best for Multi-Color Designs?

When you're tracing a multi-color project, you have two choices. First one is auto-tracing, where applications like image trace in Illustrator do it for you, second is manual tracing, where you trace manually all of the lines. Both are useful so let's see what will be best for you.
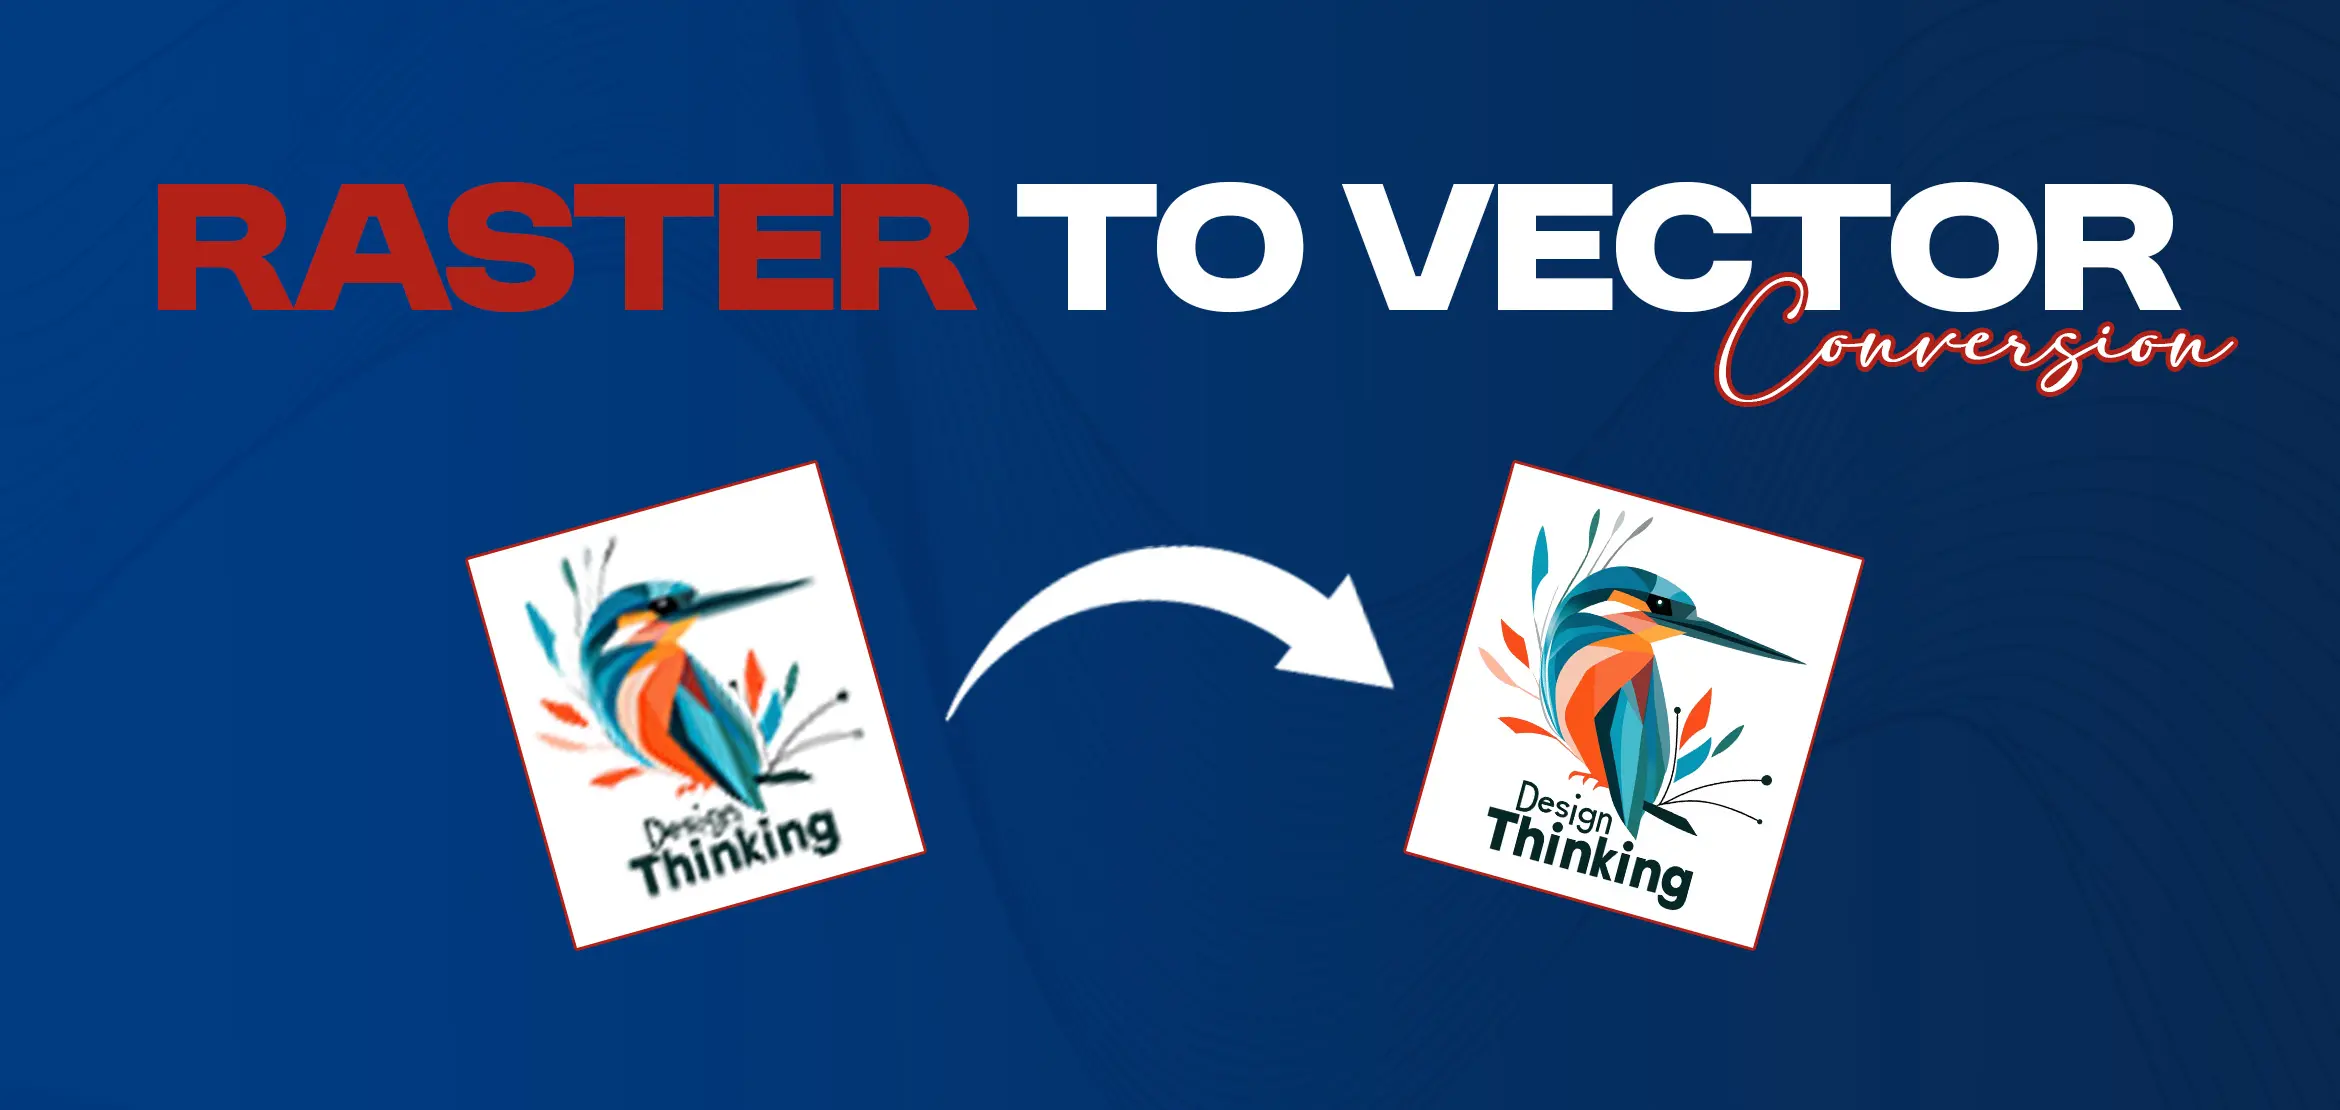
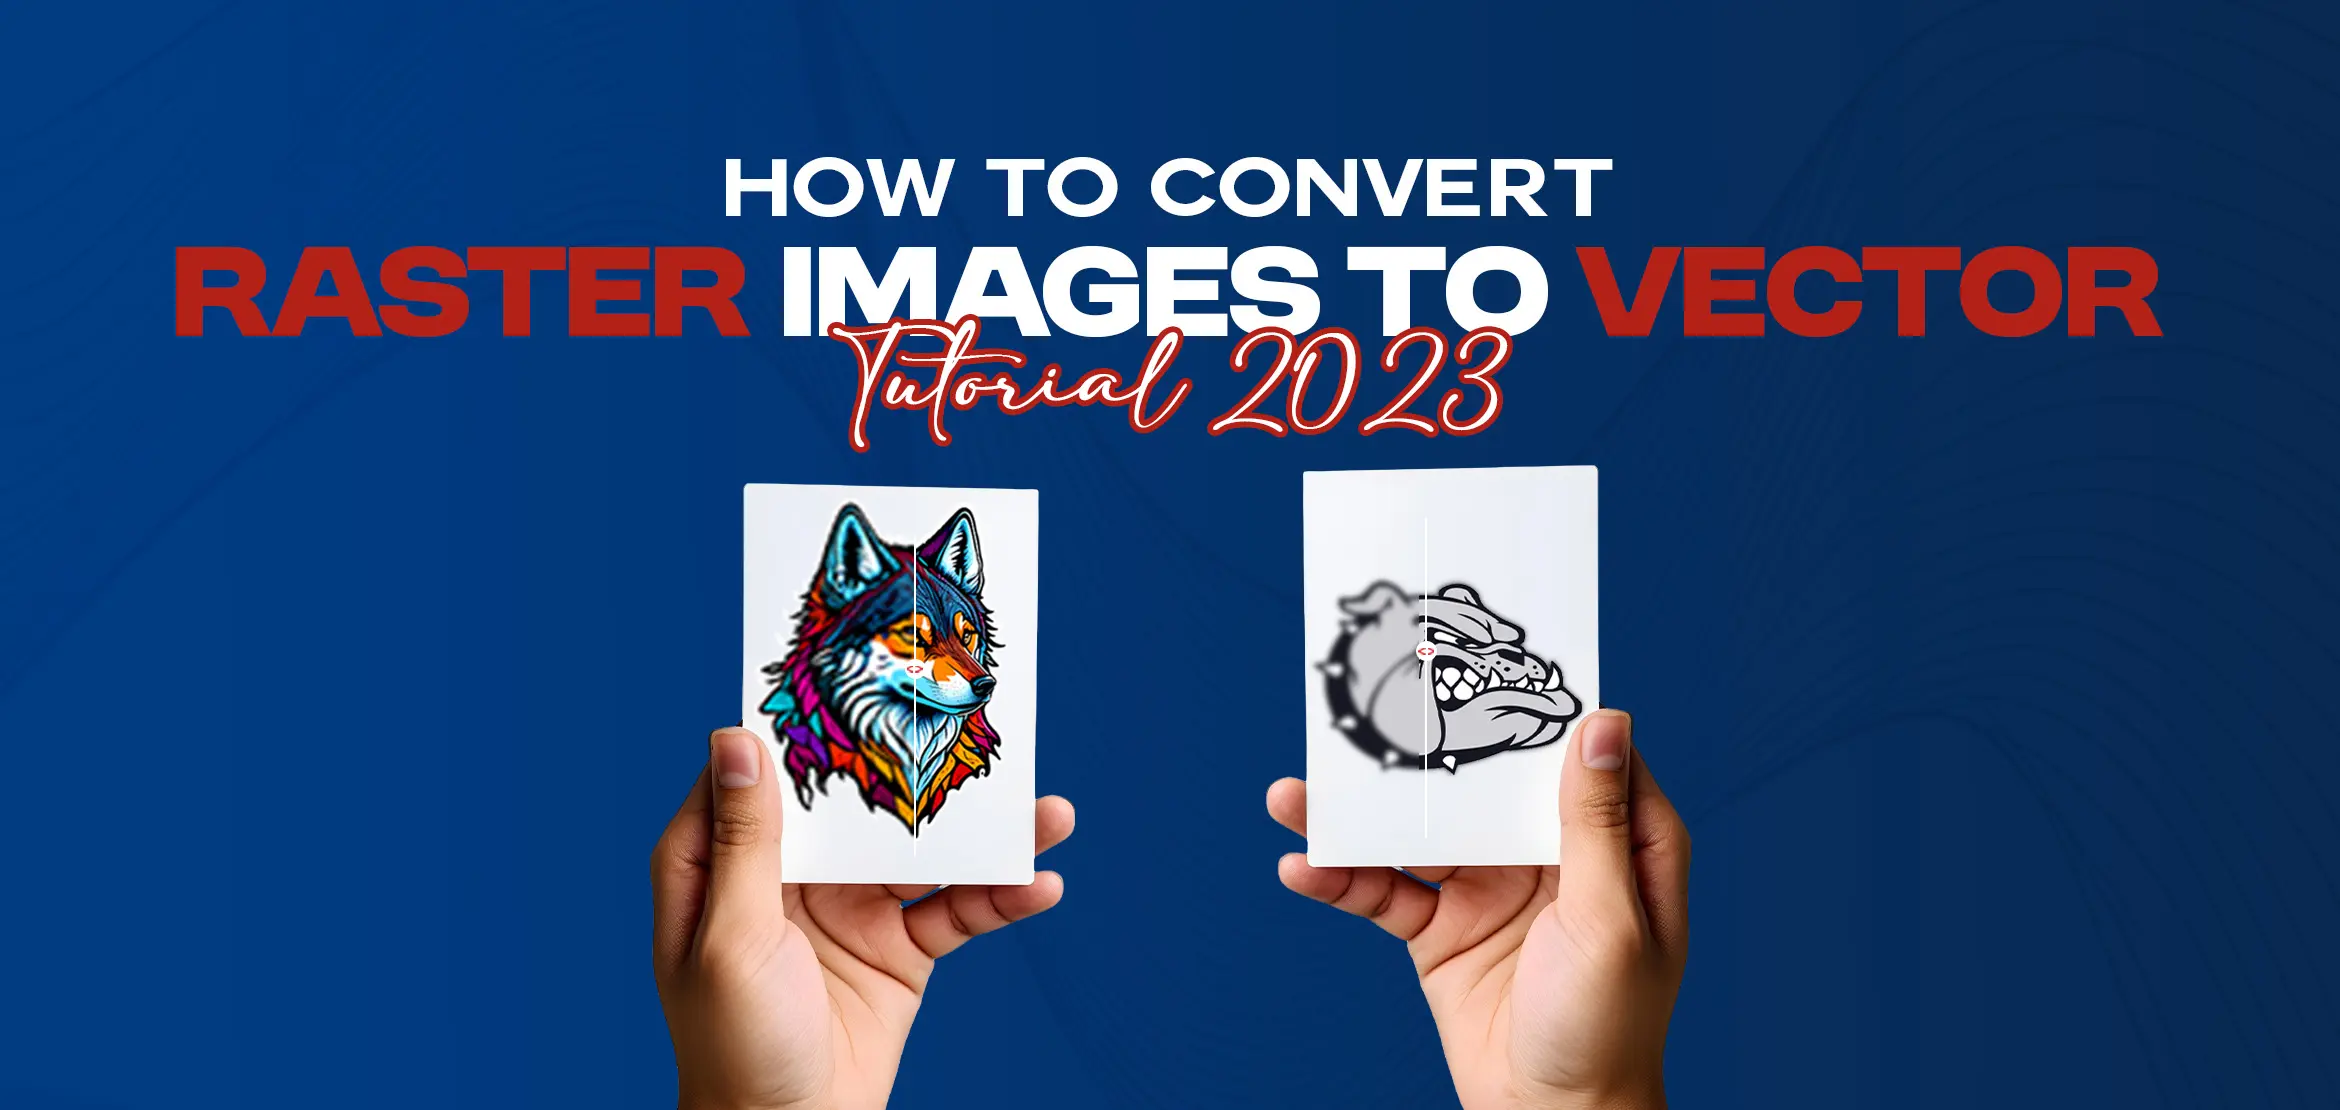
Auto-tracing is a one click shortcut. You bring your image into Illustrator, change some settings, and boom, you've got a vector. It’s tempting, fast and automated, but not always accurate.It produces incorrect paths, gets the colours wrong, or misses small details. If you are creating a simple logo with bold colours, it can be acceptable, but you will need to clean it up afterward.
Manual tracing takes longer, but gives you complete control. You may precisely place each color using Illustrator or CorelDRAW's Pen Tool. It ensures that your color separation vector art is great for printing or embroidery and is ideal for complicated designs with gradients or small details. The drawback is that smoothing out those lines does need some effort and patience.
For the majority of multi-color projects, I would recommend trying a combination. Start with auto-tracing for rough outline, and then go with manual tracing to refine it.
Facing challenges with multi‑color tracing? then you can freely contact us because we provide vector tracing services in usa at affordable prices (Also, you can get custom embroidery digitized designs from us)
How to Trace Complex Design with Different Colours?
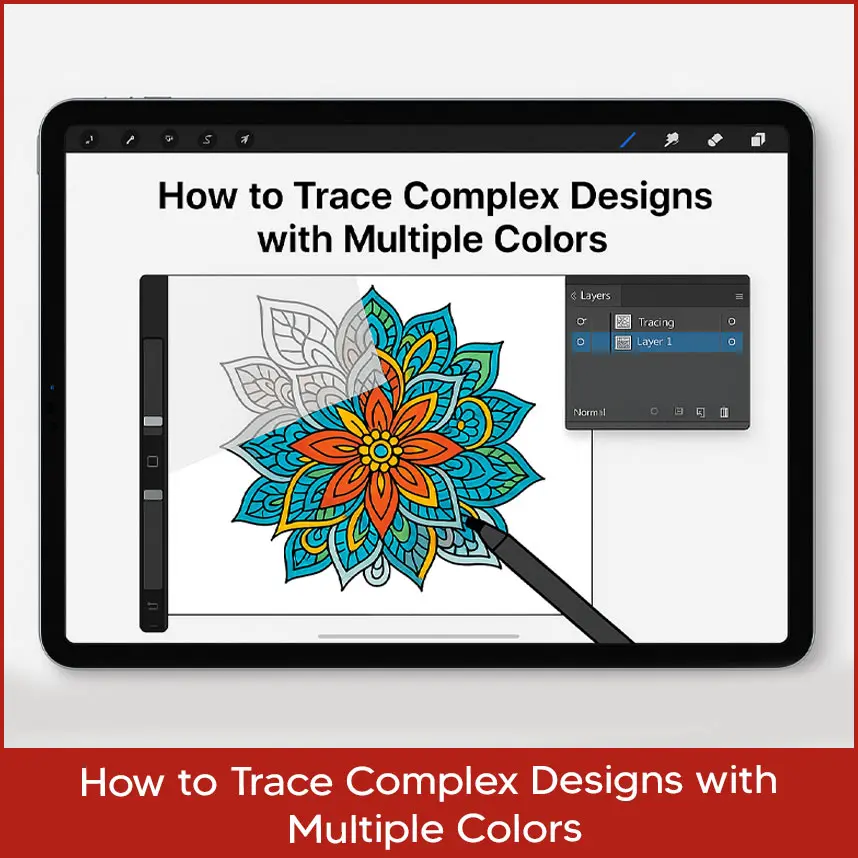
Got a design with too much color or complicated designs? It's a pain to work with, but here's the secret to making it simple:
Fix Your Image First: Bring your image into Photoshop or whatever you've got before you even start tracing. Increase contrast, remove any smoothness, and, if at all possible, try to reduce the gradients to solid color. A clean image is so much easier to work with, whether you're doing software or tracing manually.
Organize by Color: If every color is a separate element of the artwork, then in Illustrator, create a separate layer for each of them. For instance: red, blue, or green. This keeps everything organized and makes it so much easier to separate colors into vector art later.
Start with the Big Stuff: Trace the large background or the biggest shapes first and then work your way towards the fine details. You will never have lines overlapping and destroying your work.
Don't Use Too Many Anchor Points: When drawing freehand, use light anchor points. Too many make your lines look rough and messy.
Check Different Sizes: Zoom in and out to see if your design looks good at large or small scale. This is especially for logos that need to work on everything from business cards to posters.
By breaking it down in that manner, even the most complex designs will not feel so overwhelming. Simply try one color at a time.
Step-by-Step Multi-Color Vector Tracing Process
Ready to begin? Below is an easy guide to multi-color vector tracing:
Select a Sharp Picture: This is the main step in tracing. Use a high-resolution photo at least 300 DPI so the lines are nice and sharp. Low-quality pictures are a complete pain to trace.
Set Up Your File: Open your software, Adobe Illustrator or CorelDRAW, and upload your design to a locked layer. Create new layers for each color you will be tracing.
Adjust for Auto-Tracing: If you're tracing in Illustrator, try to adjust controls such as "Colors" or "Threshold" to make a good image in Illustrator’s Image Trace panel. For manual tracing, reduce the image's opacity to 50% so you can visually see your lines.
Color one at a time: Start from the background and go up to the top. Work with the Shape Tools or Pen Tool to ensure cleanliness.
Make Your Lines Shorter: Smooth out any rough curves, remove additional anchor points, and make sure paths are aligned with no gap or overlap.
Name Your Layers: Name each layer something descriptive, like "Red Shape" or "Blue Line," especially when you're doing multicolor logo vector tracing. It's just so much less of a headache.
Save for Multiple Uses: Export as SVG for website use, EPS for printing, and PDF for client sharing. This covers your design for anything.
This process keeps your project organized and gives you a professional result every time.
Choosing the Right Tools for Multi-Color Vector Tracing Projects
Your tools can really make or break your tracing project. Here's a quick glance at the best ones to use for multi-color designs:
Adobe Illustrator: This software is so important for vector tracing. Its image trace in Illustrator is handy for quick drafts, and the Pen Tool is top-notch for manual work. It’s also great for sorting out colors.
CorelDRAW: Many people use CorelDRAW in printing and embroidery. It has good tracing and color management is easy with it.
Inkscape: If you're on a tight budget, you can use Inkscape for free and it's surprisingly good. Its "Trace Bitmap" feature is good enough for basic multi-color designs, although it's not as powerful as the paid version.
Affinity Designer: Less expensive with good vector features. It is good for manual tracing but doesn't have the most advanced auto-tracing features.
Illustrator is usually the best to use because it's so common and everyone uses it. If you can't buy it, Inkscape is a good second best. Either way, spend some time getting familiar with the vector tools. It'll make everything that much easier.
Should You Manually Trace or Auto-Trace Multi-Color Artwork?

Not yet convinced whether to auto-trace or trace manually? Here's the brief summary:
Auto-Trace Benefits: It is fast, works with simple designs, and saves time.
Auto-Trace Cons: It's messy with multi-color or complex designs and generally needs a lot of cleanup.
Manual Trace Benefits: It's very accurate, ideal for detailed art, and keeps color separation vector artwork clean.
Manual Trace Cons: Takes a lot of time and calls for proficiency with tools like the Pen Tool.
For vector tracing for business use of multicolor logos, manual tracing or a combination of manual and auto is usually best. Auto-tracing is okay for a rough draft, but don't use it for final, as it will lose details or get sloppy.
The Role of Color Separation in Multi-Color Vector Tracing
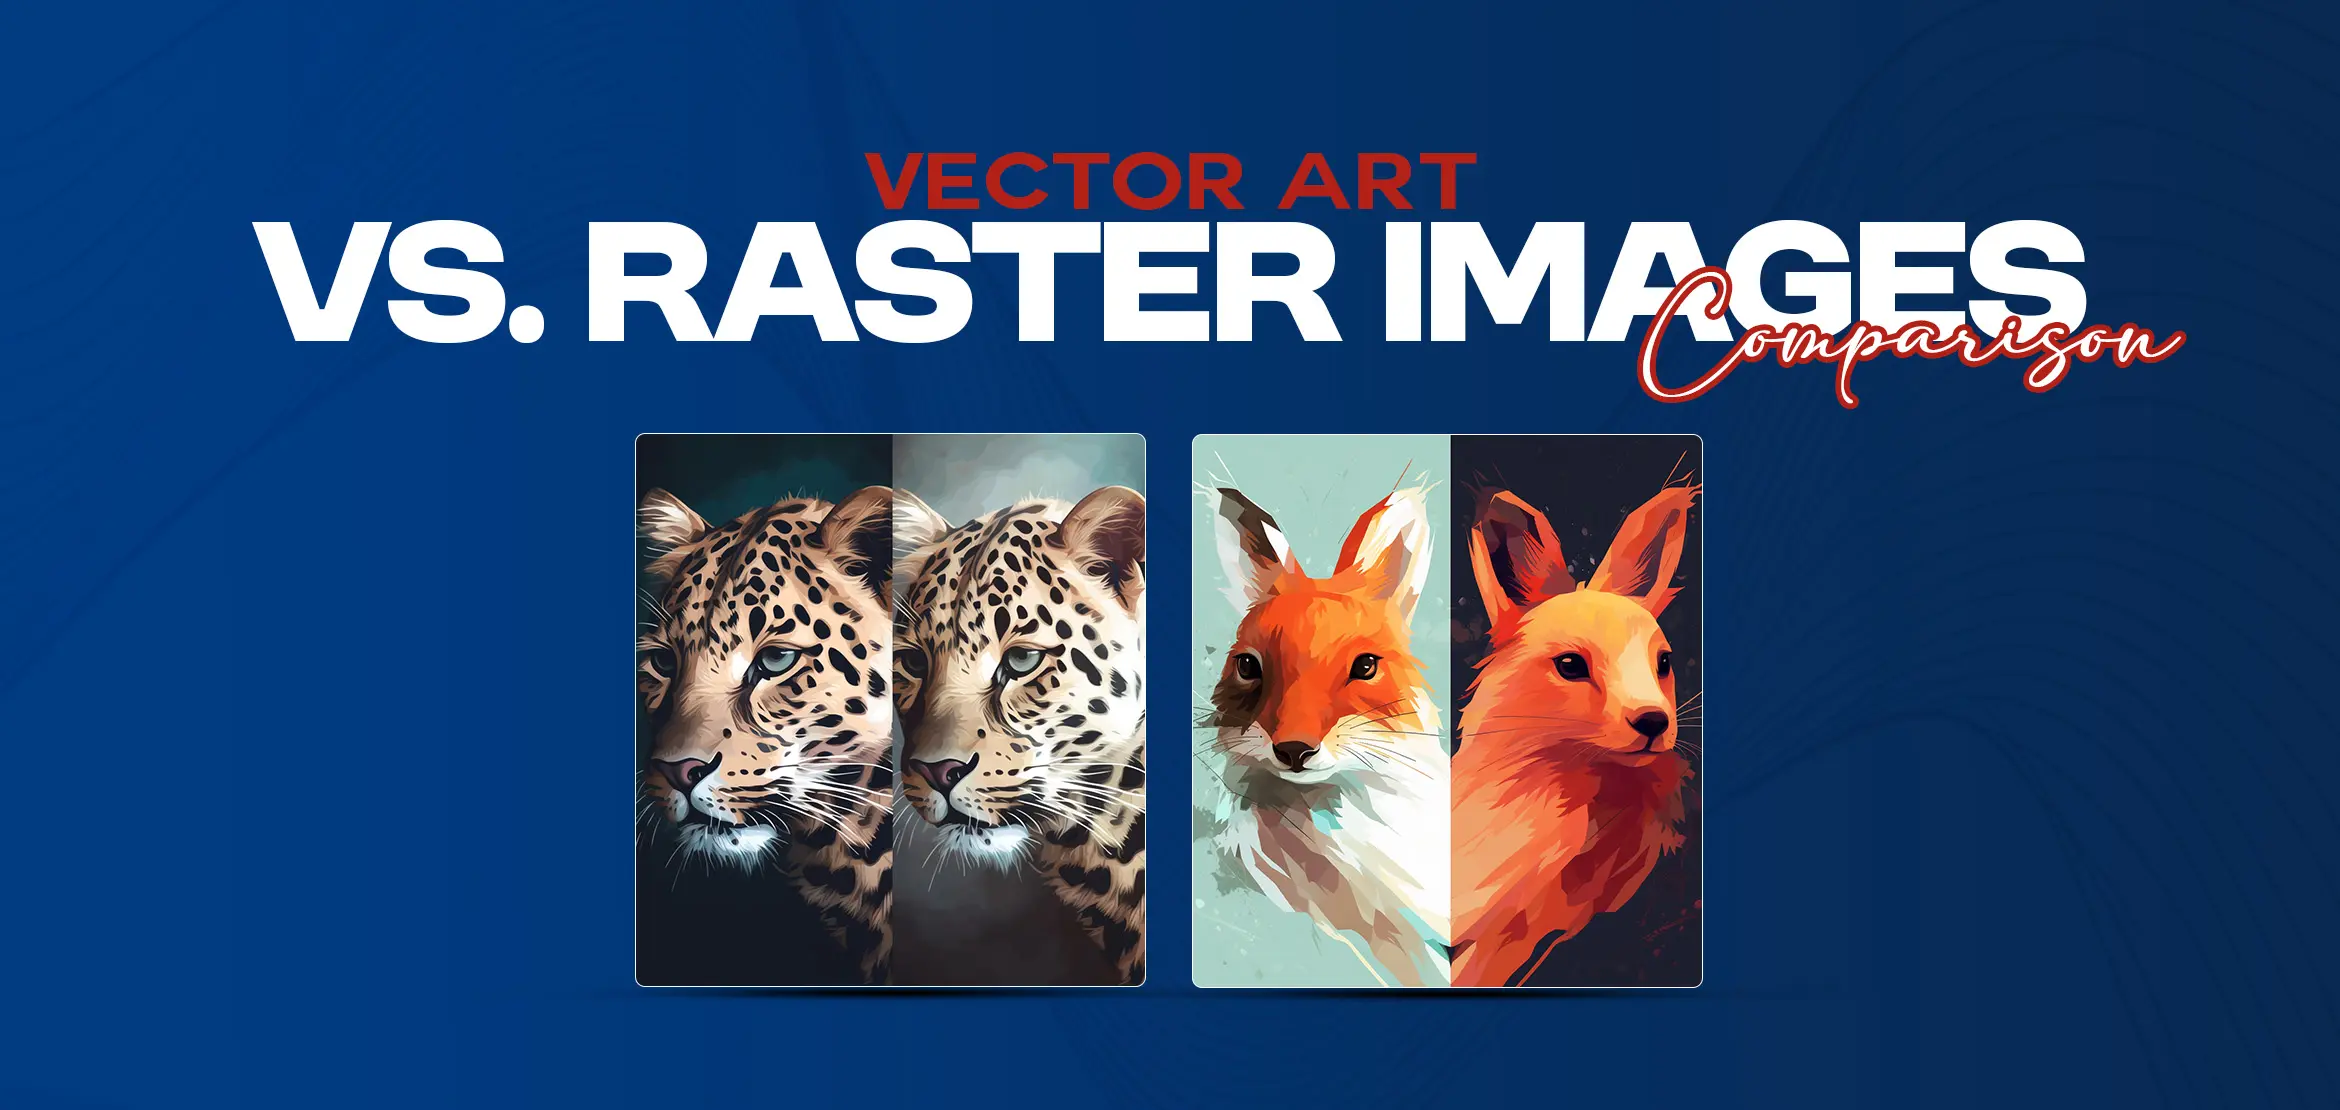
If you're having your design printed or embroidered, color separation is crucial. It's separating your artwork into layers by color so that they can be applied separately during the process. Improper color separation can cause misaligned colors, costly to fix later.
This is how you do it correctly:
Separate Colors on Separate Layers: Put each color on a separate layer in your software. Then you can save each one individually without any problem.
Don't Use Too Many Colors: Try to use 4 to 6 colors when screen printing to be cost-effective. You may simplify palettes with the help of Illustrator's Color Guide.
Check Overlaps: Don't allow lines to overlap where they shouldn't, as that can be a problem when printing or sewing.
Save the Correct Files: To print, save every color separately as a PDF or an EPS.
Good colour separation makes your design look as beautiful in the real world as it does on your screen.
How to Trace Colorful Artwork Without Losing Detail?
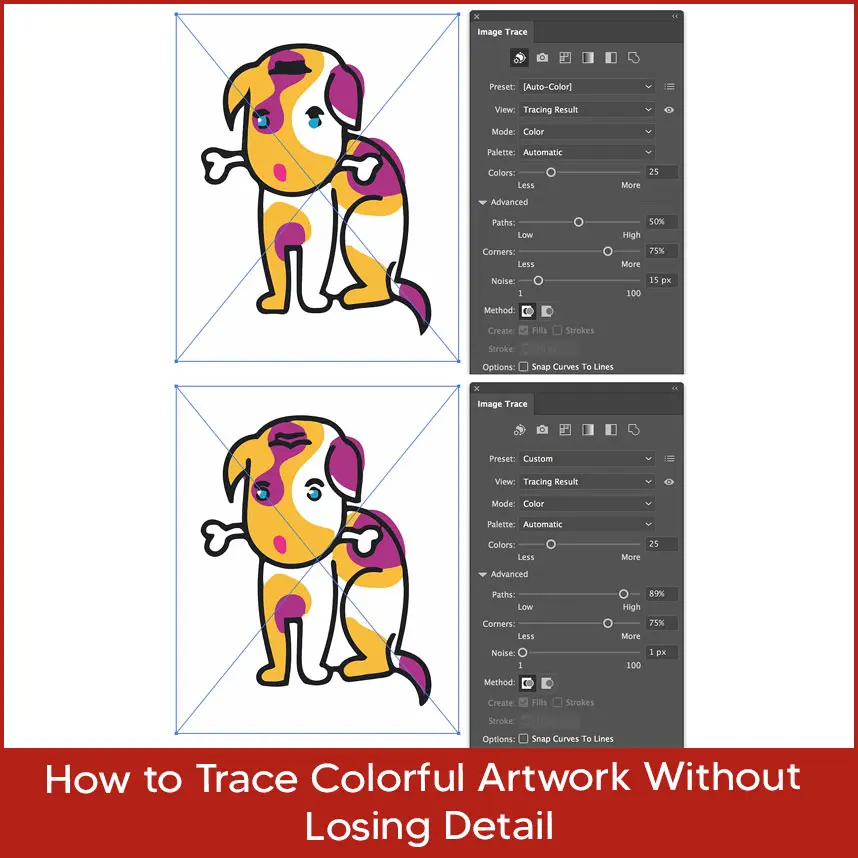
Want to preserve all the little details in your colorful painting? Here's what you can do:
Start with High-Resolution Photos: Always use high-resolution images so things are clear. Blurry photos make it challenging to do things correctly.
Zoom In Close: Zoom in to 200-300% when tracing small edges and curves precisely.
Use Clipping Masks: In Illustrator, clipping masks allow you to hide additional parts without erasing them, so you can clean up the design without losing details.
Simplify Gradients: If your artwork has gradients, reduce them to solid colors or a few shades to make tracing simple.
Test at Different Sizes: Before you finish, test the design on different sizes, or print it out as a test to make sure no detail is lost.
These tricks will make your vector trace look fabulous and vibrant, no matter how colorful it is.
Ready to Turn Your Artwork into Clean, Scalable Vectors? Let the Experts Handle It
Looking for high-quality vector tracing services? At DigitizingUSA, we offer precise vector tracing/raster to vector conversion with unlimited revisions, fast turnaround, and affordable pricing.
Contact us today to bring your designs to life with perfect vector clarity.
Final Words
So guys, what did you understand from this blog post? Let's summarize this. The plan of using multi-color vector tracing to produce vibrant, different images is outstanding but there are a few things that must be done correctly. Even the most disorganized artwork may be transformed into a neat, polished vector if you have the right tools and a carefully planned approach. You could get by using these suggestions. Choose if you want auto-tracing, manual tracing, or a combination of the two when you have a clear image and your colors chosen. Although programs like Adobe Illustrator are helpful, sitting down and cleaning up those lines is the real trick.
Follow these techniques, and you're set to make great vector tracing for multicolored logos or color separation vector art that impresses clients and prints beautifully in any size. Are you working on multi-color vector projects? Try these tips, and you'll be surprised at how good your designs are. If it's just too much hassle, simply contact Digitizing USA for your vector tracing needs. We are always here for you.
