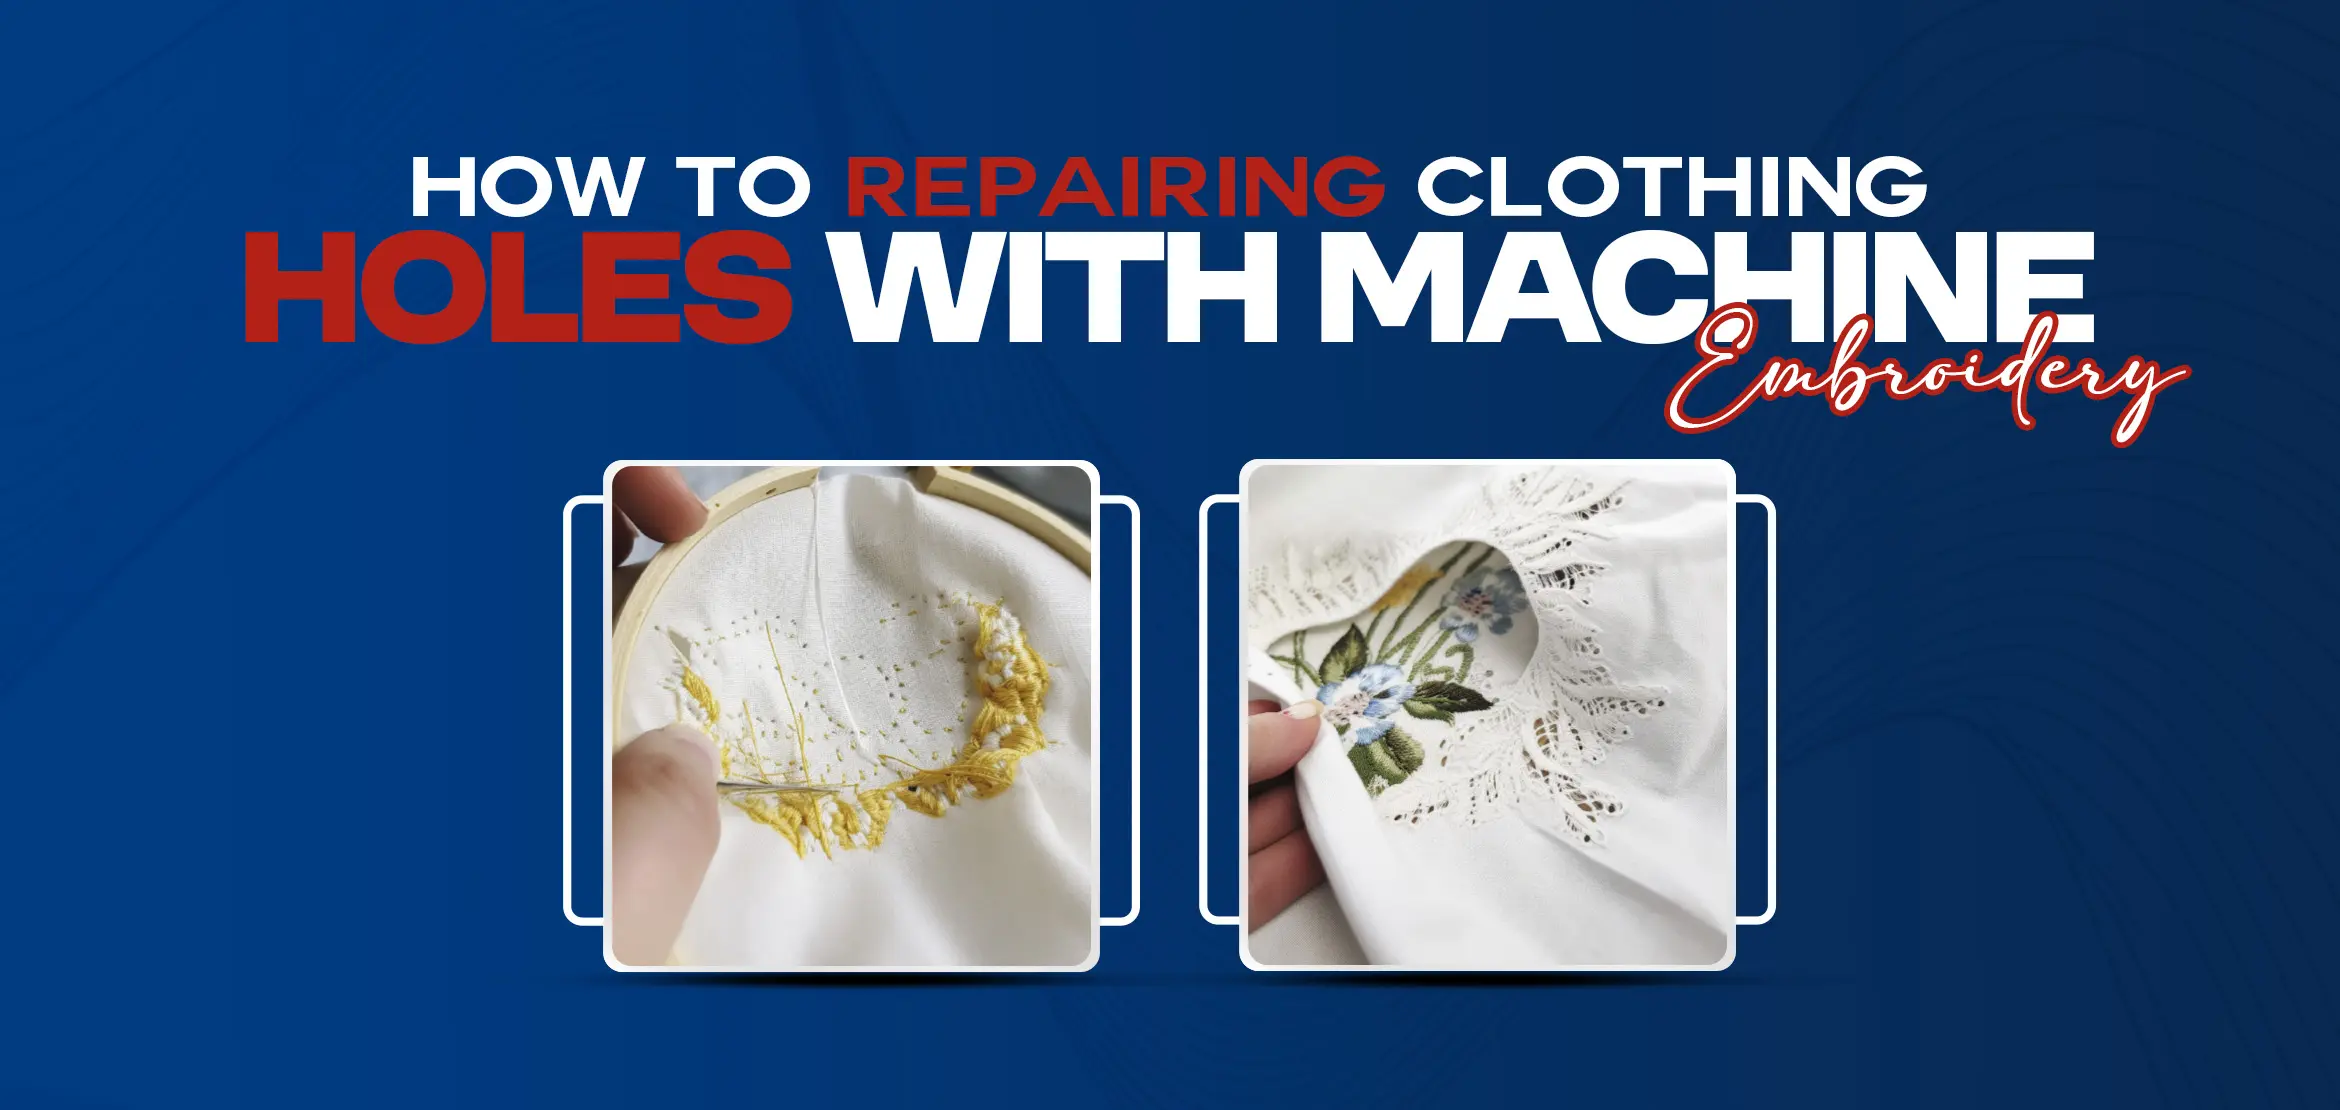
How To Repairing Clothing Holes with Machine Embroidery
We've all been there – a favorite pair of jeans, a beloved sweater, or that perfect T-shirt, marred by an unsightly hole. Instead of relegating your cherished garments to the back of the closet, why not breathe new life into them with a creative touch? In this blog post, we'll explore the art of repairing clothing holes using machine embroidery, a skillful and stylish way to give your wardrobe a second chance.
Materials You'll Need:
1. Clothing with holes
2. Embroidery machine
3. Embroidery thread in matching or contrasting colors
4. Stabilizer
5. Embroidery hoop
6. Scissors
7. Iron
Step 1: Assess the Damage
Before diving into the repair process, assess the size and location of the hole. Machine embroidery works best for small to medium-sized holes, so if the damage is extensive, consider reinforcing the area with fabric before proceeding.
Before you embark on repairing clothing with machine embroidery, it's crucial to thoroughly evaluate the size and location of the damage. Machine embroidery is most effective for small to medium-sized holes. If the damage is extensive, consider reinforcing the area with fabric before proceeding. This initial assessment sets the stage for a successful repair, ensuring that the chosen method aligns with the scale and nature of the clothing damage.
Step 2: Choose Your Design
Select an embroidery design that complements your garment and covers the hole effectively. You can choose from a variety of pre-programmed designs on your embroidery machine or create a custom one to add a personal touch.
Once you've assessed the damage, the next step is to select an appropriate embroidery design. The chosen design should not only cover the hole effectively but also complement the overall aesthetic of the garment. Whether you opt for pre-programmed designs on your embroidery machine or decide to create a custom one. This step adds a personalized touch to the repair process, allowing you to infuse your unique style into the revitalization of your clothing.
Step 3: Prepare the Garment
Place the clothing item on a flat surface and secure it in the embroidery hoop, making sure the damaged area is taut. If necessary, apply a stabilizer to the back of the hole to provide additional support during the embroidery process.
Prepare the garment by placing it on a flat surface and securing it in the embroidery hoop. It's essential to ensure that the damaged area is taut within the hoop for optimal stitching results. Additionally, consider applying a stabilizer to the back of the hole if extra support is needed during the embroidery process. This preparation step sets the foundation for a smooth and precise machine embroidery repair.
Step 4: Set Up the Embroidery Machine
Thread the machine with the chosen embroidery thread, ensuring it matches or contrasts appealingly with the fabric. Adjust the machine settings according to your design and the fabric type.
With the garment secured in the hoop, it's time to set up the embroidery machine. Thread the machine with embroidery thread that either matches or contrasts appealingly with the fabric. Adjust the machine settings according to the chosen design and the type of fabric being repaired. Proper machine setup ensures that the embroidery process goes smoothly, producing a visually pleasing and durable result.
Step 5: Embroider the Design
Carefully guide the embroidery machine to cover the hole with your chosen design. Take your time to ensure precision, and make any necessary adjustments to the speed or tension settings as you go.
The heart of the repair process lies in embroidering the chosen design onto the garment. Carefully guide the embroidery machine to cover the hole with precision. Take your time to ensure that the stitching aligns with the design, making any necessary adjustments to the machine's speed or tension settings as you progress. This step requires attention to detail and patience, ensuring that the repaired area seamlessly integrates with the rest of the garment.
Step 6: Finishing Touches
Once the embroidery is complete, remove the garment from the hoop and trim any excess thread. If you use a stabilizer, carefully tear it away from the back of the design. For a polished finish, iron the repaired area on a low heat setting.
Once the embroidery is complete, the garment can be removed from the hoop. Trim any excess thread to achieve a neat and polished appearance. If a stabilizer was used during the embroidery process, carefully tear it away from the back of the design, leaving behind a clean and professional-looking repair. To add the final touch, iron the repaired area on a low heat setting. This not only flattens any remaining stabilizer but also ensures that the embroidered design sets securely into the fabric, completing the revitalization of your clothing with a professional finish.
Conclusion
Reviving your favorite garments through machine embroidery not only rescues them from oblivion but also infuses them with a touch of individuality. Seize the chance to unleash your creativity in repairs, turning erstwhile flaws into chic statements. With a little practice, you'll effortlessly reimagine your wardrobe, reveling in the gratification of granting your clothes a renewed lease on life.
Ready to breathe new life into your wardrobe? Explore our embroidery services today and start transforming your cherished pieces with style and flair!
FAQs (Frequently Asked Questions)
Q1. What materials are needed for repairing clothing holes with machine embroidery?
You'll need clothing with holes, an embroidery machine, embroidery thread, stabilizer, embroidery hoop, scissors, and an iron.
Q2. How should you assess the damage before starting the repair process?
Thoroughly evaluate the size and location of the hole to determine if machine embroidery is suitable. Consider reinforcing extensive damage with fabric before proceeding.
Q3. What is the significance of selecting an appropriate embroidery design?
Choosing a design that complements the garment and effectively covers the hole is crucial. It adds a personalized touch and ensures the repair aligns with your style preferences.
Q4. What preparation steps are necessary before embroidering the garment?
Place the clothing item in the embroidery hoop on a flat surface, ensuring the damaged area is taut. Apply stabilizer if needed for additional support during the embroidery process.
Q5. How can you achieve a polished finish after completing the embroidery?
Remove the garment from the hoop, trim excess thread, tear away any stabilizer, and iron the repaired area on a low heat setting for a professional finish.
