How to Stop Needle Breakage in Embroidery Machines | Pro Tips
Table Of Content
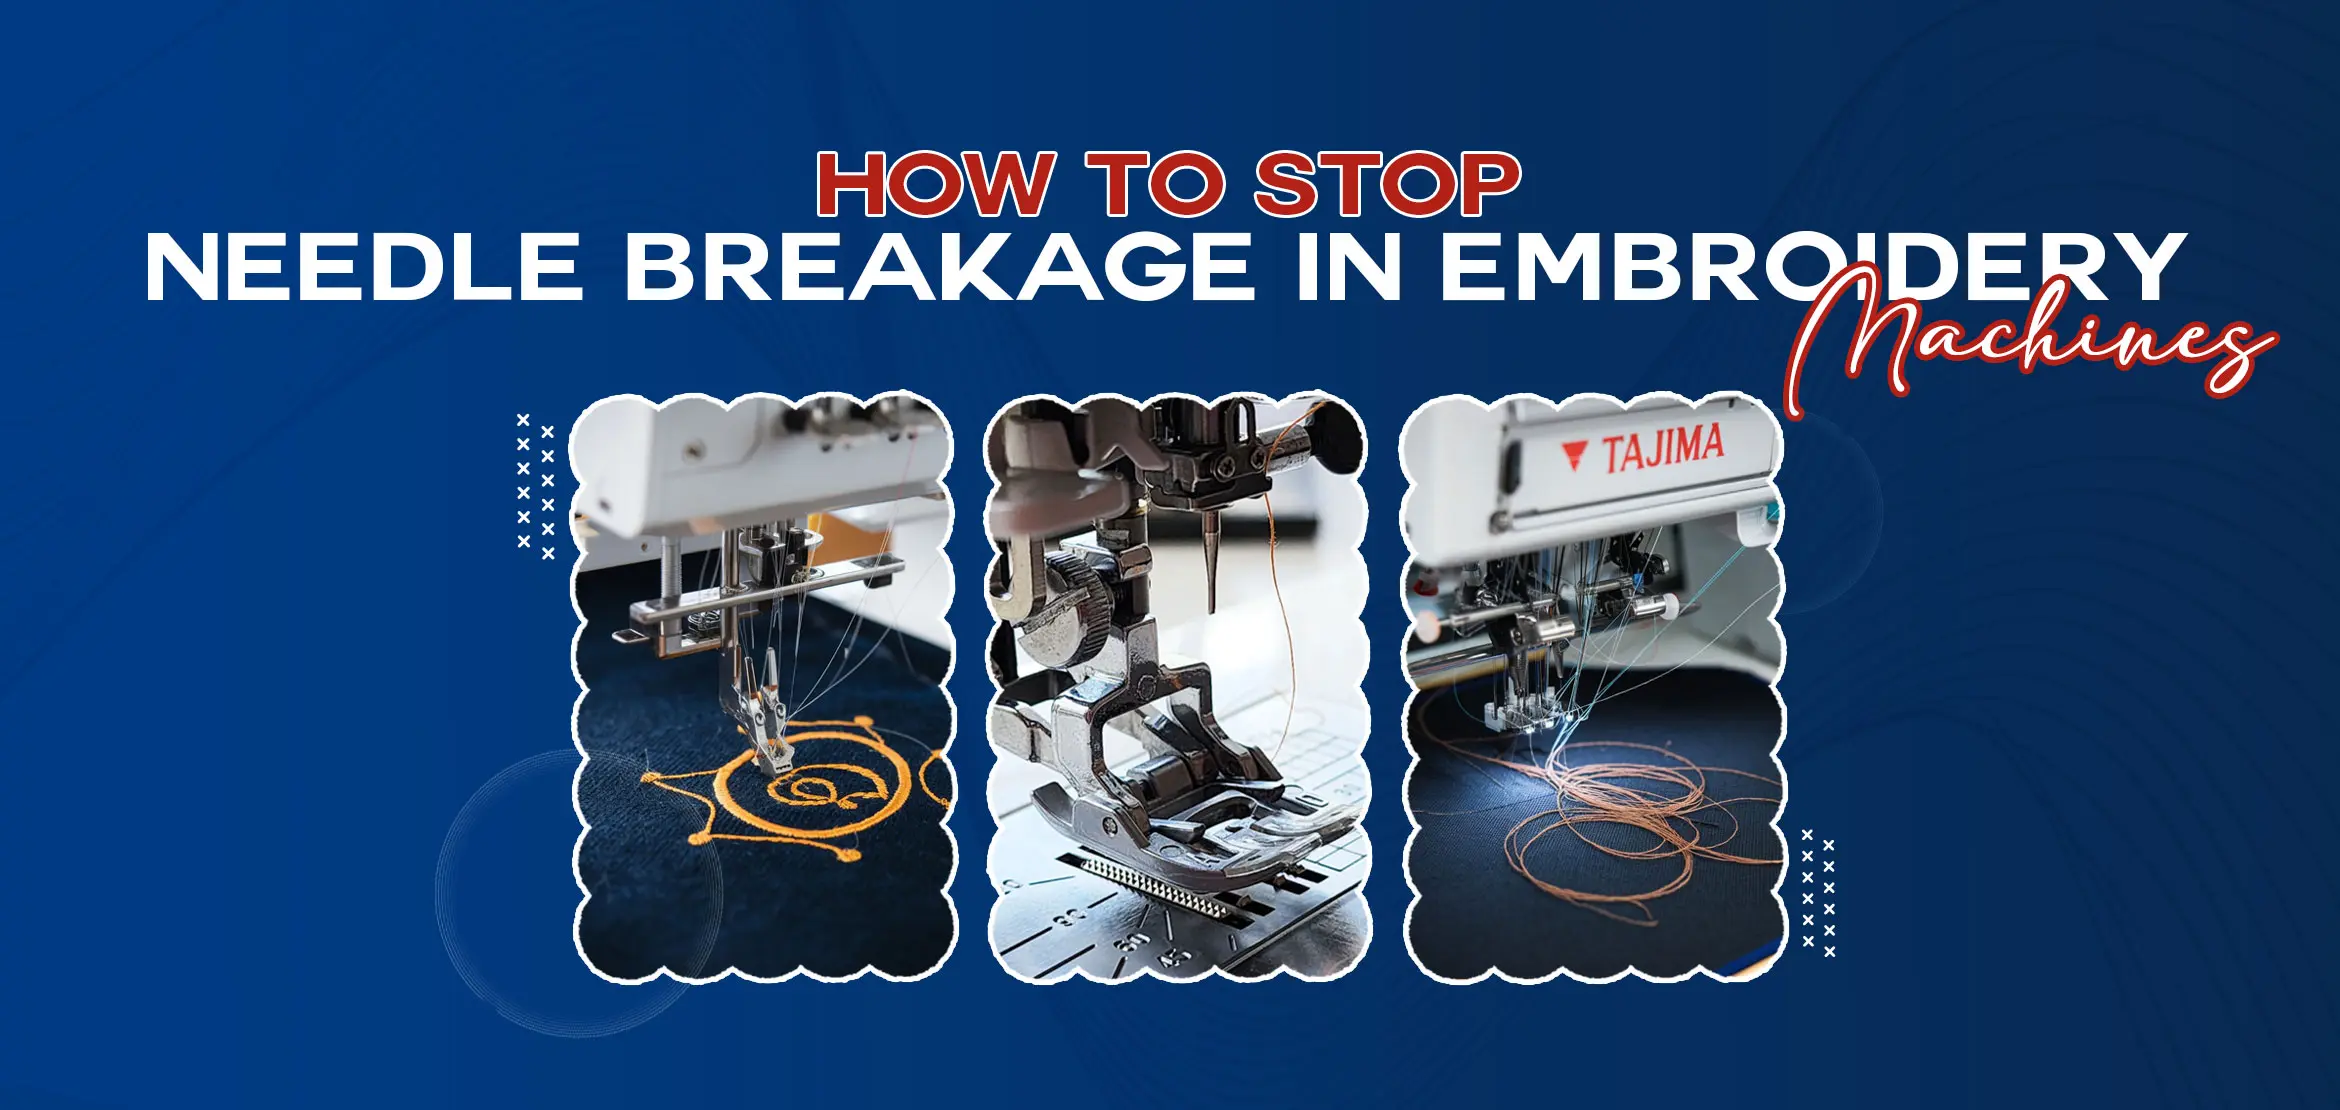
- Understanding the Needle Breakage Problem in Machine Embroidery
- Why Needles Break: Main Causes and Machine Problems
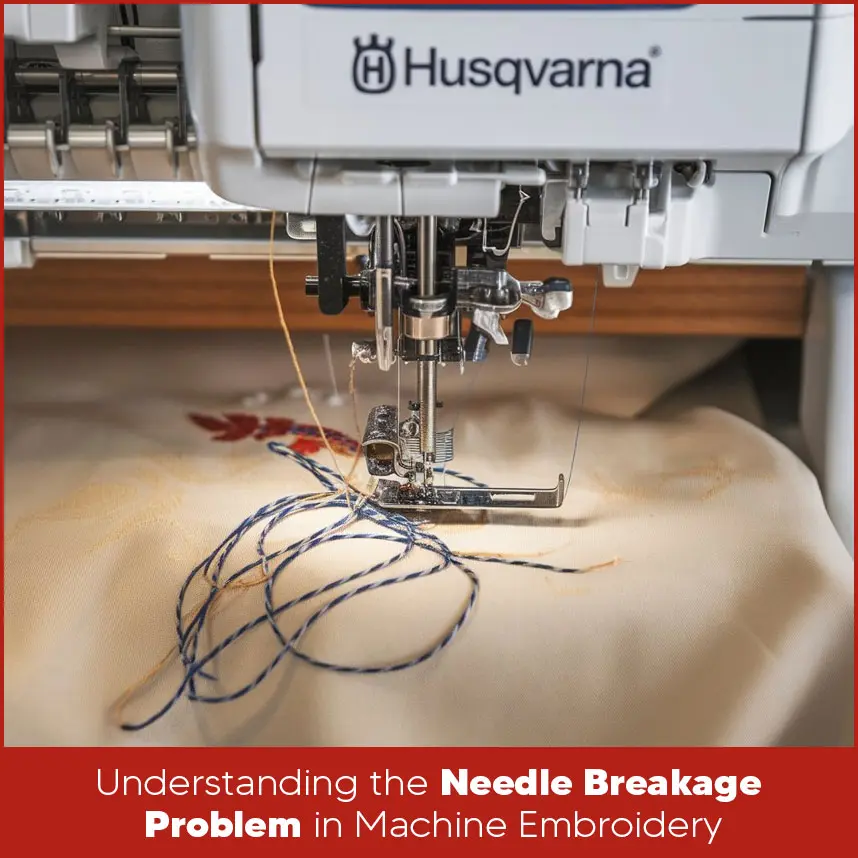
- Fabric Density and Problems with the Material
- Needle Degradation and Mistakes When Putting the Needle in
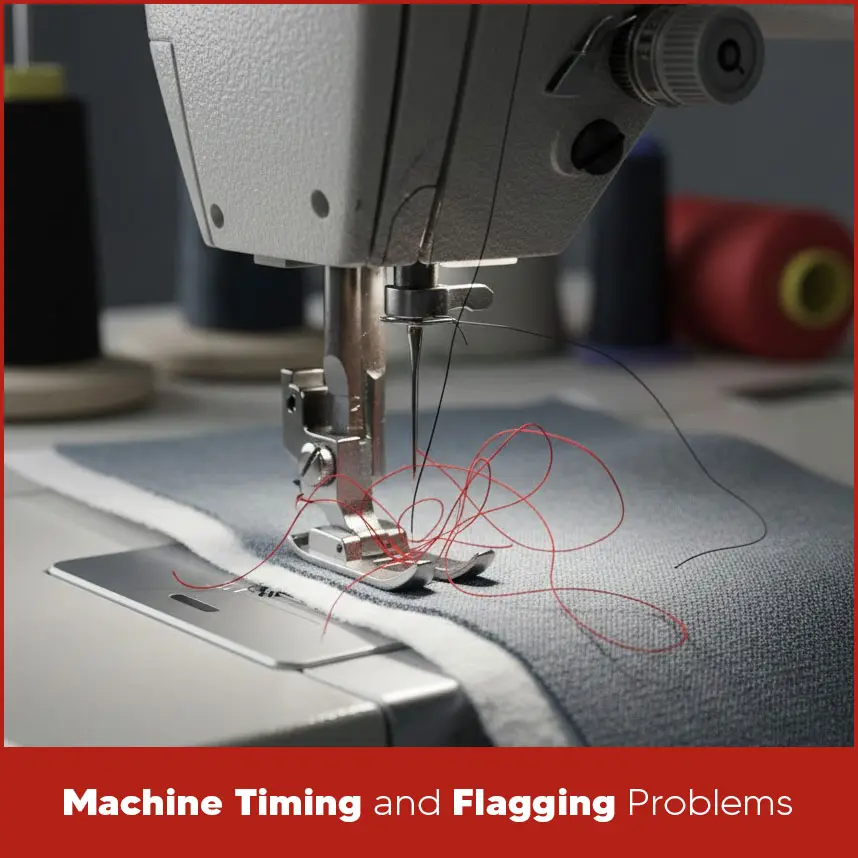
- Machine Timing and Flagging Problems
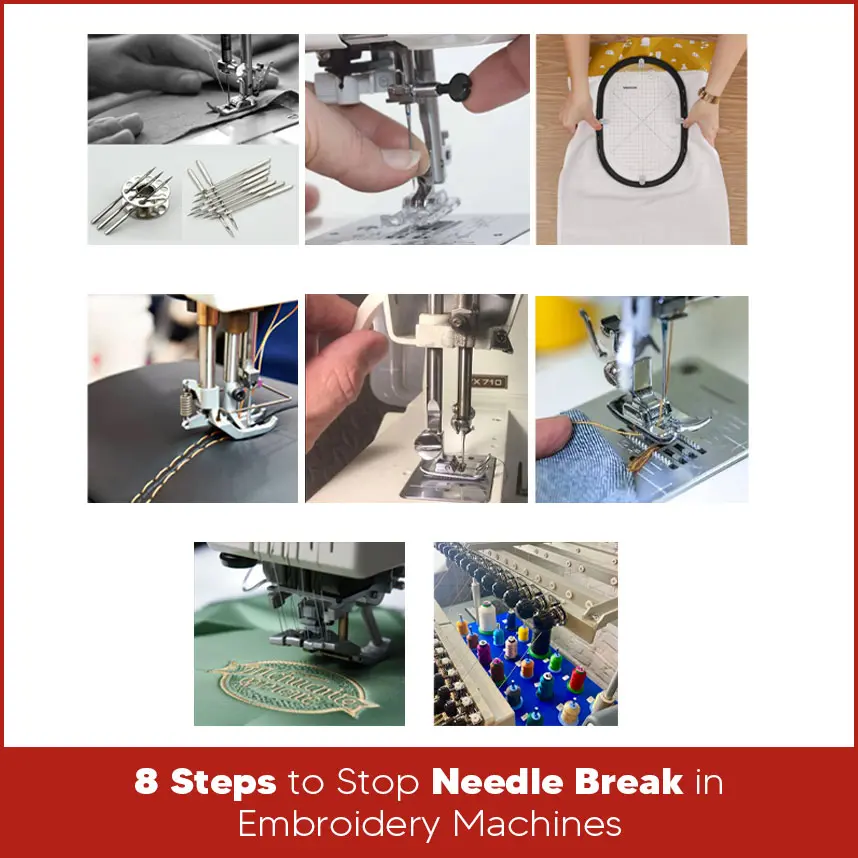
- 8 Steps to Stop Needle Break in Embroidery Machines
- Choose the Right Needle Size for the Fabric
- Replace Old Needles Regularly
- Keep Fabric Tight and Properly Stabilized
- Lower the Machine Speed for Thick or Hard Materials
- Adjust the Presser Foot Height
- Check the Machine Timing Regularly
- Avoid High-Density Designs on Delicate Fabrics
- Use Quality Thread and Smooth Bobbin Tension
- Summary
Ah! It is so irritating when a needle breaks during stitches. Everything is going well, smoothly and suddenly you hear a sound and boom, the needle breaks and the machine stops. It wastes time, breaks your workflow flow and even ruins the fabric. Many people get upset when this keeps happening because they don't know the actual reason.
The good news is that needle breaks are common but you can stop them once you learn what causes the problem. When you understand the cause, fixing it becomes simple. This guide explains the reasons in an easy way so you can keep your machine running without constant needle trouble.
Let’s look closer at why needles break and how to stop it. When a needle breaks, it is more than a small issue, it affects the quality of your stitches, makes orders late, can damage clothes and sometimes affects the machine itself. Many people just put in a new needle over and over but the real fix comes from knowing what is going wrong inside the machine. The fabric, the design and the machine settings all work together with the right needle. If one thing is not right, the needle can break. Knowing these things helps you find problems early and run big projects without worry. Needles don’t break for no reason. There is always something that causes it and the machine usually shows signs before it happens. Here are the most common reasons for needle breaks. Every fabric has a different nature and acts in different ways when the needle goes through it. Thick fabrics such as denim, canvas and hats have hard fabrics. Thin and stretchy fabrics like jersey or spandex move during stitching. The needle won't insert properly in the right place if the fabric moves. Common problems with fabric are: - Using the wrong stabilizer for thick material. - Not pulling the fabric tight enough in the hoop. - Putting a design with too many stitches on thin fabric. - Fabric bouncing when you stitch on hats or heavy items. When the fabric is not held still, the needle gets too much pressure. Even a tiny move can make the needle hit wrong and break. A needle can look okay on the outside but after many hours of working, the point gets dull. A dull needle has a hard time going through the fabric, especially thick fabric. That extra force makes the needle bend or break. Other mistakes when putting the needle in are: - Putting the needle in the wrong way. - Not pushing the needle all the way up into the holder. - Using a needle that is the wrong size for the thread or fabric. - Keeping a bent or damaged needle in the machine too long. Most people forget that needles don’t last forever. Changing the needle at the right time stops a lot of trouble. The timing of the machine is very important for the needle to go through the fabric smoothly. If the timing is even a little off, the hook and needle don’t work together correctly. This can cause skipped stitches, loops of thread, thread breaks and then needle breaks. Flagging is when the fabric lifts up a little with the needle. When the fabric jumps, the needle hits it wrong on the next stitch. This is one of the biggest reasons needles break on hats and thick items. Common reasons for flagging: - Not hooping the fabric correctly. - Presser foot set too high or too low. - Using a cheap or wrong stabilizer. - Running the machine too fast on hard fabrics. When the fabric doesn't stay flat, the needle always has problems. Here are some easy steps to stop needle breaks and keep your machine working well. Always use a needle that suits your projects. Thick fabrics need large needles like 80/12 or 90/14 and thin fabrics need 75/11. A needle that is too small breaks easily. A needle gets dull after hours of use. People change the needles after 8 hours of stitching or before starting a new project on heavy or thick fabric. A new needle stops extra pressure on the machine. Loose fabric causes many breaks. Make sure the fabric is pulled tight in the hoop without wrinkles. Use the right stabilizer for that fabric so it stays in place while stitching. Hats, denim, leather and canvas need slower speed. Fast speed makes more shaking and force on the needle. Going slower lets the needle move the right way without bending. If the presser foot is too high, the fabric jumps. If it is too low, the fabric can’t move properly. Set it at the correct height so the fabric stays flat but can still move when needed. Even a small timing problem can break needles fast. If you see a looping thread, missed stitches or strange sounds, check the timing. A small fix can protect the needle a lot. If a design has so many stitches, use thick fabric or make the design less dense first. Thin fabrics can’t take heavy stitching without putting stress on the needle. Bad threads create extra pulling and friction. Use quality thread and keep the bobbin tension even. This lowers shaking and keeps the needle safe. Needle breakage in embroidery machines is upsetting but it is easy to control once you know the root cause. Most breaks happen due to fabric movement, dull needles, wrong needle placement, timing problems, poor stabilizing and so on. When you use the right needle, slow down the speed when needed, keep the fabric tight and stable, and make sure the machine timing is correct, you can stitch bulk projects without worry and get professional results. If you want smooth embroidery without needle breaks, good digitizing helps a lot too. A well-made design runs better, pulls the fabric less and keeps the needle safe. For professional digitizing that works well on machines, you can count on Digitizing USA. We convert your rough designs into embroidery designs at the minimal flat rates, so say goodbye to needle breaks, wrong stabilizer tension and hello Digitizing USA. Contact us now. Understanding the Needle Breakage Problem in Machine Embroidery
Why Needles Break: Main Causes and Machine Problems
Fabric Density and Problems with the Material
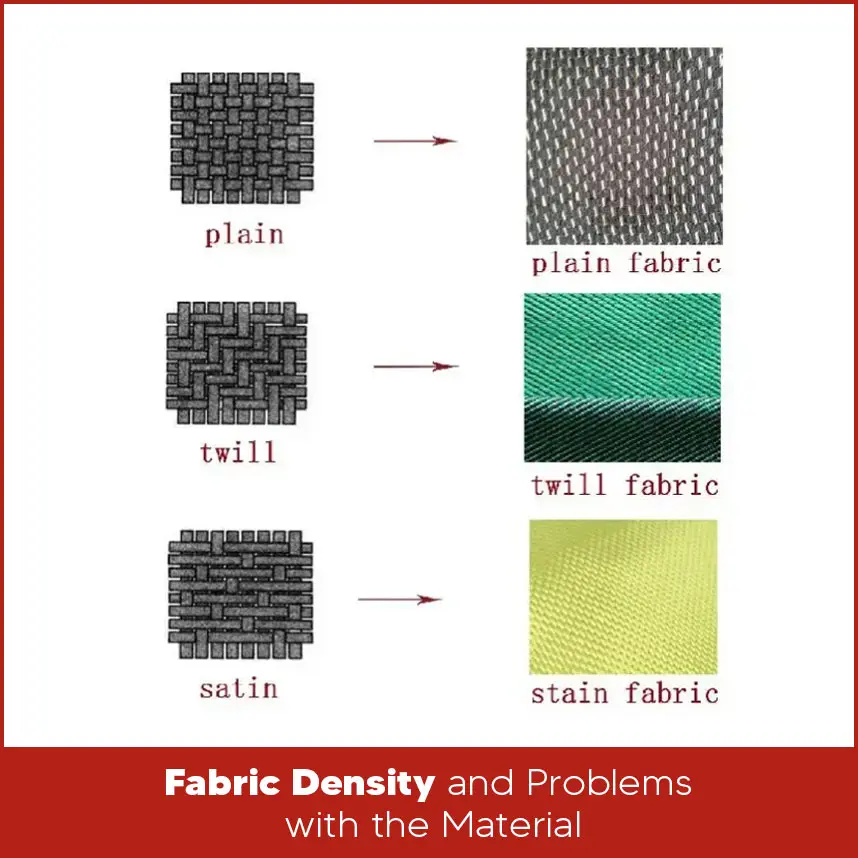
Needle Degradation and Mistakes When Putting the Needle in
Machine Timing and Flagging Problems
8 Steps to Stop Needle Break in Embroidery Machines
Choose the Right Needle Size for the Fabric
Replace Old Needles Regularly
Keep Fabric Tight and Properly Stabilized
Lower the Machine Speed for Thick or Hard Materials
Adjust the Presser Foot Height
Check the Machine Timing Regularly
Avoid High-Density Designs on Delicate Fabrics
Use Quality Thread and Smooth Bobbin Tension
Summary


