A Beginner Guide to The Main Embroidery Stitch Types
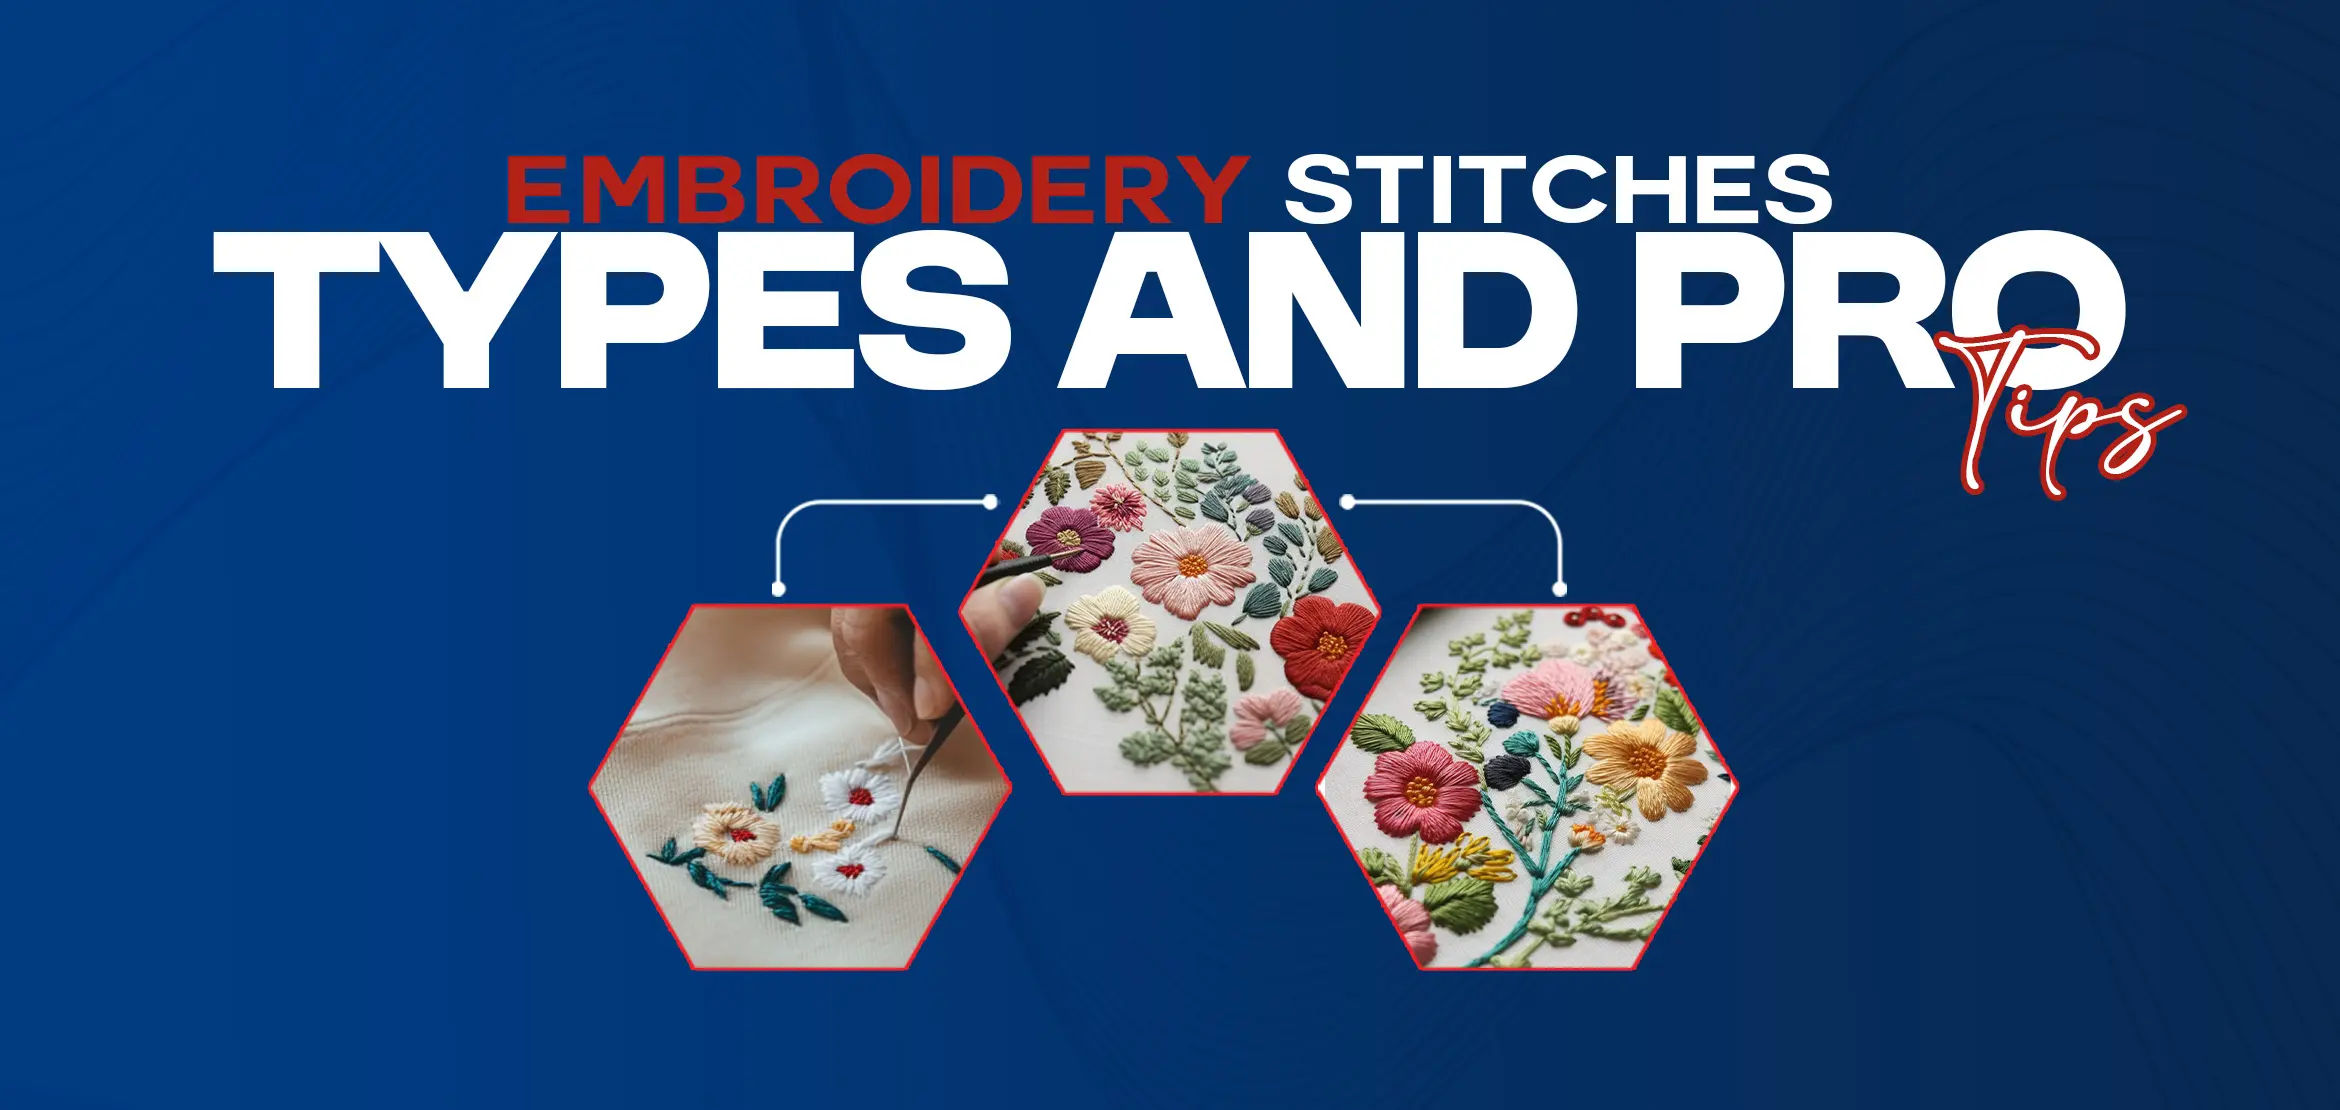
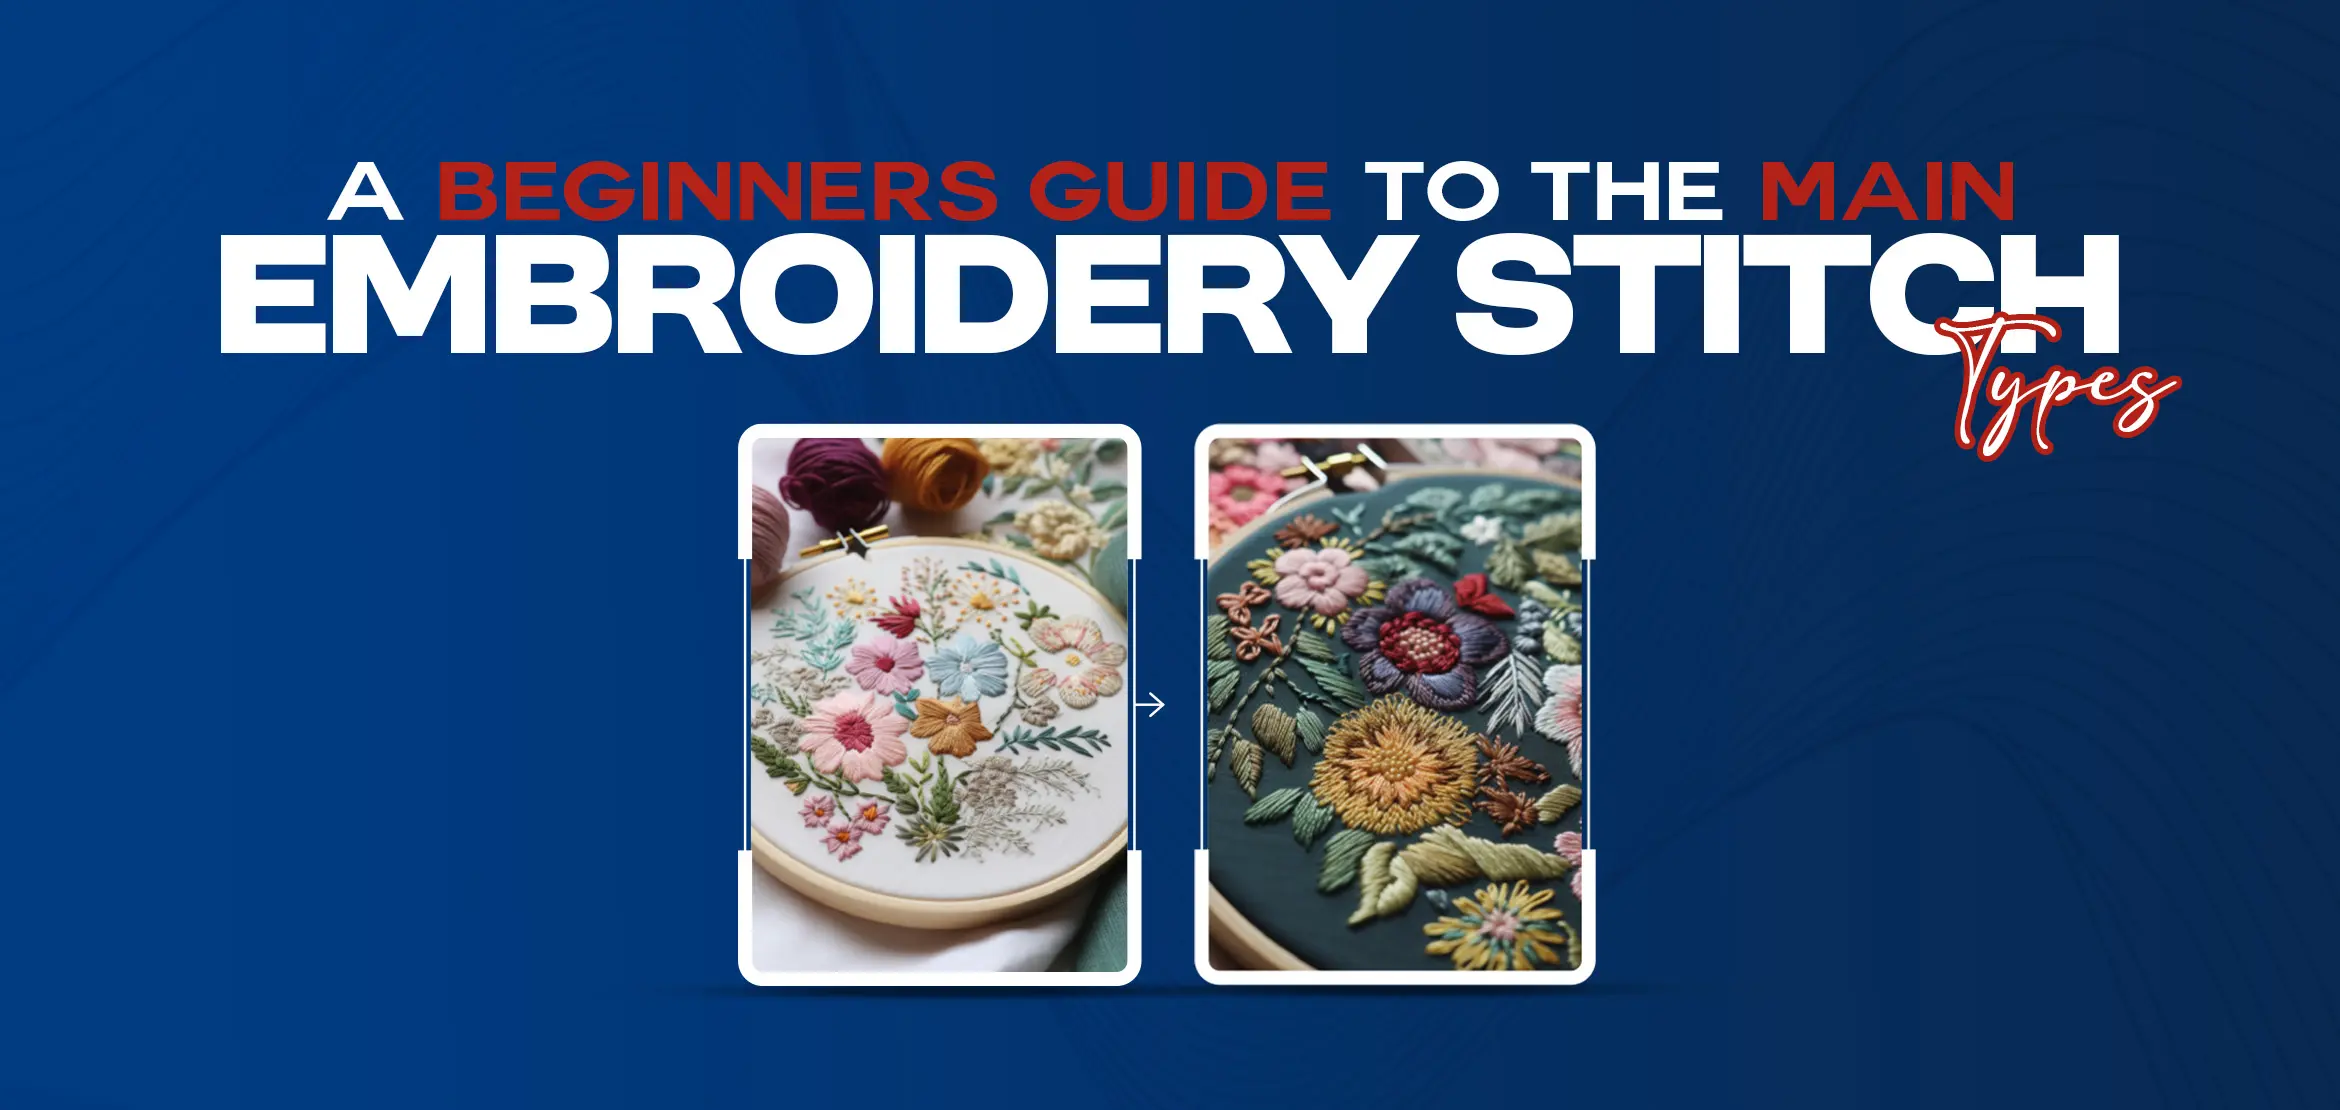
Welcome to the wonderful post about embroidery stitches! Embroidery is overly complex yet interesting.In embroidery, minute details play a crucial role in deciding the end results. From thread colors to stitch types, each aspect influences the embroidery results. There are numerous stitch types that must be clearer to embroiders to avoid any mishaps.
This post will guide you through the numerous stitch types. Stay connected for thorough understanding.
Keep learning:
A Beginner Guide to The Main Embroidery Stitch Types
Running Stitch
.webp)
The running stitch is one of the simplest and most basic embroidery stitches. It is best used for outlining shapes and simple patterns. To make a running stitch, pass your thread through your needle and tie a knot at the end.
Insert the needle under the fabric from the back side, then make a small stitch by pushing the needle through the fabric about a short distance away. Repeat this process, keeping your stitches even and straight. This stitch can be used for simple outlines and borders and altered in length for exciting effects.
Backstitch
.webp)
The backstitch is versatile for outlining and adding details to your designs. It creates a neat sequence of solid stitches on a line. To do a backstitch, start with a running stitch. Insert the needle through some fabric a little distance from your last stitch, then bring it downwards at the beginning of the previous stitch. Continue forming a line in this way. Use the backstitch for text and the outline of details. Keep the stitches even for an excellent overall look when creating your outlines.
Satin Stitch
.webp)
This stitch is ideal for filling shapes that leave a smooth, shiny finish. It's more advanced and gives your work a beautiful, professional-looking finish. To apply a satin stitch, you will outline the shape to be filled with a backstitch. Bring the needle up through the fabric at one edge of the shape, then make long, parallel stitches across the shape, keeping them close together to cover the fabric completely. Practice on smaller shapes before attempting larger areas, and use a hoop to keep the fabric taut for smoother stitches.
French Knot
.webp)
French knots add texture and dimension to your embroidery. They're ideal for little raised dots. The technique for making a French knot is to bring the needle up, then wrap the thread around the needle twice, hold it in place, and push the needle back down, right close to where it came up. Practice makes perfect knots; French knots are ideal for any decoration.
Chain Stitch
.webp)
The chain stitch consists of a succession of looped stitches that appear like a chain. This stitch is adorable for outlines and decorative borders. To do the chain stitch, bring the needle frontwards through the fabric, making a small loop of the thread. Then, push the needle back down close to where it came up, catching the loop with the needle. Continue in this manner, making a series of linked loops. Keep loops neat. Chain stitch is used for curvy lines and other decorative purposes.
Lazy Daisy Stitch
.webp)
This lazy daisy stitch is a chain stitch variation used to outline some simple flower petals or any other loop designs. To make a lazy daisy stitch, bring your needle up through the fabric, make a small loop with the thread, then push the needle close to where it came up, but don't pull it all the way through. Remove the needle inside the material under the loop, anchoring the stitch. Then, push the needle back down on the opposite side of the loop to secure it. This lazy daisy stitch is ideal for petals, leaves, and other looped motifs. You can work with loops in varying sizes to add variety
Conclusion
Mastering these basic embroidery stitches will open up a world of creative possibilities. Start with simple projects and adopt more stitches as you gain experience and confidence.
At Digitizing USA, our skilled staff takes pride in delivering top-notch embroidery work.
For more details, visit our website!
Happy embroidering!
