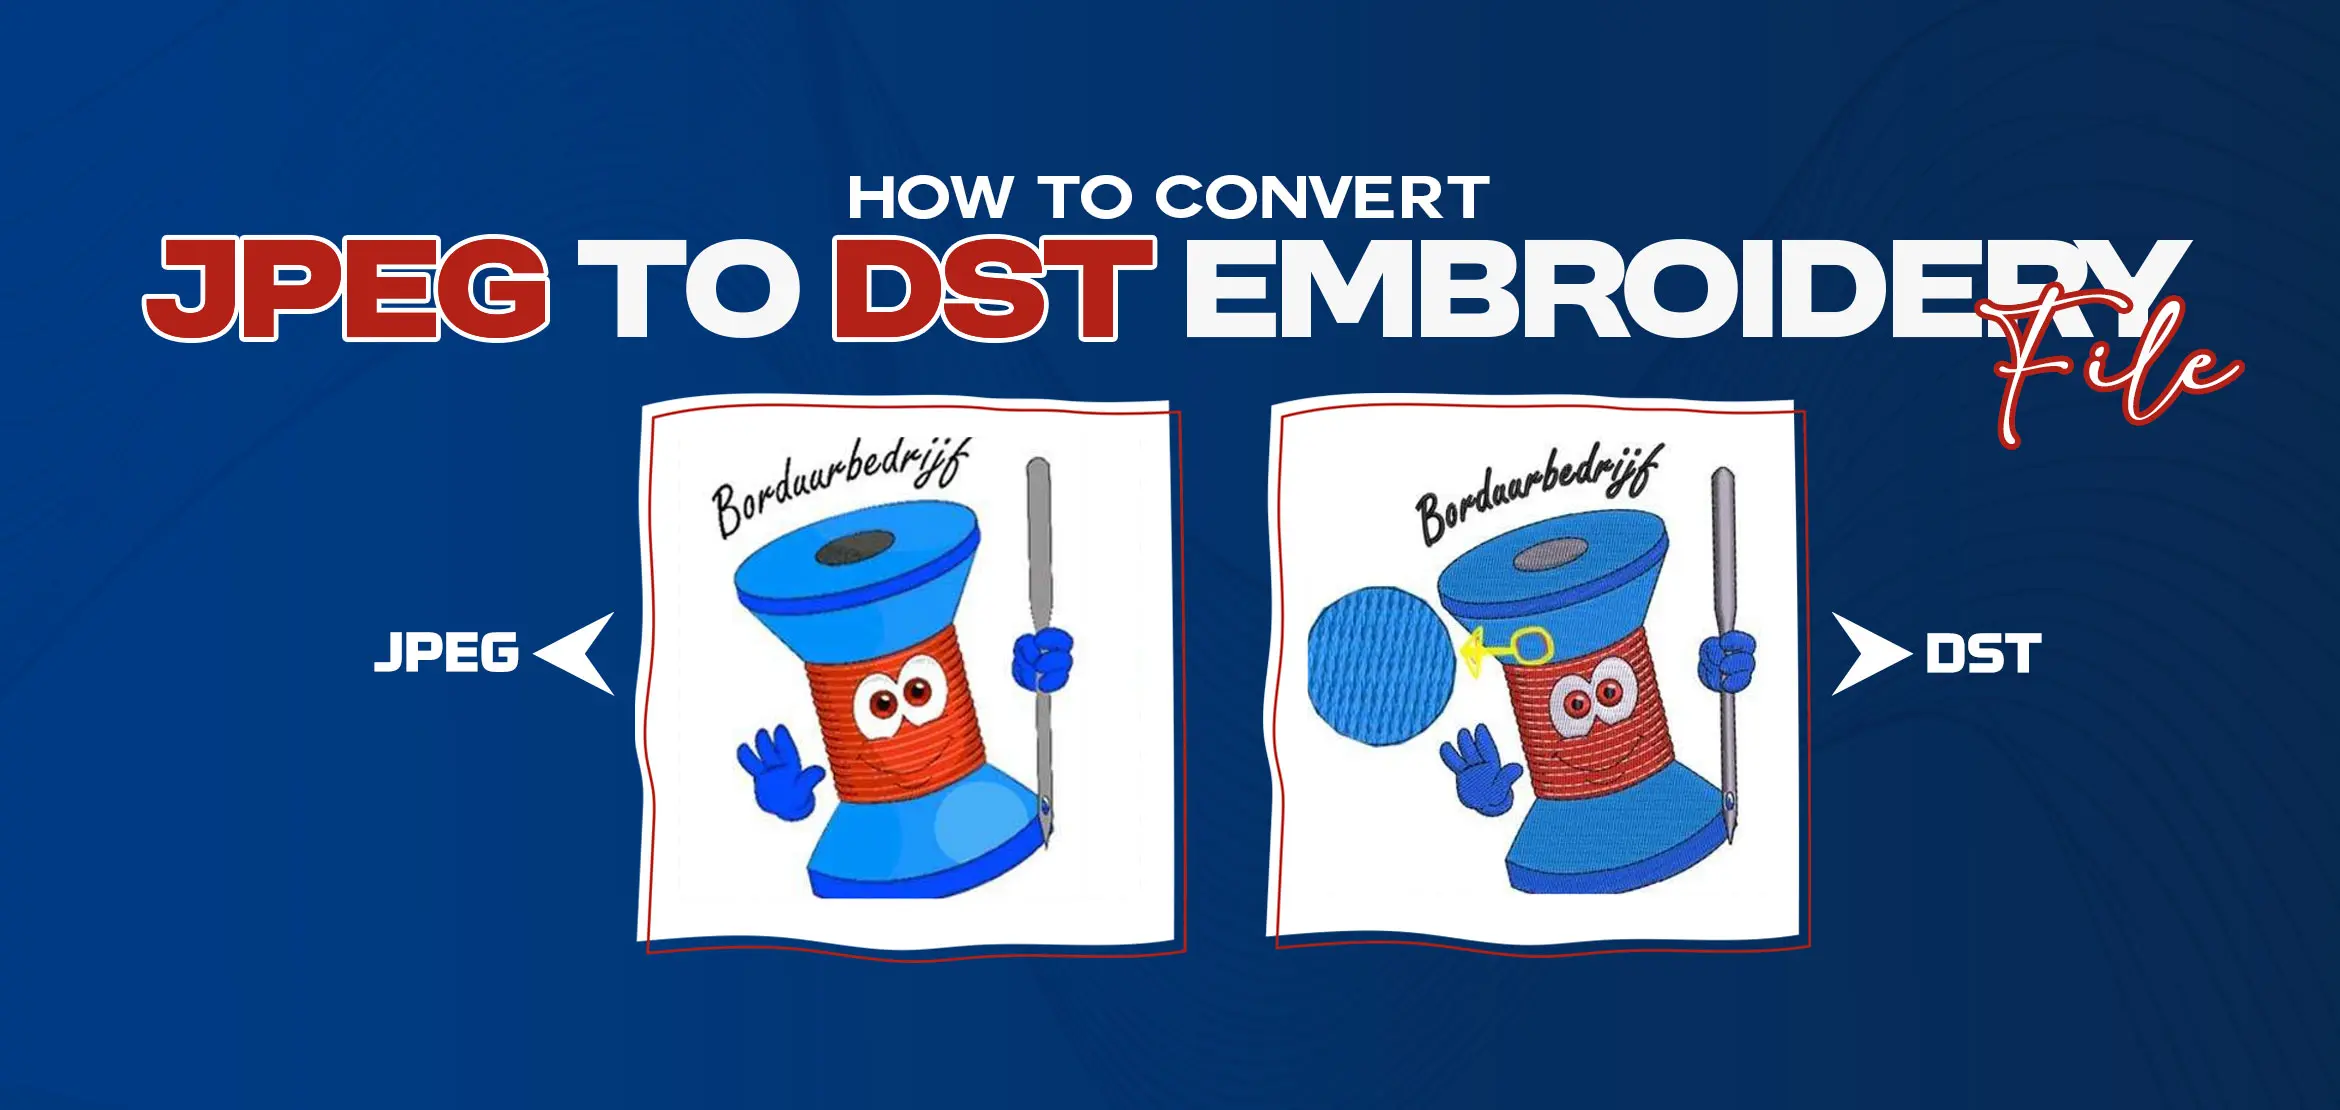
How to Convert JPEG to DST Embroidery File | A Complete Step-by-Step Guide
Table Of Content
- Why JPEG to DST Conversion Matters for Embroidery?
- How to Convert JPEG to DST Embroidery File: Step-by-Step Guide
- Step 1: Choose a Reliable Online Conversion Tool
- Step 2: Upload Your JPG Image
- Step 3: Specify Conversion Settings
- Step 4: Initiate the Conversion Process
- Step 5: Download and Review the DST File
- Step 6: Test Your DST File
- Summary
How frustrating it is when a normal file will not convert into a clean stitch file. Many embroiderers try to convert a JPEG image into a DST file but the results hurt like broken stitches, missing parts, uneven outlines or a file that the machine doesn't accept. Sometimes software programs can't follow the right stitch path and the final design looks very different from the picture you started with. These problems slow you down and force you to repeat the work until your desired results come true.
By the way, converting a JPEG into a DST embroidery file is not easy. You need the right methods and need practice so the final design comes out neat, smooth and ready for stitching. In this blog, you will understand each step in a clear & simple way, so next time you will convert your file without getting confused.Why JPEG to DST Conversion Matters for Embroidery?
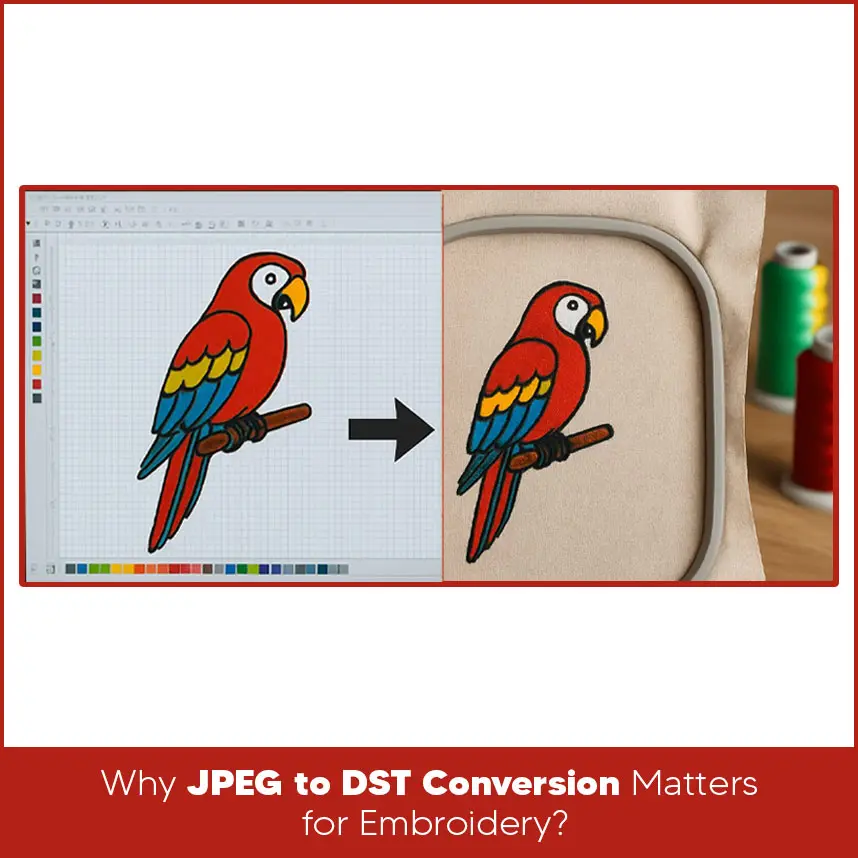
A JPEG file is only an image made of pixels. Your embroidery machine can't read it because machines follow stitch commands, not pixels. A DST file is a stitch format used by Tajima embroidery machines. It tells the machine where each stitch goes, how long it should be and how the needle should move.
When a JPEG is converted properly:
- The design stitches smoothly.
- The outlines stay neat.
- The machine works without trouble. - You avoid thread breaks. - The final design looks close to the original design. That's why a right JPEG to DST conversion is important. A good DST file saves your time, reduces errors and helps you get clean and professional results. Below is a simple explanation of each step. Let's have a look. You first need a tool that supports JPEG input and DST output. Many people run into problems because they choose a tool that doesn’t protect the design quality. A good converter should keep the image clear and produce proper stitch output. Look for tools that: - Support different embroidery formats. - Show a stitch preview. - Allow size and density adjustments. - Provide a clean result without distortion. A reliable tool solves many common issues right at the start. After choosing your tool, upload the JPEG file. Make sure your picture is clear and not very small. A low quality image usually causes broken or rough stitches after conversion. Before uploading, check that: - Lines are visible. - Colors look clear. - The image is not blurry. A clean image always helps produce a better DST file. This step matters because your settings guide how the final stitch file will look. Most tools let you adjust: - Size of the design. - Thread trims. - Underlay stitches. - Color changes. If your design has text, keep the size slightly larger so the letters stay readable. For designs with many small details, choose a bit more density for a smoother finish. Once you set everything, start the conversion. The tool will read the image and turn it into a stitch pattern. This usually takes a few seconds. During this time, the software studies the shapes and outlines and creates stitch commands. If your image is detailed, the process may take a little longer. Let the tool finish the task completely. When the conversion is done, download the DST file. Before you use it, check it closely. Many tools show a preview so you can look at: - Stitch direction. - Fill styles. - Empty spaces. - Misplaced stitches. - Extra jumps. If you notice something wrong, adjust your settings and convert again. This saves thread, fabric, and time during stitching. This is the last step but one of the most important ones. Load the DST file into your machine and do a test stitch on a scrap piece of fabric. A test run helps you check: - If the design runs smoothly. - If the stitches sit correctly on the fabric. - If the density looks right. - If any part needs small changes. Testing helps you fix minor problems before stitching on the final piece. So we understood that convert a JPEG into a DST embroidery file becomes simple when you follow the right steps. Start with a clear image, choose a good converter, set your stitch options and test the file before submission. A careful process helps you avoid issues and gives you neat and professional designs. If you need fast and accurate JPEG to DST conversion, Digitizing USA is ready to assist you. Our team creates clean, machine ready DST files that run smoothly on all embroidery machines.How to Convert JPEG to DST Embroidery File: Step-by-Step Guide
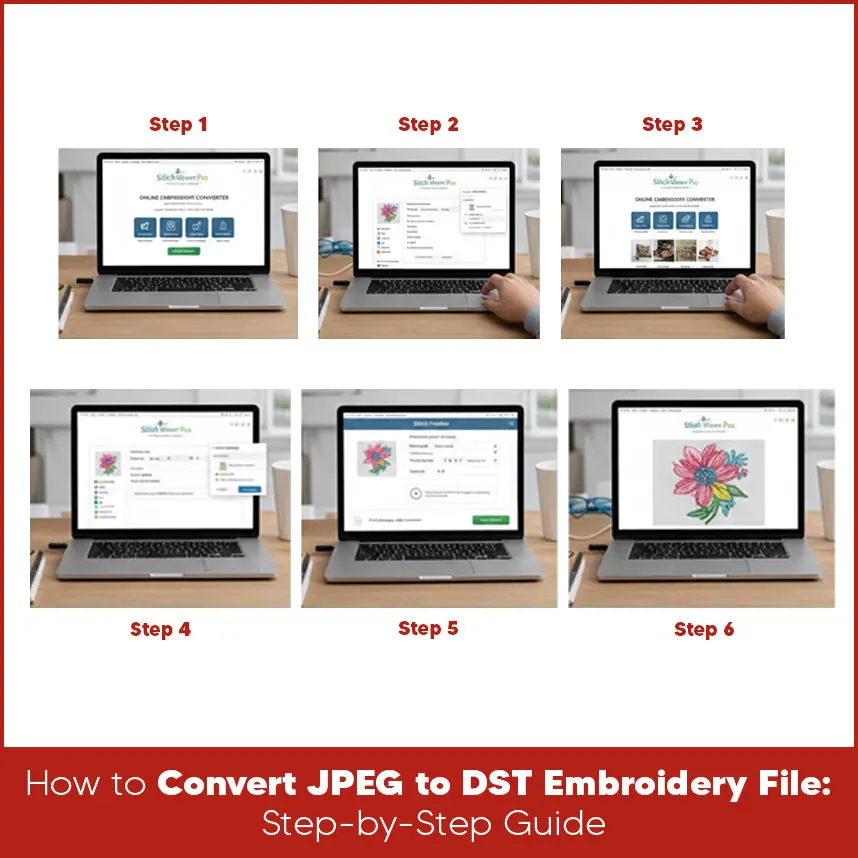
Step 1: Choose a Reliable Online Conversion Tool
Step 2: Upload Your JPG Image
Step 3: Specify Conversion Settings
Step 4: Initiate the Conversion Process
Step 5: Download and Review the DST File
Step 6: Test Your DST File
Summary
Get your design digitized today with Digitizing USA and enjoy quality results without stress.


