How to Embroider Personalized Beanie Hats in Easy Way
Table Of Content
- Benefits of Personalized Embroidery on Beanie Hats
- Popular Embroidery Techniques for Beanie Hats
- Choosing the Right Beanie Hat for Embroidery
- Preparing Your Design for Embroidery
- Embroidery Equipment and Materials Needed
- Step-by-Step Guide to Embroidering a Beanie Hat
- Tips for Achieving Professional-Looking Embroidery
- Caring for Embroidered Beanie Hats
Are you tired of wearing the same old beanie hats as everyone else? Do you want to stand out from the crowd and make a fashion statement that is uniquely yours? Then it's time to master the art of personalization with embroidery. In this easy guide, we will show you how to turn a plain beanie hat into a personalized masterpiece.
Embroidering your beanie hat allows you to add your own personal touch and create something truly special. Whether you want to showcase your favorite sports team, add a monogram, or display a custom design, embroidery is the perfect way to make your hat one-of-a-kind.
Get ready to elevate your hat game and make a lasting impression with personalized embroidery. Let's dive into the world of customization and create something truly remarkable.
Benefits of Personalized Embroidery on Beanie Hats
Embroidering your beanie hat allows you to add your own personal touch and create something truly special. Whether you want to showcase your favorite sports team, add a monogram, or display a custom design, embroidery is the perfect way to make your hat one-of-a-kind.
Personalized embroidery on beanie hats offers numerous benefits. Firstly, it allows you to express your individuality and stand out from the crowd. With embroidery, you can choose from a wide range of colors, fonts, and designs to create a hat that reflects your unique personality and style.
Embroidered beanie hats are durable and long-lasting. Unlike printed designs that can fade or peel over time, embroidery is stitched directly into the fabric, making it more resistant to wear and tear. This means that your personalized beanie hat will look great for years to come.
Popular Embroidery Techniques for Beanie Hats
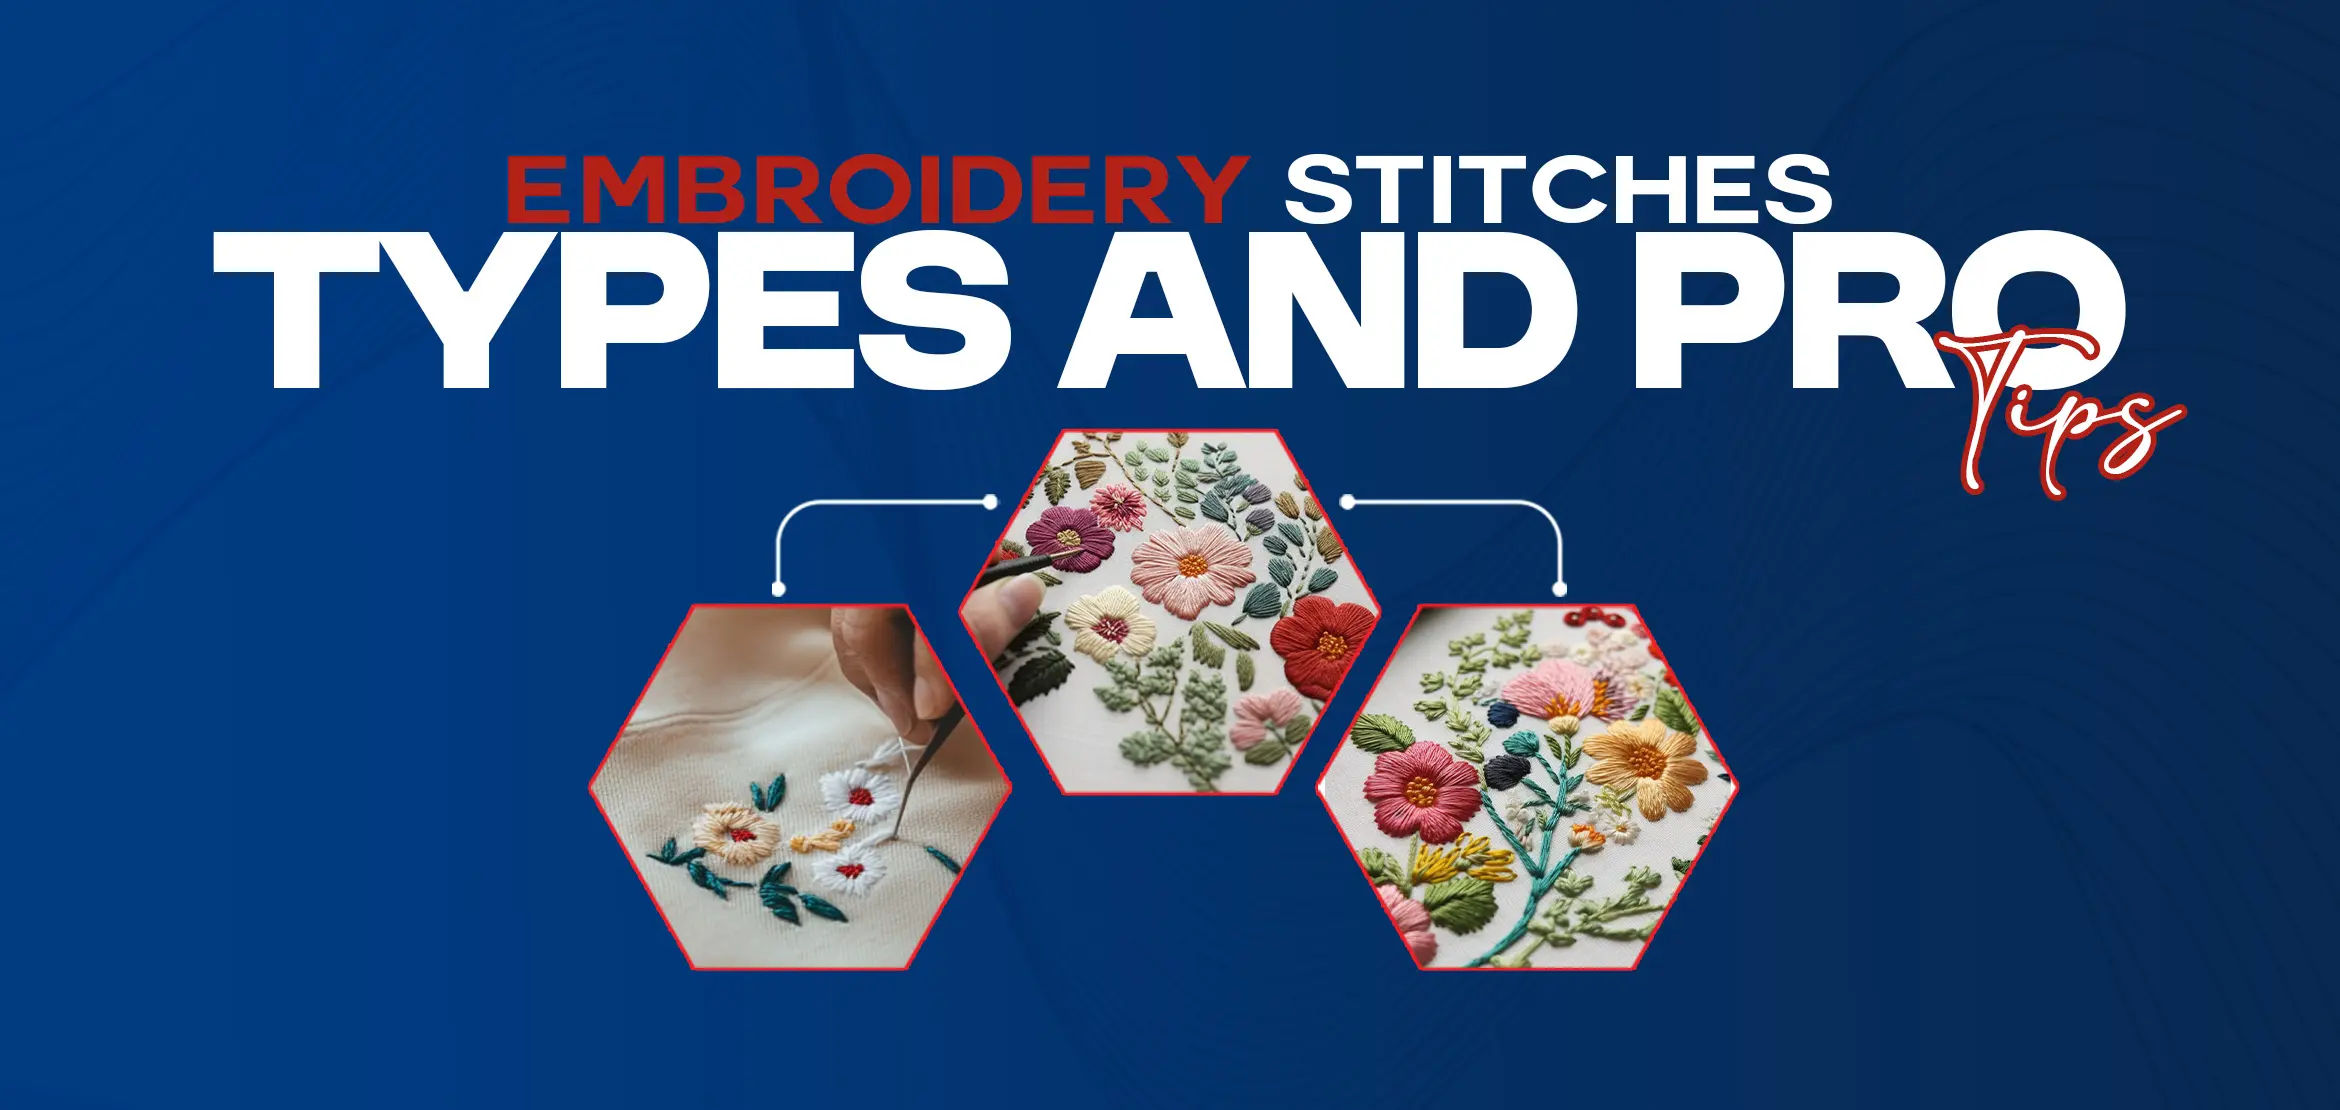
When it comes to embroidering beanie hats, there are several popular techniques to choose from. Each technique offers its own unique look and feel, allowing you to create a design that matches your personal style.
One popular embroidery technique is called satin stitch. This technique involves filling in a design with closely spaced straight stitches, creating a smooth and solid appearance. Satin stitch is commonly used for lettering and small, intricate designs.
Another popular technique is called appliqué embroidery. This involves attaching a piece of fabric, such as felt or denim, to the beanie hat and then stitching a design onto the fabric. Appliqué embroidery adds texture and depth to the design, making it stand out.
For a more textured look, you can try using the raised or 3D embroidery technique. This technique involves using foam or additional layers of thread to create a raised effect. Raised embroidery adds dimension and makes the design pop, giving your beanie hat a unique and eye-catching look.
Choosing the Right Beanie Hat for Embroidery
When it comes to choosing the right beanie hat for embroidery, there are a few factors to consider. Firstly, you'll want to choose a hat made from a material that is suitable for embroidery, such as cotton or acrylic. These materials provide a smooth surface for stitching and allow the design to stand out.
Additionally, consider the color and style of the beanie hat. Lighter-colored hats tend to showcase embroidery better, as the stitches stand out against the background. However, darker-colored hats can also be embroidered effectively by using lighter-colored threads.
In terms of style, consider whether you want a fitted or slouchy beanie hat. Fitted hats provide a more structured canvas for embroidery, while slouchy hats offer a relaxed and casual look. Choose a style that matches your personal taste and the design you have in mind.
Preparing Your Design for Embroidery
Before you start embroidering your beanie hat, it's important to prepare your design. This involves creating or selecting a design that you want to stitch onto the hat.
If you have a specific design in mind, you can create it using graphic design software or even draw it by hand. Make sure the design is the right size and proportion for the area you want to embroider on the hat. Consider the complexity of the design and whether it will translate well into embroidery.
If you don't have a design in mind, you can choose from a wide range of pre-made embroidery patterns and motifs. These can be found online or in embroidery pattern books. Select a design that speaks to you and matches the style and theme you want for your beanie hat.
Once you have your design ready, you'll need to transfer it onto the beanie hat. This can be done using a variety of methods, such as tracing the design with a water-soluble pen or using an iron-on transfer paper. Choose a method that works best for you and ensures accurate placement of the design.
Embroidery Equipment and Materials Needed
To embroider your beanie hat, you'll need a few essential tools and materials. Here's a list of what you'll need:
1. Embroidery hoop: This helps to keep the fabric taut while stitching, ensuring even and neat stitches.
2. Embroidery needles: Choose needles with a sharp point and large eye for easy threading.
3. Embroidery thread: Select thread that is suitable for the material of your beanie hat.
4. Scissors: Use sharp scissors for cutting thread and trimming excess fabric.
5. Water-soluble pen or iron-on transfer paper: These are used for transferring the design onto the hat.
6. Fabric stabilizer: This is optional but can be used to provide extra support and prevent puckering or stretching of the fabric.
Make sure you have all these tools and materials on hand before you begin embroidering your beanie hat. Having everything ready will make the process smoother and more enjoyable.
Step-by-Step Guide to Embroidering a Beanie Hat
Now that you have your design ready and all the necessary tools and materials, it's time to start embroidering your beanie hat. Follow these step-by-step instructions for professional-looking results:
Step 1: Prepare the beanie hat by washing and drying it according to the manufacturer's instructions. This will ensure that the fabric is clean and free from any dirt or debris that could interfere with the embroidery process.
Step 2: Place the beanie hat on the embroidery hoop, making sure that the area you want to embroider is centered and taut. Tighten the hoop to secure the fabric in place.
Step 3: Transfer the design onto the beanie hat using your chosen method. Make sure the design is centered and aligned with the area you want to embroider.
Step 4: Thread your embroidery needle with the desired thread color. Knot the end of the thread and start stitching from the back of the fabric, bringing the needle up through the fabric at the starting point of your design.
Step 5: Stitch your design using your chosen embroidery technique. Take your time and make sure each stitch is neat and even. Follow the outline of the design and fill in any areas as necessary.
Step 6: Continue stitching until you have completed your design. Secure the thread at the back of the fabric by making a small knot or weaving the thread through the stitches.
Step 7: Once you're satisfied with your embroidery, remove the beanie hat from the embroidery hoop and trim any excess thread or fabric.
Follow these steps for each design or area you want to embroider on your beanie hat. Take breaks as needed and enjoy the process of creating something unique and personalized.
Tips for Achieving Professional-Looking Embroidery
Embroidering beanie hats can be a fun and rewarding experience. To help you achieve professional-looking results, here are some tips to keep in mind:
- Practice on scrap fabric before embroidering your beanie hat. This will help you get comfortable with the stitching techniques and ensure that you're happy with your design.
- Use a stabilizer if you're working with a stretchy or delicate fabric. This will help prevent distortion or puckering of the fabric during stitching.
- Choose the right thread for your design. Consider the color, thickness, and texture of the thread to ensure it complements your design and stands out on the beanie hat.
- Take your time and stitch slowly. Rushing can lead to uneven stitches and mistakes. Focus on each stitch and make sure it's neat and even before moving on to the next one.
- Don't be afraid to experiment with different embroidery techniques and designs. This is your chance to get creative and try new things. Have fun with it and let your imagination run wild.
By following these tips, you'll be able to achieve professional-looking embroidery on your beanie hats and create designs that you'll be proud to wear or give as gifts.
Caring for Embroidered Beanie Hats
To ensure that your embroidered beanie hats look their best for years to come, it's important to care for them properly. Here are some tips for caring for your embroidered hats:
- Hand wash your beanie hat using mild detergent and cold water. Avoid using harsh chemicals or bleach, as these can damage the fabric and embroidery.
- Gently squeeze out excess water and reshape the hat while it's still damp. Avoid wringing or twisting the hat, as this can distort the shape and stretching the embroidery.
- Lay the hat flat to dry on a clean towel or drying rack. Avoid hanging or wringing the hat, as this can cause it to stretch and lose its shape.
- If necessary, iron the hat on a low heat setting. Be sure to place a clean cloth or pressing cloth between the iron and the embroidery to protect the stitches.
- Store your embroidered beanie hats in a cool and dry place, away from direct sunlight. Avoid folding or stacking them to prevent crushing the embroidery.
By following these care instructions, you'll be able to preserve the quality and appearance of your embroidered beanie hats for years to come.
Final Thoughts
Embroidering beanie hats is a fantastic way to add a personal touch and create something truly unique. Whether you're a beginner or an experienced embroiderer, the step-by-step guide provided in this article will help you achieve professional-looking results.
Remember to choose the right beanie hat for embroidery, prepare your design properly, and use the right tools and materials. Take your time, enjoy the process, and don't be afraid to get creative with different embroidery techniques and designs.
So, what are you waiting for? Grab your embroidery hoop and thread, and let your imagination run wild. Get ready to embark on a journey of creativity and self-expression as you master the art of personalization through embroidered beanie hats. With our embroidery services, you can elevate your embroidered beanie hats projects to new heights of craftsmanship.
