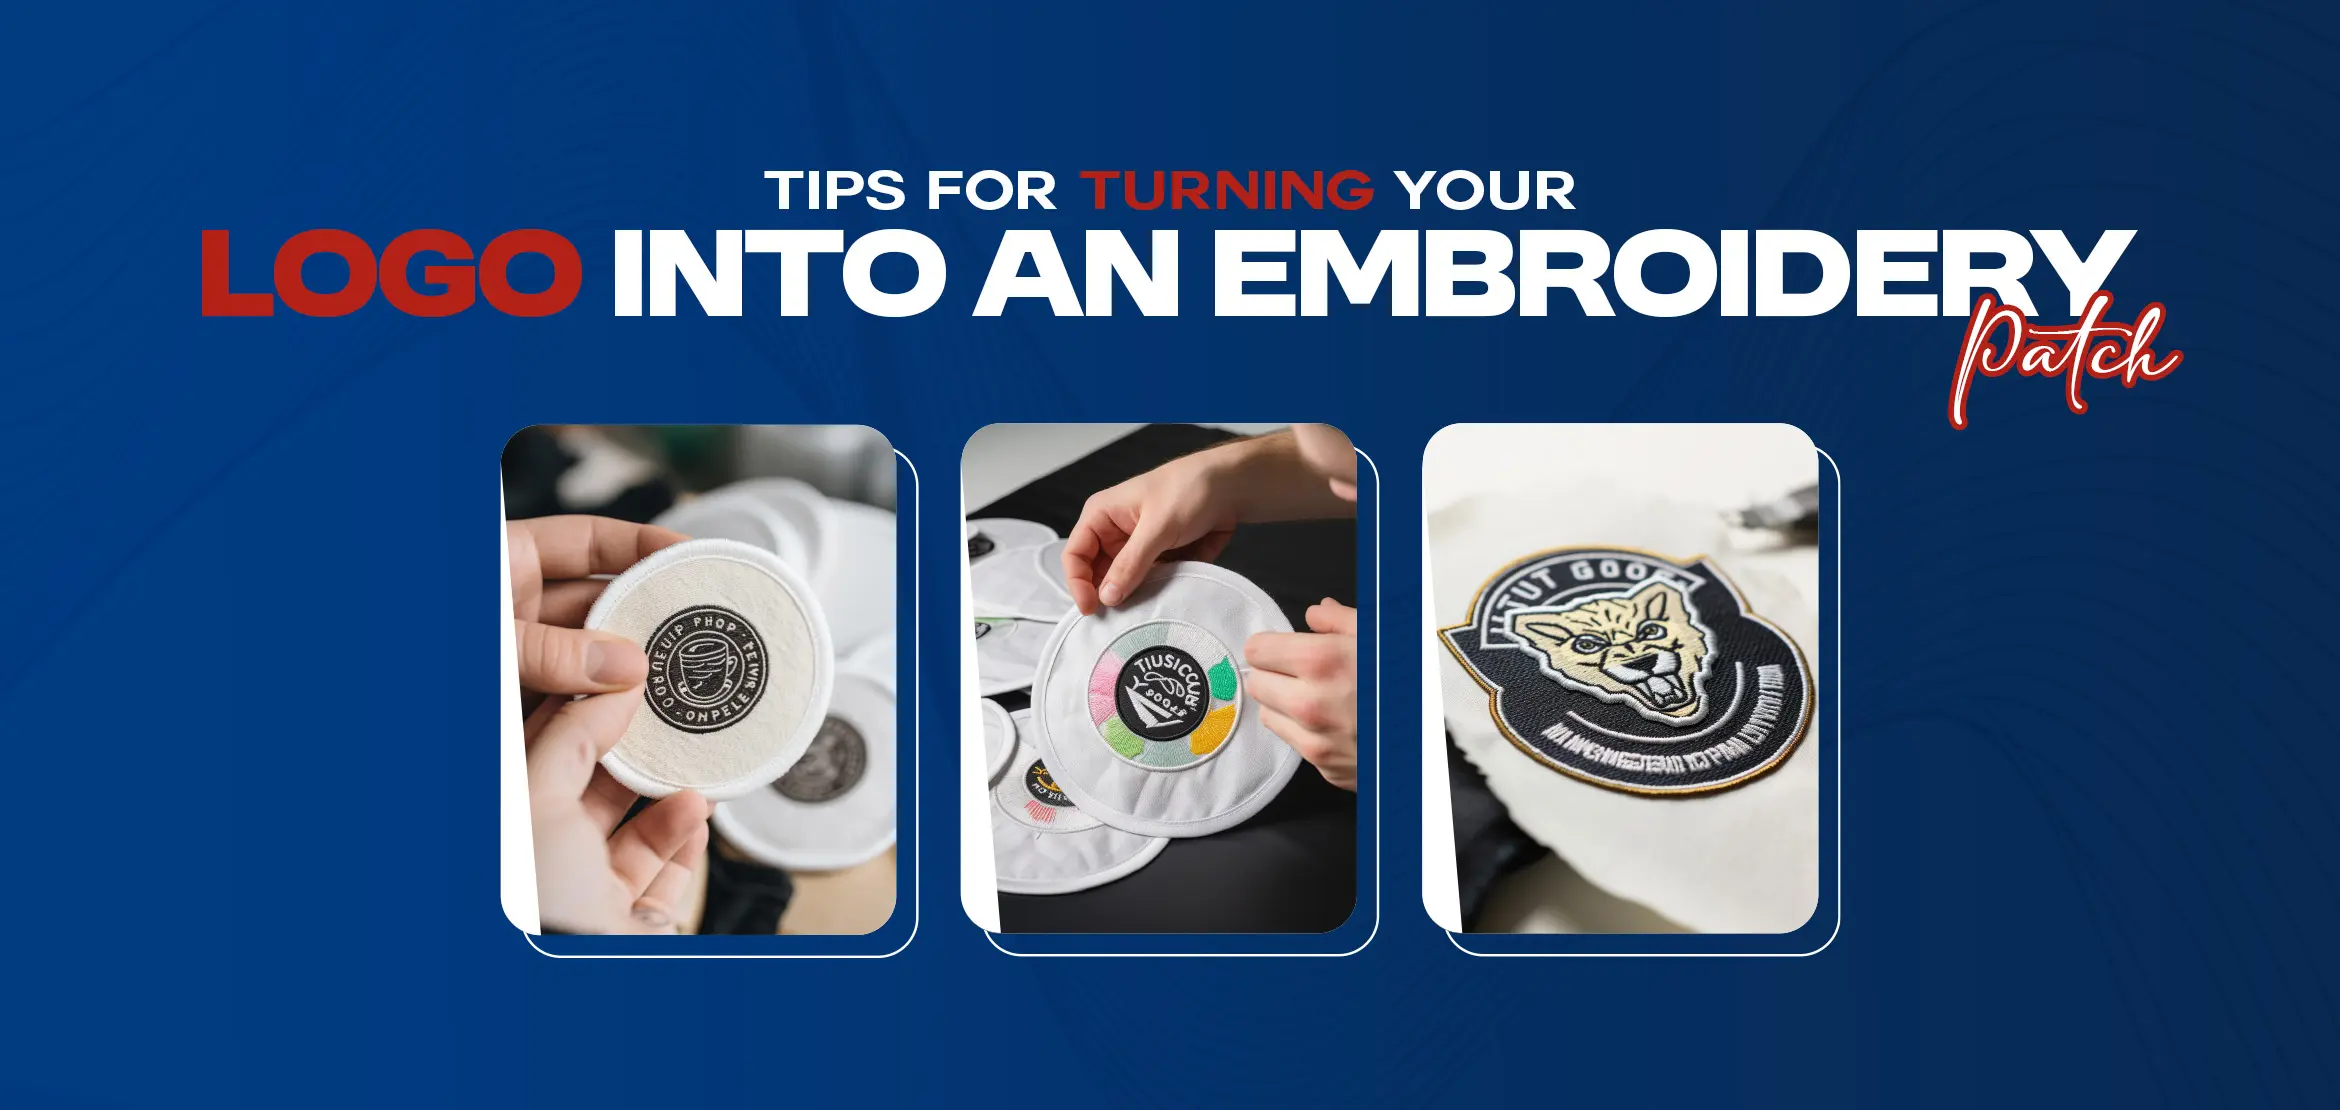
Tips for Turning Your Logo into an Embroidery Patch
Table Of Content
- Why Choose Embroidery Patches for Your Logo?
- Step-by-Step Guide to Turning Your Logo into an Embroidery Patch
- Step 1: Simplify Your Logo Design
- Step 2: Choose the Right Patch Size
- Step 3: Select Appropriate Colors
- Step 4: Digitize Your Logo
- Step 5: Choose Patch Backing and Edging
- Step 6: Request a Sample or Proof
- Step 7: Place Your Order and Plan for Delivery
- Step 8: Apply Your Patches
- Additional Tips for Successful Embroidery patch
- Why Choose DigitizingUSA?
- Frequently Asked Questions
- How do I create a logo that works well for embroidery?
- What materials are best for making durable embroidered patches?
- How can I choose the right size and shape for the patches?
Embroidery patches are timeless and powerful tools for showcasing your brand, enhancing uniforms, or creating custom merchandise. If you own a small business, or are a sports team administrator, or an artist, getting your logo converted into a personalized embroidery patch can make your brand more appealing. The process requires careful attention to make sure the final product is clean, professional, and durable. In this blog, we will guide you through the step-by-step process of taking your logo and turning it into a prime embroidery patch, with expert tips to avoid common mistakes.
Why Choose Embroidery Patches for Your Logo?
Embroidery patches are a powerful way to display your logo on clothing, bags, and hats. They are perfect for businesses and clubs that desire a business look. Cost-effective when purchased in quantity, they're perfect for promotions or uniforms. With the right technique, your logo is a vibrant patch that holds up to wear.
Not every logo can be embroidered. Digitizing your design by machine requires special expertise to render it readable. Expert services such as DigitizingUSA offer custom digitizing and fast turnaround. These are the steps for a clean, professional embroidery patch.
Step-by-Step Guide to Turning Your Logo into an Embroidery Patch
Step 1: Simplify Your Logo Design

Have limitations compared to digital printing, so your logo may need to be simplified to make sure it translates well into stitches. Complicated designs with details, gradients, or fine text look fuzzy or cramped when embroidered. Simplify your logo by limiting it to 6–8 colors and without minute details. Bold lines and solid shapes work best. If your logo features a gradient, stitch in one color or a simple pattern.
Step 2: Choose the Right Patch Size
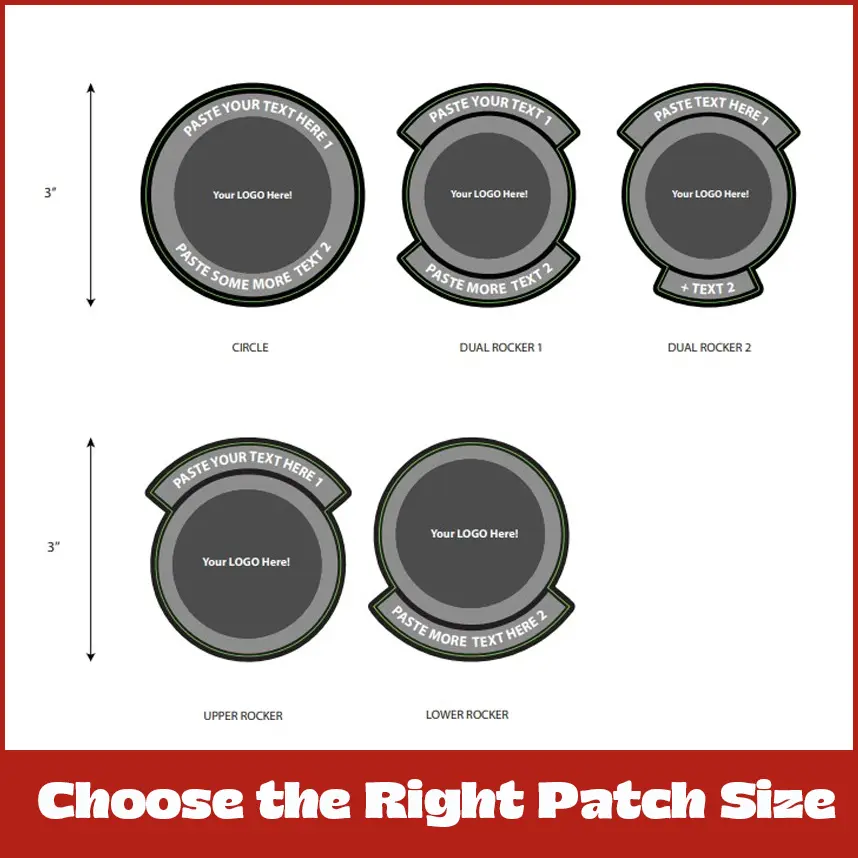
Patch size impacts visibility and detail. In small size patches the clarity suffers and the confusion will be there in the item having the large size patches. For most clothing items, patches between 2–4 inches work best, depending on placement (e.g., chest, sleeve, or bag). Test your logo at different sizes using a digital mockup. DigitizingUSA provides digital previews to visualize results before production.
Step 3: Select Appropriate Colors
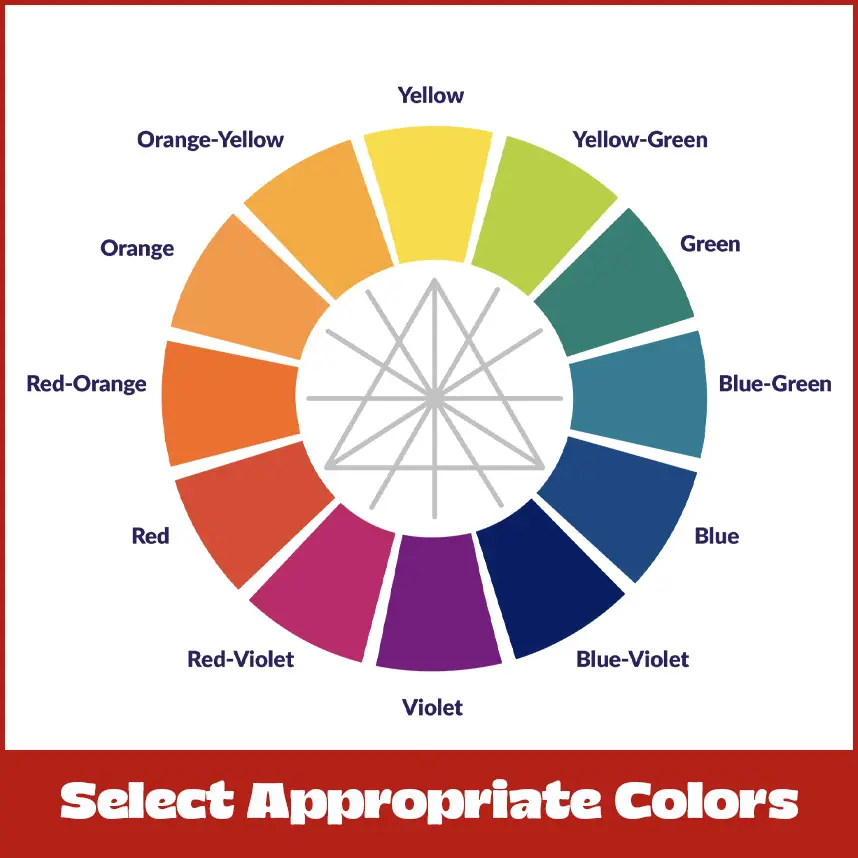
Thread colors may not match digital ones perfectly, so picking the right palette is key for a polished look. Use Madeira or Isacord thread charts or Pantone to match your logo’s colors closely. Avoid pale shades, as they can fade in embroidery.
Step 4: Digitize Your Logo

Digitizing converts your logo into a stitch file compatible with embroidery machines. Poor digitizing can cause uneven stitches, puckering, or distorted designs. For best results, use a professional service to set stitch types (satin, fill, or running), density, and thread direction for optimal texture and durability.
Step 5: Choose Patch Backing and Edging
Patch edging and backing affect both function and style. Choose the right backing (iron-on, adhesive, Velcro, or sew-on) and edging (merrowed or laser-cut) to match your patch’s purpose and style. Iron-on is great for quick application, Velcro for removable patches, merrowed for a classic raised look, and laser-cut for intricate shapes. DigitizingUSA offers customizable backing and edging options, with expert guidance to ensure durability and the perfect aesthetic.
Step 6: Request a Sample or Proof
Always request a digital proof or physical sample before bulk production to make sure your patch meets expectations, avoiding issues with stitching, color, or size. Carefully check clarity, color accuracy, and design, making tweaks as needed.
Step 7: Place Your Order and Plan for Delivery
Once your design is finalized, choose a top-notch embroidery shop for production. Check turnaround times, especially for events or promotions. Order a few extra patches to cover future needs or replacements bulk orders often come with discounts for cost savings. We deliver fast shipping without sacrificing quality, ensuring your patches arrive on time with their efficient process.
Step 8: Apply Your Patches
Apply your patches based on their backing type: stitch sew-on patches or use heat and pressure for iron-on ones. For iron-on patches, use a heat press or iron at the recommended temperature, pressing gently for 10–15 seconds, then let it cool for a secure position. For durability, especially on recent washed items, sew the edges of iron-on patches.
Additional Tips for Successful Embroidery patch
Test Durability: Wash and wear a sample patch to determine if it stands up. Our patches are constructed to survive repeated washing and use.
Store Properly: Store unused patches in a dry, cool environment to avoid damage from adhesive degradation or thread discoloration.
Get Creative: Experiment with patch placement by layering smaller patches over larger ones for a trendy 3D effect.
Why Choose DigitizingUSA?
DigitizingUSA leads in custom embroidery digitizing and patch production, delivering top-quality results. Our expert digitizers use advanced tech for precise stitch files, ensuring your logo looks sharp and professional. With fast shipping, competitive pricing, and excellent customer service, they make small or large orders seamless.
Ready for stunning patches? Partner with us for expert digitizing and quick delivery. Visit DigitizingUSA for a free quote and elevate your brand with high-quality patches!
Frequently Asked Questions
How do I create a logo that works well for embroidery?
We can start by having a simple logo without having unnecessary information. Then digitize the design by using embroidery software. And then converting into a file format which is suitable for embroidery machines. But it should be made sure as well to embroidered the design accurately.
What materials are best for making durable embroidered patches?
Do choose the best fabric like cotton, denim, polyester or any other materials for the patch. Go for the best quality polyester for durable stitches.
How can I choose the right size and shape for the patches?
The right patch sizes can achieve the best results you want. Larger patches will have the more complex designs. While the smaller patches can be suitable for simple designs.
