Common Brother Embroidery Machine Error Codes You Can Fix at Home
Table Of Content
- Understanding Brother Embroidery Error Codes and Their Causes
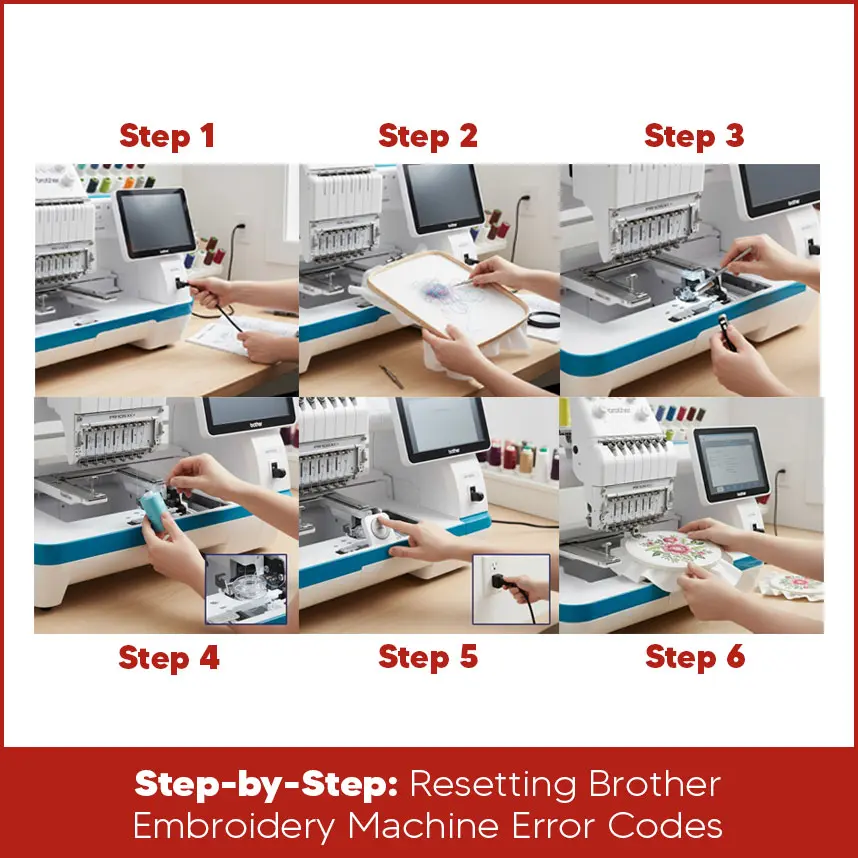
- Step-by-Step: Resetting Brother Embroidery Machine Error Codes
- Step 1: Turn off and unplug the machine to ensure safety
- Step 2: Remove fabric and hoop carefully, inspect for jams or thread tangles
- Step 3: Clear any debris or lint from sensors and bobbin area using a lint brush
- Step 4: Reinsert the bobbin, re-thread the machine correctly following model-specific guides
- Step 5: Perform a factory reset if advised, usually via menu options or by holding specific buttons
- Step 6: Turn the machine on and check if the error clears. Repeat if necessary
- Tools, Accessories and Software to Fix and Prevent Errors
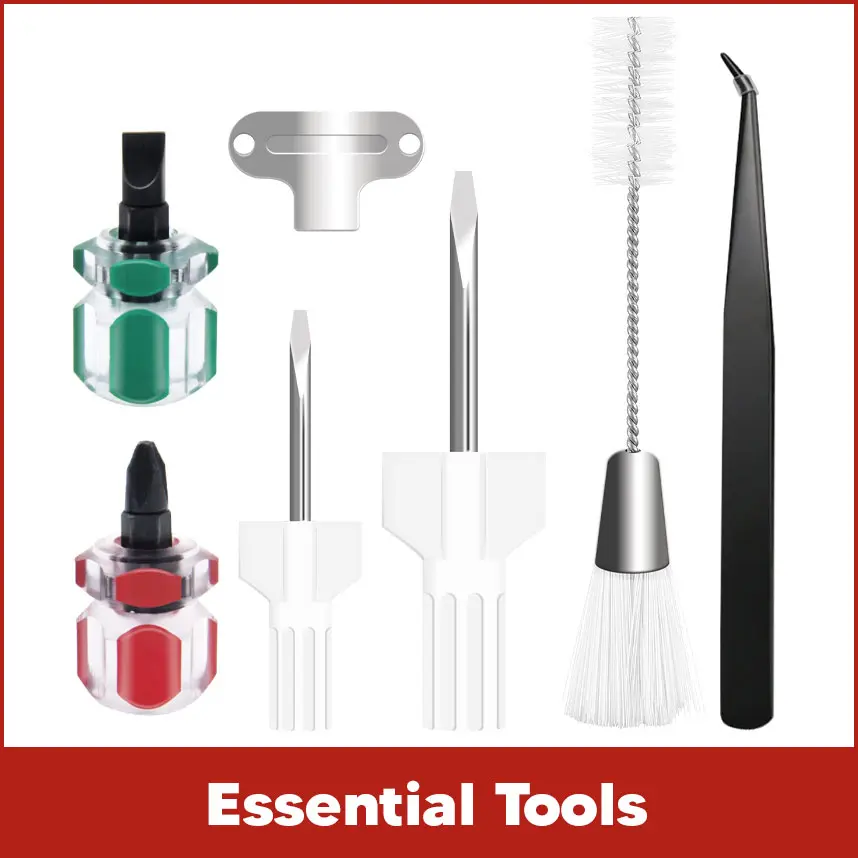
- Essential Tools
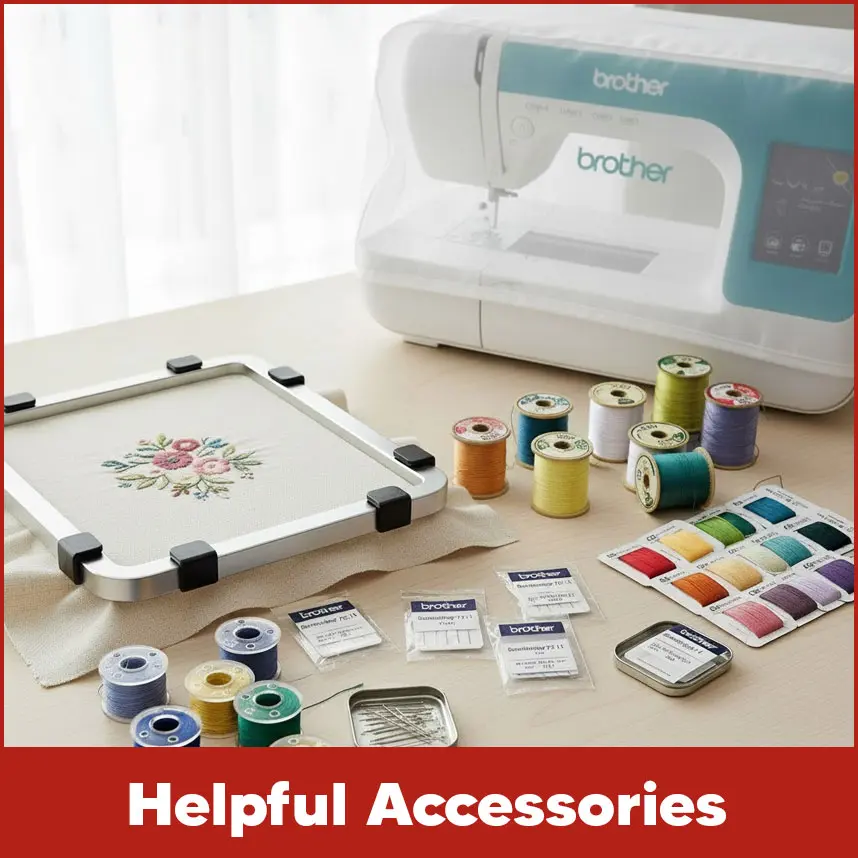
- Helpful Accessories
- Software and Updates
- Cost Effective Choices for Replacement Parts and Updates
- DIY Maintenance and Troubleshooting to Avoid Future Errors
- Regular Cleaning and Oiling
- Needle Maintenance
- Maintaining Thread Tensions and Proper Hooping
- Using Tools for Tests and Troubleshooting
- Summary
You are stitching a cute name on a baby blanket. The thread moves fine. Then a red light blinks. An error code shows on the screen and then you stop working. You think the machine has some issues. This happens to many home embroiderers every day. It is common with Brother machines like the PE800 or SE1900. The good part is that most Brother embroidery machine error codes have easy fixes. You can fix errors at home. No need to call for help or send the machine away. This guide shows what the codes mean. It gives simple steps to fix them. It lists the tools you need. It shares tips to stop errors. Let’s make stitching smooth again. Move ahead and start reading.
Understanding Brother Embroidery Error Codes and Their Causes
Brother machines are strong. But they show codes when something is wrong. The codes are warnings. They point to tangled threads or dirty parts. You need to know what each code means and why it comes.
Here are common codes you can fix at home. You can see on many models from PE to Innov-is.
Error Code E1 or Needle is Down: The needle is still low when you move the hoop or start. You forgot to lift the needle after a stop. This happens when you change designs fast.
Error Code B or Bobbin Thread Low: The machine sees the bobbin is empty or not right. The thread is loose or slips.
Error Code E6 or Thread Tangled: Upper thread jams or breaks. Wrong path or cheap thread causes it. Tight tension makes knots.
Error Code 1204 or Hoop Not Detected: The machine does not detect the hoop. Dirty sensor or hoop not locked. Dust builds up after months.
Error Codes E04-E09: These are jams in cutter or timing. Fabric bunches or lint blocks. In wet areas, these rise 15%.
Error Code F1-F3: Motor works too hard. Thick fabric or dull needle. Just check your setup.
These codes help the machine. They say fix this now. Find the cause fast. Save time. Keep projects going. Most codes go away with easy steps. About 80% fixed at home. Reset is safe. It clears problems. You keep your designs. Do steps one by one. Take time. Check your model manual for buttons. They change a bit. You need 10 to 15 minutes. Find a quiet spot. Turn power off. Wait 30 seconds. This clears static. It resets parts easily. If you reset while plugged in, it may make things worse. In wet places, this stops shocks. Remove fabric and hoop carefully. Look for stuck threads. Use fingers or a seam ripper. Check the needle too. Broken tip causes more errors. Lint stops smooth work. Use soft brush or old toothbrush. Clean bobbin case. Clean needle plate. Clean sensor tabs near hoop arm. Use canned air soft. No vacuum. It may take small parts. Use light to see inside. Put bobbin in. It must spin clockwise for most brothers. Thread the upper part again. From spool to disks to needle eye. Use manual pictures. Pull thread. It must move easily. For E6, check take-up lever. For difficult codes like F1, try a soft reset. Turn on. Go to settings. Often under Maintenance. Pick Reset. Or hold start/stop and reverse for 3 seconds. For full reset, unplug. Hold auto-size button. Plug in. Check manual. This clears short problems. Designs stay. Do only if other steps fail. Like, refresh on phone. Plug in. Turn on. Stitch test on scrap. If the code is gone, load design. If not, start from Step 2. Or write code for Brother's help. Most fixes are first time. Be patient. Keeping a few basic tools and accessories near your embroidery machine makes it easier to fix problems right away. These tools not only help with repairs but also prevent new issues from appearing. Every Brother embroidery user should have these items on hand: Lint brush or small air blower: Helps remove lint and fabric dust from small areas. Tweezers and seam ripper: Great for picking out tangled threads or removing stitches cleanly. Small screwdriver set: Useful for tightening screws or opening small machine parts safely. Needle light or magnifier: Makes it easier to see inside the needle area when working on detailed parts. Right accessories can make your embroidery journey smoother and reduce the chances of errors: Quality bobbins and needles: Use only the right type for your Brother model. Replace them often to keep your stitches clean and even. Magnetic hoops: These hold the fabric tightly in place so it doesn’t move while stitching. Embroidery threads: Choose threads from trusted brands to avoid breakage and uneven tension. Dust cover: Always cover your machine when it’s not in use to protect it from dust. Brother provides regular firmware updates to improve machine performance. Always keep your system updated, these updates fix bugs that can cause random error codes. When managing your embroidery designs, use proper software that supports Brother file formats. Avoid downloading or converting designs from unknown sources, as they can cause your machine to freeze or show format errors. Needles: Change every 8 to 10 hours of use or sooner if stitching heavy or dense fabrics. Bobbin cases: If you’ve had a jam that damaged the case, replacing it may save headaches. Foot pedal or power cord: A damaged cord or pedal may cause intermittent errors. Lint filters or small parts: Small items can save you from major repairs later. Stop errors before they start. Small habits help. Check weekly if you stitch much. Clean after 10 hours. Take needle plate off. Brush lint. Put one drop oil on hook race. See manual. In dry places, do every two weeks. Use machine oil only. Check needles weekly. Look for bend or dullness. Change for fabric. Fine for silk. Ballpoint for knit. New needle fixes 30% breaks. Set tension 4 to 6 for most threads. Test on scrap.Hoop tight but not too much. Use template. If tension off, turn dial 1/4. Test again. Do test stitch monthly. Sew square. Check skips. Use light to look close. Write errors in book. Code, time, fabric. See patterns. Wet air causes more E6. Now you have all you need to fix Brother embroidery machine error codes at home. You know E1 and B codes. You have reset steps. You have tools and care tips. Handle most problems fast. Machines are easy if you care a little. If codes stay or you want perfect patterns, get professional help.Step-by-Step: Resetting Brother Embroidery Machine Error Codes
Step 1: Turn off and unplug the machine to ensure safety
Step 2: Remove fabric and hoop carefully, inspect for jams or thread tangles
Step 3: Clear any debris or lint from sensors and bobbin area using a lint brush
Step 4: Reinsert the bobbin, re-thread the machine correctly following model-specific guides
Step 5: Perform a factory reset if advised, usually via menu options or by holding specific buttons
Step 6: Turn the machine on and check if the error clears. Repeat if necessary
Tools, Accessories and Software to Fix and Prevent Errors
Essential Tools
Helpful Accessories
Software and Updates
Cost Effective Choices for Replacement Parts and Updates

DIY Maintenance and Troubleshooting to Avoid Future Errors
Regular Cleaning and Oiling
Needle Maintenance
Maintaining Thread Tensions and Proper Hooping
Using Tools for Tests and Troubleshooting
Summary


