Top 10 Artwork Mistakes That Slow Down Vector Conversion Services (And How to Avoid Them)
Table Of Content
- Why Clean Artwork Matters in Vector Tracing
- Common Vector Tracing Mistakes
- 1. Low-Resolution Images
- Try This Instead
- 2. Blurry or Pixelated Artwork
- What You Can Do
- 3. Overly Complex Designs with Unnecessary Details
- Easiest Way to Fix It
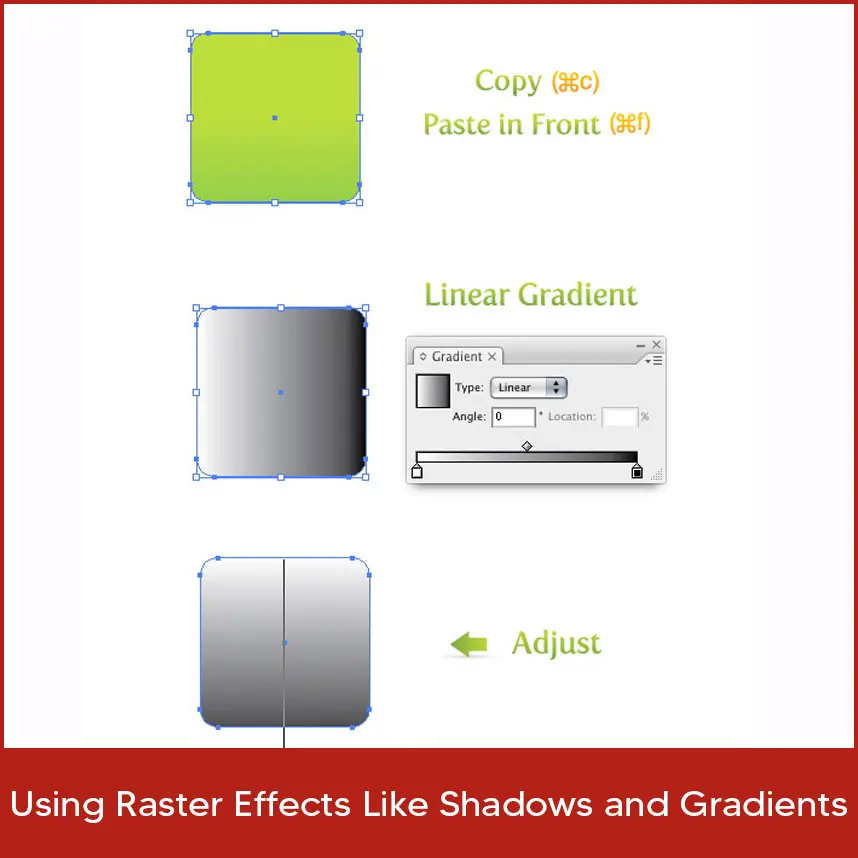
- 4. Using Raster Effects Like Shadows and Gradients
- Here’s the Solution
- 5. Poor Contrast Between Elements
- How to Resolve It
- 6. Incorrect or Mixed Color Modes (RGB vs CMYK)
- Do This Instead
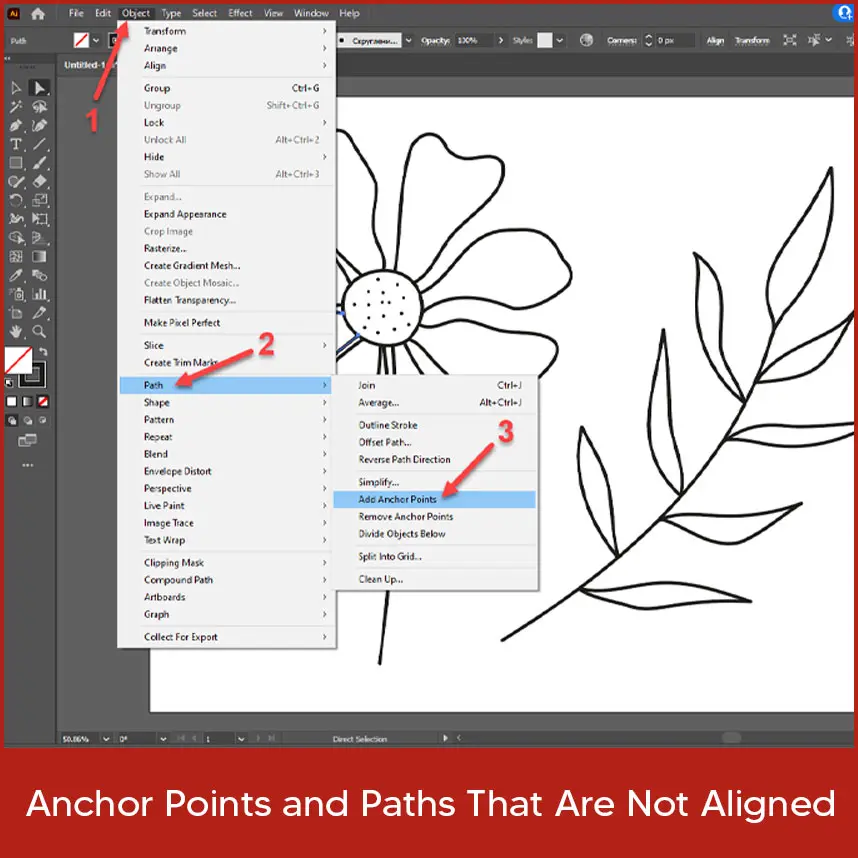
- 7. Anchor Points and Paths That Are Not Aligned
- Solution
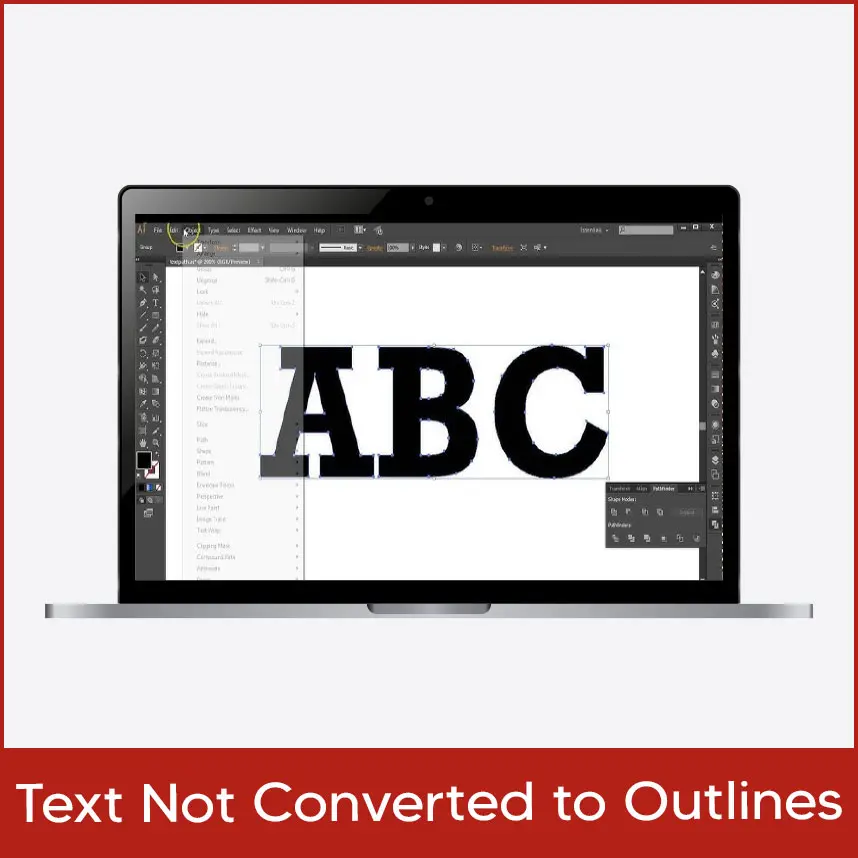
- 8. Text Not Converted to Outlines
- The Correct Way
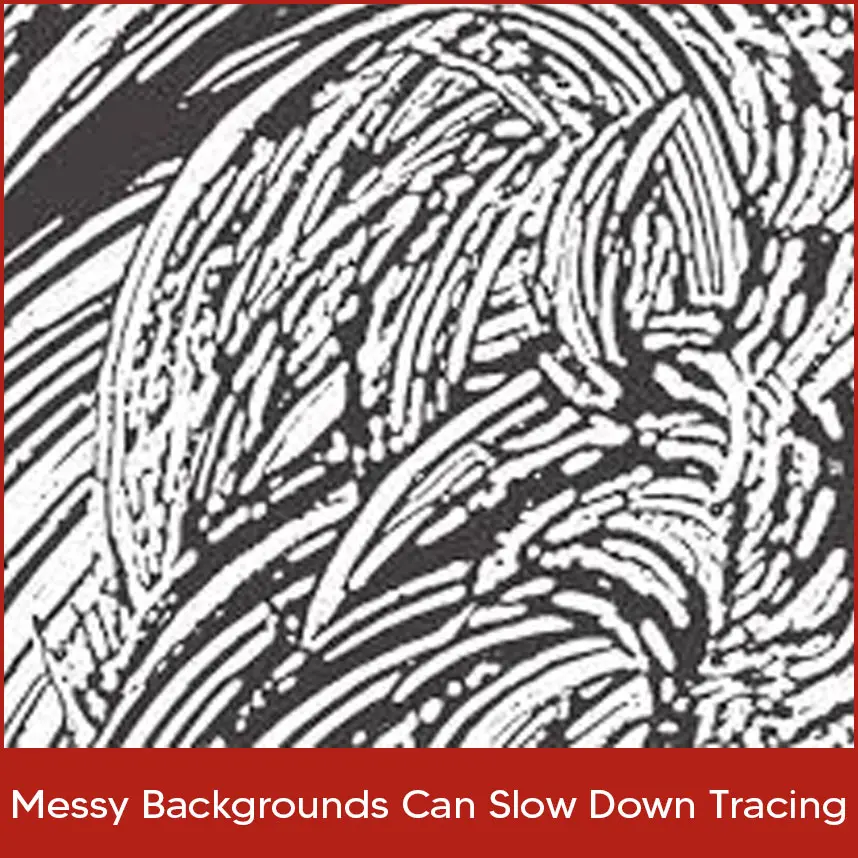
- 9. Messy Backgrounds Can Slow Down Tracing
- Here’s the Solution
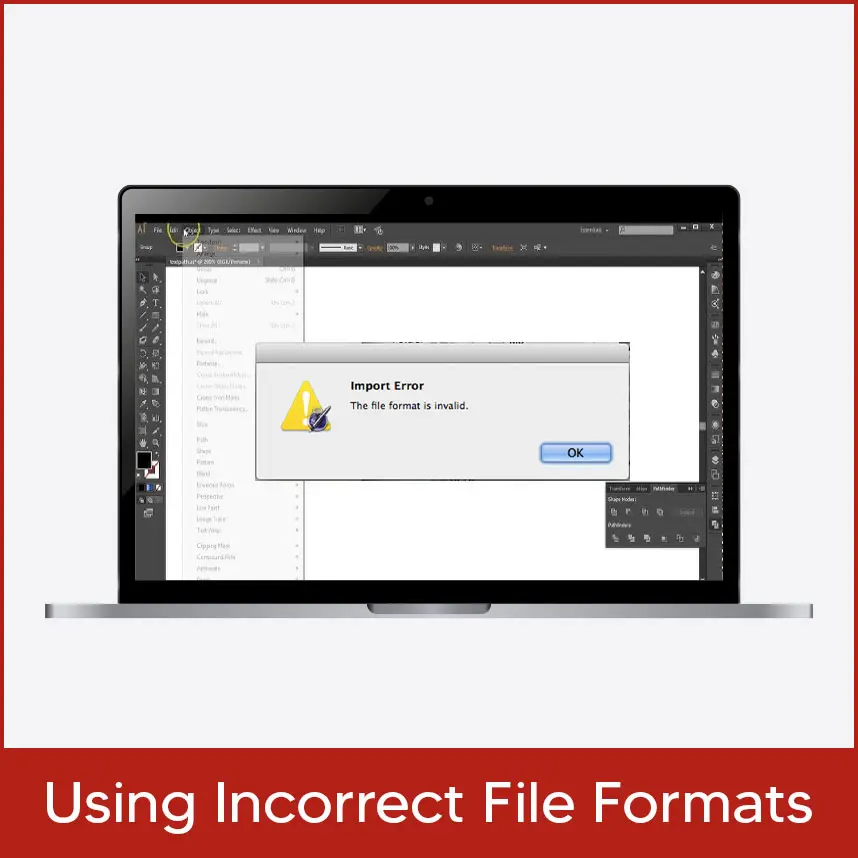
- 10. Using Incorrect File Formats (e.g., JPG Instead of PNG or PDF)
- How to Fix It
- Tips to Speed Up Your Vector Tracing Workflow
- Get Professional Vector Tracing Services in the USA
- Conclusion
Vector conversion services play a vital role in turning raster or messy artwork into clean, scalable vector files. One of the most important steps in that process is vector tracing—which requires the source artwork to be properly prepared.
Vector conversion services are powerful for converting digital artwork into clean, scalable formats, but only if the source artwork is set up correctly. Poorly organized artwork can make your design appear incomplete. Avoiding common blunders can save you time, whether you're a business owner creating a logo or a designer making adjustments to files. Let’s walk through the top 10 artwork mistakes that slow down vector conversion services and share easy fixes to keep things smooth. Ready? Let’s jump in.
Why Clean Artwork Matters in Vector Tracing
Vector graphics, made of paths and points, scale perfectly without getting blurry, unlike pixel-based raster images. But if your starting artwork is messy, the process of tracing becomes slower, whether you’re using software or hiring a professional. Clean artwork means quicker results, lower costs, and vectors that look sharp as a tack.
Common Vector Tracing Mistakes
Not having your artwork ready for tracing is like trying to cook a meal without half of the ingredients. Tracing tools or designers might face issues with low-quality photos, detailed designs, or incorrect file types, which could result in inconsistent results or additional work. These issues stretch out timelines, mess up your vectors, or force you to start over. By catching these problems early, you can make your vector tracing easier.
Let's check out these common vector tracing mistakes and their solutions.
1. Low-Resolution Images
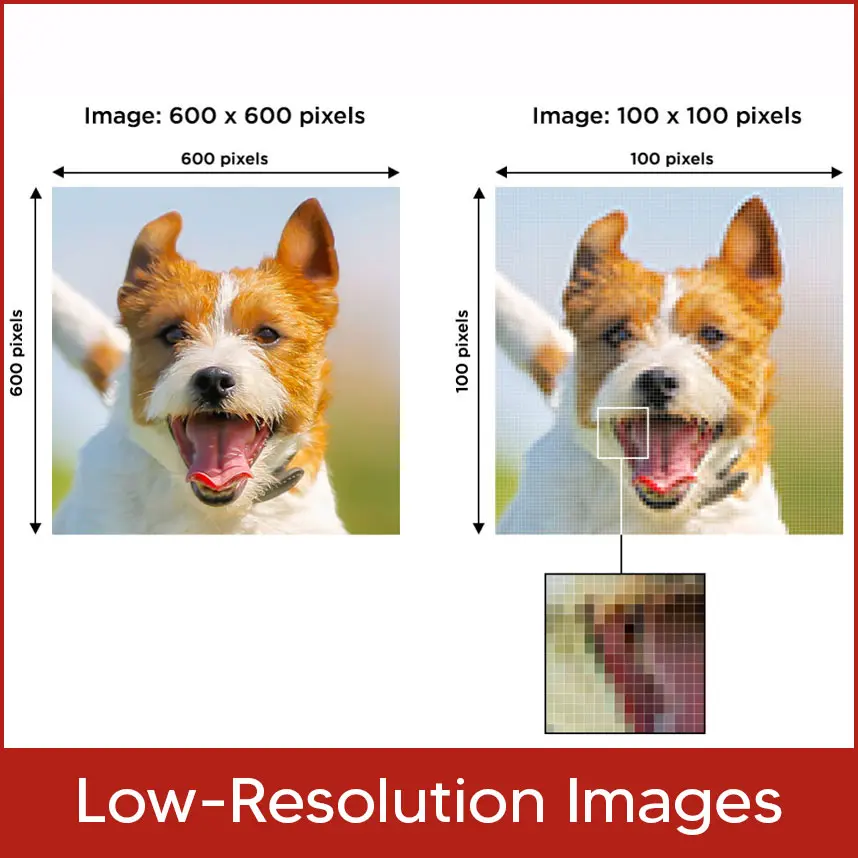
Low-resolution images, think anything below 72 DPI, are a headache for vector tracing. They’re too blurry to give clear edges, so you end up with sloppy vectors. This usually occurs when using old, blurry scans or photographs taken from websites.
Try This Instead
Start with a high-resolution image, at least 300 DPI. If you’re scanning, set your scanner up to 600 DPI or more. For digital designs, export from Photoshop or Illustrator at max quality. If your image is already low-resolution, you might need to redraw it.
2. Blurry or Pixelated Artwork
Blurry or pixelated images are like trying to read a book through unclear glasses. Tracing tools struggle to find clean edges, which leads to wiggly lines or missing details. This is super common with over-compressed JPGs or low-quality screenshots.
What You Can Do
Use crystal-clear images. Take pictures with a good camera in better light. Stretching small images into larger ones is a pixelation problem when it comes to digital art. Tools like Illustrator’s Image Trace love sharp inputs, so keep clarity first.
3. Overly Complex Designs with Unnecessary Details
Have an extra part or design with thousands of small turns? That will lead to a lot of difficulty during vector tracing. Complex designs with too many details overwhelm software, creating a mess of paths that take forever to fix.
Easiest Way to Fix It
Simplify before you trace. Cut out unnecessary highlights or merge overlapping shapes in your design software. Focus on the core elements to keep things clean. A simpler design not only traces faster but also looks sharper in vector form.
Check out this blog post if you are confused about which is the best software for vector tracing, free or paid Raster effects like shadows, glows, or gradients are not for vector. Because they are pixel-based, tracing them results in full, uneven paths that cause the whole thing to slow down. Trying to put a rectangular object into a round hole is like that. Swap those effects for flat colors or outlines before tracing. In Photoshop or Illustrator, turn shadows into solid shapes or pick one color instead of a gradient. If you want effects, add them after the vector is done to keep things smooth. When colors in your artwork blend like light gray on white, tracing tools get confused and can’t differentiate elements. This leads to merged or incomplete paths, which means more cleanup work. Increase the contrast. Use bold colors, like black on white or bright colors to make elements pop. In your design software, tweak brightness or check contrast to ensure everything stands out. High contrast equals clearer, quicker tracing. Using RGB for print designs or mixing RGB and CMYK can mess up colors during tracing. RGB is for screens, CMYK is for printing, and mixing them causes a headache. Pick the right color mode for your project. For print materials such as banners or business cards, use CMYK. For web visuals, use RGB. To maintain color consistency, turn your artwork to one mode in Illustrator or CorelDRAW before tracing. Messy anchor points or overlapping paths make vectors look sloppy and take extra time to fix. This usually happens because of wrong tools or designs that weren’t edited carefully. Set your paths before tracing. In Illustrator, take the Direct Selection Tool to line up anchor points and smooth out paths. If your artwork has text that’s not outlined, tracing tools might not recognize the font, leaving you with distorted or missing letters. It’s a common mistake that slows things down. Turn text into outlines before tracing. In Illustrator, select your text and press Type > Create Outlines to make it shape. Check your font, or go with standard fonts to avoid trouble. Messy backgrounds with textures or extra marks can confuse the tracing tool and make it harder to get clean results. They try to trace every small area, creating extra paths and slowing the whole process. Clear out the background before tracing. Use Photoshop to separate your main design on a transparent or plain background. If the background is part of the art, keep it simple and separate from key elements for faster, cleaner tracing. JPGs lose quality when compressed, making them a poor choice for tracing. PNG or PDF files keep details sharp and are way easier to work with. Save your artwork as PNG, TIFF, or PDF. These formats hold onto quality and support transparency, which helps during tracing. When exporting from design software, pick “Save As” and choose PNG or PDF for a clean file. Want to make vector tracing quick and easy? Try these tricks: Start with high-resolution, clear images to avoid extra work. Simplify your designs early to cut down on tracing time. Stick to tools like Adobe Illustrator or CorelDRAW, but know when they fall short. Always check that your files are in PNG, TIFF, or PDF with sharp edges and good contrast. Keep your artwork organized from the start. It saves headaches later. These steps can reduce your tracing time and give you cleaner vectors. If you can't do it, professionals can handle it for you. Fixing artwork mistakes can feel annoying, especially when deadlines are around the corner. That’s where Digitizing USA steps in. Based right here in the USA, we provide vector tracing services across the USA (Also you can get embroidery digitizing services at an affordable price). We tackle everything from blurry images to complex designs, delivering sharp vectors ready for printing, cutting, or digital use. Digitizing USA uses industry-standard tools to get it done fast and right. We know clean artwork is key, so you’ll get files that work perfectly without the stress. Vector tracing doesn’t have to be difficult. By avoiding these 10 artwork mistakes like low-resolution images, blurry designs, or wrong file formats, you can make the process faster and get vectors that look amazing. Start with clean, high-contrast artwork, pick the right file types, and simplify when you can. The tips above are a great way to start, and they’ll save you time and frustration. If vector conversion feels overwhelming or you’re stuck, don’t worry, we’ve got you covered. Digitizing USA will handle it all for you. Related Tags #vectortracing #vectortracingmistakes #vectorarttips #vectorcoversionservice #vectortracingservice #vectortracing2025 #vectordesign4. Using Raster Effects Like Shadows and Gradients
Here’s the Solution
5. Poor Contrast Between Elements
How to Resolve It
6. Incorrect or Mixed Color Modes (RGB vs CMYK)
.webp)
Do This Instead
7. Anchor Points and Paths That Are Not Aligned
Solution
8. Text Not Converted to Outlines
The Correct Way
9. Messy Backgrounds Can Slow Down Tracing
Here’s the Solution
10. Using Incorrect File Formats (e.g., JPG Instead of PNG or PDF)
How to Fix It
Tips to Speed Up Your Vector Tracing Workflow
Get Professional Vector Tracing Services in the USA

Conclusion


