Vector File Basics | Create, Edit, and Scale Like a Pro
Table Of Content
- What is a Vector File?
- Step-by-Step Guide to Create and Edit Vector Files Easily
- Creating a Vector File
- Editing a Vector File
- Best Software to Create Vector Files
- When to Use Vector Files?
- Common Vector File Formats
- What Types of Images Can Vector Files Handle?
- Tips for Scaling Vector Images Like a Pro Without Losing Quality
- Summary
Many fresh designers usually face this common problem, when they scale any image, their quality is blurred and pixelated. It could be a logo or any other image. It happens because it can be a raster file and raster images are made of pixels, which don’t stretch well.
Actually vector files are created differently because they help you to create designs that stay clear and sharp at any size. This guide will help you understand how to make and edit them, the best software you should use and how to resize them without losing their quality.
What is a Vector File?
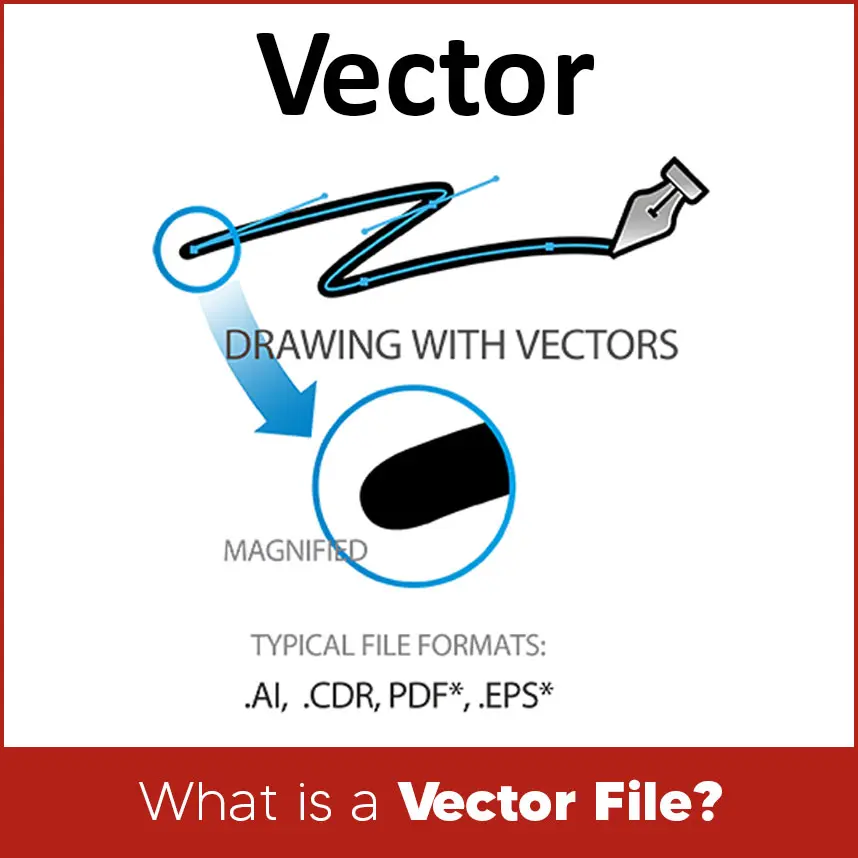
Many professionals know that a vector file is a kind of graphic that uses math rather than pixels to create points, lines and shapes. You can enlarge it as much as you can without it getting blurry because of this.
For instance, a vector logo would look perfectly fine on a small place as it would on a large billboard. For this reason, vector files are preferred by a large number of professional designers. They are neat, simple to modify and suitable for print and other purposes.
Step-by-Step Guide to Create and Edit Vector Files Easily
By the way you don’t need to be an expert to create or edit vector files. Just understand basic concepts. Here’s an easy & simple step-by-step guide:
Creating a Vector File
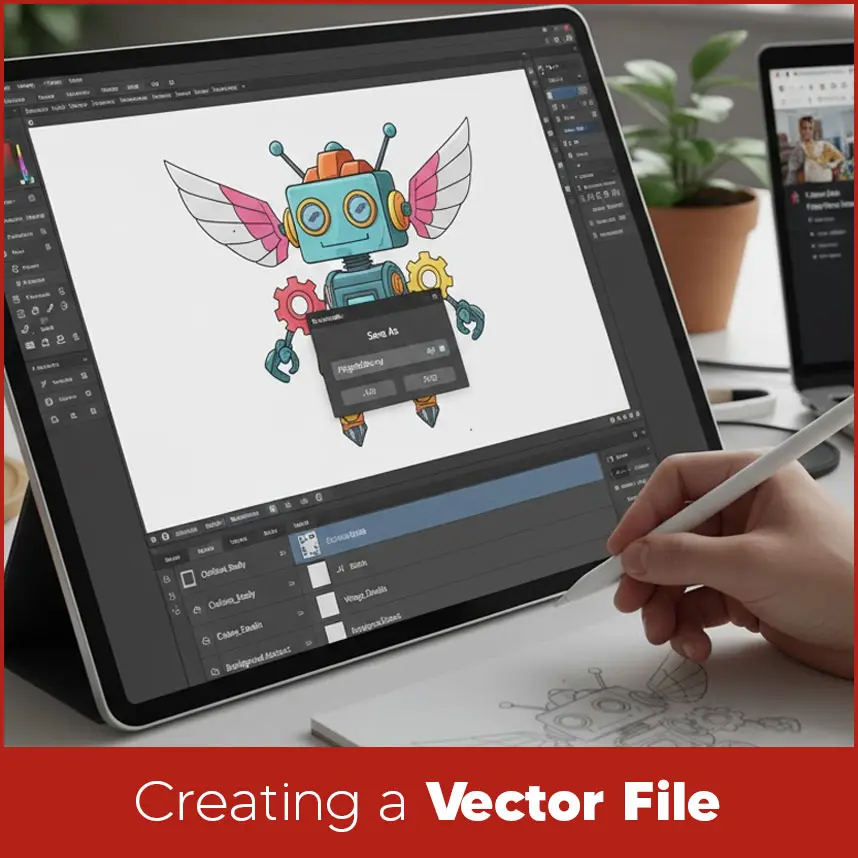
Choose Your Software: Use software programs like Adobe Illustrator, CorelDRAW or Inkscape.
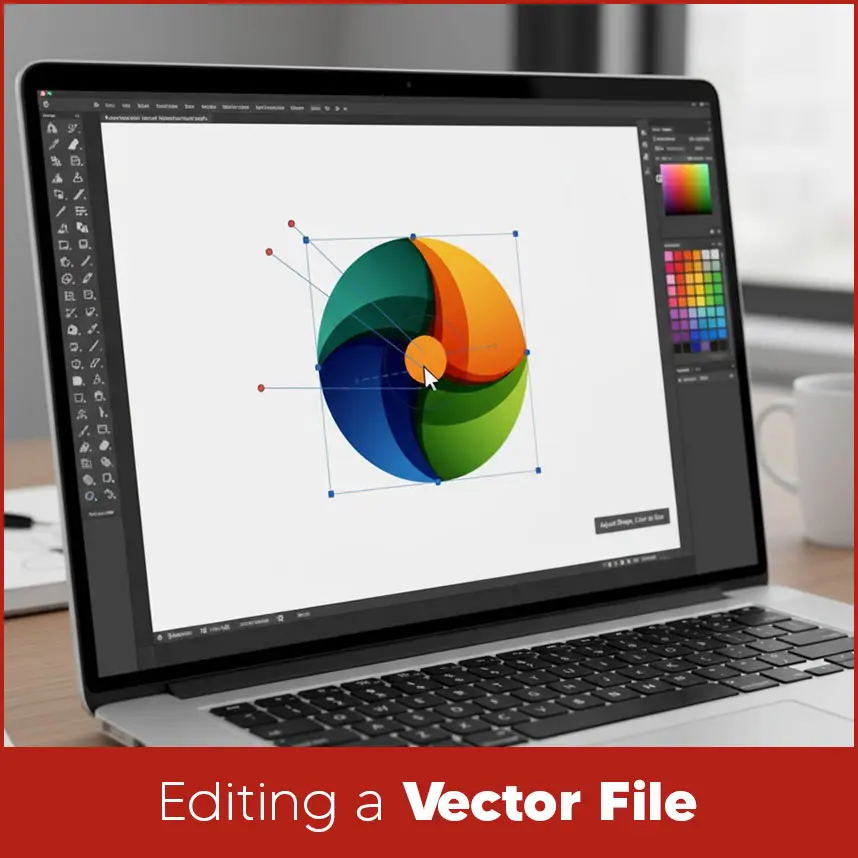
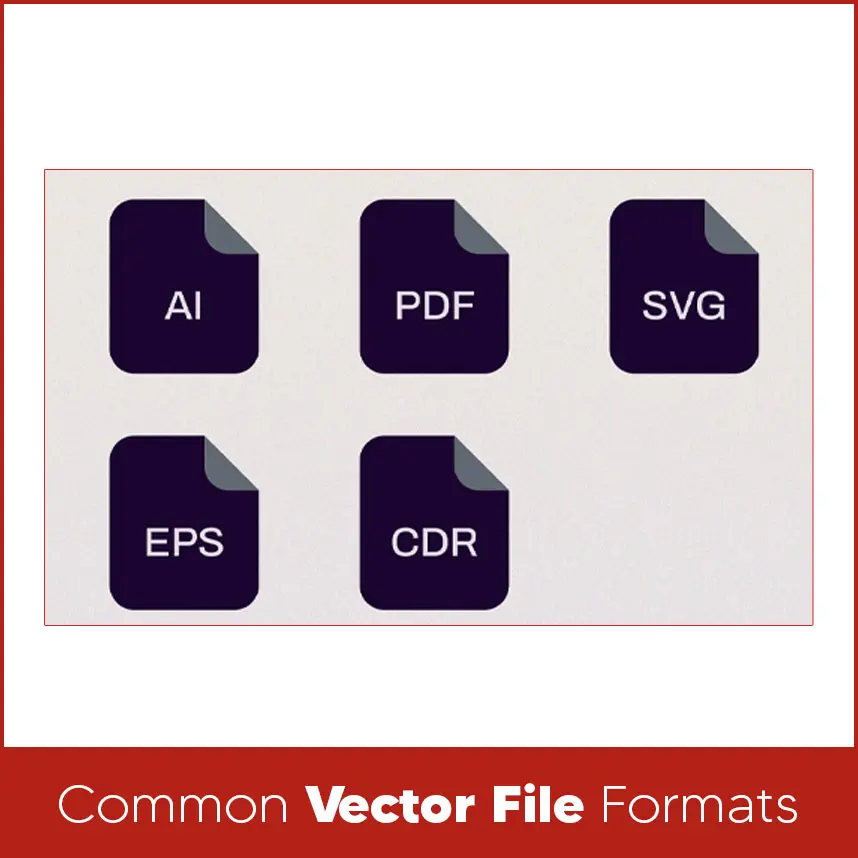
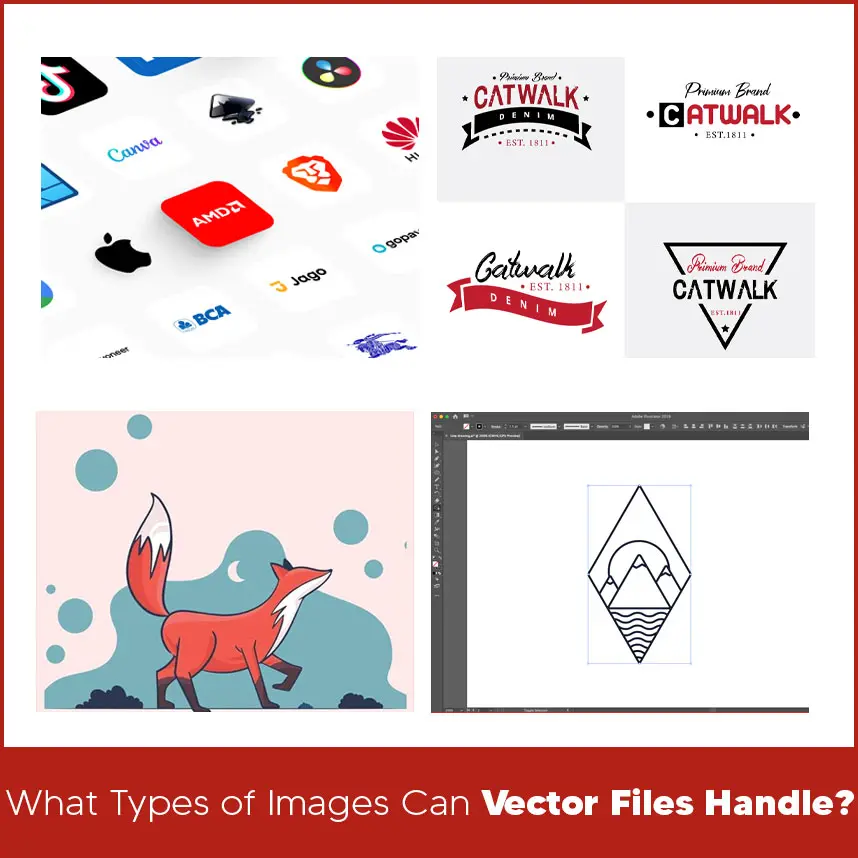
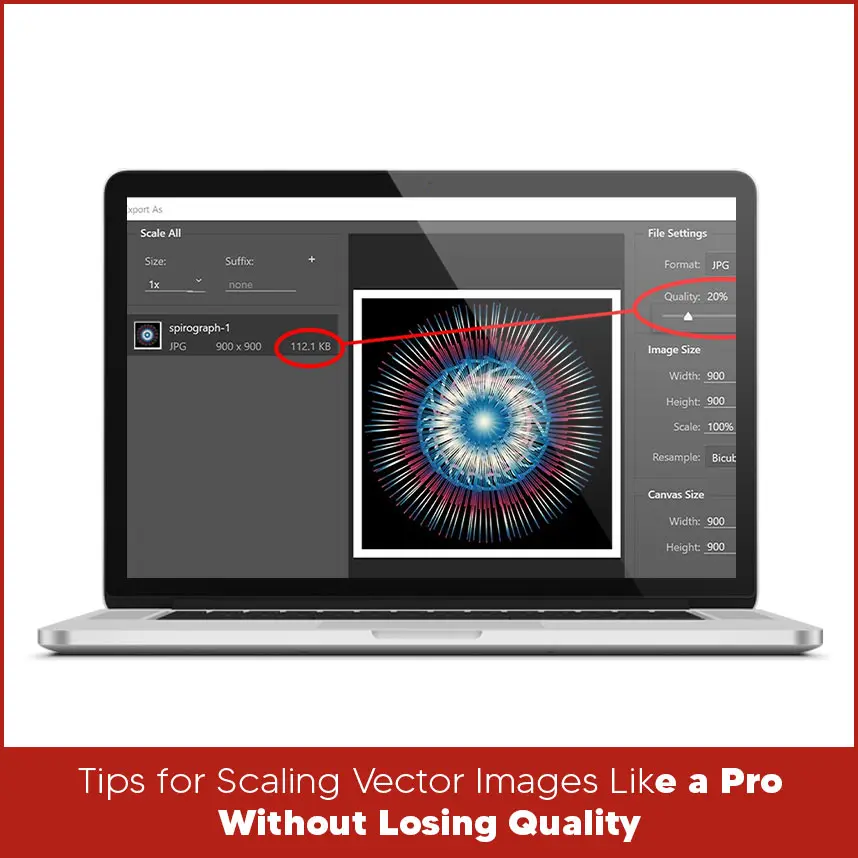
Start with Basic Shapes: Beginners must use the Pen or Shape tool to draw simple outlines. Add Colors and Details: Fill your shapes with some colors or gradients. Use Layers: Keep different parts of your design on separate layers for easy editing. Save the File Carefully: Save your design in .AI, .EPS, or .SVG format so it stays scalable. Open the File: Use the same software you created it in. Pick What You Want to Change: Click on the part you want to edit. Adjust Shape, Color or Size: Make small changes where needed. Group or Ungroup objects: This helps organize your design while editing. Save Your Work Again: Always keep a copy of both the original and edited versions. Let's check some top vector software to create vector files: Adobe Illustrator: The most used software for creating professional logos and designs. CorelDRAW: A favorite among designers for its easy features and smooth performance. Inkscape: A free tool and perfect for beginners or small business owners. Affinity Designer: An advanced software with strong features and good speed. Every software program helps you work accurately and produce clean, quality designs for both digital and print use. Vector files are the right choice when you need graphics for sharpness no matter the size. They’re best for: Logos. Business cards and stationery. Posters and banners. printing. Product labels and packaging. Signs and displays. If your design needs to be printed or used on different materials, vector format is always the safest and most professional option. There are different types of vector file formats. Each one is made for a specific purpose. Popular Vector File Types Adobe Illustrator (AI): Used mainly in Adobe Illustrator for professional artwork. Encapsulated PostScript (EPS): Common in printing and used across many design programs. Scalable Vector Graphics (SVG): Best for websites because it scales perfectly on screens. Portable Document Format (PDF): It is used for print-ready designs and easy file sharing. CorelDRAW File (CDR): The main file type used in CorelDRAW, popular for logos. Each format keeps your design clean, sharp and easy to use for any project. Vector files work best for: Logos and icons. Text-based designs. Simple illustrations. Line art and shapes. They’re not good for photos or complex images because those depend on pixels. Simple images easily converted into vector format but complex photos are better kept in raster format like JPEG or PNG. Always Use the Original Vector File: Never resize a saved raster copy. Keep the Right Ratio: Hold the Shift key during resizing to avoid stretching. Don’t Convert to Raster Early: Keep your file in vector format as must as possible. Keep Text Editable: Don’t convert text into shapes too soon, so it can still be changed later. Save Different Versions: It’s smart to save 2,3 copies of your work to avoid losing quality. As a beginner, if you follow these steps, your design will definitely look sharp and smooth on anything, from a small card to a large banner. Understanding vector files is a must for every designer, especially for entry level designers. They help keep your artwork sharp and easy to scale, no matter the size. Learning how to create, edit, and manage them will make your work look more professional and save you time in the long run. If you need any vector related service, whether it is for large companies, start ups or for any individual.Digitizing USA is always here. Our skilled team creates quality vector designs that are ready for print, web or any use. Get your artwork converted today at Digitizing USA and make your designs look clean, clear and professional every time. Contact us now.Editing a Vector File
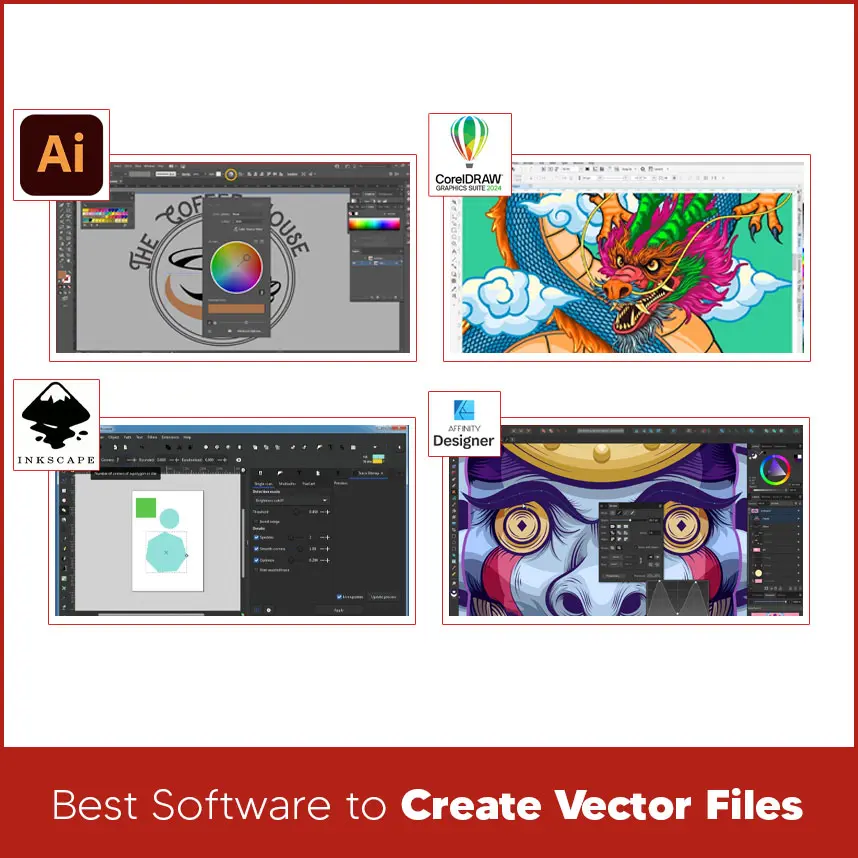
Best Software to Create Vector Files
When to Use Vector Files?
Common Vector File Formats
What Types of Images Can Vector Files Handle?
Tips for Scaling Vector Images Like a Pro Without Losing Quality
Summary


