Vector Tracing for Complex Logos: A Step-by-Step Guide
Are you excited to trace complex logos but facing difficulties because of their complexities? No worries, we bring a solution for you that will ease your life. Suppose you have a unique and attractive logo but it’s pixelated when you scale it up. feel frustrating, right? But with the help of vector tracing, your life will be easy because vector tracing for complex logos saves your day. It turns your raster image into a sharp and scalable vector that looks perfect at any size. So now we are going to walk you through the process step by step. Let’s start this blog post.
Table Of Content
- Start with a High-Resolution Image of Your Complex Logo
- Import Your Logo into Vector Software (Illustrator, CorelDRAW and Inkscape)
- Decide Between Manual Tracing or Auto-Trace Tools
- Use the Pen Tool to Trace Complex Shapes and Curves
- Break the Logo into Sections for Easier Tracing
- Adjust the Corners and Small Details by Zooming In
- Add Colors, Gradients and Stroke Effects
- Cleanup Anchor Points and Arrange Smooth Paths
- Export and Save Vector Logo in Many Formats (SVG, EPS, PDF)
- How to Use Vector Tracing Software for Complex Logo Tracing?
- What Is the Best Vector File for Logos?
- Which Software Is Best for Creating a Vector Logo?
- Struggling with Complex Logo Vector Tracing? Let Digitizing USA Handle It Professionally
- Conclusion
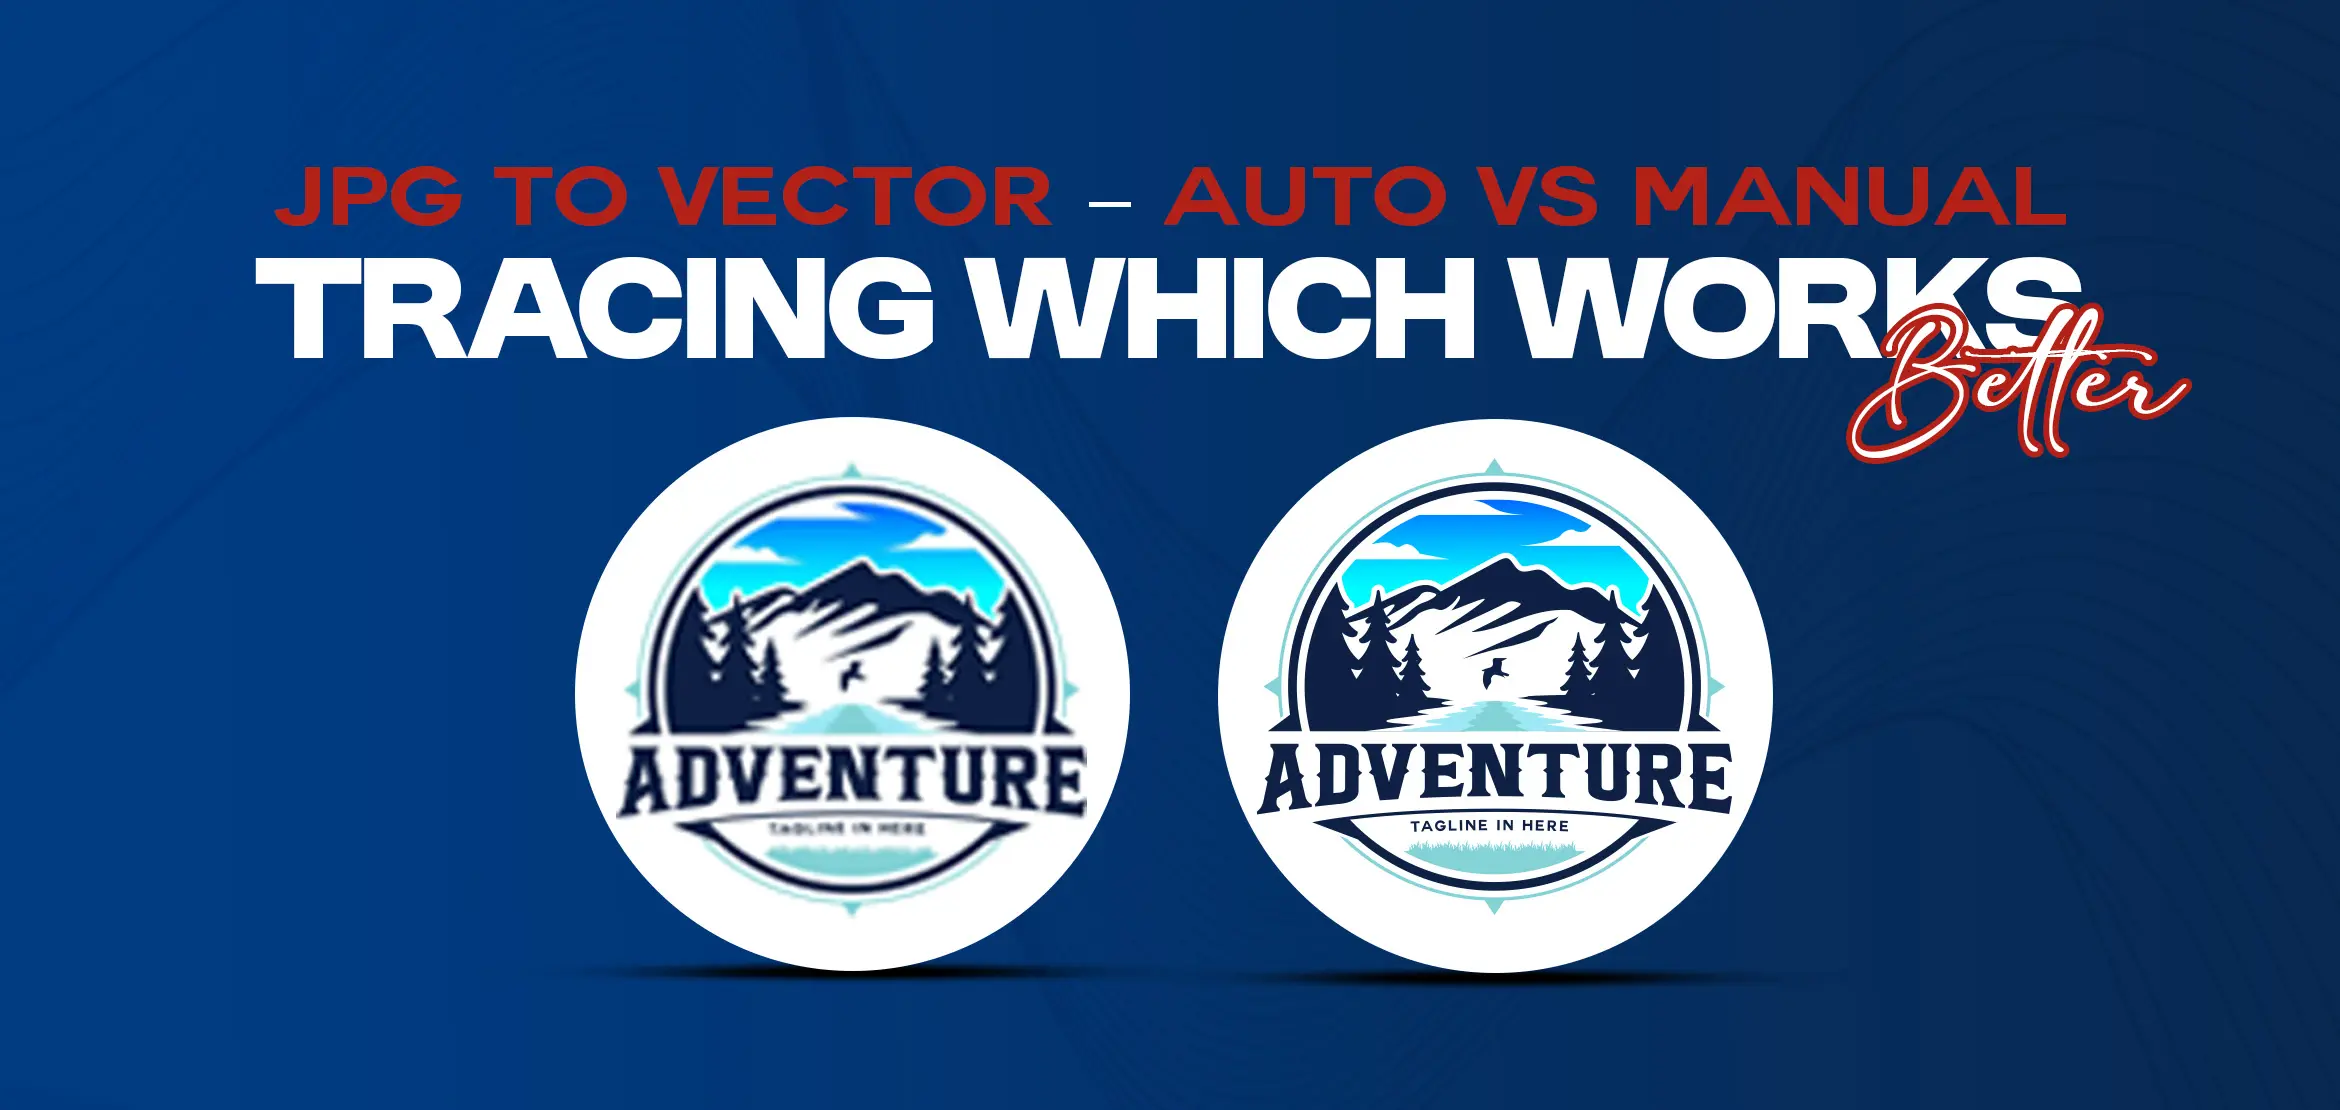
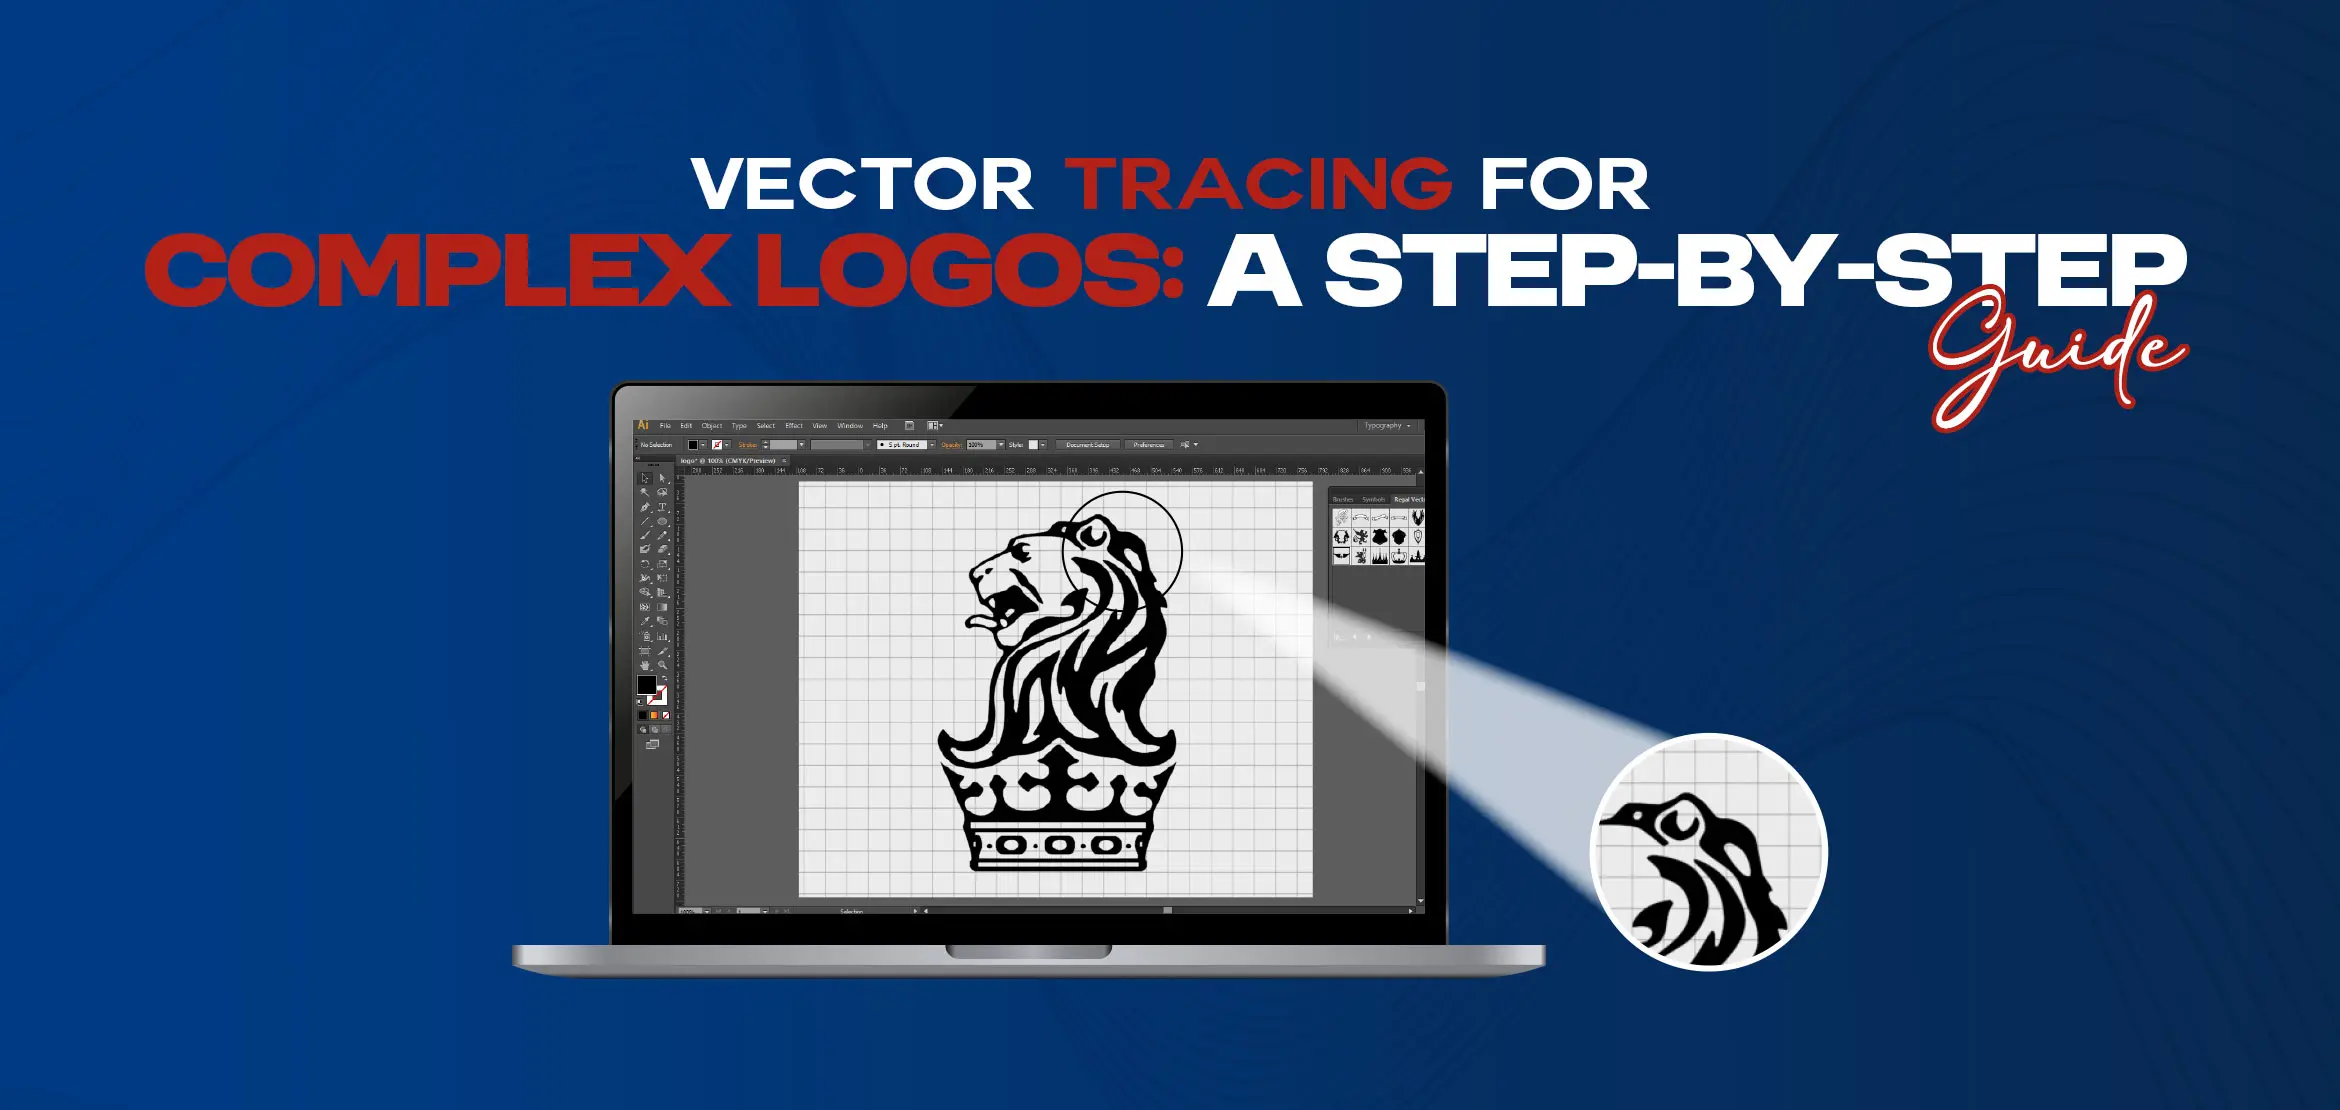
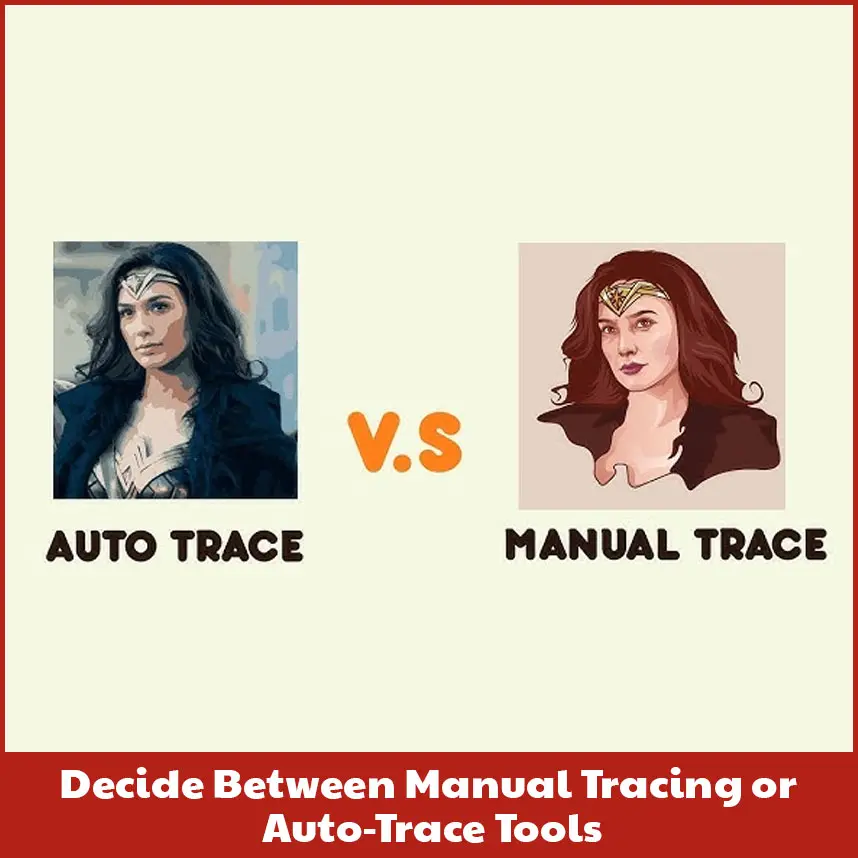
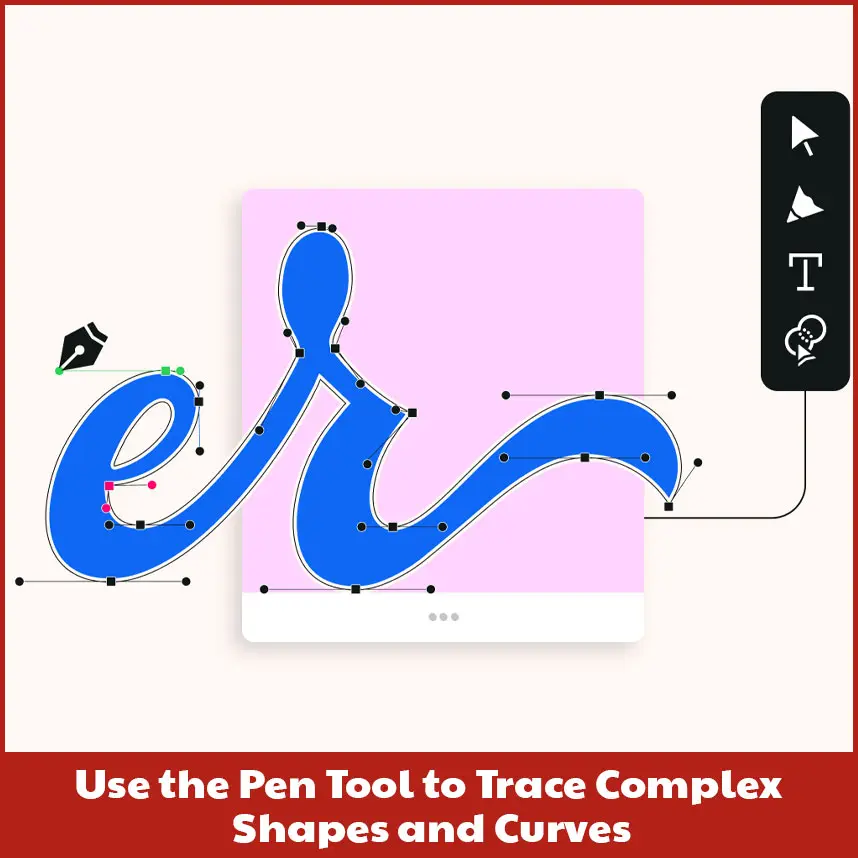
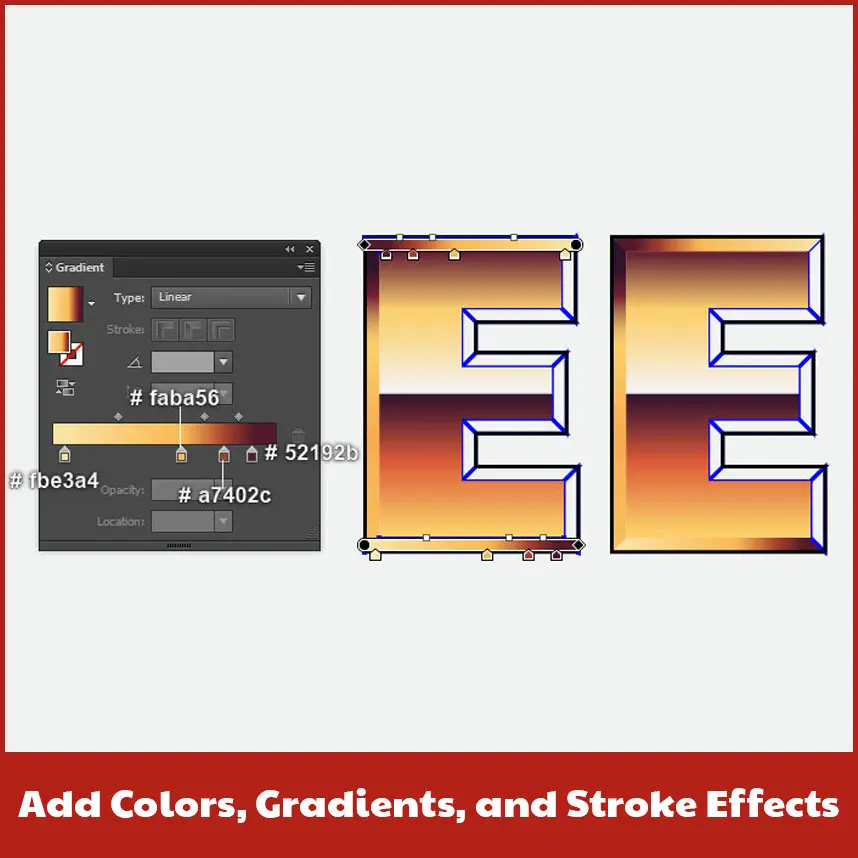
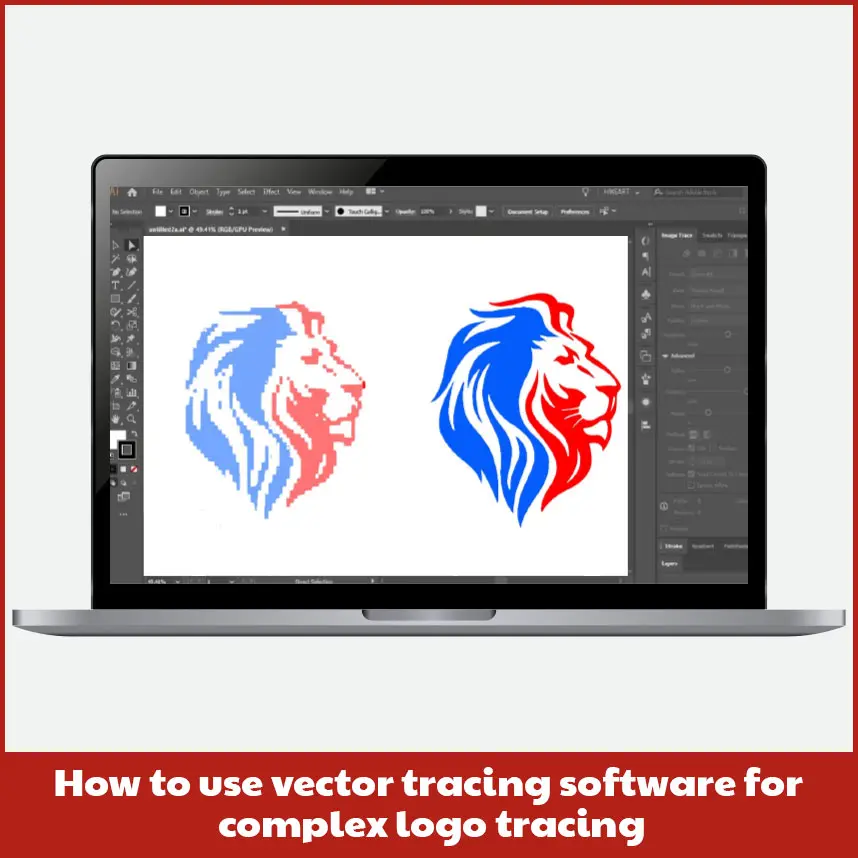
You can’t build a house without a solid base and vector tracing is no different. First you need high-quality and high-resolution images of your logo to start. Think 300 DPI or above, those low-resolution, 100x100 pixel images you find on old websites are a headache, with blurry edges and missing details. How to get it: Ask your client for the original logo file. If they sent you a raster image and you’re stuck with a low-resolution version, then no worries. Digitizing USA converts your raster images into vectors at a minimal flat rate. So place an order now. Do you have high-resolution images? If yes, then perfect! Now open up your vector software. The most common today among vector artists are Inkscape, CorelDRAW, and Adobe Illustrator. How to go about it: To add your logo image, open your chosen vector software, create a new project and select "Place" or "Import." Lock that layer so that when you trace, you don't touch it mistakenly. Quick tip: Set your artboard to match the logo’s size. This keeps everything in line and prevents headaches. Now you’ve got a choice: Trace the logo manually or let the software do some of the difficult tasks with auto-trace. Auto-trace tools, like Illustrator’s Image Trace or CorelDRAW's Quick Trace, attract users because they’re fast. However, they can become confused with detailed designs or complicated logos with stunning fonts. Auto-trace: Good for simple logos with bold lines. You can tweak settings like “Threshold” to get better results, but even in 2025, features like Illustrator’s Image Trace need cleanup for detailed designs. Manual tracing: The best choice for complex logos. It takes longer but you can set every curve and corner. What to pick: If your logo has many small details or gradients, go with the manual. For simpler stuff, go with auto-trace but be ready to fix it up. Check out this related blog post: Auto Vs Manual Tracing: Which Works Better? It can feel very difficult at first, but the Pen Tool is like a magic tool for vector tracing. It is a favorite feature for creating accurate lines and curves, whatever program you use, whether you are using Illustrator, CorelDRAW, or Inkscape. How it works: To create smooth curves, click and drag, or click to add anchor points for straight lines. Zoom in (200% or more) for those fiddly shapes in complex logos. Get better at it: Start with big shapes, like the main outline, before diving into small details. New to the Pen Tool? Start practicing with simple shapes such as stars or circles or other simple shapes. This is a puzzle that Complex logos can bring. Instead of tackling it all at once, break it up into parts. Icons, text, or background designs. How to do it: In your software, make a different layer of your text and another layer of the design, etc. This makes it orderly and allows you to focus on a single section at a given time. Zoom in on your design in your software. It shows you every small flaw. Complex logos often have small serifs, sharp corners, or delicate designs that need extra attention. How to change: Use the Direct Selection Tool (Illustrator) or Shape Tool (CorelDRAW/Inkscape) to move anchor points or adjust curves. Smooth out any sharp edges for a polished look It is time to fix your logo with some color. With vectors, you can apply solid fills, gradients, or strokes (lines) that can scale without any problems. Choose your colors: stick to the HEX or CMYK codes of your brand. Strokes and gradients: Strokes and gradients are cool but they are tricky to work with. Use lines carefully to create borders. Make it readable: Always make sure your logo is readable. Use colors that have good contrast, as this will make the logo look good both on screen and in print. A clean vector file is like an organized table. It is more convenient to work with and it is professional. So many anchor points may reduce the speed of the file and produce a problematic output. How to clean: Use the Simplify Path tool in Illustrator or Reduce Nodes in Inkscape/CorelDRAW to cut extra anchor points, and smooth curves with the Smooth Tool or by tweaking Bezier handles. Your logo is done. Now save it in formats that work for different platforms and applications. Best formats: SVG: Perfect for websites; super scalable. EPS: Great for printing or advanced editing. PDF: Perfect for sharing with clients because everyone can open it. How to save: Go to “Save As” or “Export” in your software and pick your format. For EPS, check “Preserve Editing Capabilities” so you can edit later. To convert raster logos into scalable vectors, you need vector tracing software. Here is a list of the best options: Adobe Illustrator: The professional's choice, with Pen Tool and Image Trace. It’s pricey (about $22.99/month in 2025) but worth it for precision. CorelDRAW: With easy-to-use node editing, the 2025 version costs around US$773.00 for a one-time purchase. Inkscape: Free and surprisingly powerful but lacks some advanced features, it works great for first-time purchases or small budgets. Learn how to use shortcuts (such as P, Pen Tool in Illustrator) to make things faster. The “best” file depends on what you’re doing, but here’s a short overview: SVG: Lightweight and web-friendly. EPS: Top pick for commercial printing. PDF: Great for sharing because it opens anywhere and holds quality . Check out this blog post if you want to know more about vector file formats for logos. Your software choice depends on your budget and skills. Here’s what’s hot in 2025. Adobe Illustrator: Top-tier for professionals. It is perfect for creating vector logos. CorelDRAW: It has simple features and the one-time purchase is affordable to small firms. Inkscape: Free and powerful enough for complex logos. It’s a great starting point if you’re learning or want to save money. You're not the only one who faces challenges in tracing a complicated logo. Vector tracing for complex logos can be time-consuming and frustrating when the print or brand needs precision. That's why Digitizing USA is here to help. We specialize in professional vector tracing and raster to vector conversion services across the USA, handling everything from simple artwork to highly detailed and complex logo conversions. Our team of experts works on: Simple to advanced vector designs Raster to vector conversion At Digitizing USA, we offer: Fast turnaround times Affordable pricing Unlimited revisions Guaranteed satisfaction Why struggle with complicated paths and anchor points when our professionals can deliver precise, scalable vector artwork in a fast time? Let us convert your complex logos into flawless vector files, so you can focus on growing your business. Also if you want some different services, then reach out to us, we provide custom embroidery digitizing services at affordable flat rates. Complicated vector logo tracing may seem like a difficult task, but once you understand how it works, it becomes enjoyable, and you’ll start looking forward to more projects. Designing a clear logo that looks great on both a large billboard and digital platforms is easy when you start with a high-resolution image, choose the right software, and follow the steps. Whether you go manual for full control or use auto-trace to save time, the key is to take it one step at a time.Start with a High-Resolution Image of Your Complex Logo

Import Your Logo into Vector Software (Illustrator, CorelDRAW and Inkscape)
.webp)
Decide Between Manual Tracing or Auto-Trace Tools
Use the Pen Tool to Trace Complex Shapes and Curves
Break the Logo into Sections for Easier Tracing
Adjust the Corners and Small Details by Zooming In
Add Colors, Gradients and Stroke Effects
Cleanup Anchor Points and Arrange Smooth Paths
Export and Save Vector Logo in Many Formats (SVG, EPS, PDF)
.webp)
How to Use Vector Tracing Software for Complex Logo Tracing?
What Is the Best Vector File for Logos?
Which Software Is Best for Creating a Vector Logo?
Struggling with Complex Logo Vector Tracing? Let Digitizing USA Handle It Professionally
Conclusion
