How to Convert JPEG to PES File for Brother Machine Embroidery (Free & Paid Methods)
Table Of Content
- Why You Cannot Directly Convert JPEG to PES?
- What You Need Before Converting JPEG to PES?
- Best Free Methods to Convert JPEG to PES File
- Using Free Embroidery Digitizing Software
- Using Online JPEG to PES Converters (Are They Reliable?)
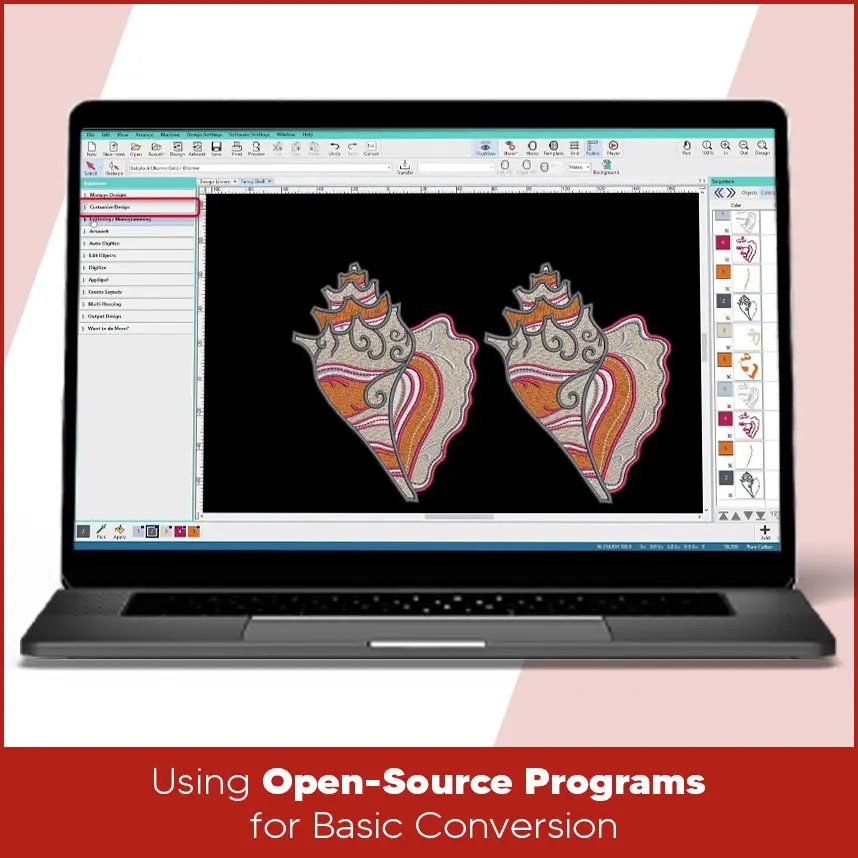
- Using Open-Source Programs for Basic Conversion
- Best Paid Software to Convert JPEG to PES for Brother Machines
- Using Professional Digitizing Software
- Step-by-Step: How to Convert JPEG to PES File (Complete Process)
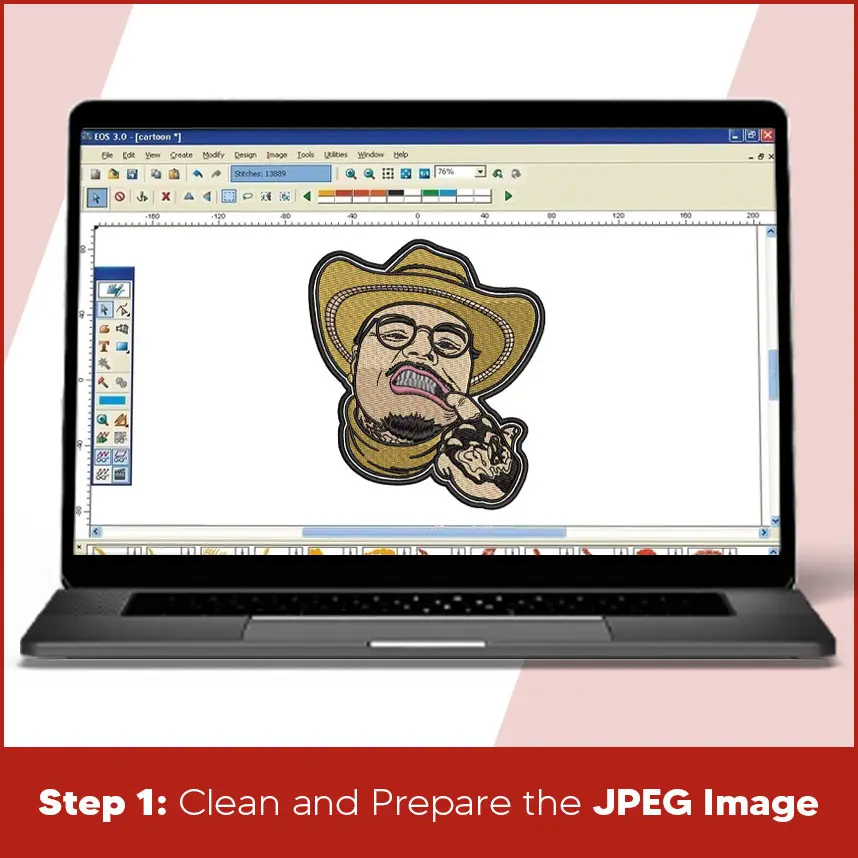
- Step 1: Clean and Prepare the JPEG Image
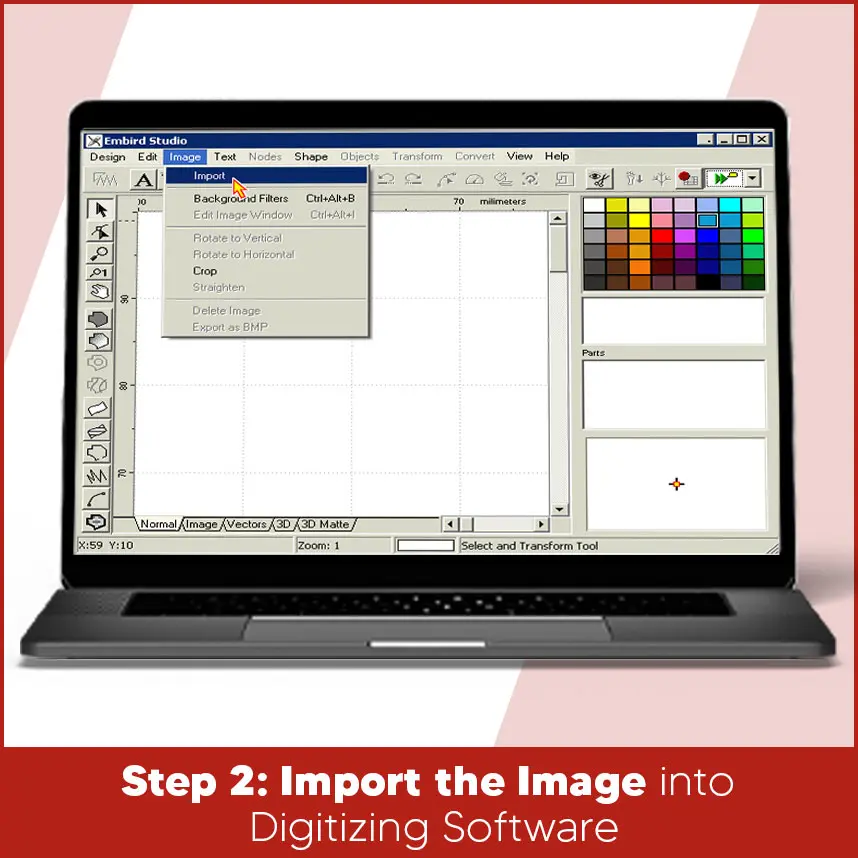
- Step 2: Import the Image into Digitizing Software
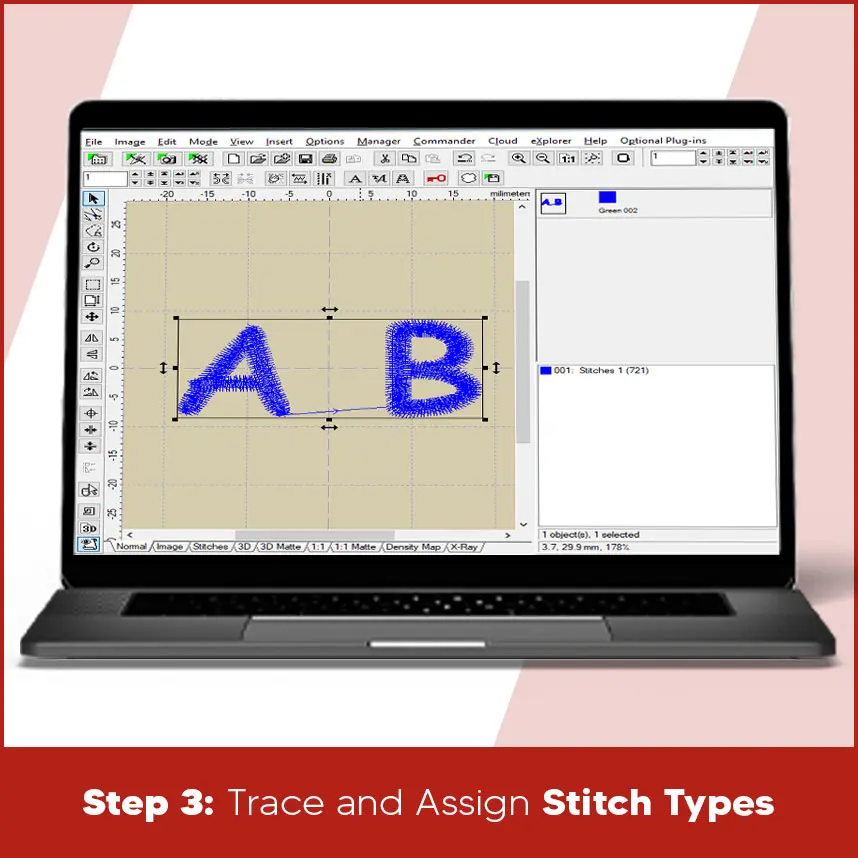
- Step 3: Trace and Assign Stitch Types
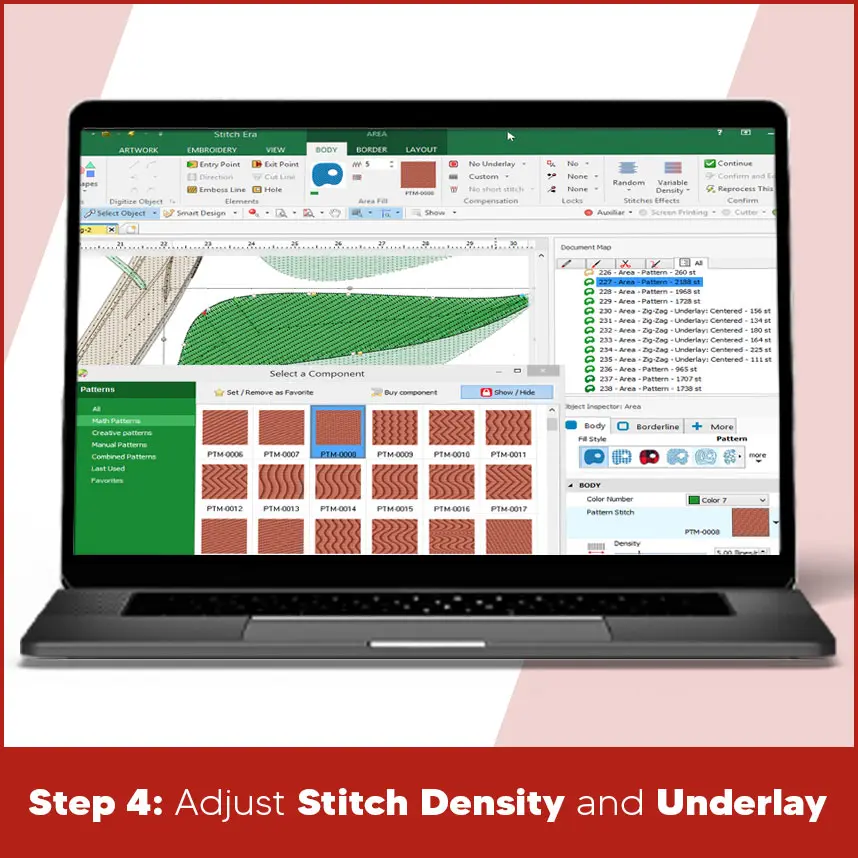
- Step 4: Adjust Stitch Density and Underlay
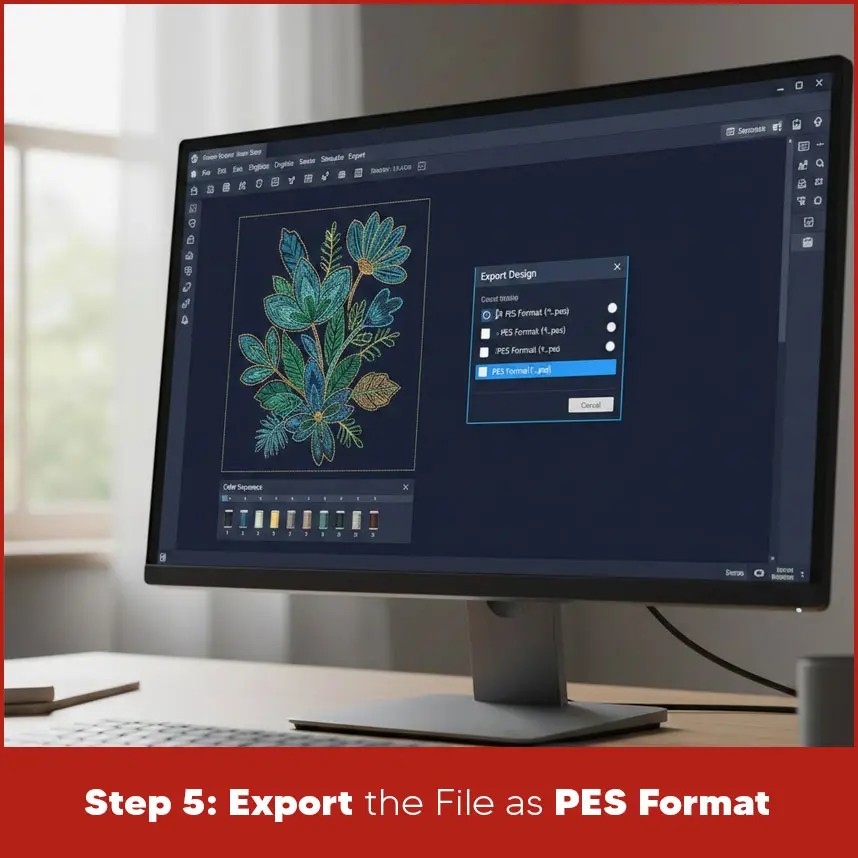
- Step 5: Export the File as PES Format
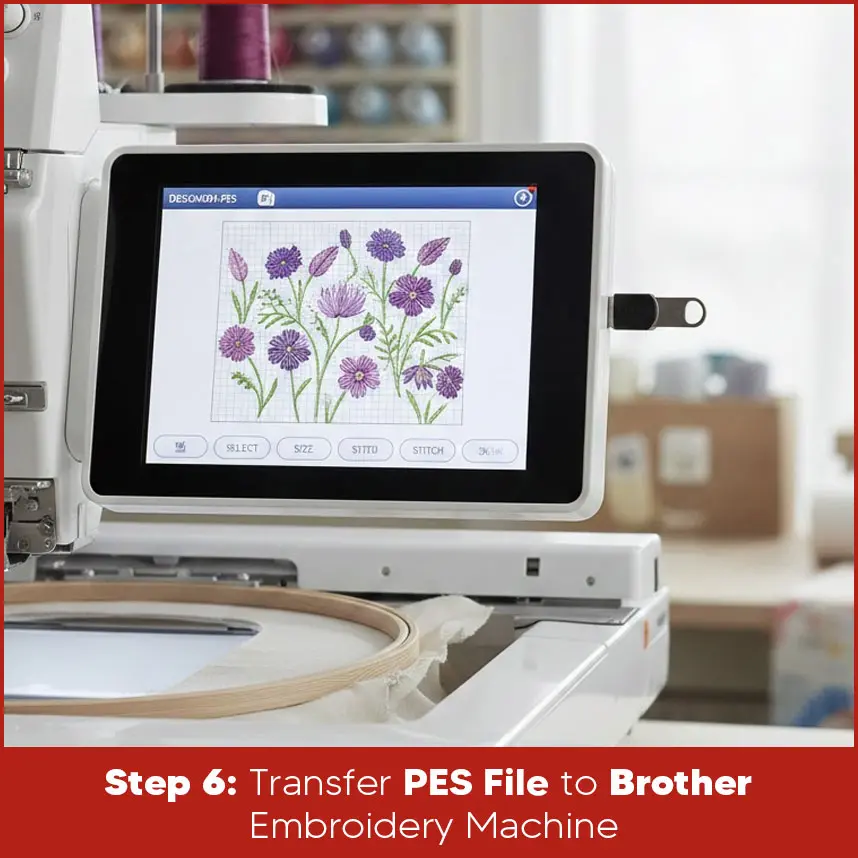
- Step 6: Transfer PES File to Brother Embroidery Machine
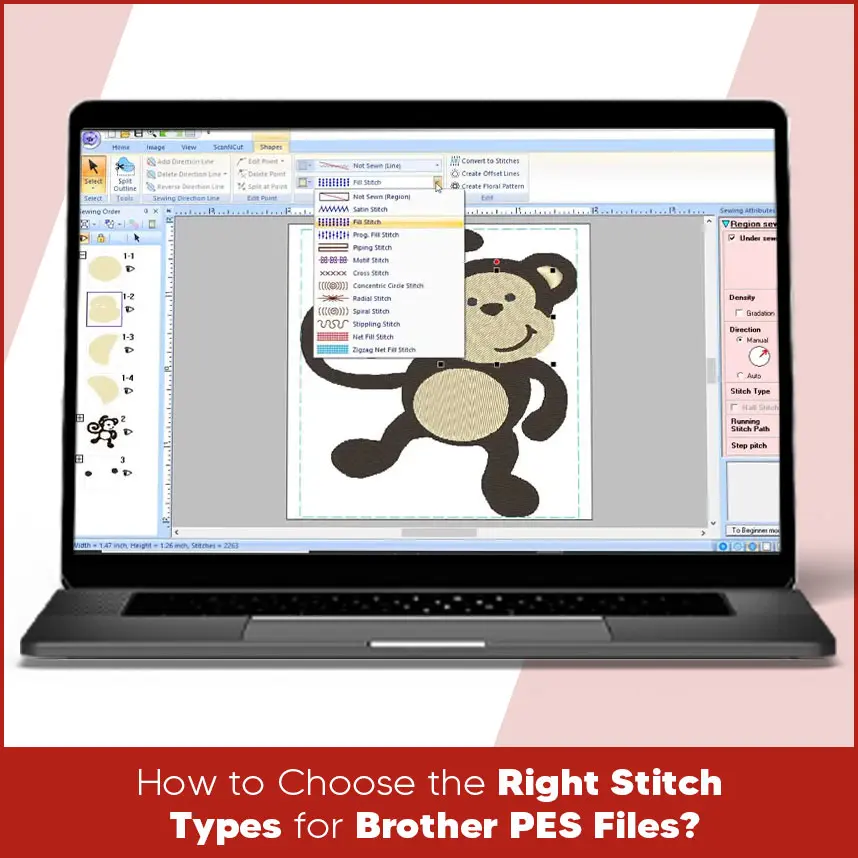
- How to Choose the Right Stitch Types for Brother PES Files?
- Summary
You have a raster or vector design but the file is saved as a JPEG format. You want to stitch it on Brother embroidery machine. You copy the file to a USB, plug it into the machine & nothing happens because that embroidery machine can't read the jpeg formats.
This happens to many beginners.
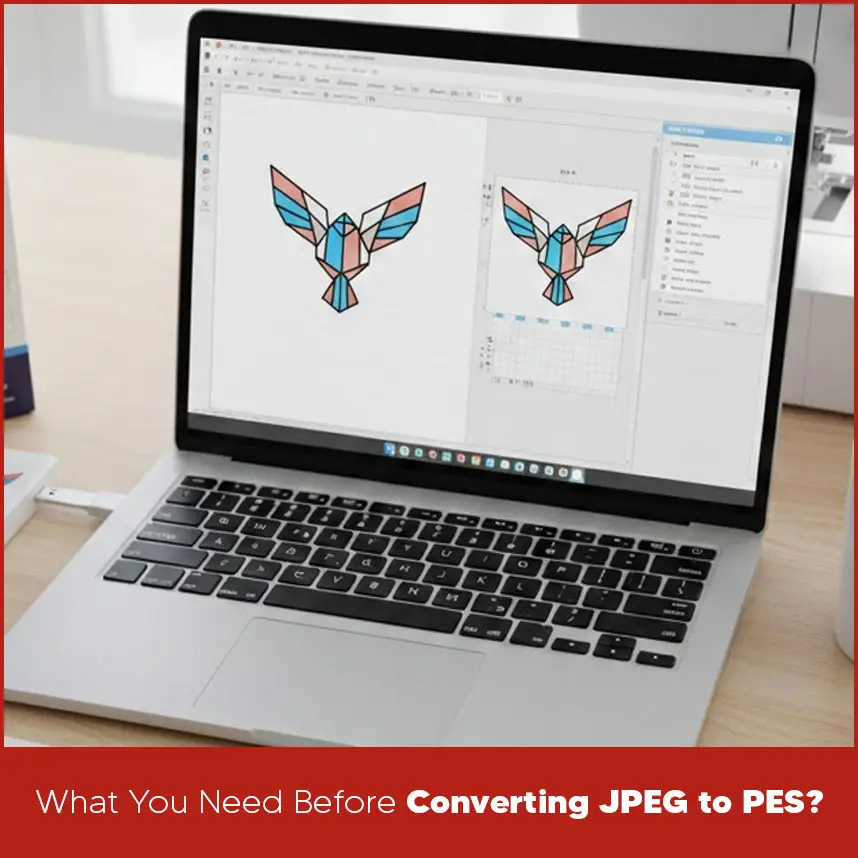
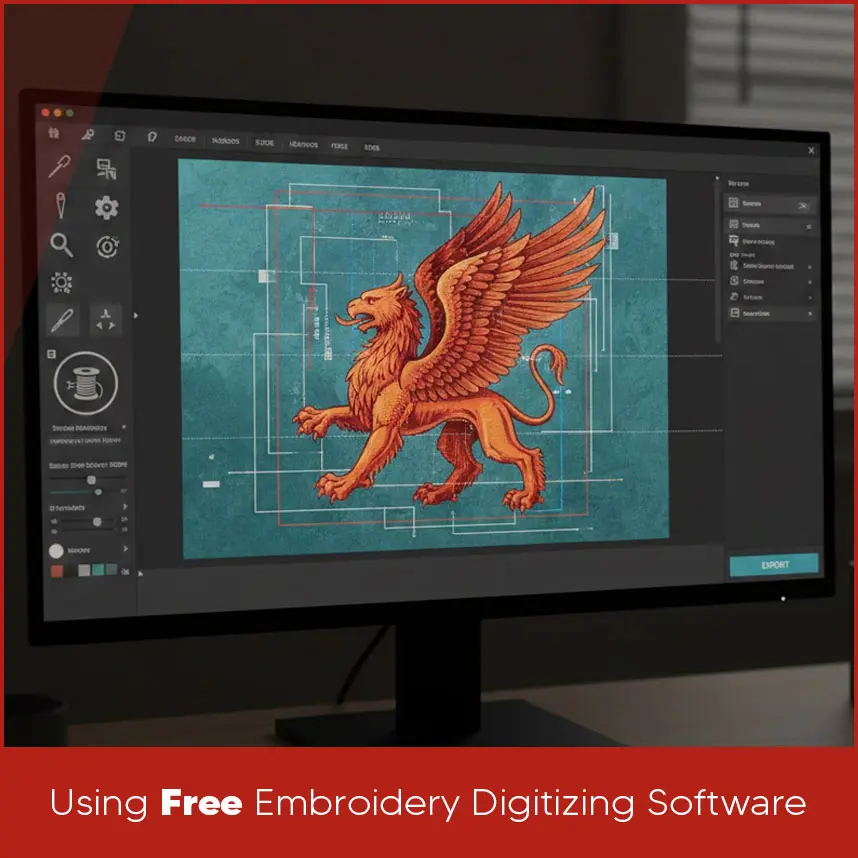
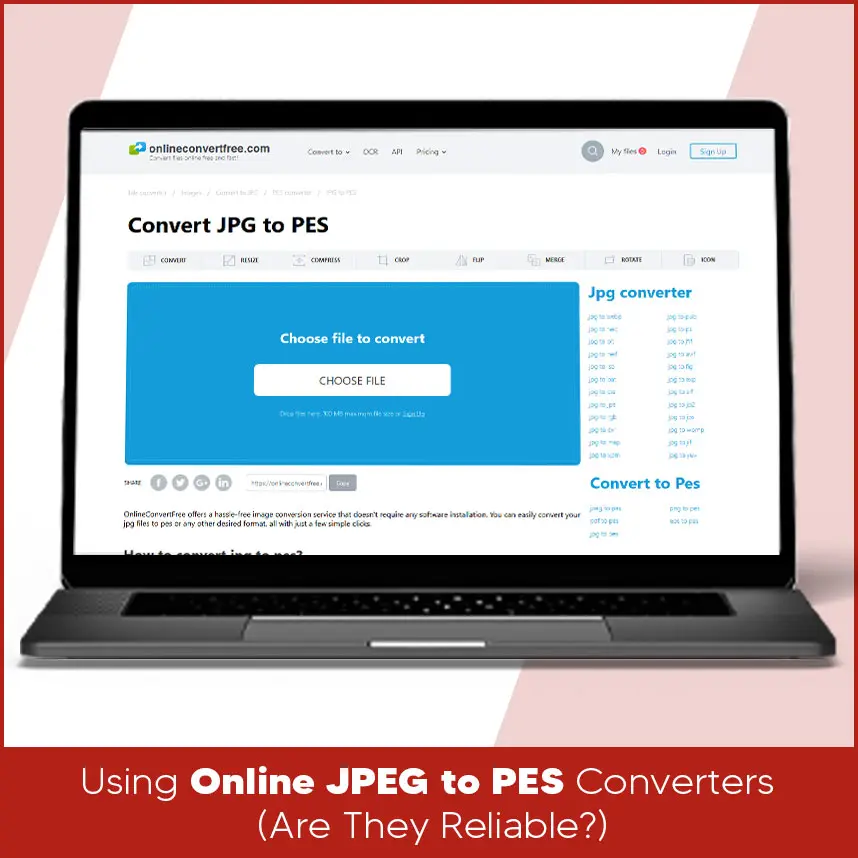
A Brother embroidery machine does not understand picture files like JPEG. It reads stitch files. If you want your design to stitch clean and smooth, you must convert that image into a proper PES embroidery file. In this guide, you will learn exactly how to convert JPEG to PES file for Brother machine embroidery using free and paid methods. You will understand the full process. Once you get how it works, you'll avoid broken stitches, thread breaks & and poor results. Let’s start with the basics. A JPEG file is an image format. It stores pixels. Pixels are tiny colored dots that form a picture on your screen. A PES file is completely different. PES is the native embroidery format used by Brother embroidery machines. It stores: Stitch coordinates. Stitch type (satin, fill, running stitch). Stitch direction. Thread color sequence. Machine commands. Your embroidery machine does not see shapes. It follows stitch paths. That is why you cannot simply rename a JPEG file to PES. The file must go through a process called embroidery digitizing. Digitizing converts artwork into stitch data. This step decides how your design will actually sew on fabric. If you skip proper digitizing, the machine cannot build stitches correctly, and the design will not sew as expected. Before you start, make sure you have: A high-quality JPEG image. Clear edges. Simple colors. Good resolution (at least 300 DPI recommended). You must begin with a clean and sharp image. Clear edges help you trace shapes accurately. Simple colors reduce unnecessary stitch changes. A resolution of 300 DPI keeps the artwork crisp when you zoom in for tracing. If the image looks blurry on your screen, it will not improve during digitizing. You need proper digitizing software because you must convert artwork into stitch instructions. The software allows you to trace shapes, assign stitch types, control density, and export the file in PES format. Without software, you cannot create an embroidery file. Basic understanding of stitch types Satin stitch. Fill stitch. Running stitch. You must know how these stitches behave. Satin stitch works well for text and narrow shapes. Fill stitch covers larger areas. Running stitch creates outlines and fine details. If you understand these basics, you can control how your final design looks on fabric. A Brother embroidery machine that supports PES format. Most Brother home and commercial models use PES as their main format. Your machine must support PES because this format contains the stitch data your machine reads. Always confirm your machine model supports PES before exporting the file. If your image is blurry or too detailed, the final embroidery will not look clean. Always start with a simple and clear design. Clean input creates clean output. Free methods work well for practice and small personal projects. They allow you to understand the digitizing process without spending money. However, they limit your control over advanced stitch settings. If you expect professional-level results, free tools may not give full flexibility. You must accept that free solutions require more manual correction and testing. Some embroidery programs offer free versions or trial options. These allow basic auto-digitizing. The general process: Import your JPEG file. Use auto-digitize option. Adjust stitch settings. Export as PES. When you import the JPEG, the software analyzes color areas and converts them into stitches. After auto-digitizing, you must review stitch angles, density, and sequence. Even free software allows some basic editing. Free tools usually give limited control over: Underlay settings. Thread sequencing. Because of these limits, the software may create too many stitches or place them in the wrong direction. Auto-digitizing works better for simple logos with solid shapes. Complex artwork needs manual editing. Free software is good if: You are learning. Your design is very basic. You do not need professional finish. For learning purposes, free tools help you understand how stitches form shapes. Some websites claim to convert JPEG to PES instantly. You upload your image. They generate a file. The problem is accuracy. Online converters often: Create too many stitches. Ignore proper underlay. Produce uneven fills. Cause thread breaks. Embroidery needs stitch planning. Fabric stretches. Threads pull. Density must match material type. A simple automatic conversion does not understand fabric behavior. Because of that, online tools rarely produce clean results. They may work for testing, but they are not reliable for professional embroidery. If you plan to sell products, you must avoid depending on instant converters. Some open-source embroidery software allows basic digitizing. These programs let you manually trace artwork instead of relying fully on automation. Manual tracing gives better results than auto conversion. You can: Control stitch direction. Adjust stitch length. Reduce unnecessary stitches. When you manually place stitches, you decide how the thread flows across fabric. This control improves final stitch appearance. However, open-source tools may lack advanced features like proper density control and advanced underlay options. You must spend more time testing and adjusting settings. If you have patience and want to learn digitizing step by step, this method helps you understand how embroidery really works. Paid software gives full control over stitch quality. It allows you to build embroidery designs professionally instead of depending on automatic results. If you plan to sell embroidery products or run a business, professional software gives better results and saves time in the long run. You control every stitch instead of accepting automatic output. Professional embroidery software allows: Manual digitizing. Precise stitch angle control. Density adjustment. Underlay editing. Pull compensation. Clean trimming paths. Instead of relying on auto conversion, you redraw shapes using digitizing tools. You decide how stitches run across the fabric. You adjust stitch angles based on fabric type. You balance density to prevent stiffness or gaps. This method produces smooth satin columns, balanced fill areas, and strong stitch structure. Professional software reduces: Thread breaks. Fabric puckering. Stitch gaps. If you want consistent quality, paid software makes a big difference. It allows you to create embroidery that looks clean from both front and back. Now let’s go through the actual workflow. This process applies to most digitizing software programs. Open your image in a graphic editing tool. Remove background. Simplify colors. Increase contrast. Sharpen edges. You must remove unnecessary details before digitizing. Embroidery does not handle tiny details well. Clean artwork produces cleaner stitches. Strong contrast helps you trace shapes accurately. Open your embroidery digitizing program. Create a new design file. Import the JPEG. Resize it to actual stitch size. You must set the correct dimensions before digitizing. Resizing later affects stitch density and may distort the design. Always match the design size to your hoop size at the beginning. Use digitizing tools to trace shapes manually. Assign stitch types: Satin stitch for text and borders. Fill stitch for large areas. Running stitch for outlines or fine details. You must choose stitch types carefully. Do not rely fully on auto-digitizing. Manual tracing gives more control and smoother finish. Clean stitch paths improve final embroidery quality. Density controls how close stitches sit together. Too dense: Causes thread breaks. Makes fabric stiff. Too light: Leaves gaps. Underlay supports top stitches. It stabilizes fabric and improves stitch appearance. You must balance density and underlay according to fabric type. Proper density and underlay balance create clean embroidery without puckering. After finishing digitizing: Check stitch simulation. Review color sequence. Remove unnecessary trims. Stitch simulation shows how the design will sew. Review the order to avoid unnecessary thread changes. Then choose “Export” or “Save As” and select PES format. Your file is now ready for Brother embroidery machines. Copy the PES file to a USB drive. Insert USB into your Brother machine. Select design from screen. Adjust size if needed. Start stitching. Always run a test stitch on scrap fabric before final production. Testing allows you to check tension, density, and alignment before stitching on your final garment. Stitch type selection decides final quality. You must match stitch type with design size and fabric type. Satin Stitch: Best for text and narrow columns. Clean and smooth finish. Satin stitches create shine and smooth edges. Use them for small letters and borders. Fill Stitch: Best for large areas. Allows angle adjustments. Fill stitches cover bigger shapes. You can change stitch angle to reduce pulling and improve texture. Running Stitch: Best for outlines. Light detailing. Running stitches work well for fine lines and detail work. Choose stitch direction based on fabric stretch. Horizontal stitches on stretchy fabric may cause distortion. Balanced direction reduces pulling. You must always test on the same fabric you plan to use for production. Now you understand how to convert JPEG to PES file for Brother machine embroidery using both free and paid methods. JPEG files contain pixels. PES files contain stitch data. You must digitize the design before your machine can read it. Free tools work for learning, but professional digitizing produces clean and balanced embroidery. If you do not know how to convert properly, no worries. DigitizingUSA is here for you. We convert your JPEG designs into high-quality PES files for Brother embroidery machines. We balance stitch density, control underlay, and ensure clean thread paths. We deliver accurate files within the deadline.Why You Cannot Directly Convert JPEG to PES?
What You Need Before Converting JPEG to PES?
Best Free Methods to Convert JPEG to PES File

Using Free Embroidery Digitizing Software
Using Online JPEG to PES Converters (Are They Reliable?)
Using Open-Source Programs for Basic Conversion
Best Paid Software to Convert JPEG to PES for Brother Machines
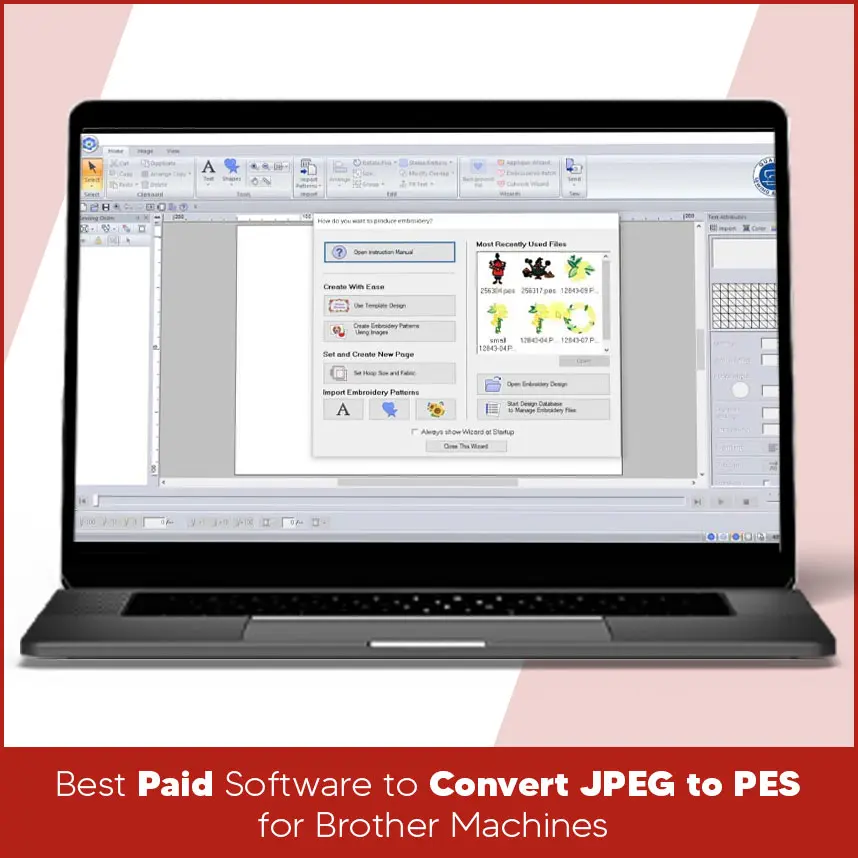
Using Professional Digitizing Software
Step-by-Step: How to Convert JPEG to PES File (Complete Process)
Step 1: Clean and Prepare the JPEG Image
Step 2: Import the Image into Digitizing Software
Step 3: Trace and Assign Stitch Types
Step 4: Adjust Stitch Density and Underlay
Step 5: Export the File as PES Format
Step 6: Transfer PES File to Brother Embroidery Machine
How to Choose the Right Stitch Types for Brother PES Files?
Summary
If you want professional results without trial and error, contact DigitizingUSA today and get your design ready for stitching.


