
Why Auto-Digitizing Fails | Manual Digitizing vs Software Conversion
Table Of Content
- The Core Reason Auto-Digitizing Fails in Embroidery Work
- No Manual Control Over Stitch Direction and Flow
- Auto-Digitizing Fails to Detect Small and Complex Details
- Software Ignores Stitch Behavior
- Poor Stitch Density Control Leads to Thread Breaks
- Auto-Digitizing Has No Push and Pull Compensation Control
- Inaccurate Pathing Causes Overlapping and Gaps
- Auto-Digitizing Struggles with Text, Fine Lines, and Thin Fonts
- Lack of Human Touch Leads to Low-Quality Embroidery
- Manual Digitizing vs Software Conversion
- Why Manual Digitizing and Software Conversion are Not the Same
- Manual Digitizing
- Understanding Stitch Planning in Manual Digitizing
- Step-by-Step Process of Manual Embroidery Digitizing
- How Digitizers Adjust Stitch Angles for Clean Results?
- Managing Density, Underlay, and Compensation Manually
- Why Human Expertise Matters the Most in Manual Digitizing?
- Software Conversion
- How Software Conversion Processes Designs Automatically
- Why Software Conversion Depends on Image Quality
- Common Errors Created by Auto Conversion Tools
- When Software Conversion May Work (Very Limited Cases)
- Why Professional Embroidery Businesses Avoid Auto-Digitizing?
- Auto-Digitizing vs Manual Digitizing (Comparison Table)
- Pros and Cons of Auto and Manual Digitizing
- Auto-Digitizing Pros
- Auto-Digitizing Cons
- Manual Digitizing Pros
- Manual Digitizing Cons
- Summary
Auto-digitizing looks easy at first because it is just one click game. You upload a design, click a button, and done, the design has been created within seconds. Many people expect clean embroidery from this process but usually final results disappoint them. The design looks perfect on the screen but once the machine starts stitching, problems appear like threads break, shapes lose form, and details disappear. This happens because embroidery doesn't work like printing. It needs control, planning, and human touch.
This guide explains why auto-digitizing fails and why manual digitizing still gives perfect results than software conversion.
The Core Reason Auto-Digitizing Fails in Embroidery Work
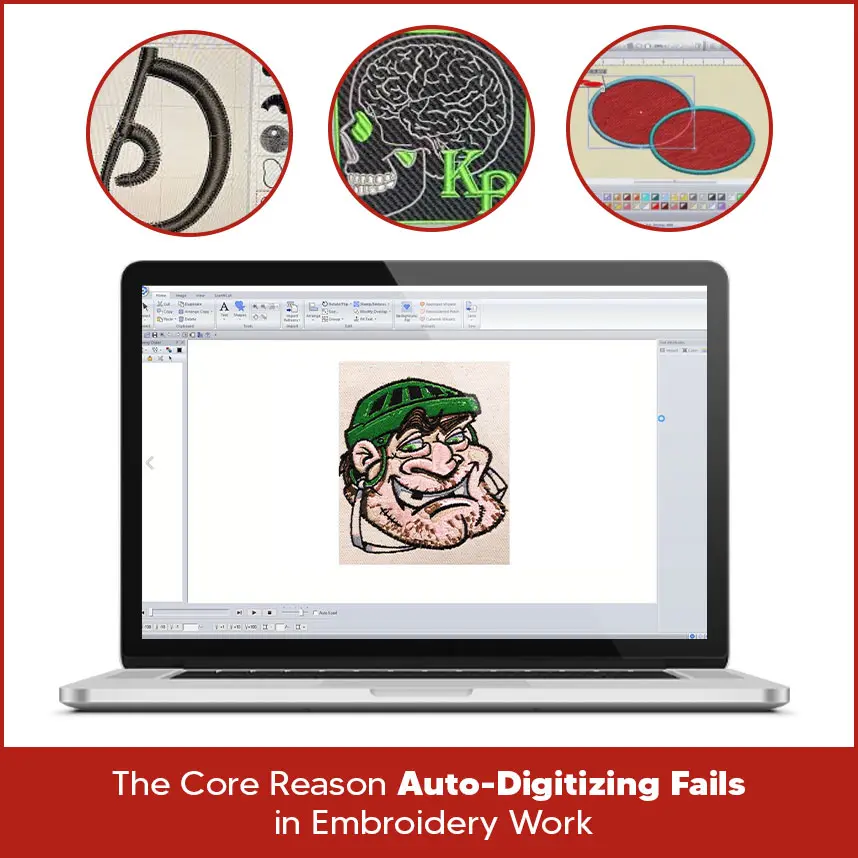
Auto-digitizing software converts raster or vector images into embroidery (stitches) by following fixed rules. It doesn't understand how fabric behaves or how thread reacts during stitching. Embroidery machines follow stitch commands exactly as given. If the digitizing lacks proper control, the machine can't correct mistakes. This gap between software and real embroidery causes most failures in auto-digitizing.
No Manual Control Over Stitch Direction and Flow
Stitch direction controls how light reflects on embroidery. It also affects how the design holds its shape. Auto-digitizing assigns stitch angles automatically. These angles usually ignore the flow of the design. As a result, embroidery looks flat, uneven, or broken. Manual digitizing allows full control over stitch direction, which keeps designs smooth and balanced.
Auto-Digitizing Fails to Detect Small and Complex Details
Small text, thin lines, and fine details need special handling. Auto-digitizing treats them like larger shapes. This causes stitches to overlap or disappear. Many fine elements turn into messy elements. A human digitizer understands which details need simplification and which need precise stitching.
Software Ignores Stitch Behavior
Thread doesn’t sit flat on fabric. It moves, stretches, and pulls during stitching. Auto-digitizing software ignores this behavior. It places stitches without considering how the thread will react. This leads to gaps, uneven fills, and loose stitches in the final embroidery.
Poor Stitch Density Control Leads to Thread Breaks
Density controls how tight stitches sit together. Auto-digitizing uses a fixed density setting. This causes problems with different fabrics. High density breaks threads and needles. Low density shows fabric through the design. Manual digitizing adjusts density based on fabric type and design needs.
Auto-Digitizing Has No Push and Pull Compensation Control
Fabric moves while stitching. Stitches pull fabric inward and push it outward. Auto-digitizing doesn’t adjust for this movement. Designs lose shape, circles turn into ovals, and borders shift. Manual digitizing applies push and pull compensation to keep designs accurate after stitching.
Inaccurate Pathing Causes Overlapping and Gaps
Auto-digitizing follows image shapes, not stitch sense, which is why it creates poor stitch paths. This results in unnecessary trims, jumps, overlaps, and gaps. These errors increase machine time and reduce embroidery quality.
Auto-Digitizing Struggles with Text, Fine Lines, and Thin Fonts
Text embroidery needs clean enter and exit points. Auto-digitizing fails to manage this. Letters merge, edges fray, and thin fonts disappear. Manual digitizing assigns each letter proper stitch paths and spacing.
Lack of Human Touch Leads to Low-Quality Embroidery
Embroidery requires decisions. Software can’t decide what to adjust or remove. It doesn’t understand design intent. Only humans can balance detail, durability, and appearance. This missing judgment lowers overall quality in auto-digitized designs.
Manual Digitizing vs Software Conversion
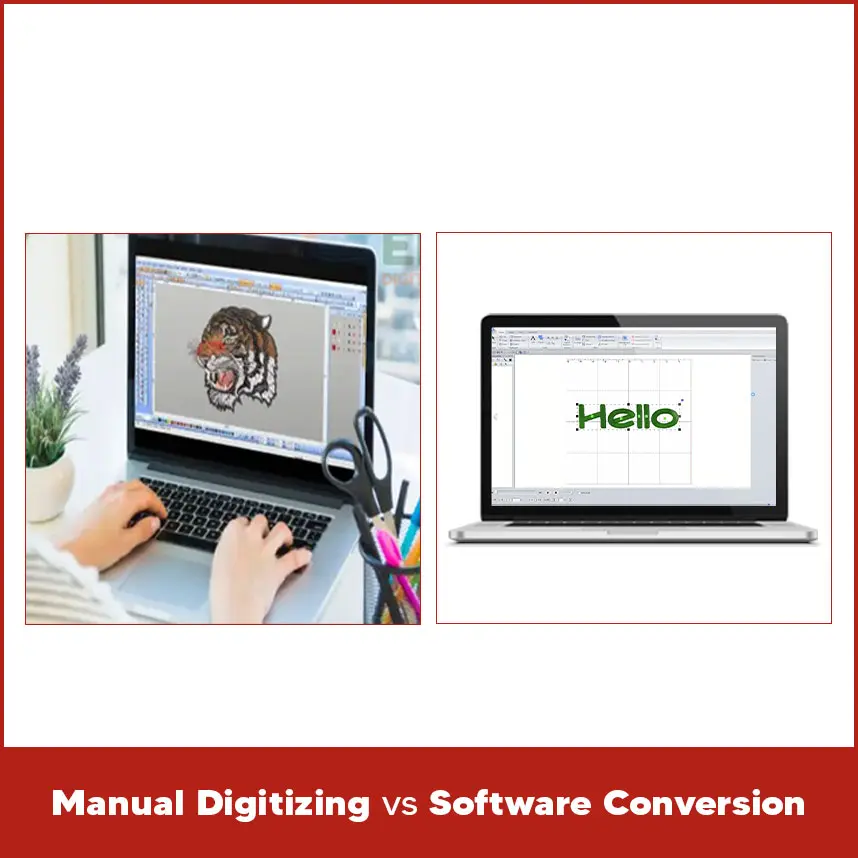
Manual digitizing and software conversion follow very different approaches. One relies on manual planning, while the other depends on automation. This difference defines the final embroidery result.
Why Manual Digitizing and Software Conversion are Not the Same
Manual digitizing creates stitches from scratch. Software conversion converts pixels into stitches. Manual digitizing considers everything like fabric, thread, machine speed, and design purpose. Software conversion only follows image data.
Manual Digitizing
Manual digitizing uses embroidery software programs, not any shortcuts. A digitizer places each stitch type carefully. They control direction, density, and sequence based on the design and fabric.
Understanding Stitch Planning in Manual Digitizing
Stitch planning decides how the design creater from start to finish. Proper planning reduces trims, prevents overlaps, and improves durability. Manual digitizing plans the stitch flow before stitching begins.
Step-by-Step Process of Manual Embroidery Digitizing
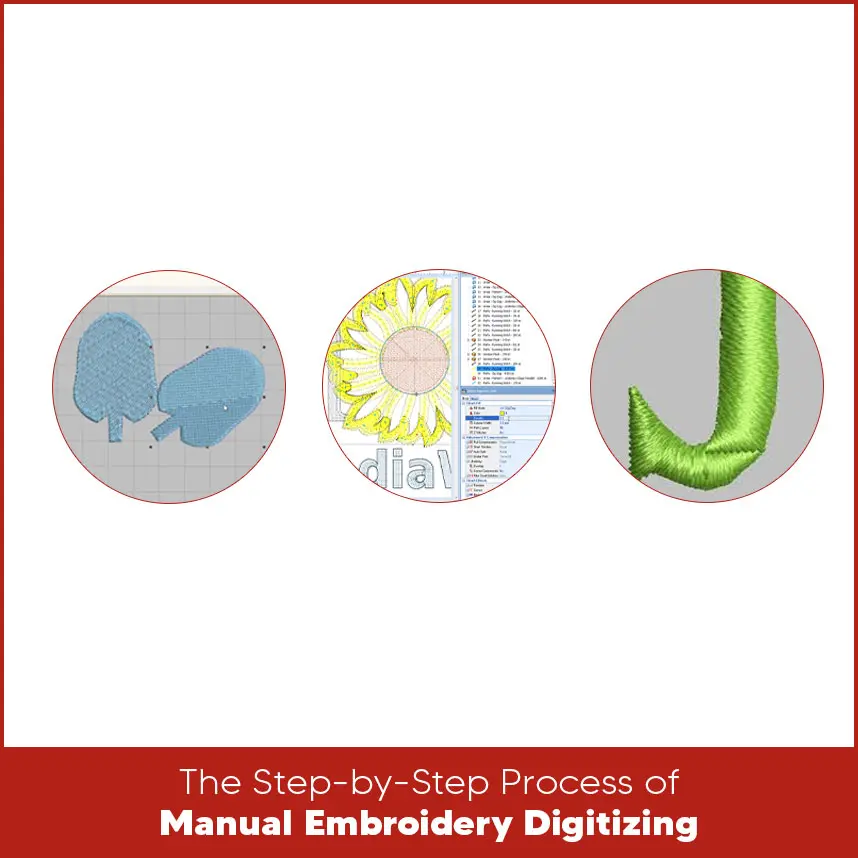
The digitizer analyzes the design first. They choose stitch types, set directions, apply underlay, and adjust density. They test the design and refine it until it stitches cleanly.
How Digitizers Adjust Stitch Angles for Clean Results?
Manual digitizers change stitch angles to improve texture and coverage. This keeps embroidery sharp and visually balanced from all angles.
Managing Density, Underlay, and Compensation Manually
Manual digitizing adjusts underlay to stabilize fabric. It controls density to avoid thread breaks. It applies compensation to keep shapes accurate. These adjustments make embroidery production-ready.
Why Human Expertise Matters the Most in Manual Digitizing?
Human expertise makes the biggest difference in embroidery quality. Skilled digitizers understand embroidery behavior, fabric limits, and stitch balance. At Digitizing USA, expert digitizers handle every design manually. Our experts don’t rely on auto tools. They review each detail carefully to ensure clean, stable, and professional embroidery results.
Software Conversion
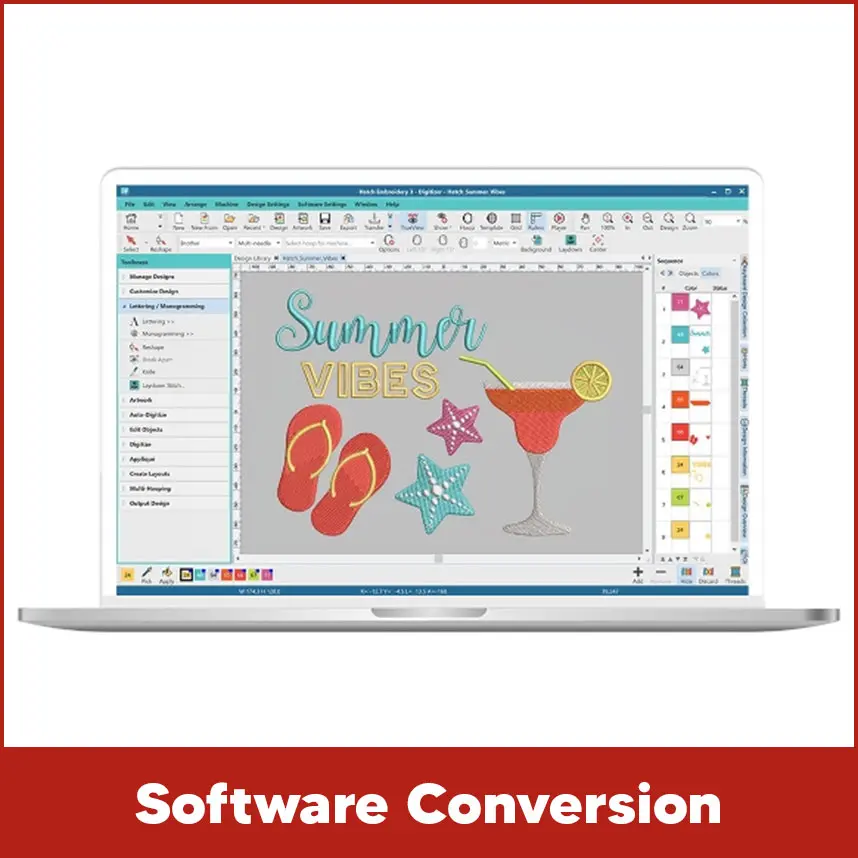
How Software Conversion Processes Designs Automatically
Software conversion analyzes image colors and shapes. It assigns stitches based on preset rules. The process lacks design understanding and embroidery sense.
Why Software Conversion Depends on Image Quality
Low-quality images confuse software tools. Blurry edges and gradients produce incorrect stitches. Even quality images don’t guarantee clean embroidery through auto conversion.
Common Errors Created by Auto Conversion Tools
Auto conversion creates excessive trims, uneven fills, broken outlines, and poor stitch paths. These errors increase production time and reduce design quality.
When Software Conversion May Work (Very Limited Cases)
Software conversion may work for simple shapes with solid colors. Even then, it often needs manual cleanup. It doesn’t suit professional embroidery work.
Why Professional Embroidery Businesses Avoid Auto-Digitizing?
Professional businesses value consistency and quality. Auto-digitizing creates unprofessional results. Manual digitizing reduces machine downtime, thread waste, and customer complaints. This is why professionals rely on manual digitizing.
Auto-Digitizing vs Manual Digitizing (Comparison Table)
Pros and Cons of Auto and Manual Digitizing
Auto-Digitizing Pros
Fast conversion
Auto-digitizing converts designs within minutes. This speed helps when time matters more than quality.
Low initial effort The process requires some tools. Users upload a design and let the software handle the rest. Poor stitch control Auto-digitizing assigns stitches automatically. It doesn’t allow proper control over stitch direction, length, or flow. Low quality results The software creates uneven fills, broken outlines, and weak edges. These issues reduce the overall look of embroidery. Frequent production issues Auto-digitized designs cause thread breaks and machine stops during stitching. Inaccurate design shapes The software fails to manage push and pull movement. Shapes lose accuracy after stitching. Weak handling of fine details Small text and thin lines often disappear or overlap. The software cannot manage detailed sensitivity. Limited professional use Embroidery businesses avoid auto-digitizing because it doesn’t meet production standards. High-quality embroidery Manual digitizing produces clean stitches that hold shape and texture during stitching. Fabric-specific adjustments Digitizers adjust density and underlay based on fabric type, which improves stability. Clean and stable designs Manual digitizing reduces trims, jumps, and overlaps, resulting in smooth embroidery. Accurate stitch direction Digitizers control stitch flow to improve design depth and visual balance. Better handling of text and details Manual digitizing manages small text and fine lines with proper spacing and stitch logic. Reliable production performance Manually digitized designs run smoothly on machines without showing any errors. Requires skill Manual digitizing needs training and experience. Beginners can’t achieve quality results quickly. Takes more time Digitizers spend time planning stitches and testing designs. This process increases turnaround time.Auto-Digitizing Cons
Manual Digitizing Pros
Manual Digitizing Cons
Summary
Auto-digitizing fails because it ignores how embroidery truly works. It lacks control, manual settings, and adjustment. Manual digitizing solves these problems by planning stitches carefully and understanding fabric behavior. If you want embroidery that stitches cleanly and lasts long, manual digitizing remains the best choice. Digitizing USA provides expert manual digitizing services with attention to detail and production accuracy. If you need reliable embroidery digitizing services, always choose the skilled professionals makes all the difference. So contact us now.
Related Blogs