
Applique on Stretch Fabric (Problems & Solutions)
Table Of Content
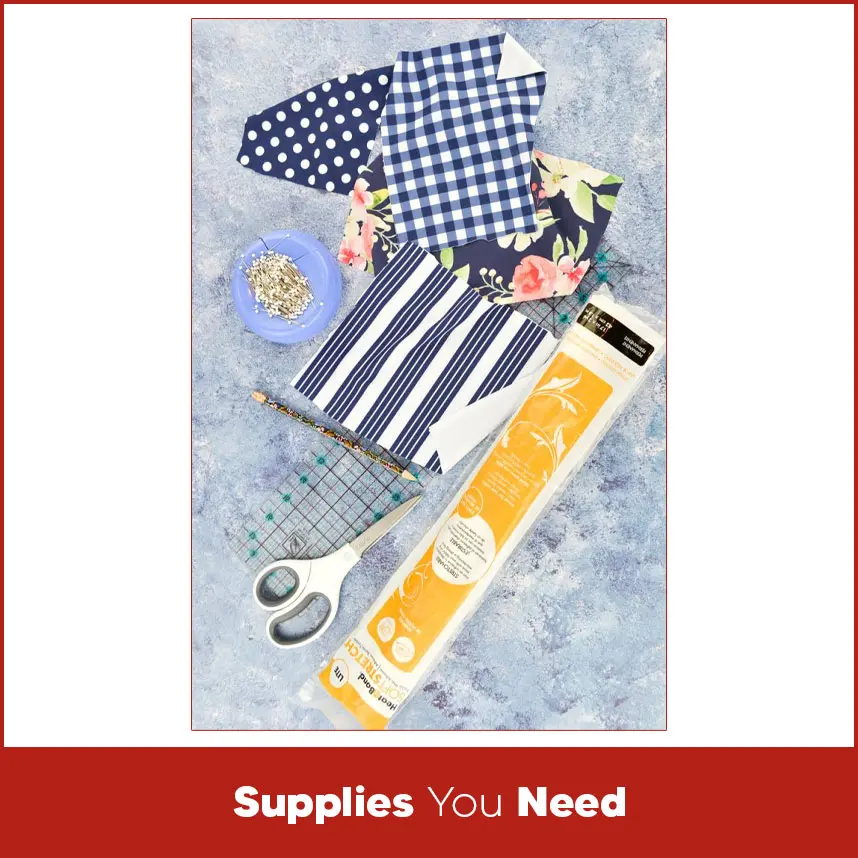
- Supplies You Need
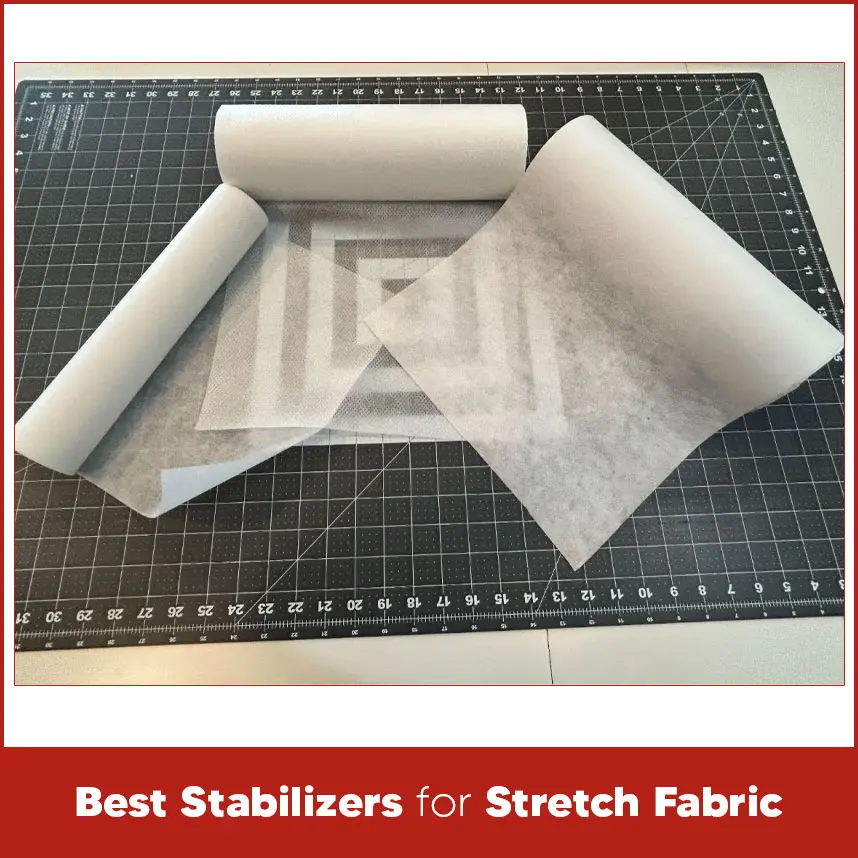
- Best Stabilizers for Stretch Fabric
- Suitable Needles for Knit & Stretch Materials
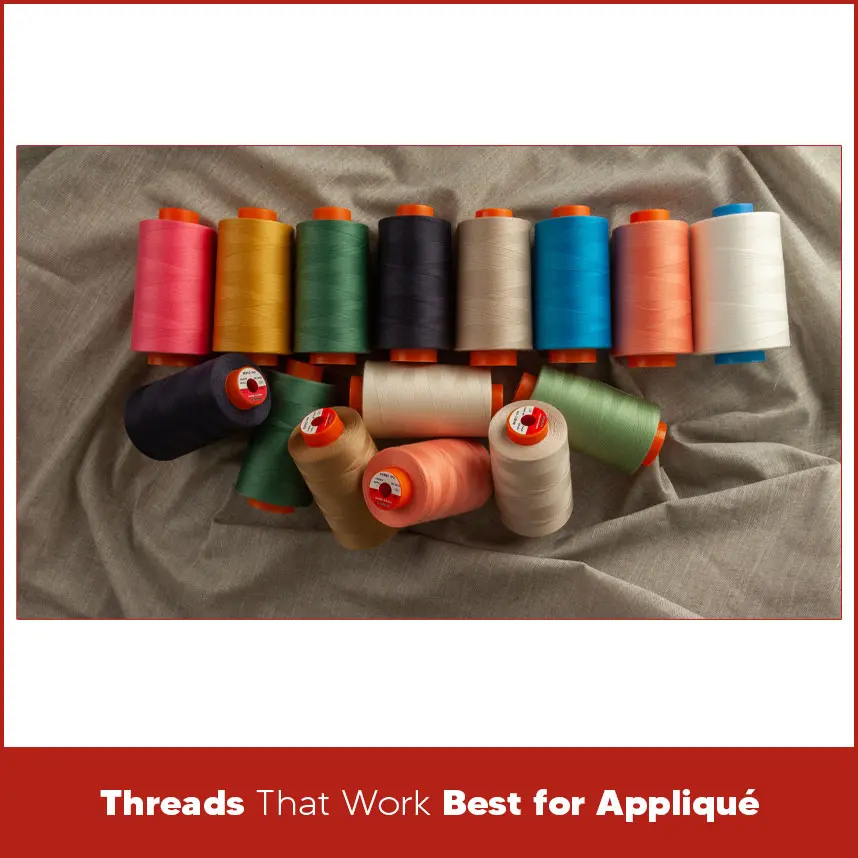
- Threads That Work Best for Appliqué
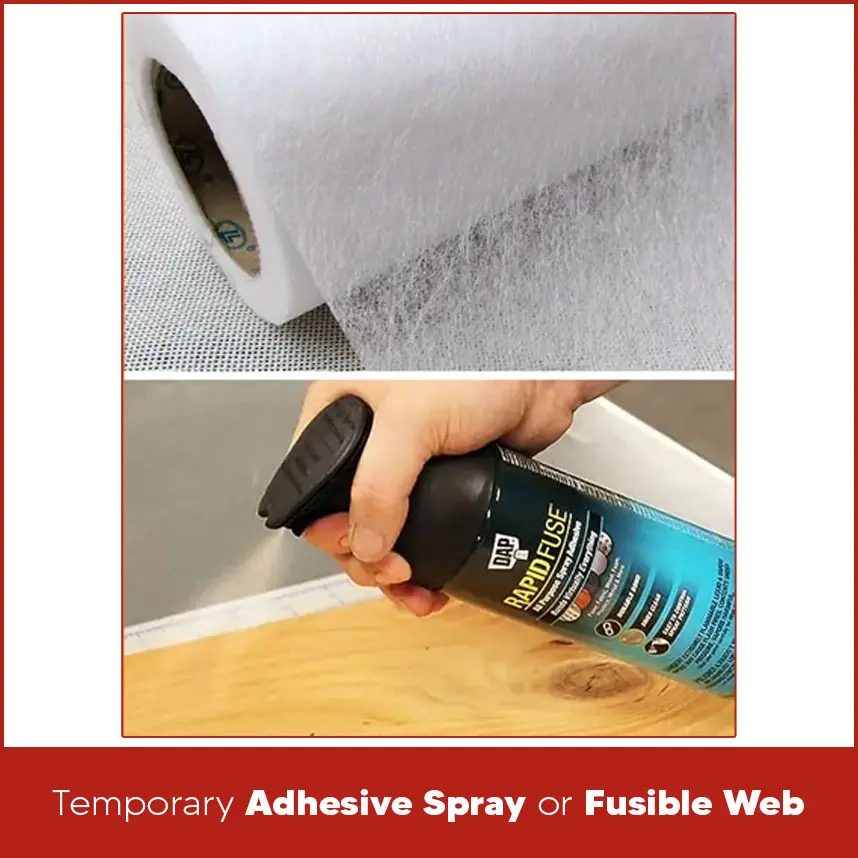
- Temporary Adhesive Spray or Fusible Web
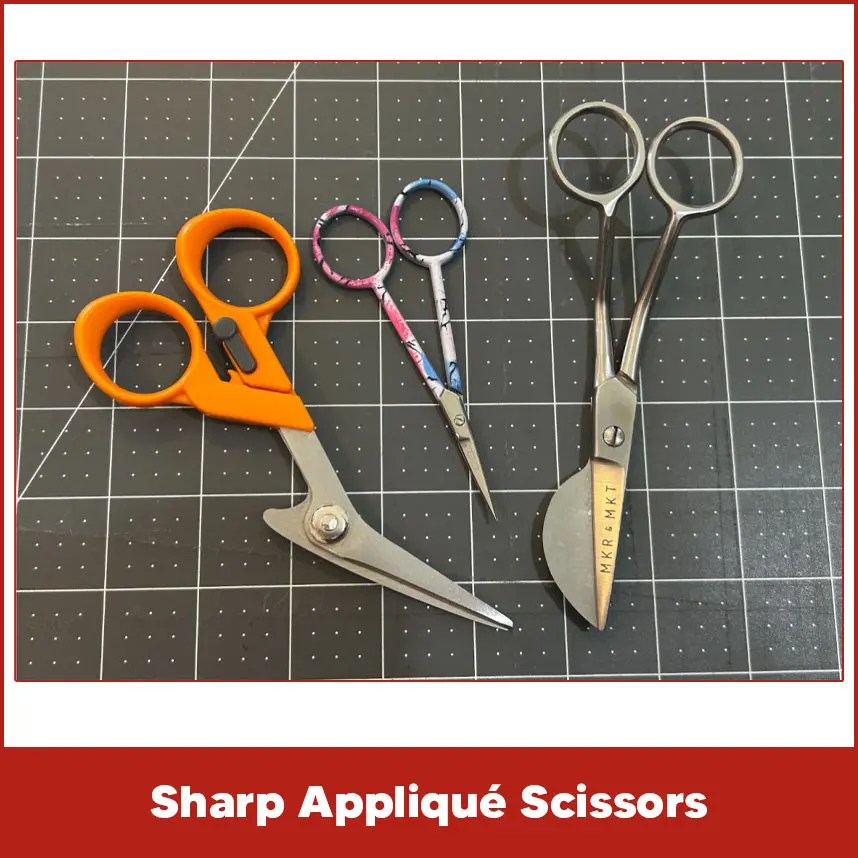
- Sharp Appliqué Scissors
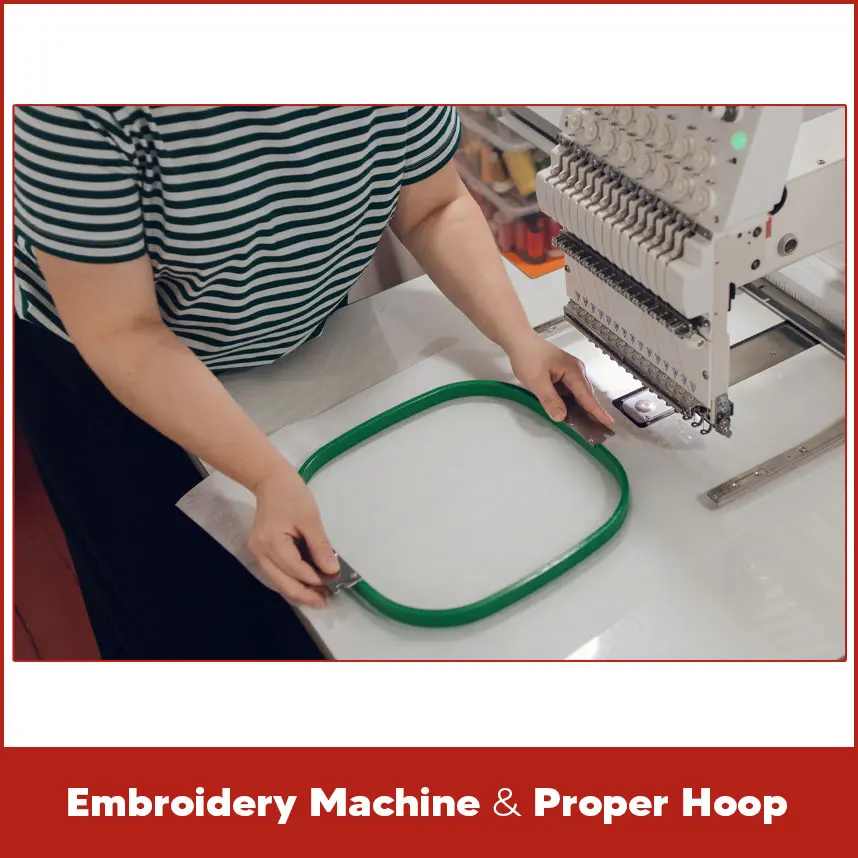
- Embroidery Machine & Proper Hoop
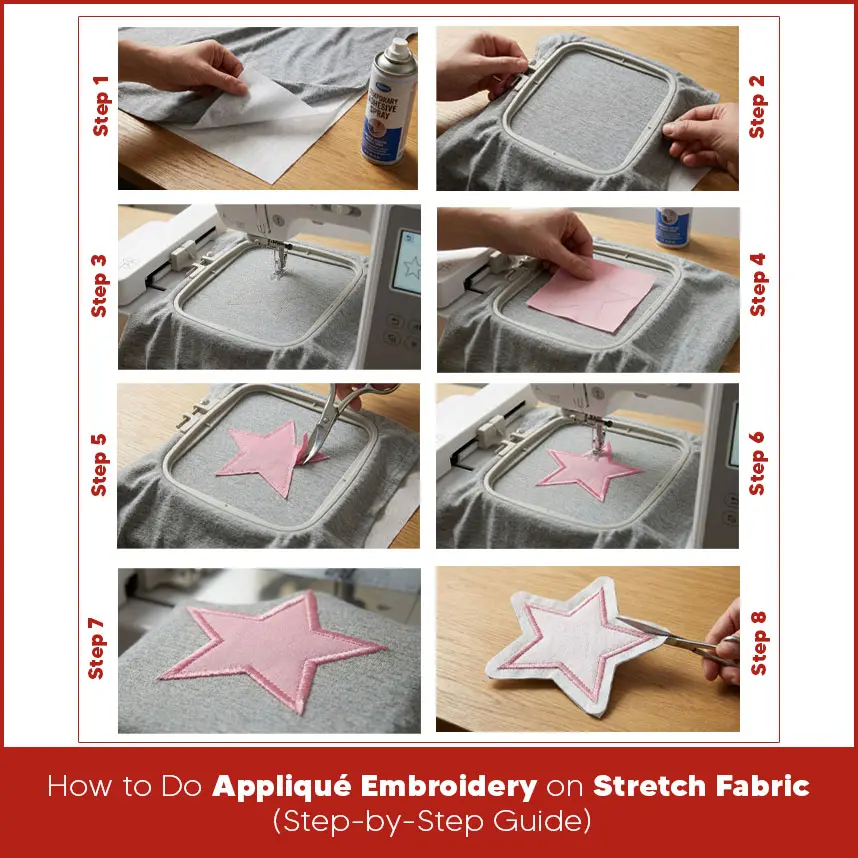
- How to Do Appliqué Embroidery on Stretch Fabric (Step-by-Step Guide)
- Step 1: Choose the Right Stabilizer for Stretch Fabric
- Step 2: Hoop the Fabric Correctly Without Stretching
- Step 3: Stitch the Placement Line
- Step 4: Secure the Applique Fabric Piece
- Step 5: Trim the Excess Fabric Carefully
- Step 6: Stitch the Tack-Down Line
- Step 7: Finish with a Zigzag or Satin Border Stitch
- Step 8: Remove Stabilizer Properly
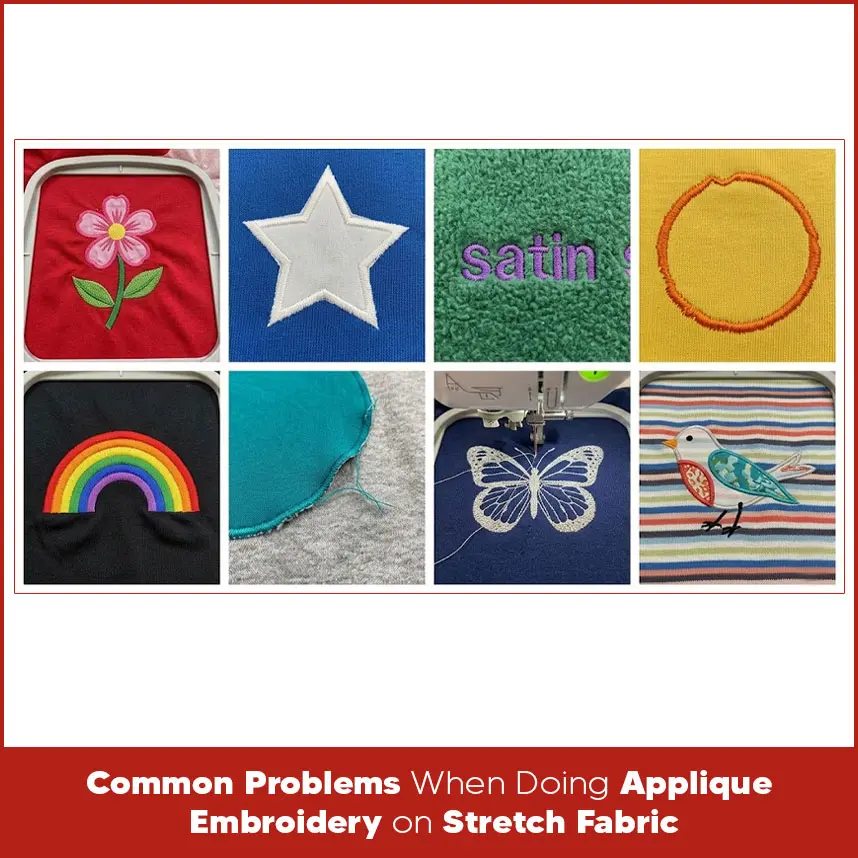
- Common Problems When Doing Applique Embroidery on Stretch Fabric
- 1. Fabric Puckering Around the Design
- 2. Design Misalignment or Shifting
- 3. Stitches Sinking into the Fabric
- 4. Wavy or Uneven Satin Stitches
- 5. Fabric Stretching Inside the Hoop
- 6. Applique Fabric Lifting After Washing
- 7. Thread Breakage During Stitching
- 8. Design Distortion After Removing from Hoop
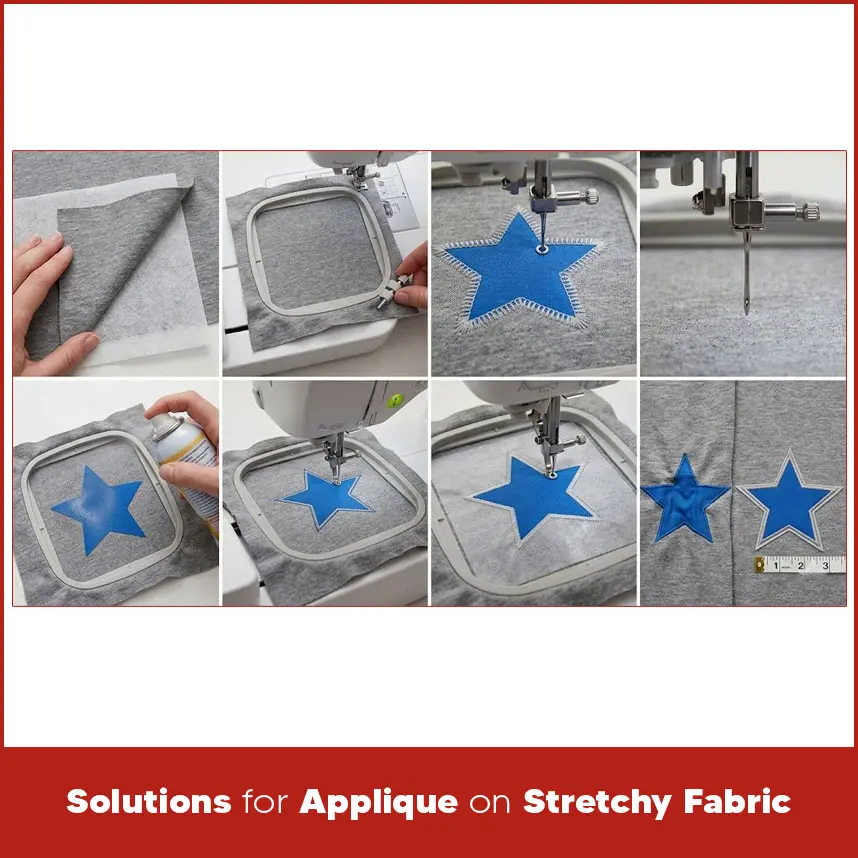
- Solutions for Applique on Stretchy Fabric
- 1. Use the Correct Cut-Away Stabilizer
- 2. Avoid Over-Stretching While Hooping
- 3. Adjust Stitch Density for Knit Fabrics
- 4. Use a Ballpoint Needle Instead of Sharp Needle
- 5. Apply Temporary Adhesive for Better Hold
- 6. Reduce Machine Speed for Better Control
- 7. Add a Topper to Prevent Stitch Sinking
- 8. Test the Design on Scrap Fabric First
- Summary
Stretchy fabrics are usually used for polo shirts, baby clothes & sportswear (jersey), it feels light, soft & comfortable. But when you do applique embroidery on stretch fabric, you face challenges. The fabric moves, design shifts, stitches break. The final result loses its clean finish.
When you remove the hoop and see wrinkles around your design, you feel the frustration immediately.
Applique on stretch fabric requires a different approach. You cannot treat knit fabric like cotton twill or canvas. Stretch materials react differently under the needle. They wrinkle, contract, and move when you stitch. When you control the fabric properly, you get clean and perfect results. When you ignore the basics, you will face problems. In this guide, you will understand appliqué on stretch fabric (problems & solutions) in a clear & practical way. Each step reflects real embroidery practices used in the digitizing industry. Before you start, gather the right supplies. Stretch fabric does not bear mistakes, so you must prepare everything carefully. Use cut-away stabilizer for stretch and knit fabrics. Stretch fabric continues to move even after embroidery, so it requires permanent support. Cut-away stabilizer stays behind the design and prevents distortion. Choose medium-weight cut-away for polos & light knits. Choose a heavier cut-away for very stretchy fabrics. Avoid tear-away stabilizer because it doesn't provide enough support. It causes puckering after washing. Choose a ballpoint needle. Ballpoint needles push between fabric fibers instead of cutting them. Stretch fabrics contain looped fibers. A sharp needle cuts those loops and creates holes. Use size 75/11 for light fabric. Use 80/12 for thicker knits. Don't use sharp embroidery needles when working with stretchy materials. Select polyester embroidery thread. Polyester handles stretch and repeated washing better than rayon. It also maintains color strength after multiple washes. Use high-quality bobbin thread with balanced tension. Weak thread increases breakage during dense satin stitching. Stretch fabric moves during stitching. Use temporary adhesive spray to hold the stabilizer and fabric together. This step prevents shifting inside the hoop. Use fusible web to secure the appliqué piece before stitching the tack-down line. It reduces lifting and movement during embroidery. Use small, sharp curved scissors for trimming. Clean trimming creates clean borders. Poor scissors create uneven edges and make satin stitches look untidy. Select the correct hoop size for your design. Do not use a large hoop for a small design. A larger hoop allows more movement. Make sure that your hoop holds the fabric properly without stretching it. Place cut-away stabilizer under the fabric. If the fabric stretches heavily, use two layers. The stabilizer must fully support the design. Before hooping, apply light adhesive spray if needed to secure the fabric to the stabilizer. Place the fabric & stabilizer flat inside the hoop. Tighten the hoop & don't pull or stretch the fabric. Stretching the fabric inside the hoop causes puckering after stitching. Allow the fabric to set for a while. Stitch the placement line first. This line marks the exact position of the appliqué fabric. Check alignment carefully before continuing. If the placement shifts, stop and correct it immediately. Place the applique fabric over the placement line. Use fusible web or light adhesive spray to secure it. Smooth the fabric gently & avoid stretching it. Remove the hoop after stitching the tack-down line. Trim the extra applique fabric close to the stitch line. Cut carefully & protect the base of the fabric. Clean trimming gives you a smooth satin border. Place the hoop back on the machine and stitch the tack-down line. This stitch secures the applique firmly to the base fabric. Maintain balanced thread tension during this step. Stitch the final border to cover raw edges. Use satin stitch for a clean and professional finish. Maintain balanced stitch density. Excess density creates stiffness and puckering. Trim the excess cut-away stabilizer from the back after finishing. Leave about half an inch around the design for proper support. Keep the remaining stabilizer in place because it supports the design during wear and washing. Weak stabilizer support causes puckering. Stretching the fabric during hooping also creates tension. High stitch density pulls the fabric inward and forms wrinkles around the design. Stretch fabric moves while the machine stitches. Lack of adhesive support allows the applique fabric to shift. This movement creates uneven borders. Knit fabric contains soft texture and loops. Satin stitches sink into fleece or jersey when the fabric lacks surface support. Improper thread tension causes uneven stitches. Unstable fabric increases movement. High machine speed creates vibration, which affects stitch quality. Don't pull fabric during hooping because it creates tension, tear, and wrinkled fabric. After stitching, the fabric relaxes and forms ripples around the design. Weak tack-down stitching or poor stabilizer support allows the applique edges to lift after washing. Dense satin stitching increases friction. Incorrect needle choice also increases resistance. These factors cause thread breakage. Light stabilizer or complete removal of stabilizer weakens the design structure. The design then loses its shape and appears distorted. Select medium to heavy cut-away stabilizer. It supports the design permanently and reduces distortion. Place the fabric naturally inside the hoop. Tighten the hoop without pulling the fabric. Allow the stabilizer to provide strength and support. Reduce satin stitch density slightly when working on stretch fabric. High density creates stiffness and causes puckering. Professional digitizers adjust pull compensation and underlay settings specifically for knit materials. Choose ballpoint needles to protect fabric fibers. They prevent fiber damage, reduce skipped stitches, and maintain fabric structure. Spray light adhesive between the fabric and stabilizer. This step minimize movement and increases stability during stitching. Lower the machine speed when stitching satin borders. Slower stitching improves stitch formation and reduces vibration. Place water-soluble topper over soft knit fabric. It keeps stitches on the surface and improves the appearance of satin stitching. Test your applique design on a similar stretch fabric before final production. Testing allows you to adjust tension, density, and placement settings properly. Applique on stretch fabric requires proper control, strong support, and correct digitizing settings. Stretch materials behave differently from woven fabrics. When you use strong cut-away stabilizer, hoop correctly, adjust stitch density, and choose proper needles, you prevent most common problems. Weak stabilization or incorrect digitizing causes puckering, shifting, sinking stitches, and distortion. Proper digitizing plays a major role in achieving clean and professional results. At DigitizingUSA, we provide a wide range of embroidery digitizing services at the most affordable prices. We digitize your designs carefully and adjust settings based on fabric type, including stretch materials. You receive free revision, free format conversion, as well as free minor editing. We deliver quality work within the time frame.Supplies You Need
Best Stabilizers for Stretch Fabric
Suitable Needles for Knit & Stretch Materials

Threads That Work Best for Appliqué
Temporary Adhesive Spray or Fusible Web
Sharp Appliqué Scissors
Embroidery Machine & Proper Hoop
How to Do Appliqué Embroidery on Stretch Fabric (Step-by-Step Guide)
Step 1: Choose the Right Stabilizer for Stretch Fabric
Step 2: Hoop the Fabric Correctly Without Stretching
Step 3: Stitch the Placement Line
Step 4: Secure the Applique Fabric Piece
Step 5: Trim the Excess Fabric Carefully
Step 6: Stitch the Tack-Down Line
Step 7: Finish with a Zigzag or Satin Border Stitch
Step 8: Remove Stabilizer Properly
Common Problems When Doing Applique Embroidery on Stretch Fabric
1. Fabric Puckering Around the Design
2. Design Misalignment or Shifting
3. Stitches Sinking into the Fabric
4. Wavy or Uneven Satin Stitches
5. Fabric Stretching Inside the Hoop
6. Applique Fabric Lifting After Washing
7. Thread Breakage During Stitching
8. Design Distortion After Removing from Hoop
Solutions for Applique on Stretchy Fabric
1. Use the Correct Cut-Away Stabilizer
2. Avoid Over-Stretching While Hooping
3. Adjust Stitch Density for Knit Fabrics
4. Use a Ballpoint Needle Instead of Sharp Needle
5. Apply Temporary Adhesive for Better Hold
6. Reduce Machine Speed for Better Control
7. Add a Topper to Prevent Stitch Sinking
8. Test the Design on Scrap Fabric First
Summary
If you need professional embroidery digitizing service, contact DigitizingUSA today and get your design stitched the right way.


