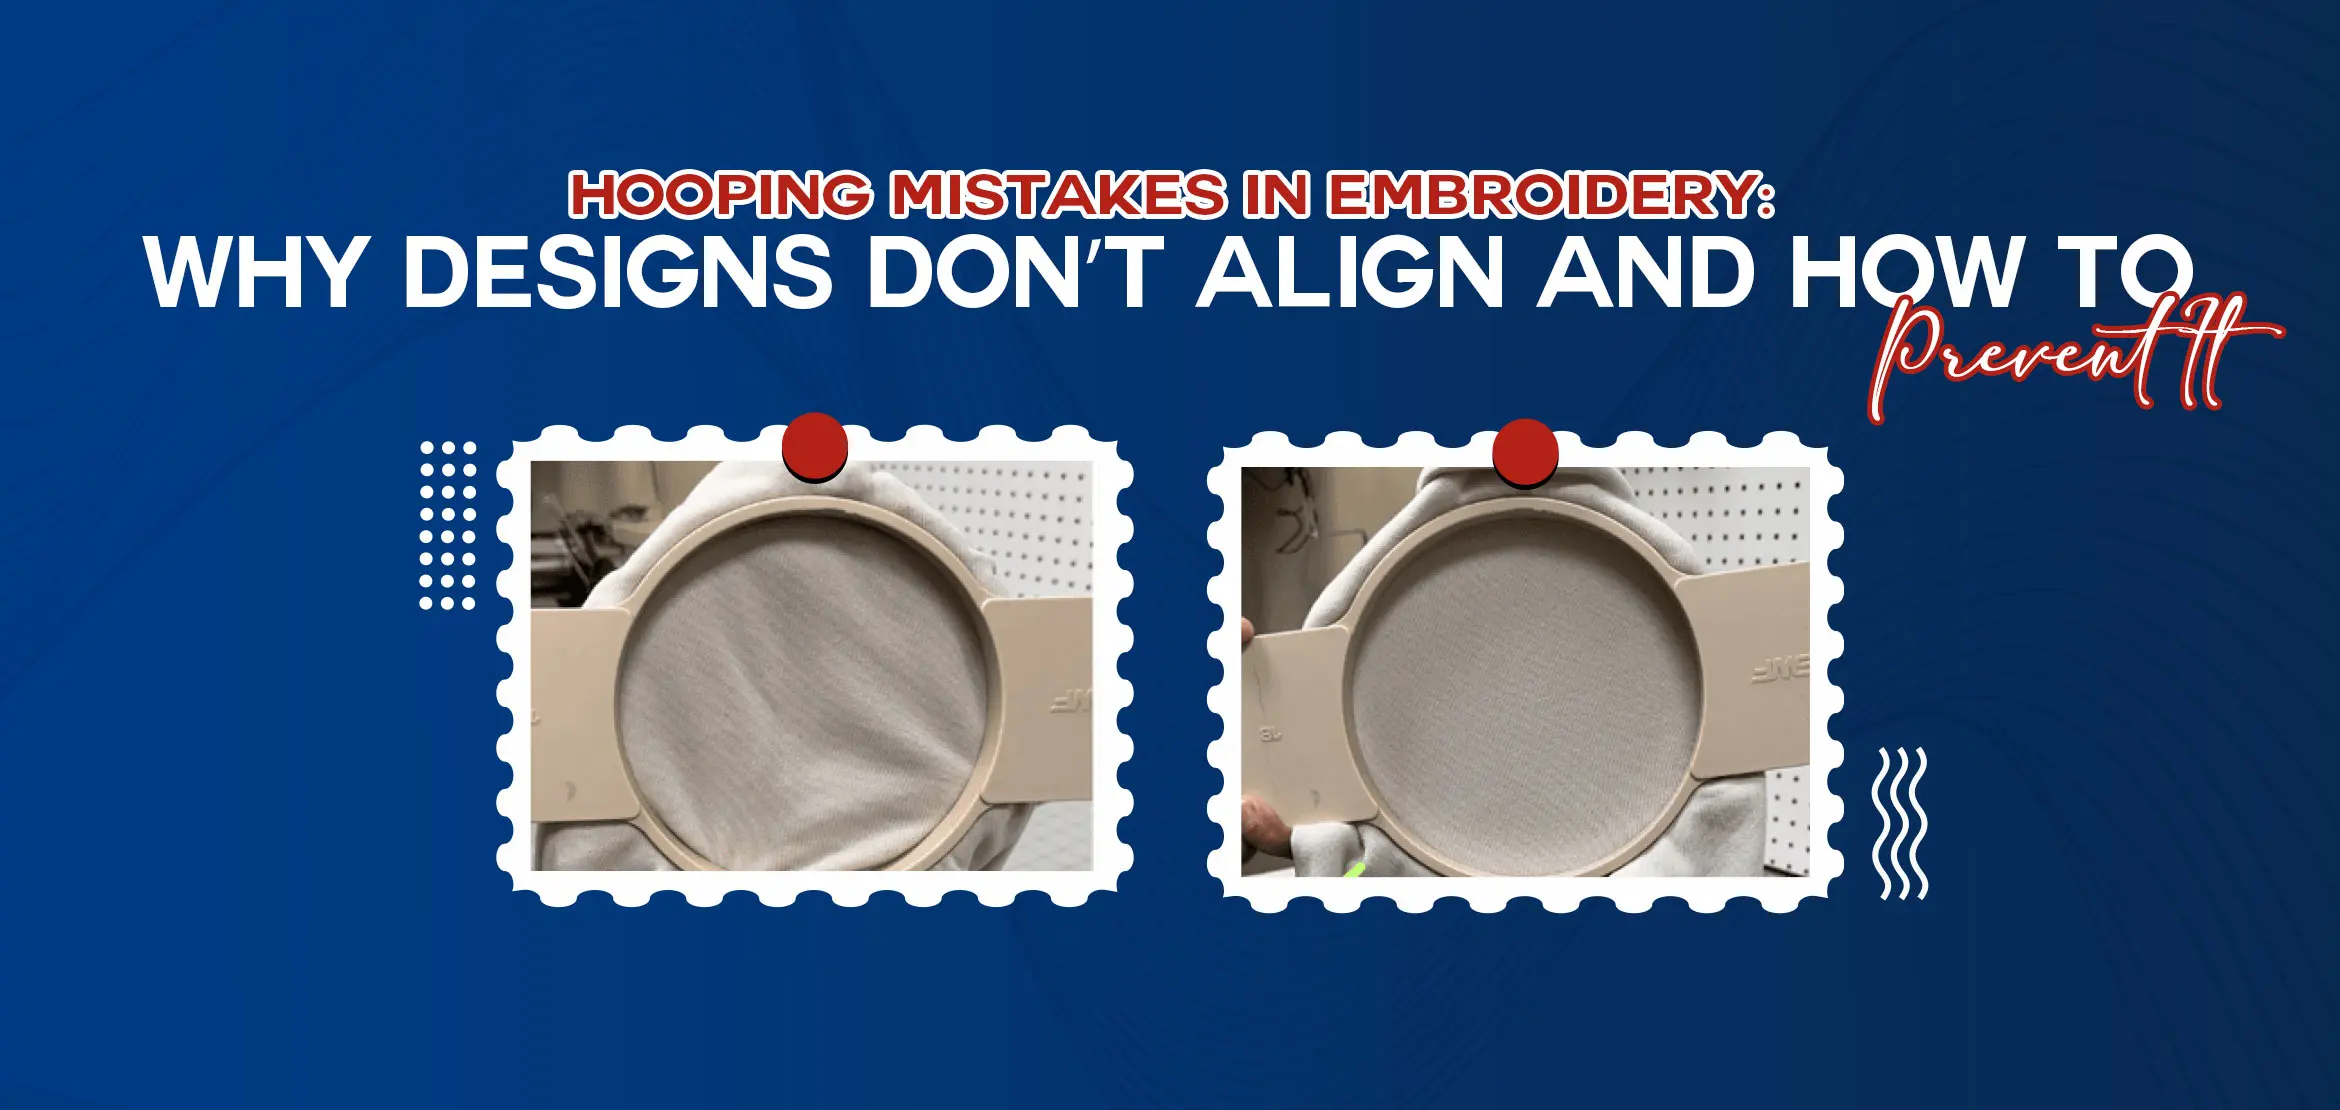
Hooping Mistakes in Embroidery: Why Designs Don’t Align and How to Prevent it
Table Of Content
- Common Reasons Your Embroidery Designs Don’t Align
- How Incorrect Hooping Affects Stitch Quality?
- Signs You Hooped the Fabric Wrong
- Causes of Fabric Shifting During Stitching
- Causes of Fabric Shifting During Stitching
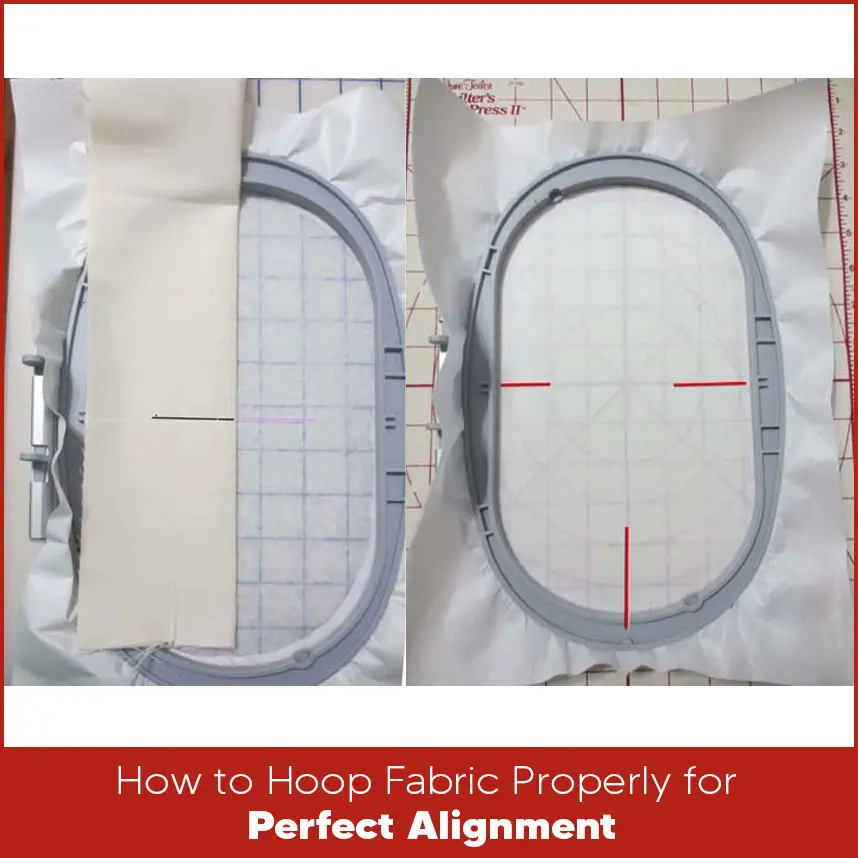
- How to Hoop Fabric Properly for Perfect Alignment?
- Tips to Prevent Alignment Problems in Every Project
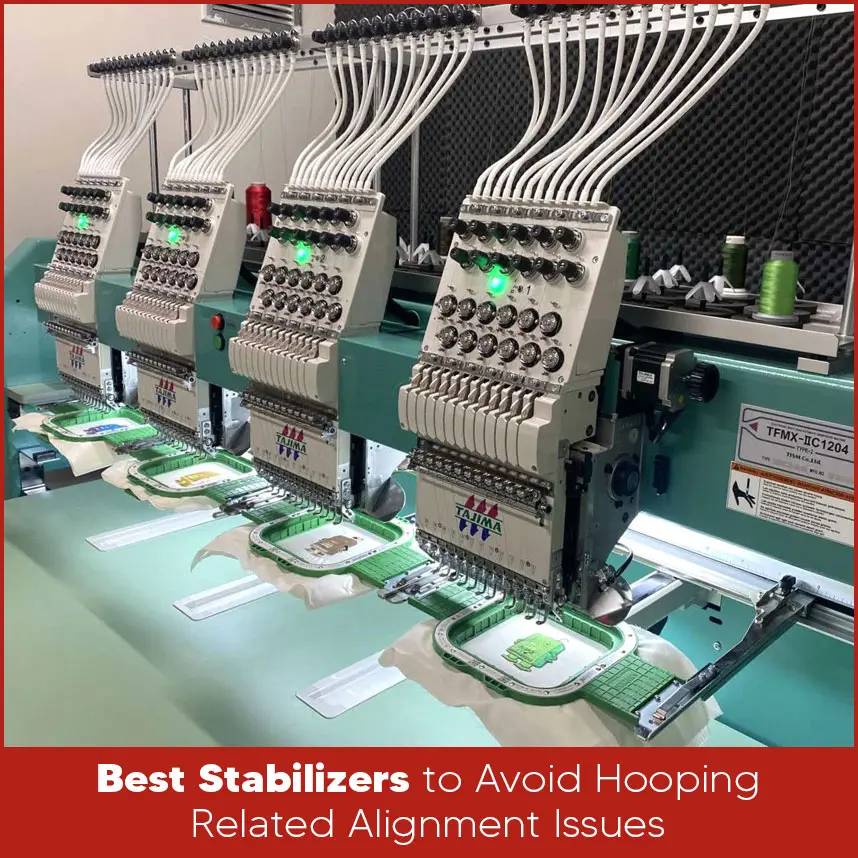
- Best Stabilizers to Avoid Hooping Related Alignment Issues
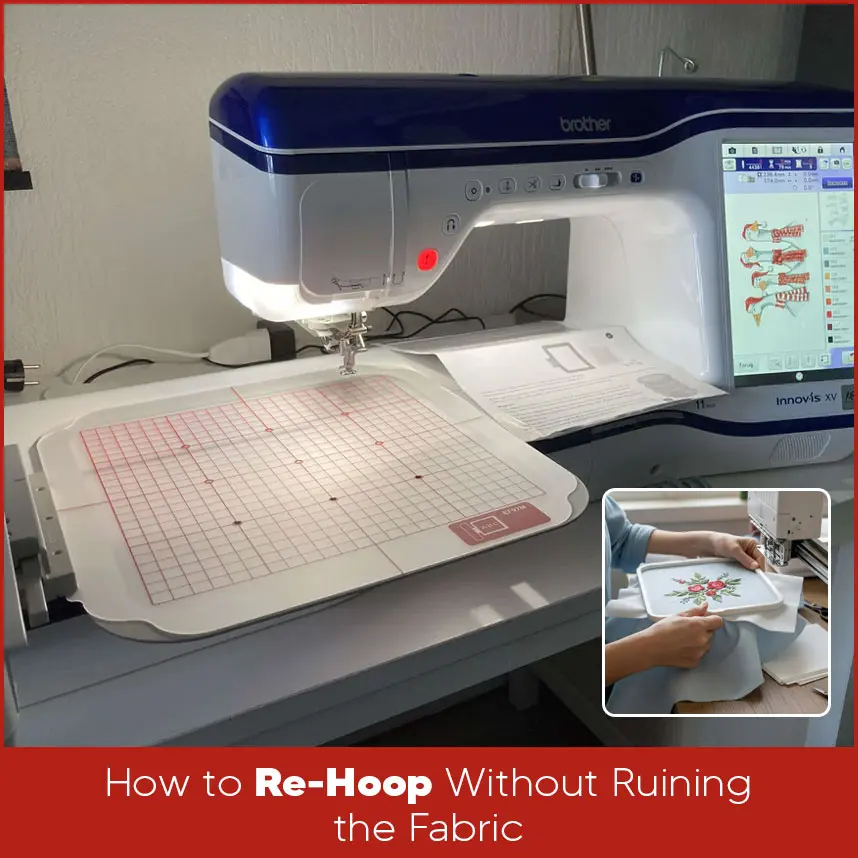
- How to Re Hoop Without Ruining the Fabric?
- Summary
When you spend time selecting your thread, setting your design and preparing your fabric, the last thing you want to see is a design that doesn’t align. No worries, many embroiderers face this problem. They notice outlines shifting, shapes not matching and design falling out of place. These issues point to hoop mistakes in embroidery. Even a single and small mistake ruins the whole design. Here is the good news. Most alignment problems have simple and easy solutions. Once you understand how hooping works, your designs become cleaner, sharper and more professional. So let's understand this guide.
Common Reasons Your Embroidery Designs Don’t Align
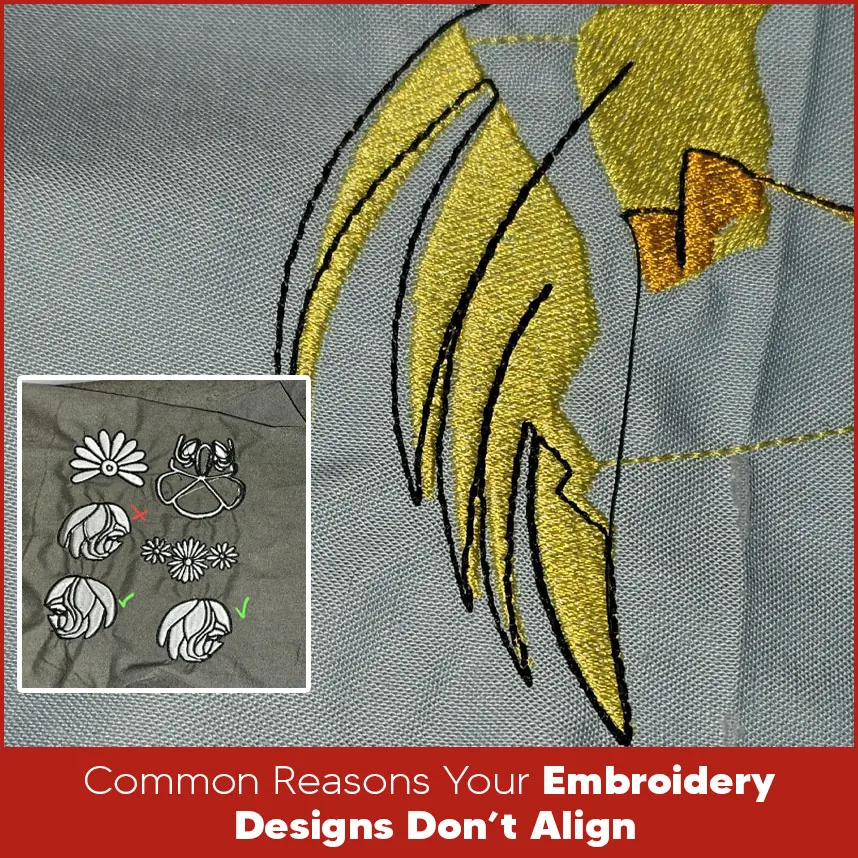
There are some common reasons why embroidery designs don't align properly:
1. Loose fabric in the hoop
If the fabric is not tight properly, it moves each time the needle goes in and out. Even a small movement causes misalignment.
2. Wrong hoop size
A hoop that is too large for the design does not hold the fabric properly. This allows the material to shift during stitching.
3. Incorrect stabilizer
The stabilizer supports the fabric. If it is weak or not the right type, the fabric stretches or shifts.
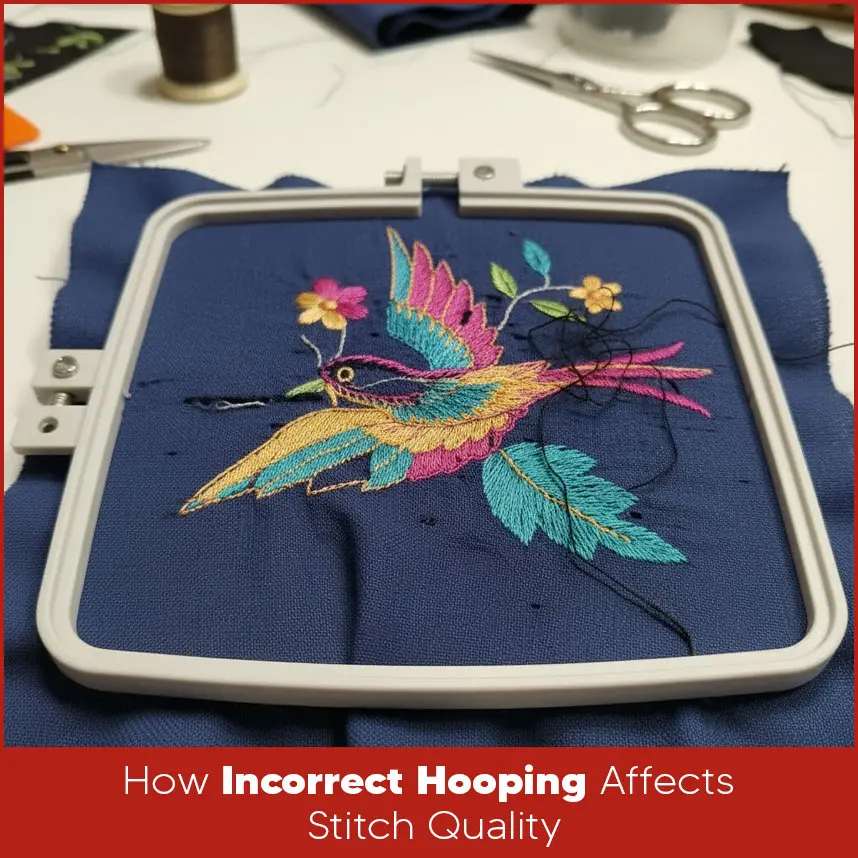
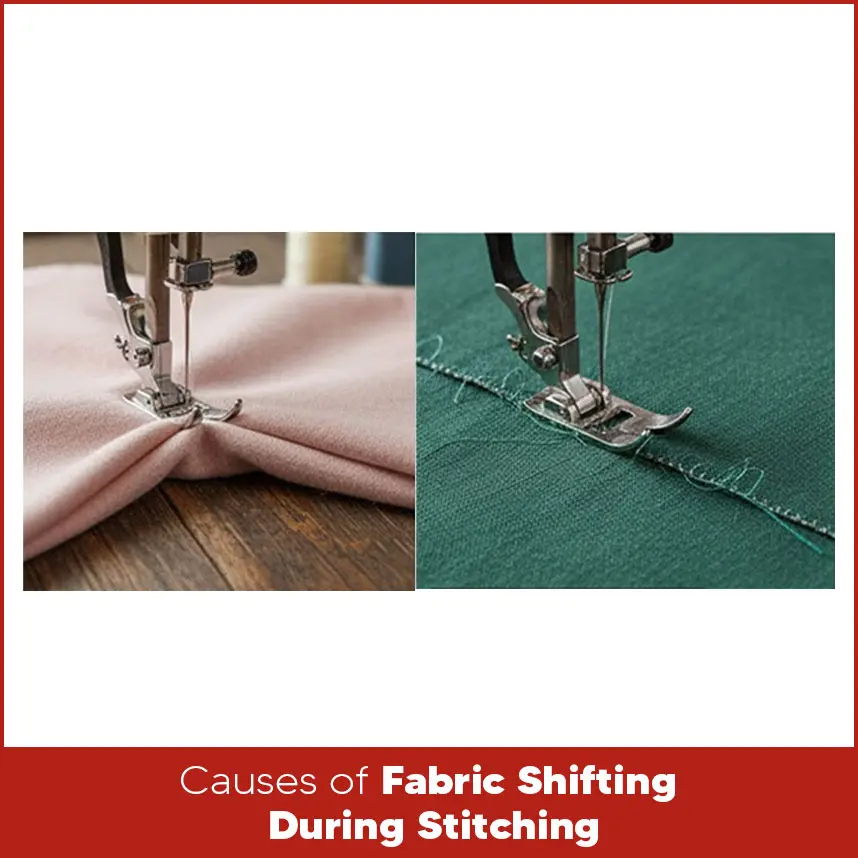
4. Poor fabric selection Stretchy, thin or slick fabrics need more support. Without it, the design moves. 5. Machine pull and vibration Embroidery machines create pull forces. If the hooping is weak, the fabric moves with the machine. Wrong hooping not only shifts your design. It changes the entire stitch quality. When the fabric is not stable, stitches are either too high or too deep. Fill stitches do not look smooth. Satin outlines lose their clean edge. Because the needle pulls the fabric inward, you can also see puckering around the design clearly. Effective hooping helps the stitches form uniformly across the fabric by providing them with a strong foundation. Look for these signs if you find hooping problems early: The fabric is loose or has wrinkles inside the hoop. You can move the fabric by touching it lightly with your fingers. The inner and outer hoops do not set tightly. The fabric shifts when you pull it from the corners. The hoop makes a clicking sound when stitching starts. The stabilizer bends or folds under pressure. If you see any of these signs before stitching, it is much better to re hoop. Fabric usually shifts because of: 1. Machine speed High speed increases movement. Some fabrics need a lower speed for better control. 2. Weak stabilizer If the stabilizer tears or stretches, the fabric moves. 3. Thick or layered items Hats,jackets and bags are harder to hoop. Their surface does not stay flat. 4. Incorrect tension Thread tension that is too tight pulls the fabric while stitching. 5. Not securing the stabilizer If the stabilizer is not attached well, it slips under the hoop. When you manage these factors, your design stays aligned. A clean, aligned design can be achieved by hooping correctly. Here's the simple approach: Underneath the fabric, place the stabilizer. To prevent wrinkles, smooth both layers. Place the inner hoop beneath the cloth. Gently press the outer hoop onto the top. Tighten the fabric by pulling it evenly from all sides. Gradually tighten the hoop screw. Make sure the design area stays flat. Do not stretch the fabric, especially with knits. These steps help keep your design aligned every time: Use the correct hoop size for the design. Keep the fabric tight but not stretched. Choose the stabilizer based on fabric type. Slow machine speed on delicate fabrics. Check hoop tightness before starting. Use temporary adhesive spray when needed. Mark your fabric clearly so you place the hoop in the right position. Do a quick test run on a similar fabric. Small habits like these improve the final result in a big way. Choosing the right stabilizer supports the fabric and prevents shifting. Some options include: 1. Cut-away stabilizer Best for stretchy fabrics because it holds strong during stitching. 2. Tear-away stabilizer Good for firm fabrics like cotton. It is easy to remove. 3. No show mesh Useful for lightweight fabrics. It reduces stretching and keeps stitches smooth. 4. Adhesive stabilizer Helpful when hooping is difficult, such as with thick items or small areas. 5. Water soluble stabilizer Works over the top of fabrics like towels to keep stitches sharp. When you match the stabilizer to the fabric, designs stay aligned & clean. Sometimes you need to re hoop the fabric if the tension is not right. Do it gently to avoid damage. Remove the hoop slowly without pulling. Smooth the fabric to remove marks. Add extra stabilizer if needed. Place the fabric again inside the hoop and tighten evenly. Check for wrinkles or loose areas before stitching. Rehooping with care protects the fabric and improves the design quality. Hoop plays the main role in how your embroidery designs turns out. When the fabric is secure, the stabilizer is right and the hooping is tight, your designs stay aligned and look neat. Most alignment problems come from simple hoop mistakes, when you fix them, your stitch quality improves in every project. If you want clean, accurate and well digitized embroidery designs, contact Digitizing USA. Our team provides quality embroidery digitized designs that run smoothly on machines and less stitching issues. Get your design digitized by Digitizing USA and enjoy better results every time.How Incorrect Hooping Affects Stitch Quality?
Signs You Hooped the Fabric Wrong
Causes of Fabric Shifting During Stitching
How to Hoop Fabric Properly for Perfect Alignment?
Tips to Prevent Alignment Problems in Every Project
Best Stabilizers to Avoid Hooping Related Alignment Issues
How to Re Hoop Without Ruining the Fabric?
Summary


