How to Fix Birdnesting in Machine Embroidery | 7 Common Causes and Solutions
Table Of Content
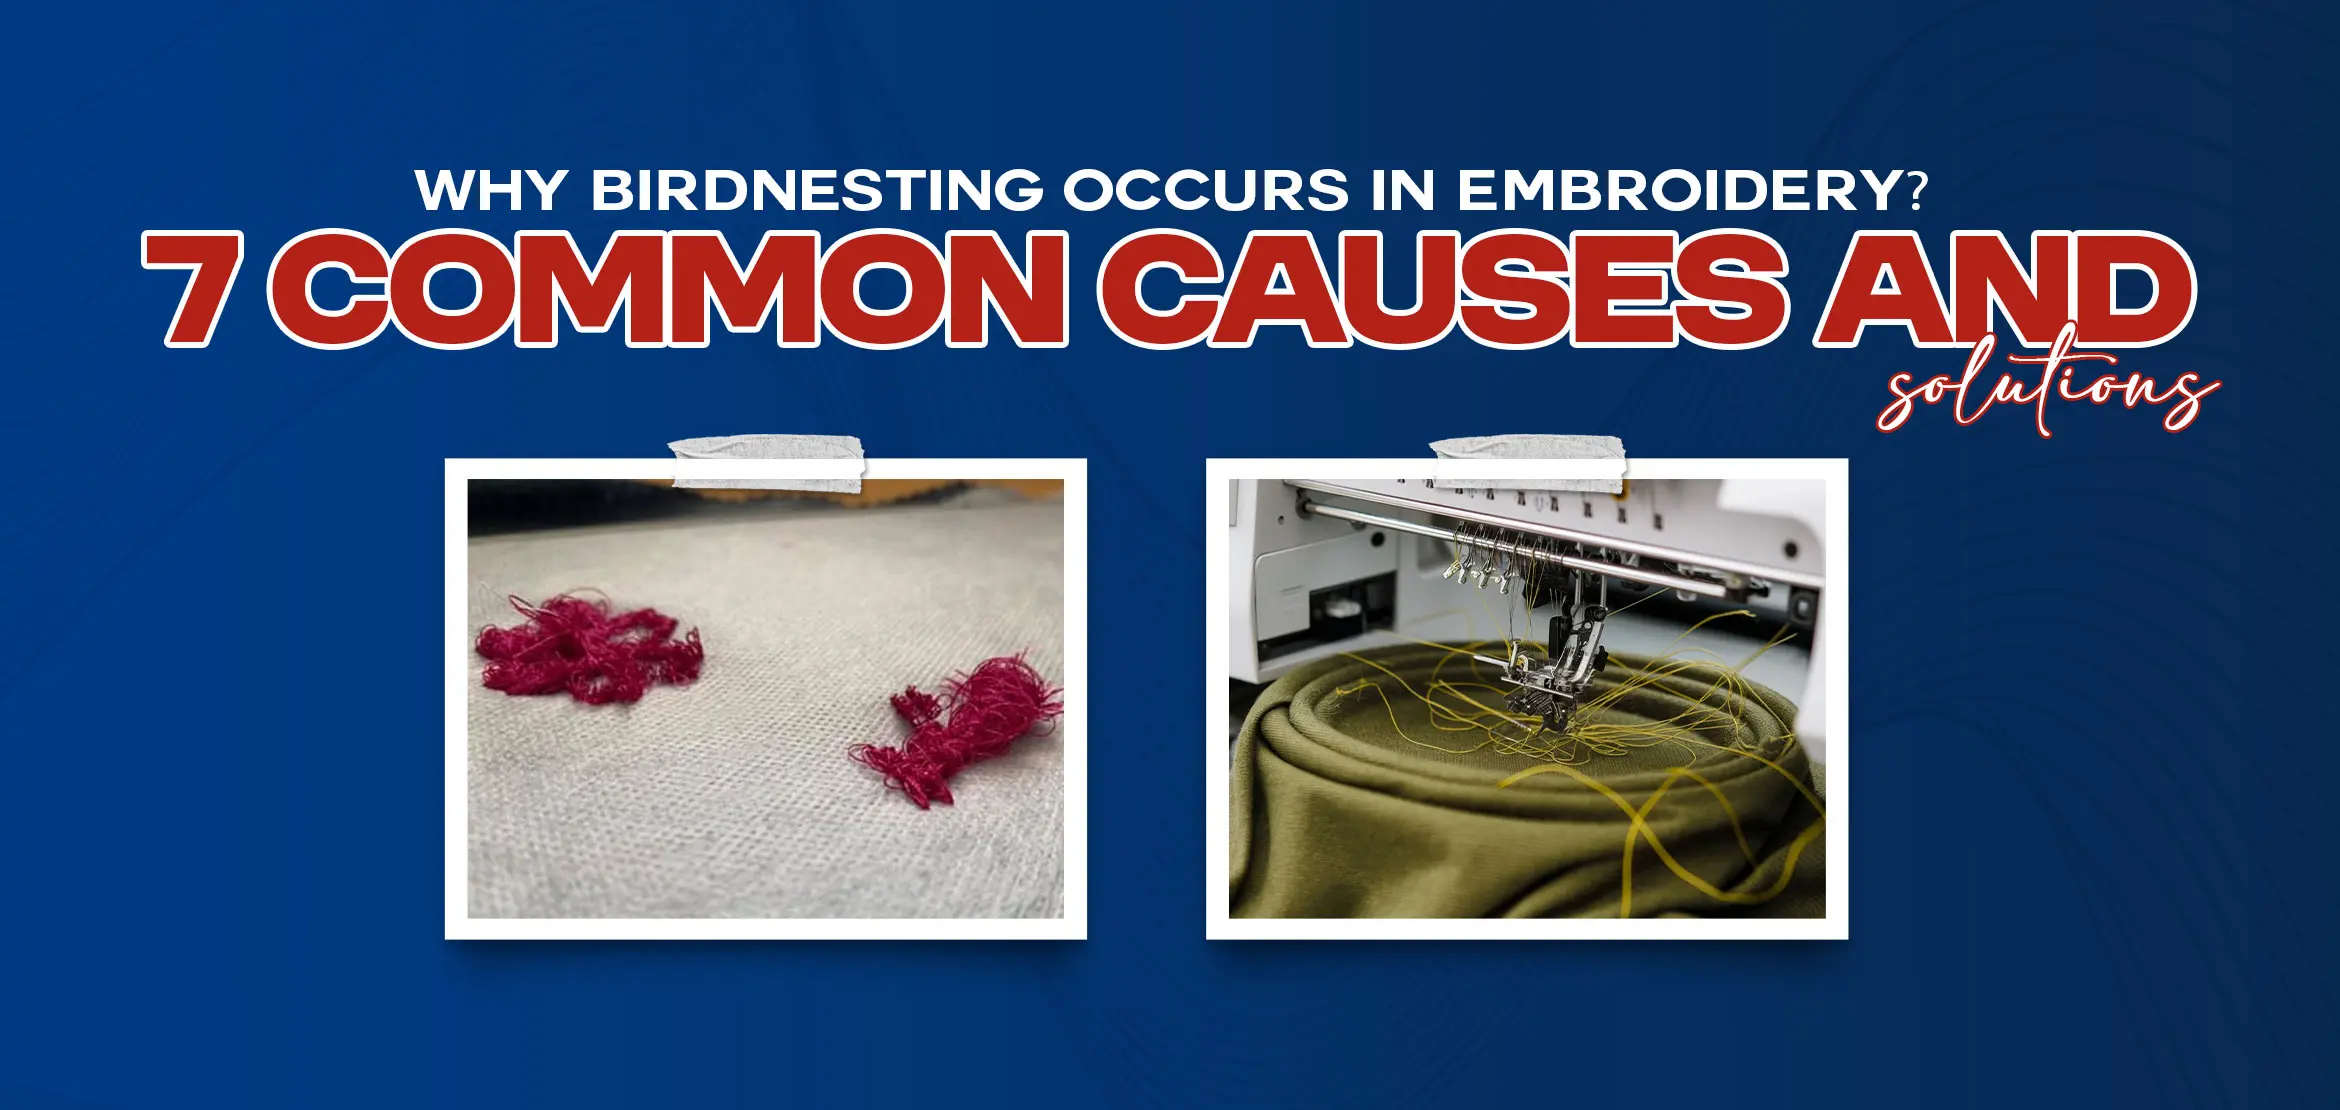
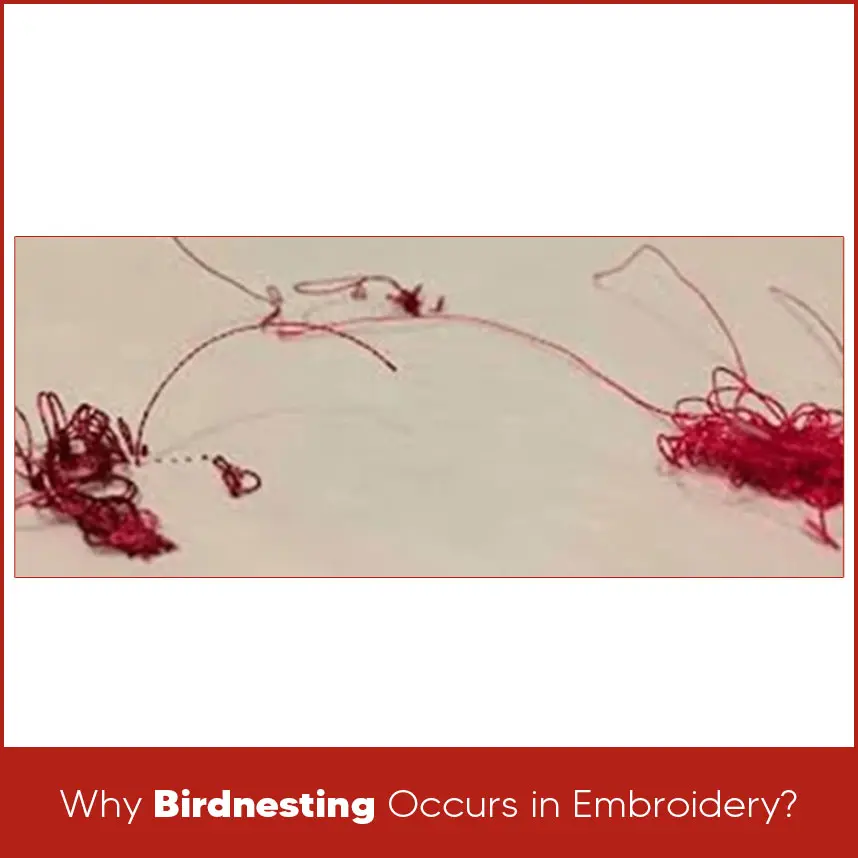
- Why Birdnesting Occurs in Embroidery?
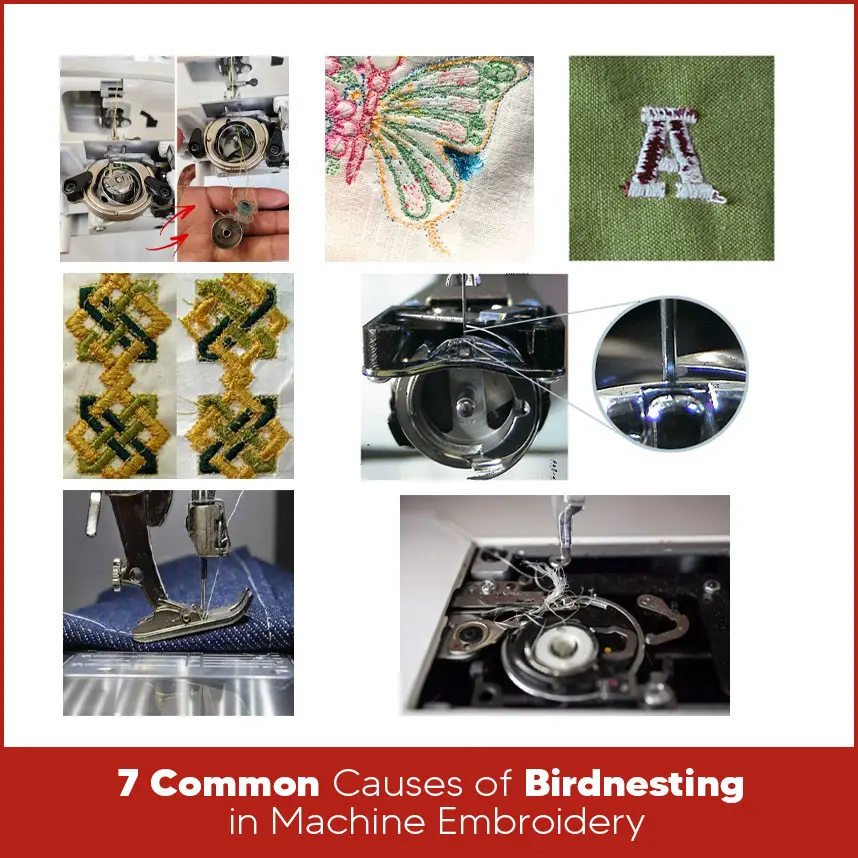
- 7 Common Causes of Birdnesting in Machine Embroidery
- 1. Incorrect Bobbin Insertion or Missing Bobbin Issues
- 2. Improper Upper Threading and Take-Up Lever Problems
- 3. Unbalanced Thread Tension (Bobbin vs Needle Thread)
- 4. Fabric Flagging Due to Loose or Poor Hooping
- 5. Trimming, Hook Timing, and Mechanical Malfunctions
- 6. Threading Errors Caused by Presser Foot Position
- 7. Poor Machine Maintenance, Needle Issues, and Bobbin Problems
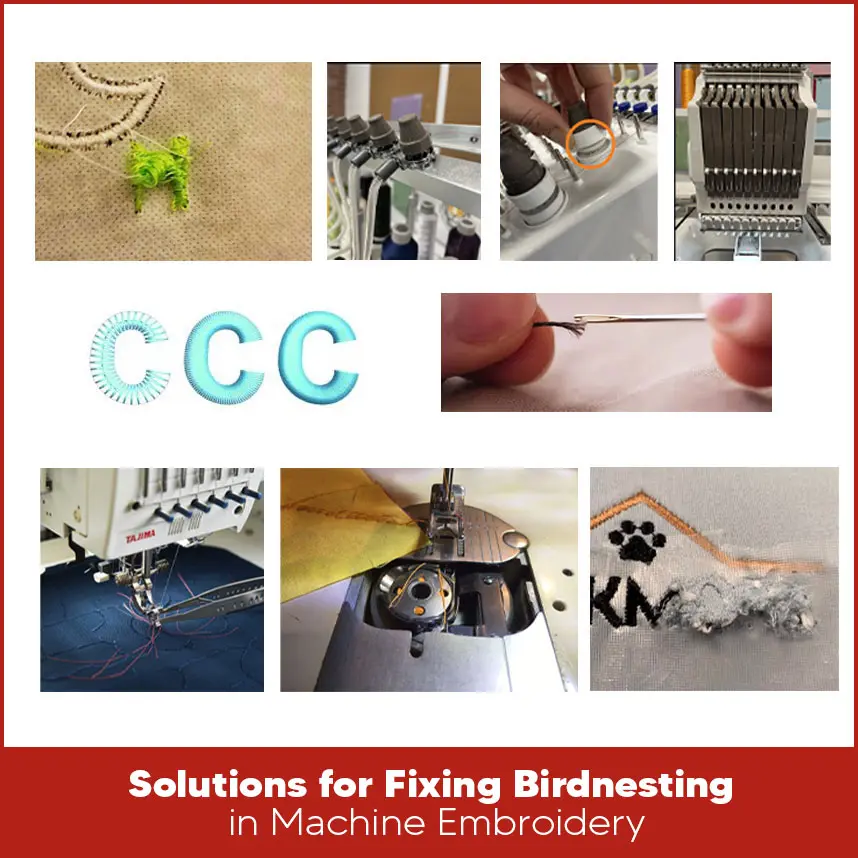
- Solutions for Fixing Birdnesting in Machine Embroidery
- 1. Correct Thread Tension to Stop Looping and Birdnesting
- 2. Check and Tighten the Tensioner Knob Properly
- 3. Adjust Embroidery Design Density for Smooth Stitching
- 4. Choose the Right Needle Size and Eye for Your Thread
- 5. Handle Birdnesting Safely Without Damaging the Fabric
- 6. Clear Thread Nests from the Needle Plate and Bobbin Area
- 7. Fix Birdnesting Damage on the Finished Garment
- Summary
If you have ever started an embroidery with full confidence and suddenly you feel machine has stopped and see a tangled mess of thread under the fabric, you already know how frustrating birdnesting can be. At some points, you feel everything looks good, but the next moment the back of your fabric is full of loops, knots, and loose threads. This problem wastes time, damages fabric, and often ruins a good design.
Birdnesting is the most common issue in embroidery, especially when working on detailed designs. Birdnesting happened for a reason. Most of the time, it comes from small setup mistakes, can be tension problems or maintenance issues. Once you understand why it happens, fixing it becomes much easier. This blog will cover how to fix birdnesting in machine embroidery by breaking down 7 common causes and showing you simple, practical solutions that actually work. So let’s understand this guide. Birdnesting occurs when thethreaddoesn't move smoothly through the stitching process. Instead of forming clean stitches, the thread is birdnesting under the fabric or around the bobbin area. This usually means something is wrong with tension, threading, hooping or machine. In embroidery, everything works together. The top thread, bobbin thread, needle, fabric, and design all depend on proper balance. If one part is off, even slightly, thread control is lost. When that happens, looping and tangling begin. Understanding the causes is the first step to fixing the problem the right way. A common reason for birdnesting is a bobbin that is inserted incorrectly or not secured properly. If the bobbin spins freely or is placed in the wrong direction, it cann't control thread tension. In some cases, running the machine without a bobbin can also create severe looping that looks like birdnesting. Upper threading issues cause more birdnesting problems than most people realize. If the thread skips a guide or misses the take-up lever, tension cannot be applied correctly. This allows extra thread to feed into the stitch area, creating loops underneath the fabric. The thread tension is out of balance. When the top thread is very loose and the bobbin tension is very tight, looping occurs under the fabric. This imbalance pulls excess thread downward, forming a nest. Flagging happens when the fabric moves up and down with the needle instead of staying flat. This movement support extra thread to form loops under the fabric. Loose hooping is a major cause of birdnesting, especially on soft or stretchy materials. On some machines, trimming issues or hook timing problems can interfere with smooth stitching. When the hook doesn’t catch the thread correctly, thread control is lost, leading to tangles and nests. Threading the machine with the presser foot down locks the tension discs. When the thread can’t enter the discs properly, it feeds too freely and causes looping under the fabric. A dirty machine can easily cause birdnesting. Dust, lint, worn needles or damaged bobbin cases interfere with smooth thread movement. Burrs on the needle plate can also catch thread and create tangles. Loose tension is one of the main reasons birdnesting starts. Both top and bobbin tension must work together to form clean stitches. Check the tension knobs and make sure they aren’t loose. Adjust slowly and test after each change. A small adjustment fixes the issue without further changes. If the tensioner knob feels loose, it may not apply steady pressure during stitching. This allows thread to feed unevenly. Remove the knob carefully and inspect the tensioner post. Tighten the knob properly and test the stitch again. A secure tensioner improves thread control. Very dense designs can pull too much thread through the needle, especially on small text. Tight stitches increase the risk of looping and thread breaks. Reduce stitch density where possible, especially for small letters. Balanced density allows the thread to flow smoothly without stress. The needle eye must match the thread type. Thick threads or metallic threads need a larger needle eye to move freely. Using the right needle size prevents thread drag and reduces looping. Smooth thread movement helps prevent birdnesting. If birdnesting happens, don’t pull the hoop. Pulling can tear fabric or damage stitches. Create space between the hoop and needle plate. Work slowly and carefully to avoid making the problem worse. Sometimes the nest forms under the needle plate. Removing it takes patience. Pick out threads gently one by one until the bobbin or case can be removed. After clearing the nest, inspect parts for damage before continuing. If stitches are damaged, you have two choices. Either remove the stitching and redo the area, or trim loose threads and secure them with stabilizer. Most of the fabrics are not washed before stitching, trimming and securing threads can save the garment without restitching. Birdnesting is a major problem but in most cases, it comes from simple issues like threading mistakes, tension imbalance, poor hooping, or lack of maintenance. Once these areas are corrected, embroidery runs more smoothly and looks cleaner. Learning how to fix birdnesting in machine embroidery helps save time, fabric, and effort. Clean setups, balanced tension, proper hooping, and well-prepared designs make a real difference in stitch quality. If you want professional level results without stitching problems, well-prepared embroidery designs matter just as much as machine setup. Digitizing USA provides clean, professional embroidery designs that help reduce stitching errors and improve overall quality. Order your embroidery designs today and enjoy smooth stitching and the best results without any tension.Why Birdnesting Occurs in Embroidery?
7 Common Causes of Birdnesting in Machine Embroidery
1. Incorrect Bobbin Insertion or Missing Bobbin Issues
2. Improper Upper Threading and Take-Up Lever Problems
3. Unbalanced Thread Tension (Bobbin vs Needle Thread)
4. Fabric Flagging Due to Loose or Poor Hooping
5. Trimming, Hook Timing, and Mechanical Malfunctions
6. Threading Errors Caused by Presser Foot Position
7. Poor Machine Maintenance, Needle Issues, and Bobbin Problems
Solutions for Fixing Birdnesting in Machine Embroidery
1. Correct Thread Tension to Stop Looping and Birdnesting
2. Check and Tighten the Tensioner Knob Properly
3. Adjust Embroidery Design Density for Smooth Stitching
4. Choose the Right Needle Size and Eye for Your Thread
5. Handle Birdnesting Safely Without Damaging the Fabric
6. Clear Thread Nests from the Needle Plate and Bobbin Area
7. Fix Birdnesting Damage on the Finished Garment
Summary


