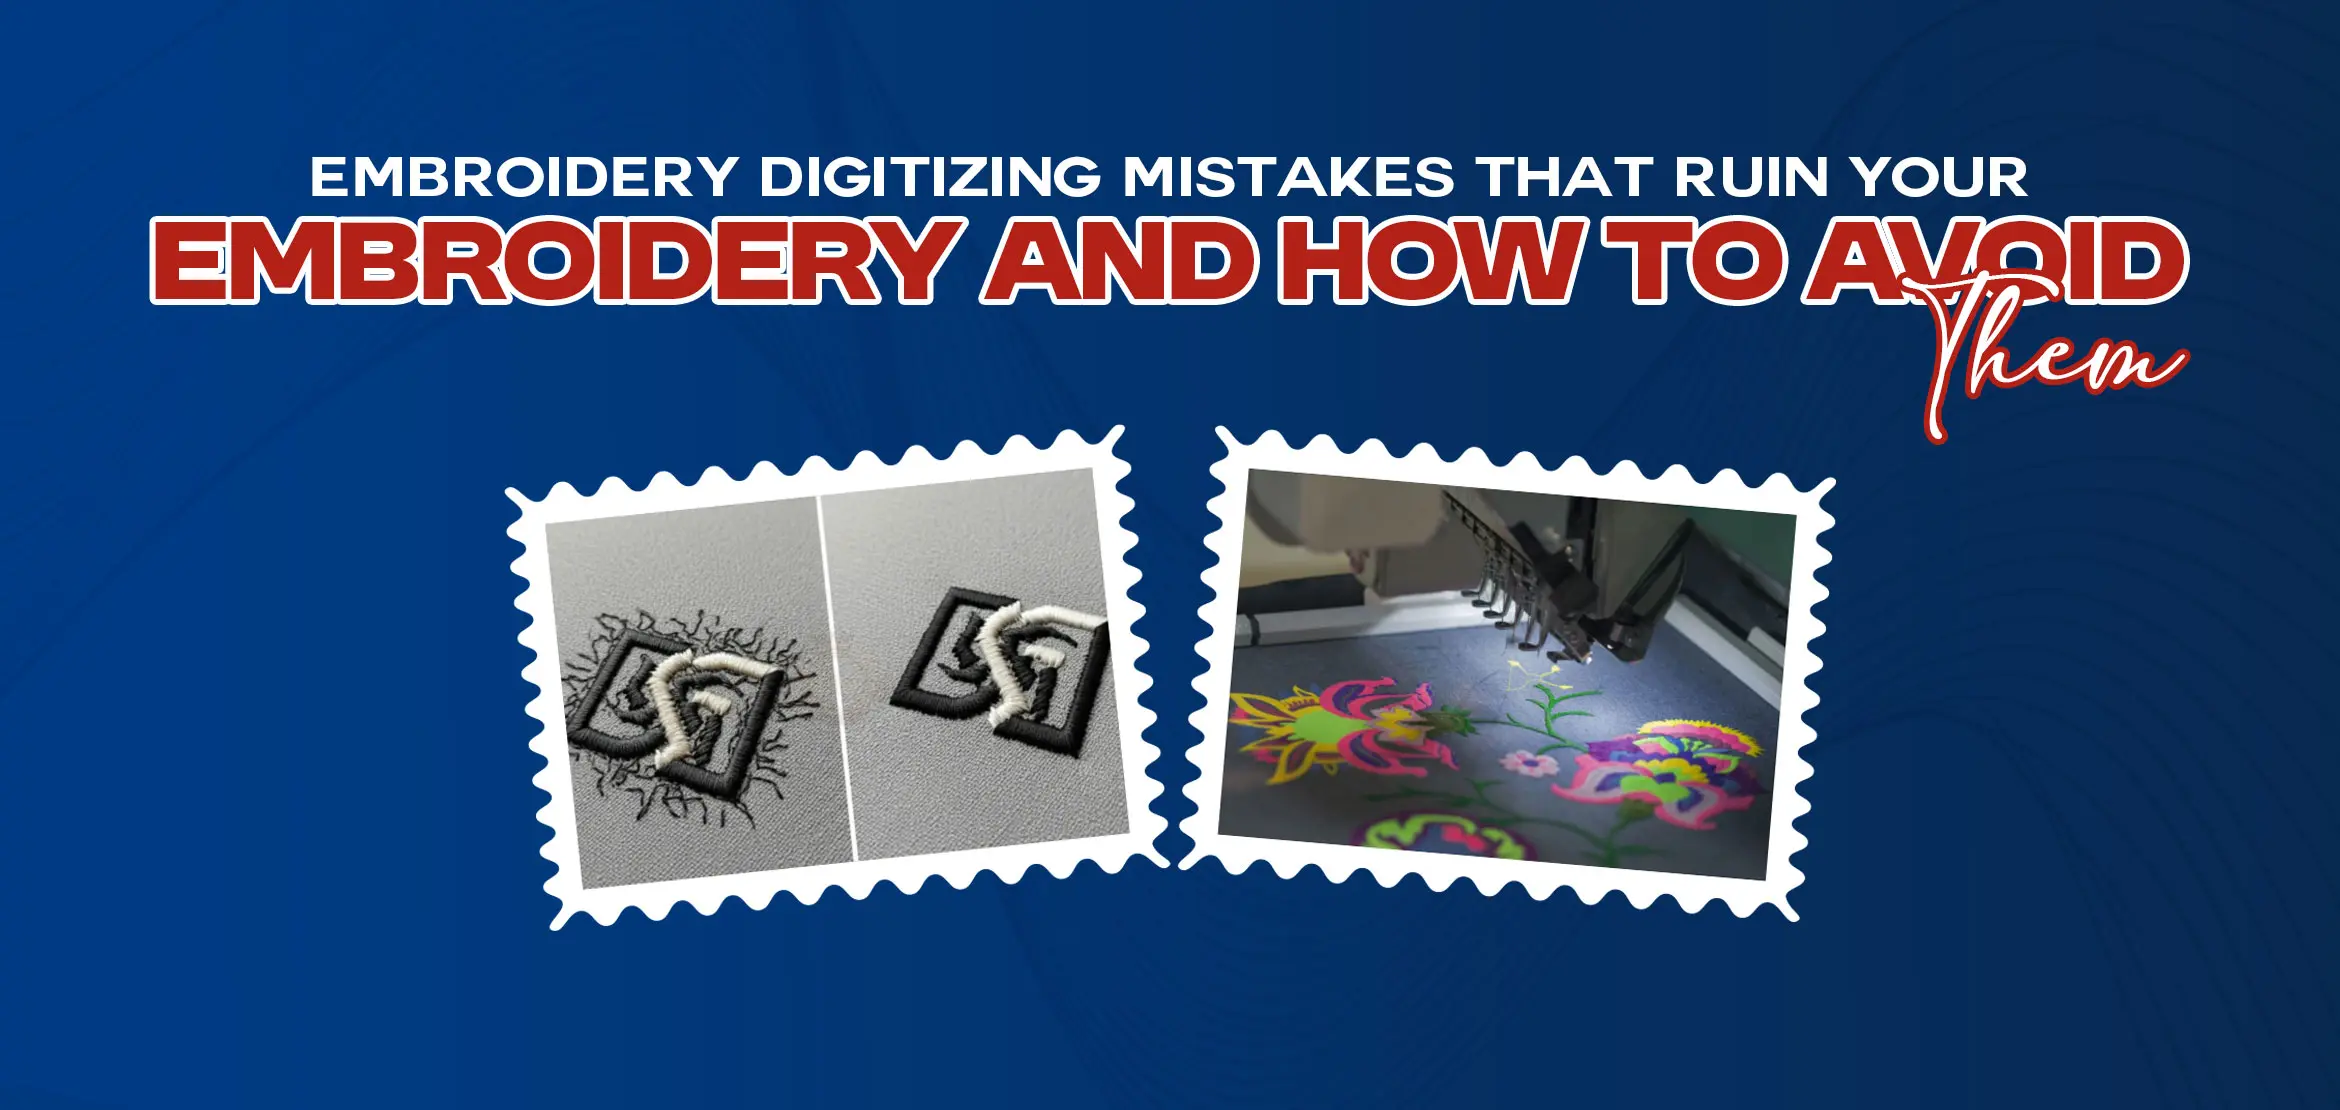
Embroidery Digitizing Mistakes That Ruin Your Embroidery and How to Avoid Them
Table Of Content
- Neglecting the Fabric Details
- Incorrect Stitch Direction
- No Underlay Stitches
- Wrong Fill Type
- Incorrect Density
- Incorrect Length of Stitch
- Wrong Design Application
- Neglecting the Significance of Sewing Out from the Center
- Neglecting Digitizing Aspects
- Skipping Stabilizer or Using the Wrong One
- Ignoring Needle and Thread Compatibility
- Not Hooping Properly
- Starting Without a Test Run
- Summary
You spend time choosing a design. You pick colors, load the file on your machine and expect clean, smooth embroidery. But once the machine starts sewing, things go wrong. The design looks uneven. The fabric pulls. Stitches overlap or break. This situation frustrates many people, especially beginners even skilled embroiderers face it.
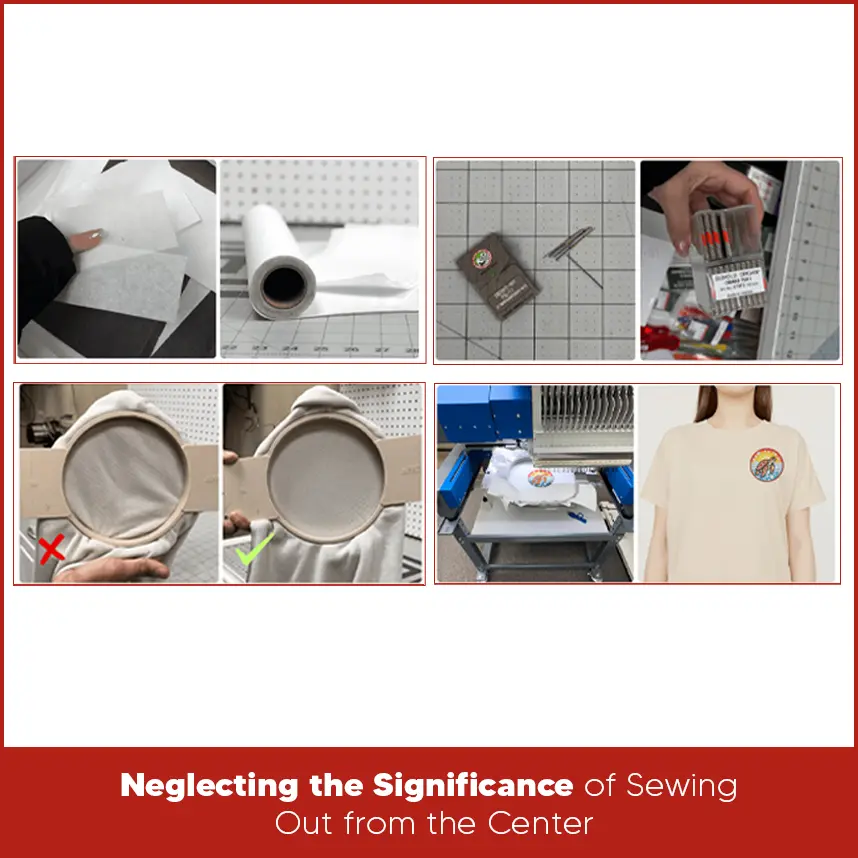
In many cases, problem doesn't start from the machine. It starts earlier, duringdigitizing. Small digitizing mistakes slowly ruin your final embroidery look. If you understand these mistakes and fix them early, your embroidery quality improves instantly. This guide explains common embroidery digitizing mistakes that ruin your embroidery also covers how to avoid them. Some Common Digitizing Mistakes Lack of Planning Lack of planning in embroidery digitizing is the main cause of trouble from the start. Many people directly jump and start with software without knowing design's nature like fabric type, design size, or stitch order. This rushed approach leads to gaps, overlaps, and unstable embroidery. Good digitizing starts with proper planning. Understand the entire design. They decide where to add fill stitches, satin stitches, running stitches, etc also think about stitch directions and sequence before placing a single stitch. As long as you plan the design structure first, the embroidery stays clean and balanced. Every fabric behaves differently. Thick fabrics hold stitches well, while thin or stretchy fabrics move during stitching. Ignoring fabric type causes puckering, distortion, and uneven stitch coverage. Cotton, denim, knit, leather & caps need different digitizing settings. You must adjust stitch density, underlay, and pull compensation based on fabric. If the fabric stretches or shifts, loose digitizing settings fail. When you digitize according to fabric behavior, the embroidery stays smooth and professional. Stitch direction affects how light reflects on embroidery. Wrong stitch direction makes designs look patchy and unbalanced. It also causes fabric pull, especially in large fill areas. Correct stitch direction follows the natural shape of the design. Skipping underlay stitches is a major digitizing mistake. Underlay holds the fabric, supports top stitches, and improves coverage. Without underlay, stitches break on the fabric or look thin and uneven. Different designs need different underlay types. Satin stitches need edge run or zigzag underlay. Fill stitches need tatami or grid underlay. When you use the correct underlay, the embroidery becomes stable and long-lasting. Not every area needs the same fill stitch. Using the wrong fill type creates stiffness or weak coverage. Large areas with satin stitches often break threads, while small details with fill stitches lose sharpness. Fill stitches work best for large shapes. Satin stitches suit borders, letters, and narrow elements. Running stitches work for fine details. Choosing the correct fill type improves texture, durability, and appearance. Too many stitches make the design stiff and cause thread breaks. Too few stitches leave gaps and weak coverage. Incorrect density also leads to fabric distortion. Density depends on fabric, thread type, and design size. Light fabrics need lower density. Thick fabrics handle slightly higher density. Balanced density allows stitches to sit cleanly without pulling the fabric. Proper testing helps set the right values. Stitch length matters more than many people think. Very short stitches increase thread breaks and machine stress. Very long stitches cause loose loops and uneven coverage. Each stitch type has an ideal length range. Satin stitches need balanced length for smooth edges. Fill stitches need consistent spacing for solid coverage. Correct stitch length keeps embroidery neat and machine-friendly. A design digitized for flat fabric doesn’t work well on caps, sleeves, or stretchy garments. Many designs fail because they are applied to the wrong surface without adjustment. Caps need center-out digitizing and lighter density. Sleeves need compact designs. Stretch fabrics need extra underlay and pull compensation. Always digitize based on where the design will be stitched. Proper application prevents distortion and misalignment. Starting stitches from one side causes fabric to pull unevenly. This issue becomes serious in caps and large designs. Sewing from the center outward balances tension and keeps the design aligned. Center-out digitizing reduces fabric movement and improves symmetry. It also helps avoid shifting during stitching. This method works especially well for hats and structured garments. Good digitizing involves more than placing stitches. Pull compensation, tie-ins, tie-offs, trims, and sequencing all matter. Ignoring these details creates loose threads, gaps, and unstable embroidery. Pull compensation helps stitches combine. Proper trims reduce thread buildup. Clean tie-offs prevent unraveling. These small details improve embroidery quality and durability. Stabilizer supports fabric in stitching process. Skipping stabilizer or choosing the wrong type will the reason for puckering and distortion. Cut-away stabilizer works best for stretchy fabrics. Tear-away suits stable fabrics. Caps need special cap backing. The right stabilizer keeps the fabric firm and stitches clean. Always match stabilizer with fabric and design type. Needle size and thread type must match the design. Using the wrong needle damages fabric and breaks thread. Thick threads need larger needles, while fine threads need smaller ones. Polyester thread works well for most designs. Rayon gives shine but needs careful handling. Correct needle and thread pairing improves stitch quality and reduces machine issues. Loose hooping allows fabric movement. Over-tight hooping stretches fabric and causes distortion after stitching. Both problems ruin embroidery. Hoop the fabric evenly and firmly without stretching. The fabric should stay flat and stable. Proper hooping keeps stitches aligned and prevents puckering. Skipping a test run saves time at first but causes mistakes later. A test stitch shows density issues, stitch order problems, and thread tension errors. Always run a test on similar fabric. Adjust settings before final production. Testing helps catch problems early and saves materials and time. Embroidery digitizing mistakes usually hide in small details. Poor planning, wrong stitch settings, fabric neglect, and missed testing slowly slowly damage embroidery quality. When you focus on the right digitizing methods, the final result improves right away.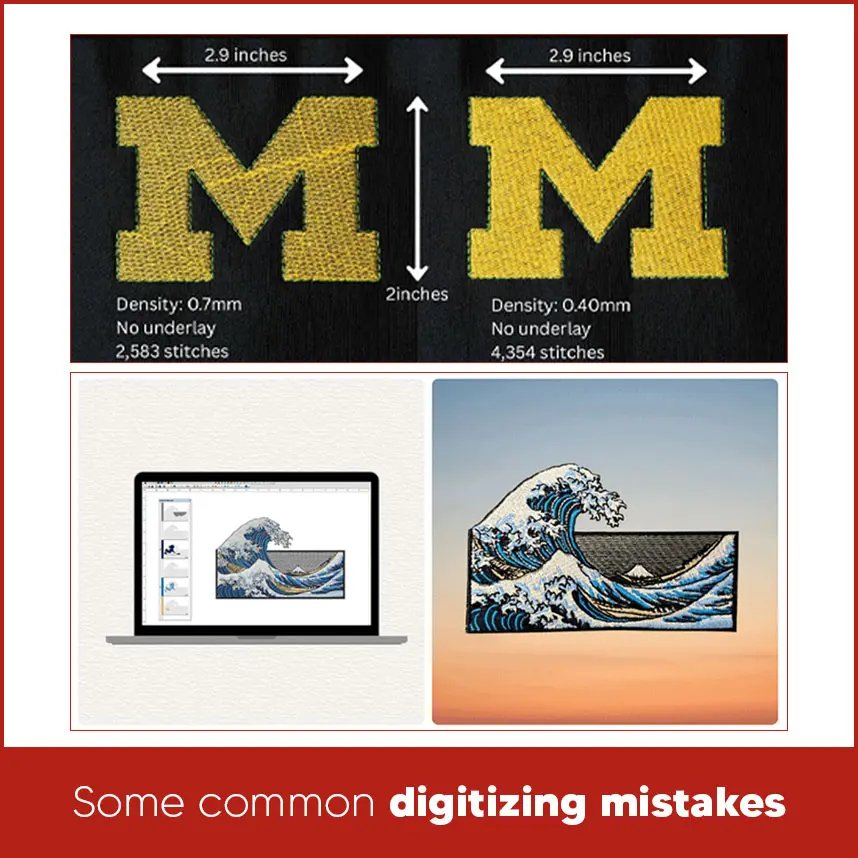
Neglecting the Fabric Details
Incorrect Stitch Direction
For example, text needs consistent stitch flow, while logos need directional changes for depth. Changing stitch angles between sections reduces pull and adds a clean look. Proper direction keeps the embroidery flat and easy to read.No Underlay Stitches
Wrong Fill Type
Incorrect Density
Incorrect Length of Stitch
Wrong Design Application
Neglecting the Significance of Sewing Out from the Center
Neglecting Digitizing Aspects
Skipping Stabilizer or Using the Wrong One
Ignoring Needle and Thread Compatibility
Not Hooping Properly
Starting Without a Test Run
Summary
If you want clean, professional embroidery without mistakes, expert digitizing makes a real difference. DigitizingUSA provides quality embroidery digitizing with attention to fabric, stitch flow, and machine accuracy. Our team understands what works and what fails. If you want embroidery that looks sharp and runs smoothly, contact DigitizingUSA to digitize your designs perfectly and deliver on time.


